Covered Bridge GC – Hole by Hole

Alison and I recently completed a four day golfing tour of the mid Saint John Valley playing Aroostook Valley and Mactaquac, both great courses, but the star of the trip was undoubtedly Covered Bridge Golf Course in Hartland. While Aroostook Valley is notable for its location right on the United States border and Mactaquac as the site of the Explore NB Open on the PGA Tour Americas, Covered Bridge had flown under my radar and I really wasn’t expecting much from a course in a small town of just over 2,000 people. I couldn’t have been more wrong as what I found was an ultra modern design, in amazing condition, that takes full advantage of the rolling hills that rise up from the Saint John River Valley. It also pays tribute to Hartland’s fame as the home of the world’s longest covered bridge.
So here is a hole-by-hole description of Covered Bridge GC and after reading it I hope you will pack your clubs and head to Hartland.
The course was designed by John F. Robinson who is the younger brother of Bill Robinson, one of Canada’s best known golf architects. John collaborated with Bill on Northumberland Links in Nova Scotia that recently made its debut in Canada’s Top 100 Golf Courses. Striking out on his own, he is responsible for the masterful redesign of the Algonquin Golf Course in St. Andrews, New Brunswick that currently sits at #45 in the Top 100 list. He has designed courses in seven provinces and many states, including Woodstock, Westfield, Moncton and Miramichi in New Brunswick. Given his work at Algonquin and Covered Bridge, I will definitely be adding those courses to my must play list.
Covered Bridge is not a long course by modern standards, topping out at 6,609 yards from the tips, but I will play the white tees for a very comfortable 6,085 yards. Somewhat surprisingly the slope from the whites, which is a measure of difficulty, is 129. Average slope is 113, so this tells me that the course is going to play quite a bit more difficult than most courses of the same length.
Covered Bridge #1 – 540 Yard Par Five
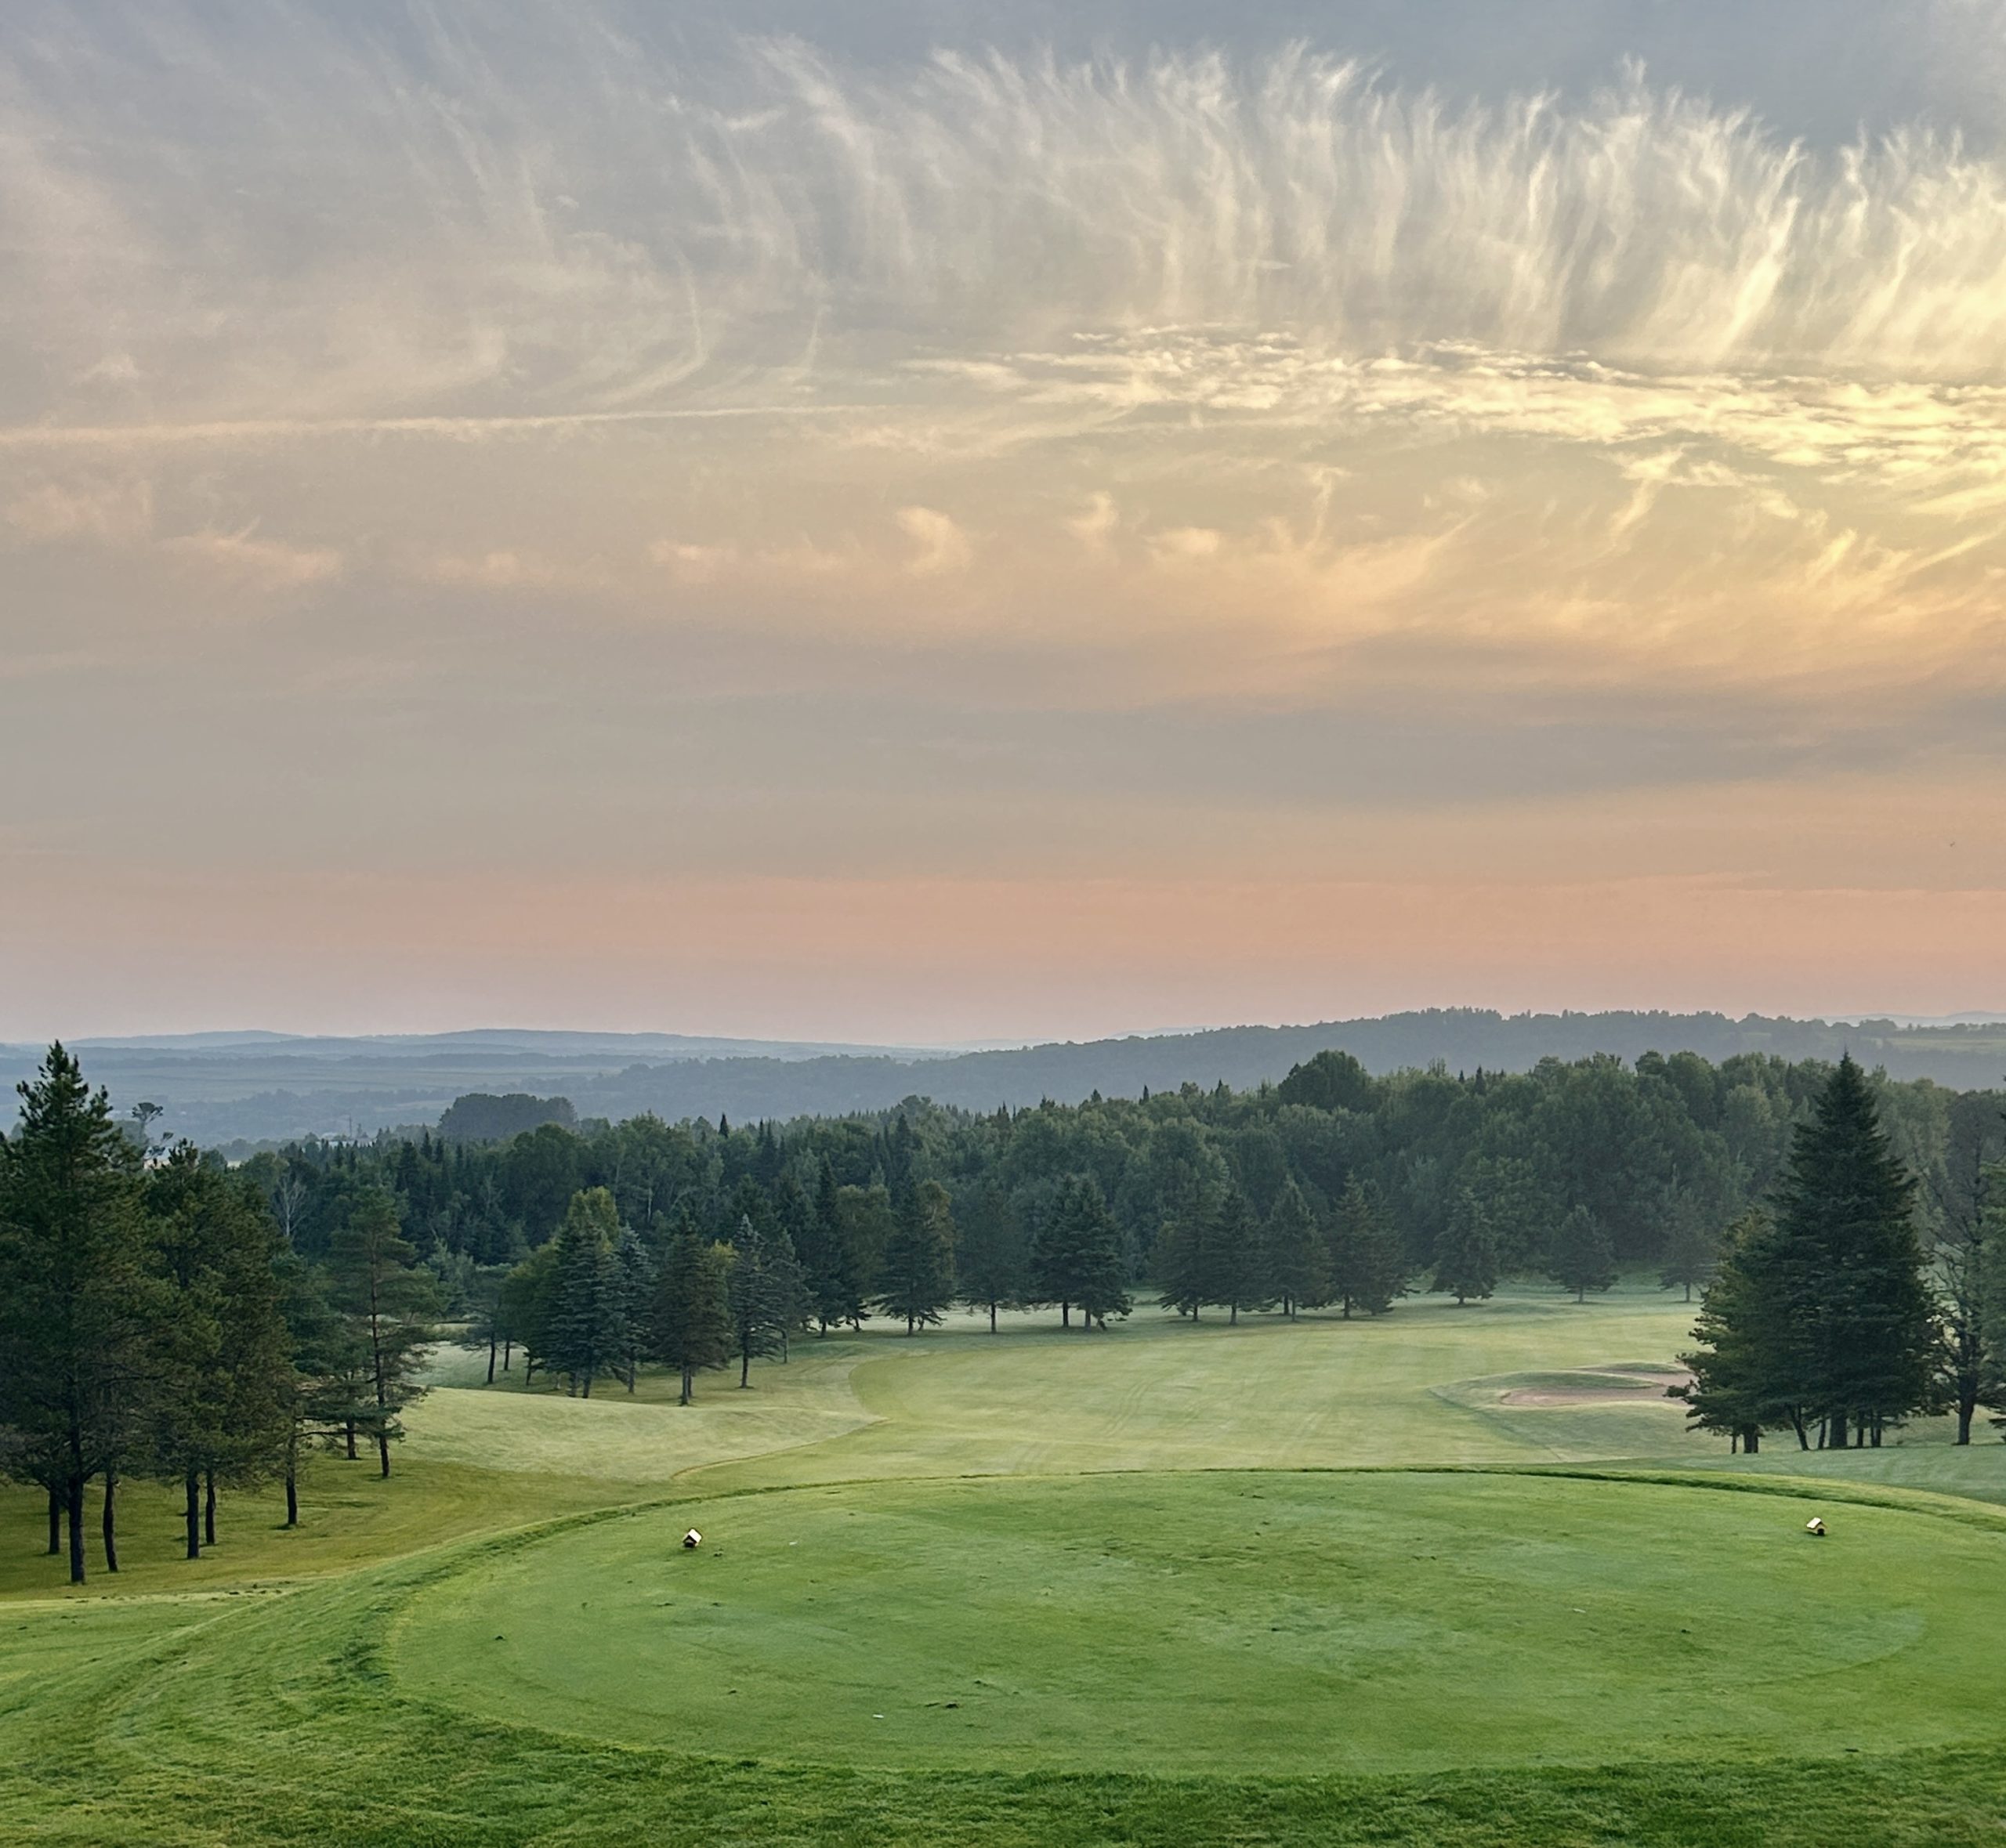
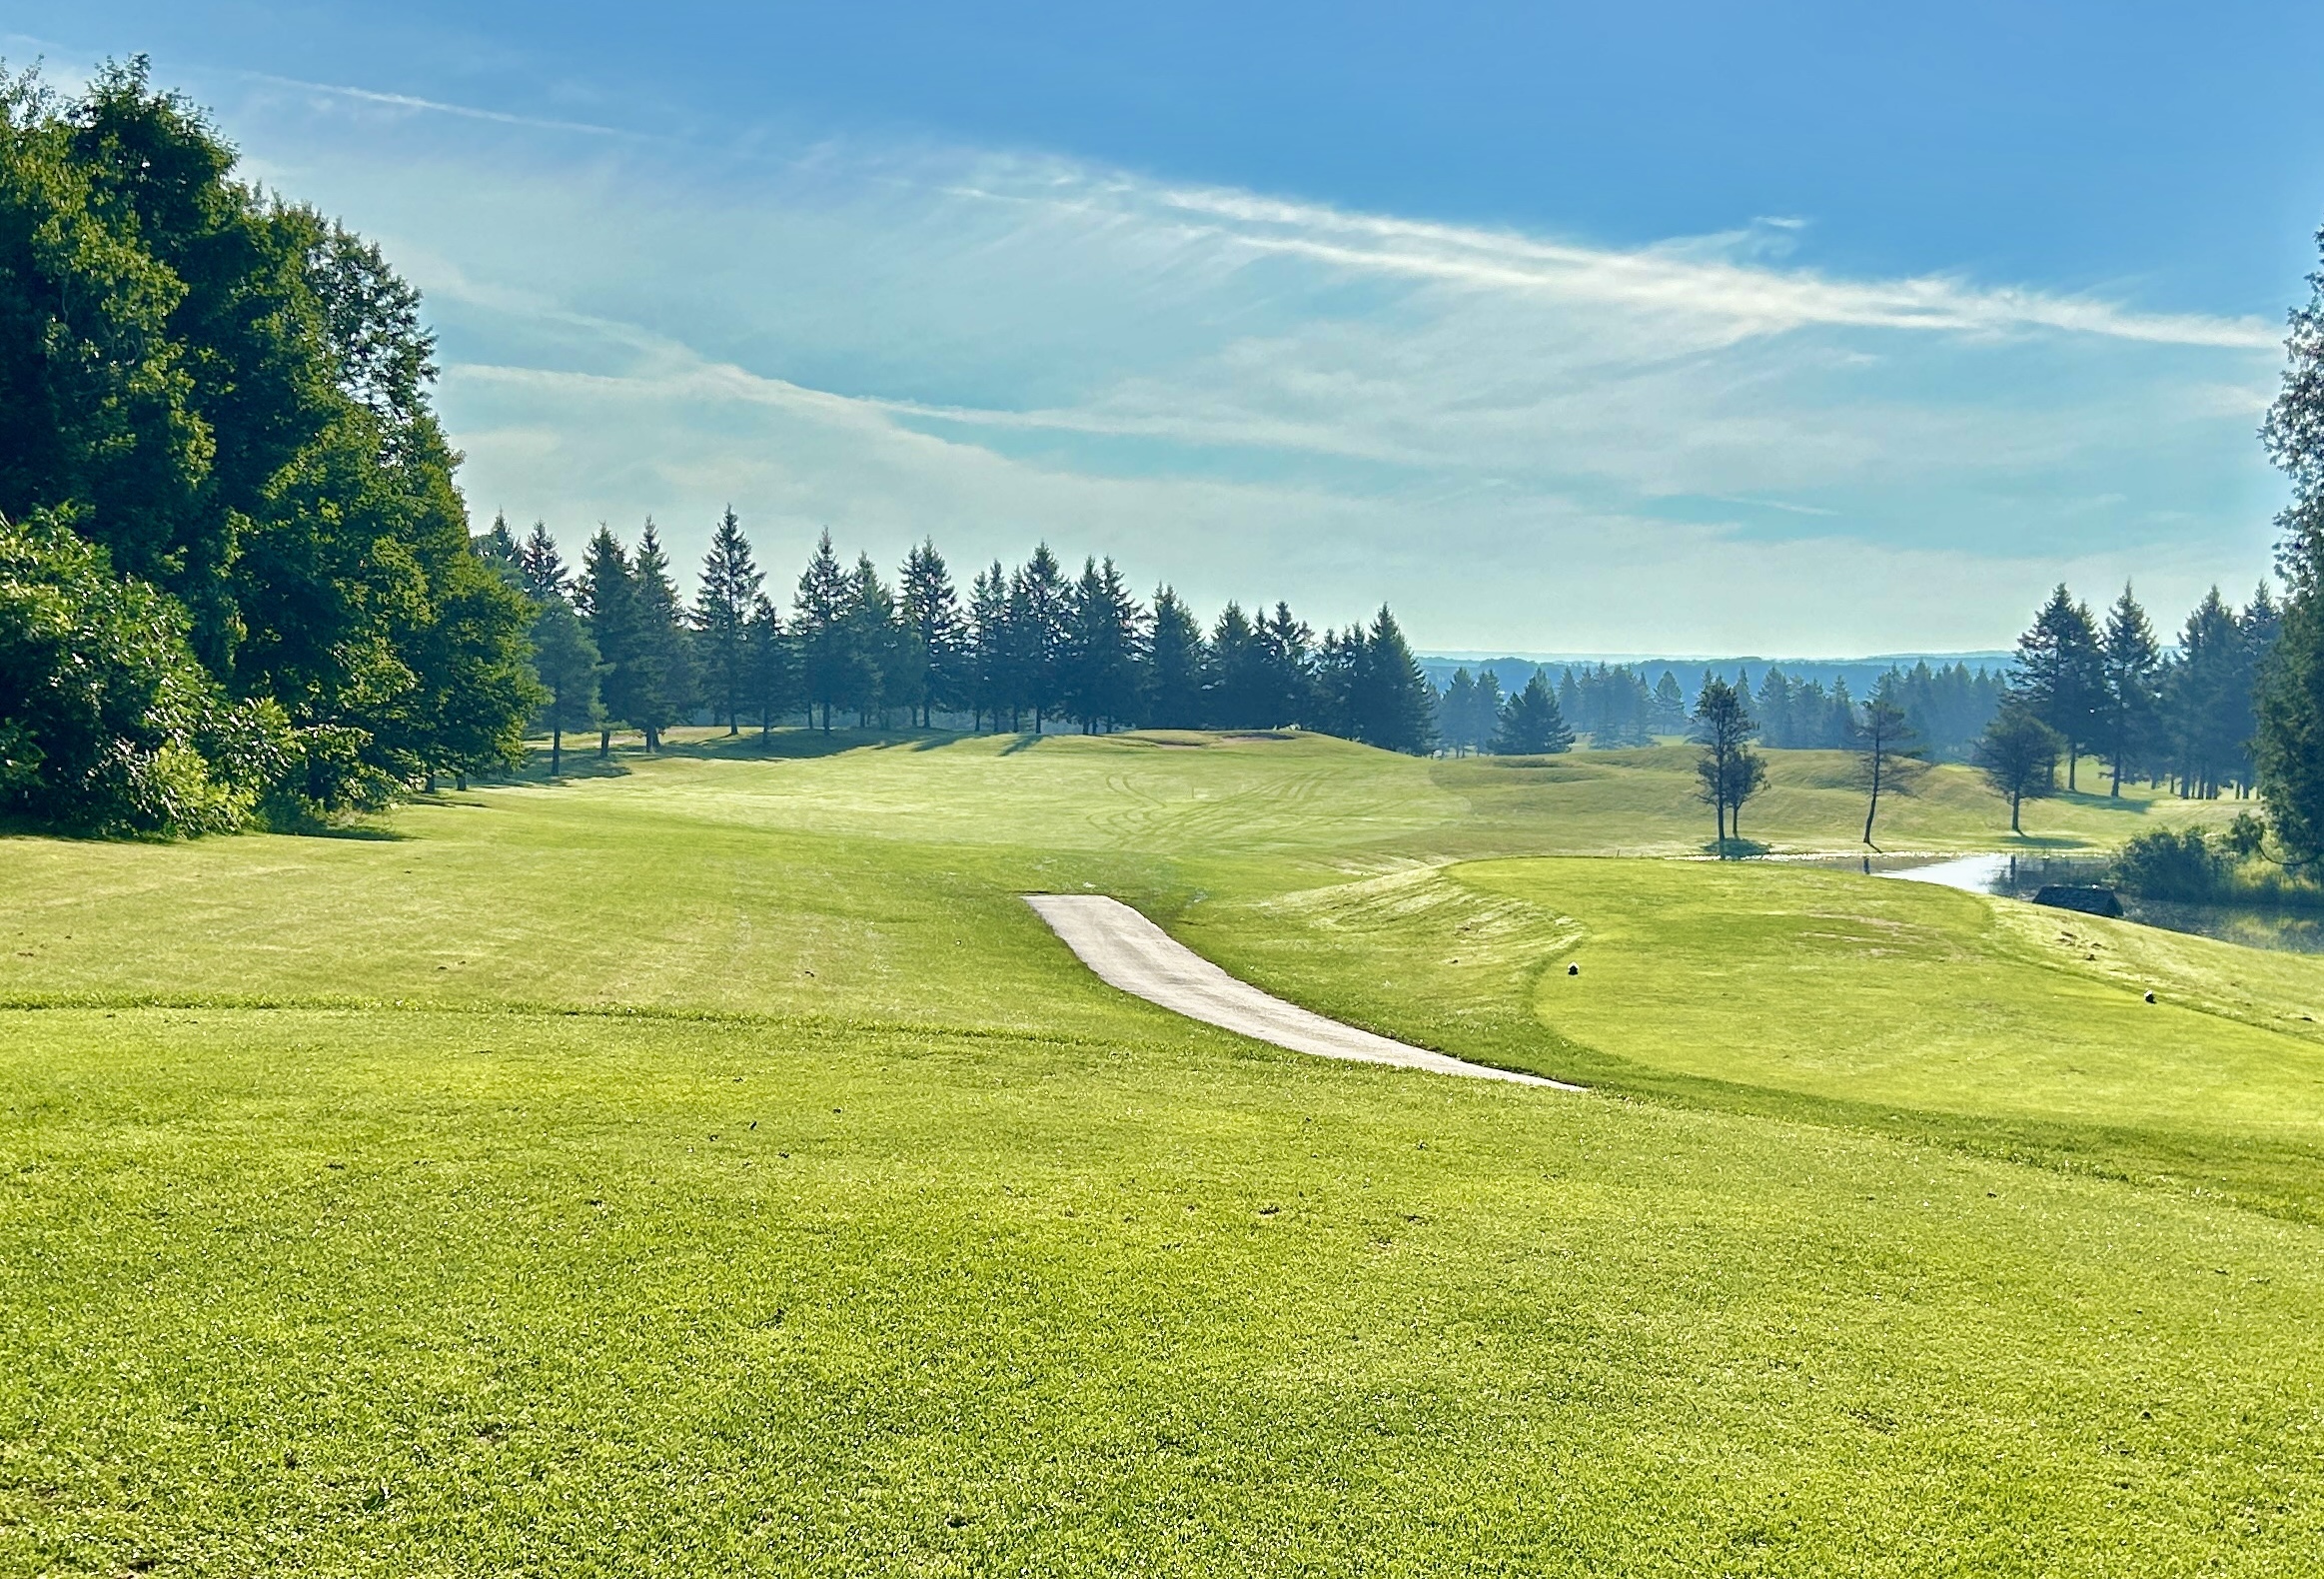
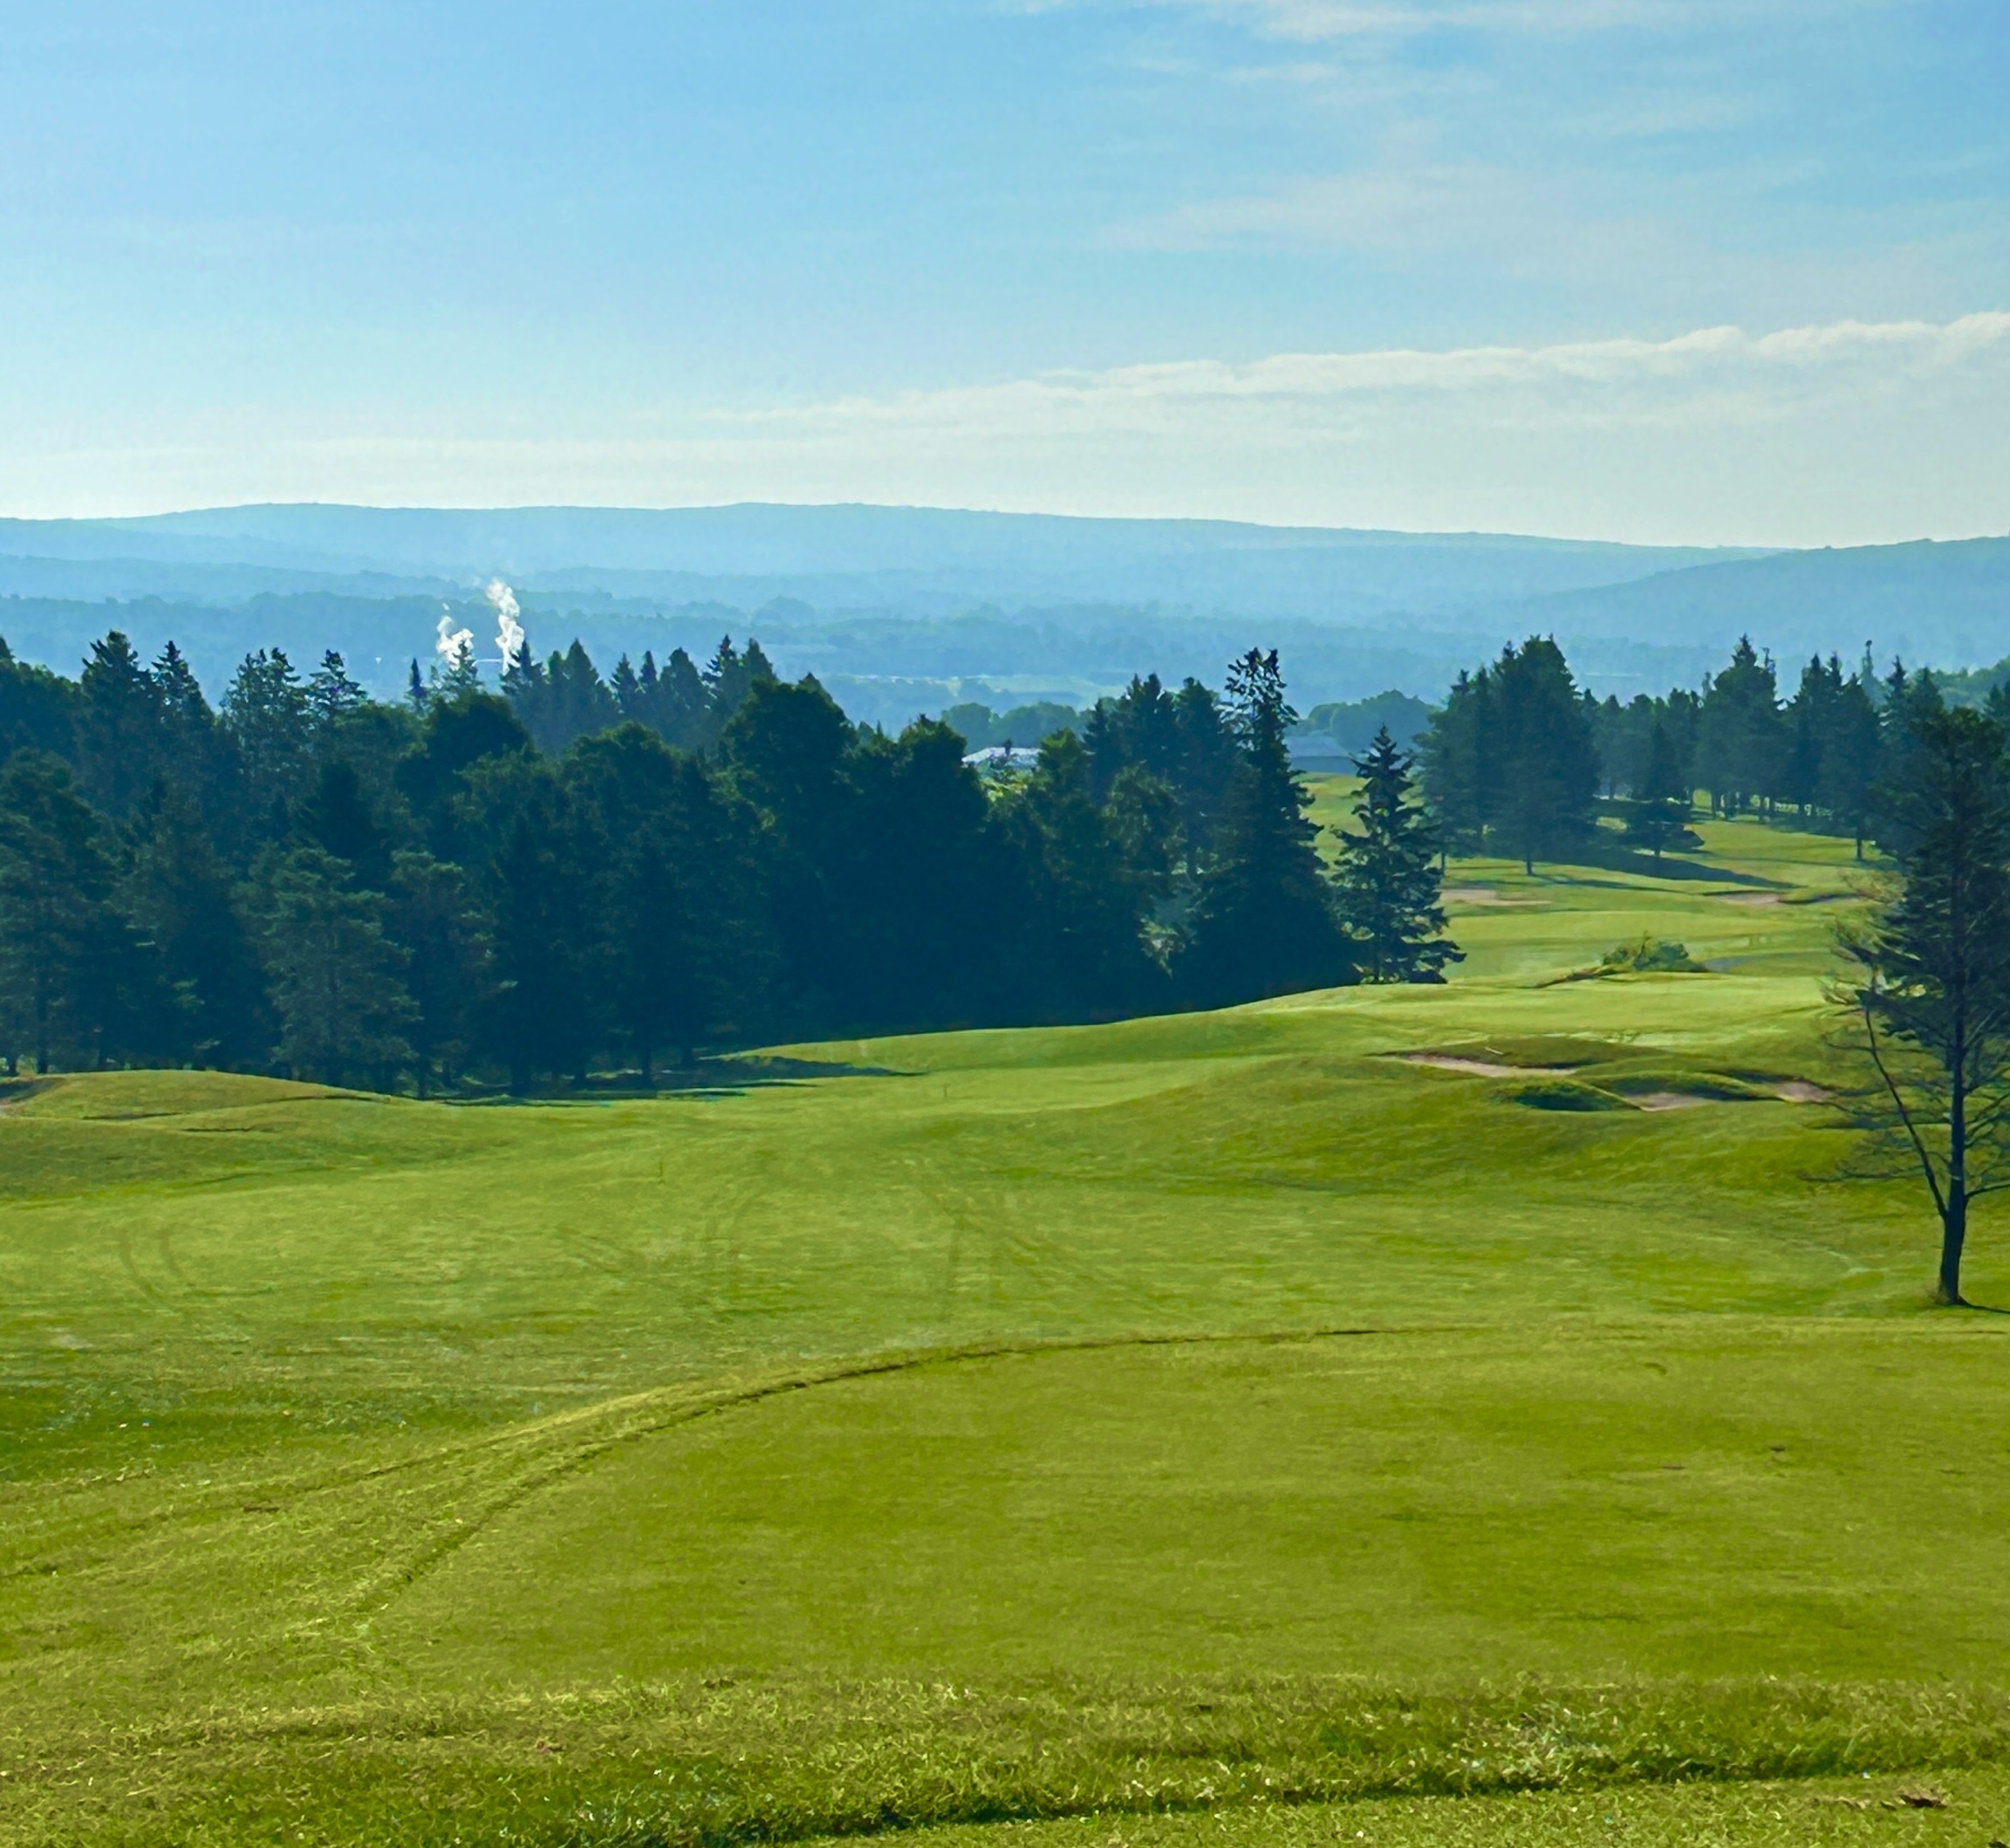
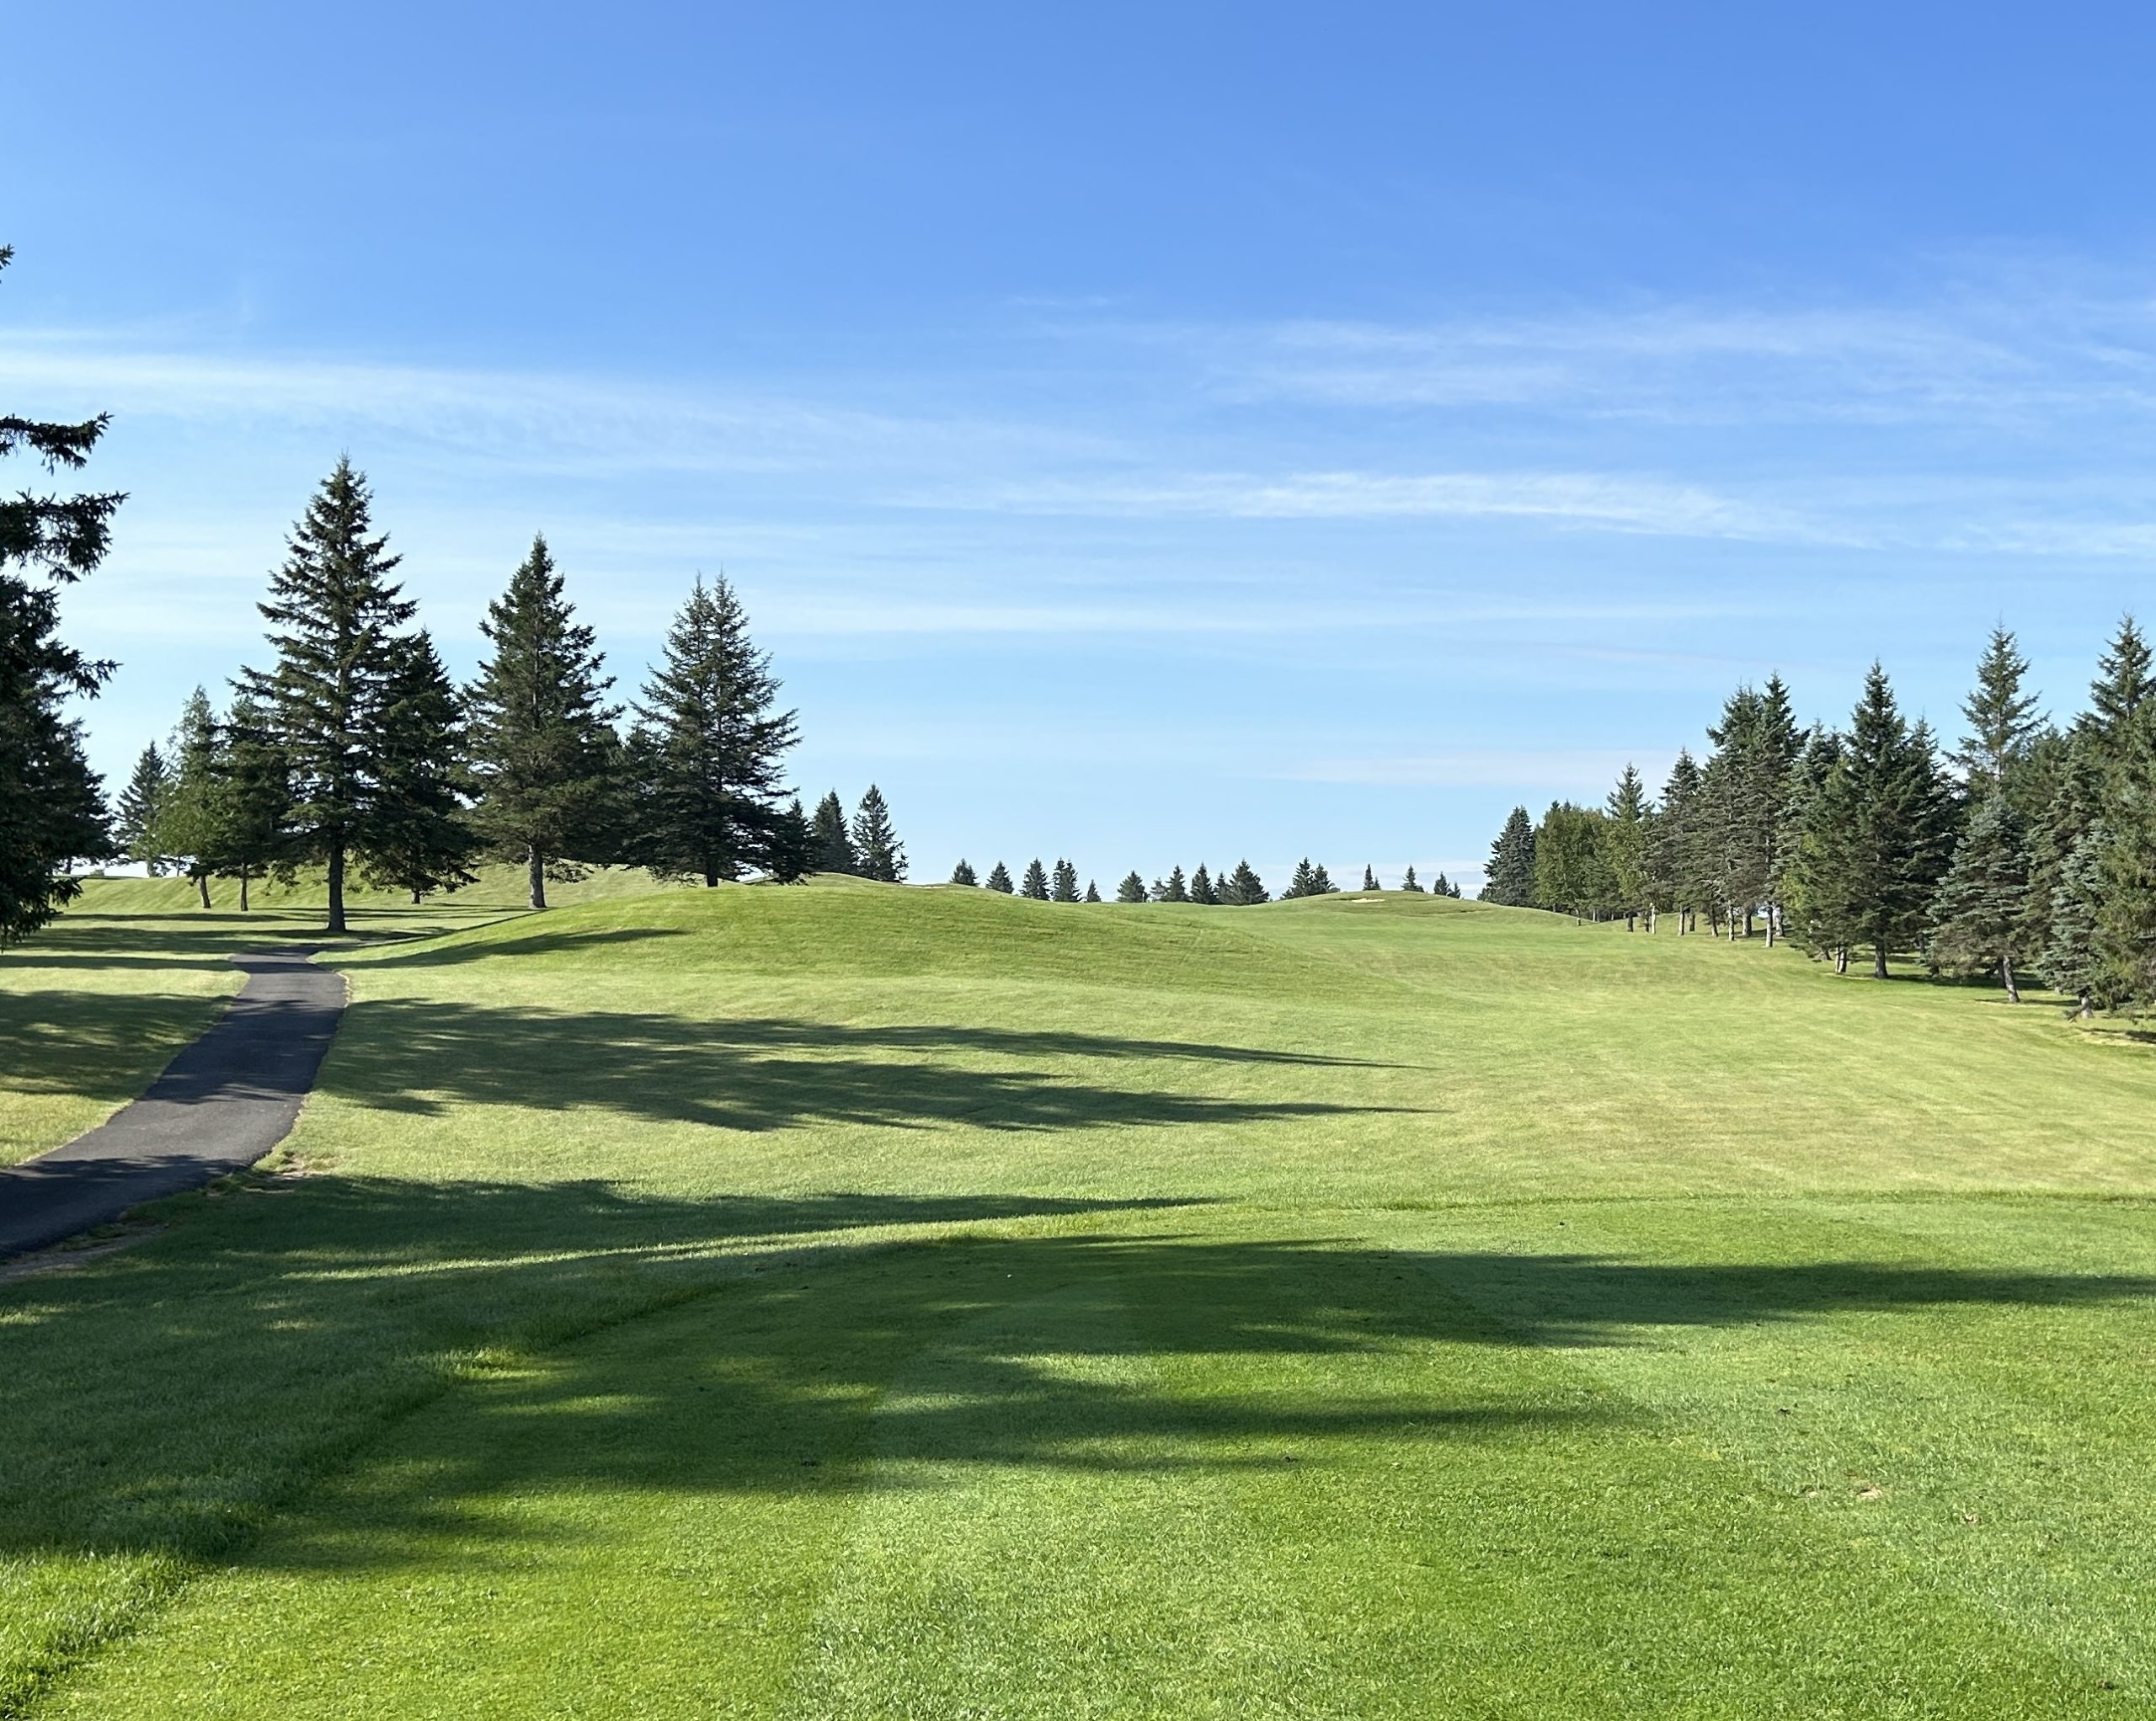
It’s a beautiful late July morning as Alison and I approach the first tee and get this gorgeous view of a big dogleg right par five that will not play as long as its distance due to the substantial drop off the tee box to the valley below. I love these type of tee shots where your ball seems to hang in the air forever. The fairway is generous and only a really big hitter or an idiot would challenge those bunkers on the right.
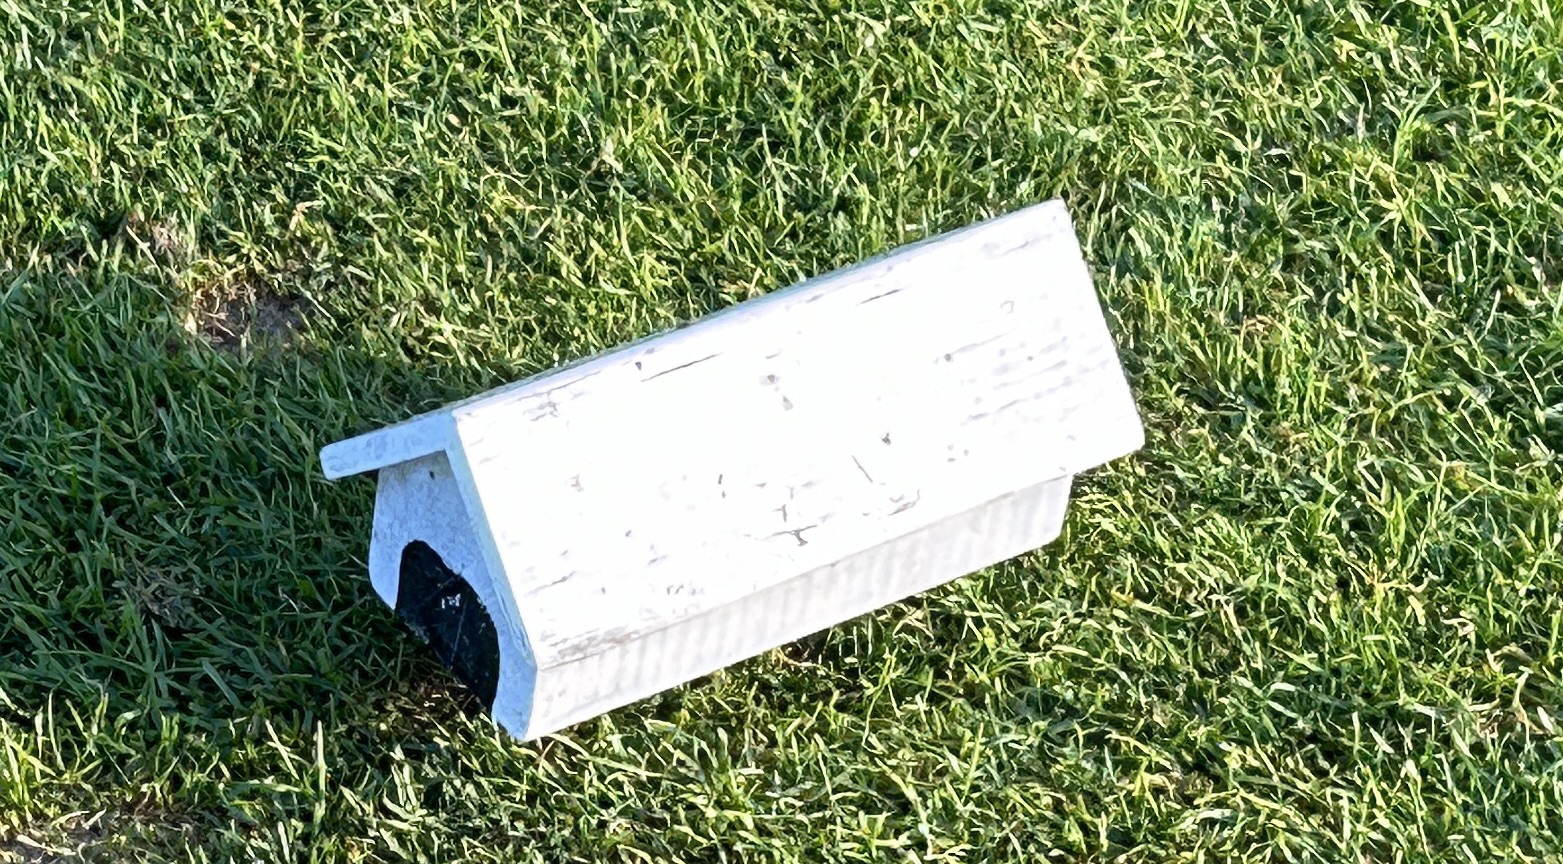
BTW the tee boxes here are marked by miniature covered bridges – a nice touch.
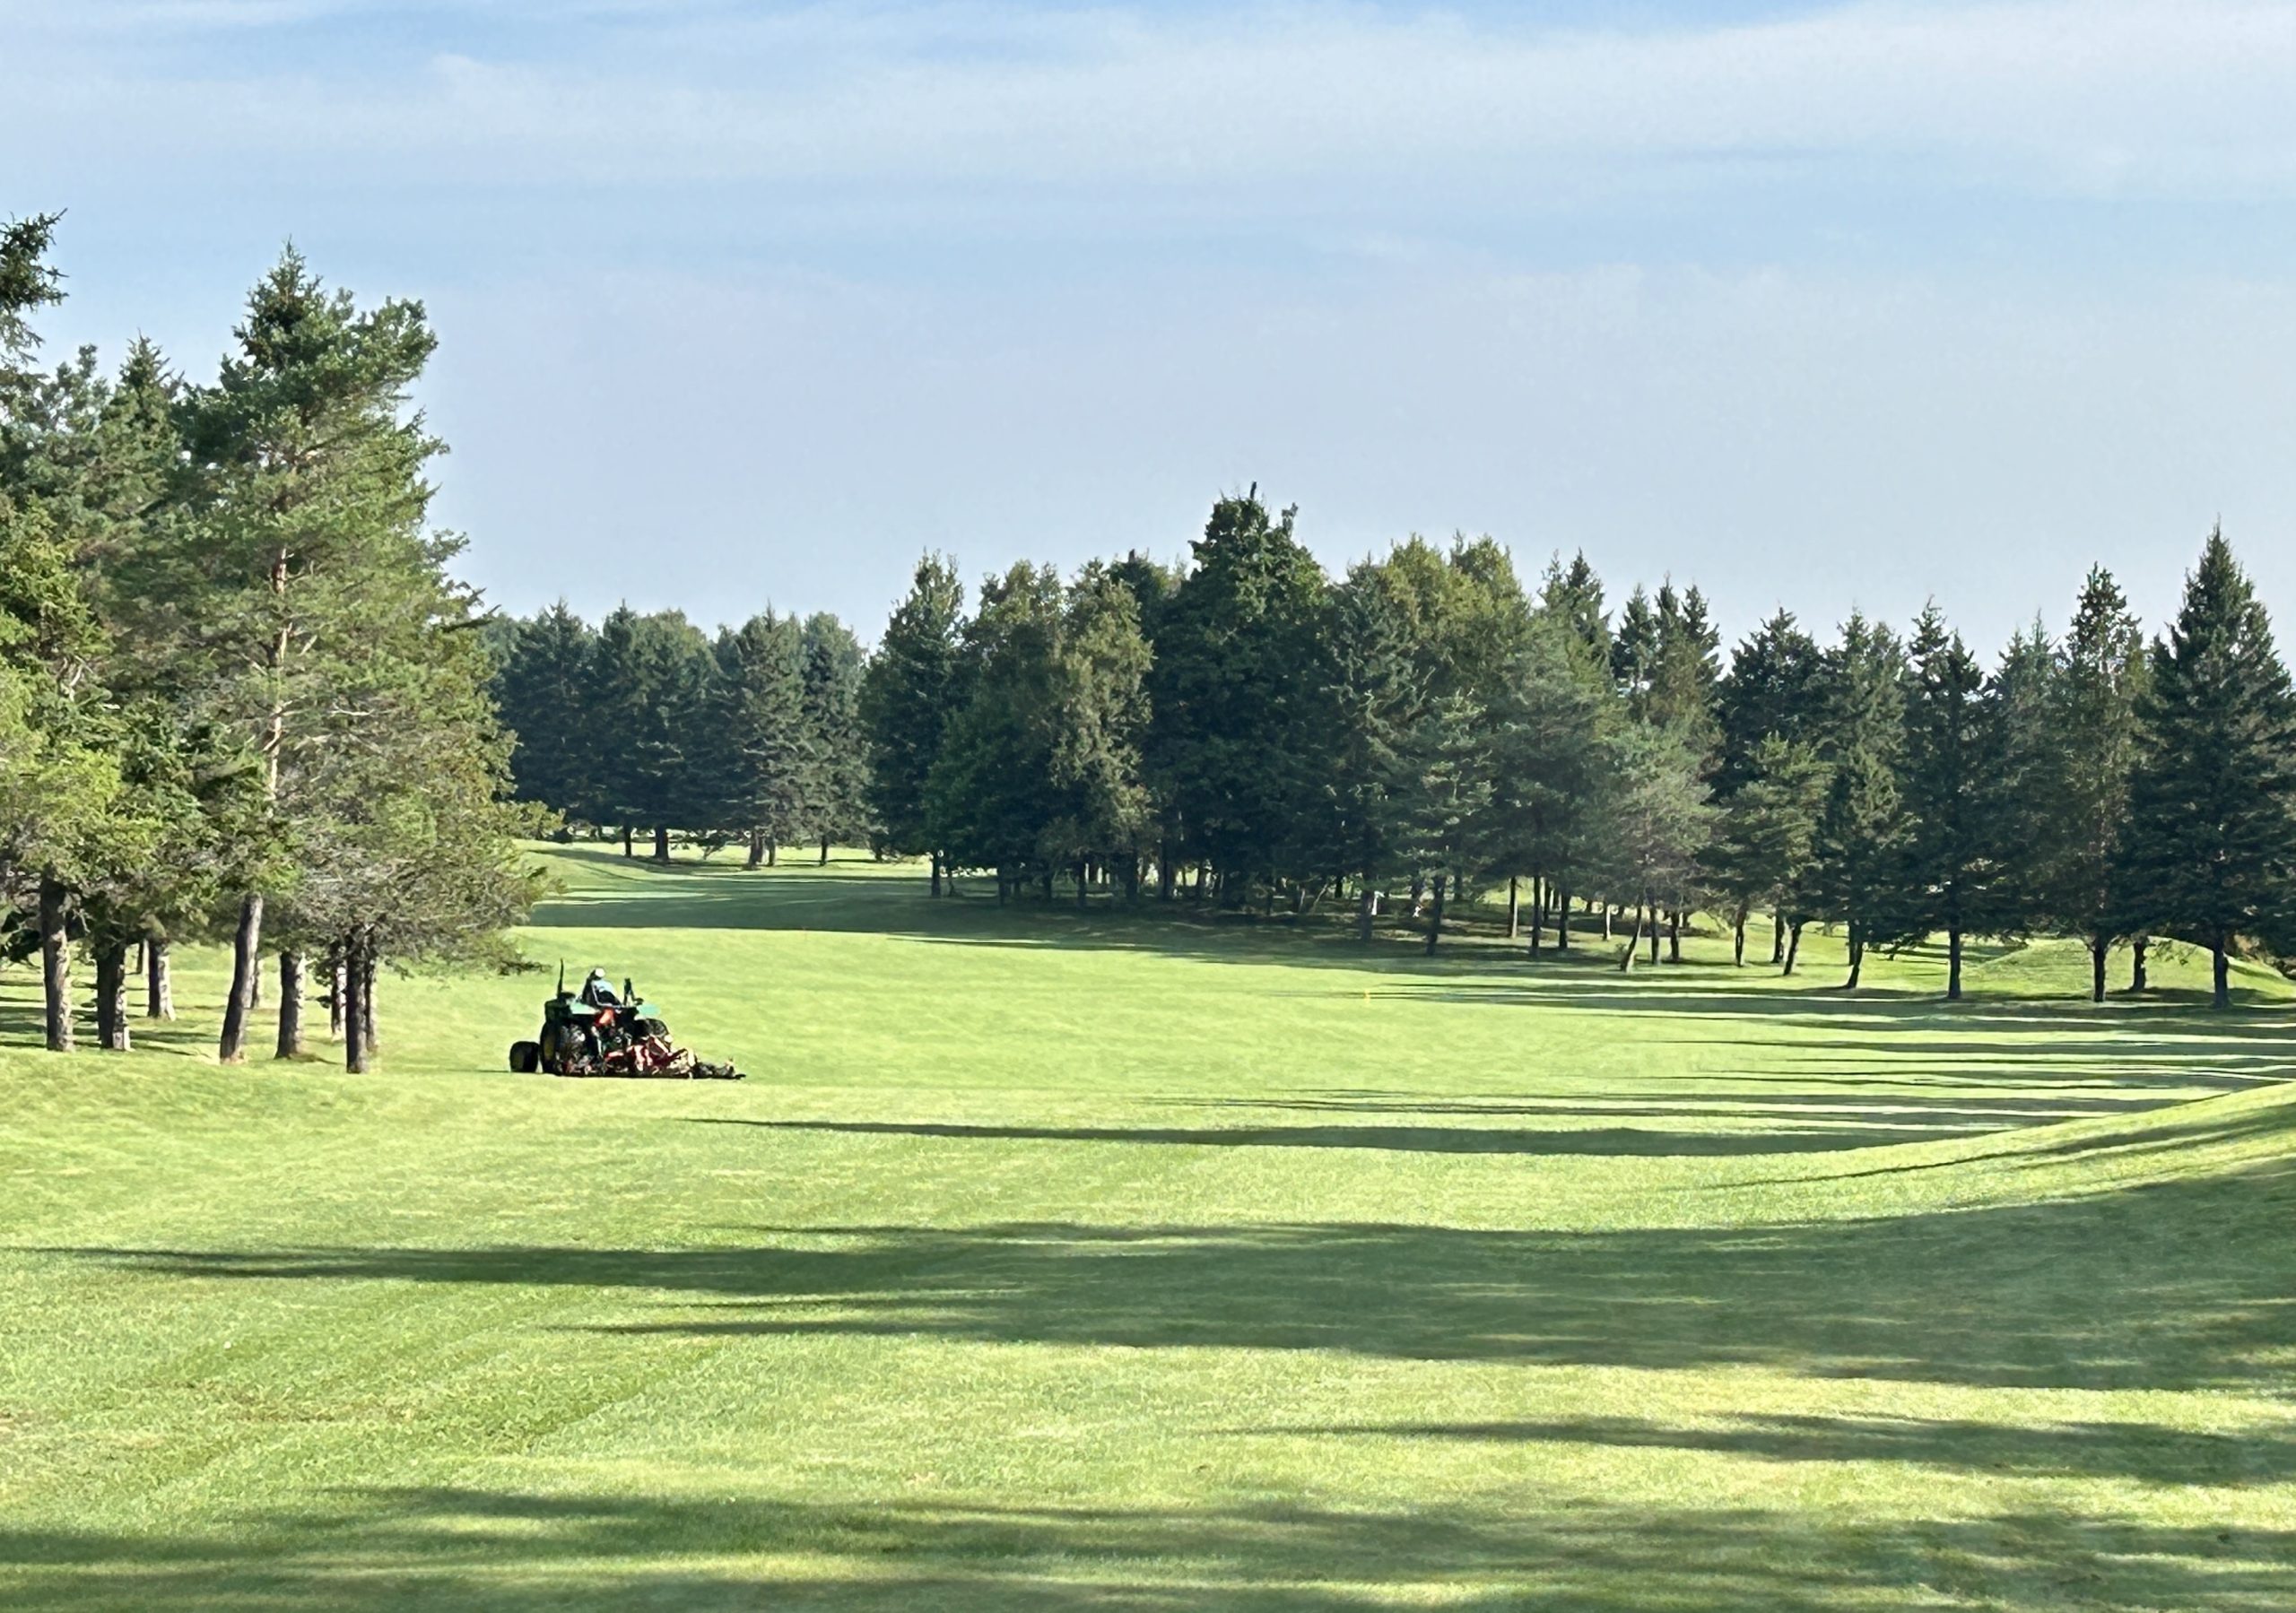
The first thing I notice on leaving the tee box and getting to the fairway is the conditioning – it is immaculate, as good as on any course I’ve played in Atlantic Canada. Good conditioning is not a matter of luck, but rather the work of an experienced greenskeeper with a large crew and clearly Covered Bridge has one and employs enough people to maintain the course as well as this. In my experience that is quite rare in small town courses.
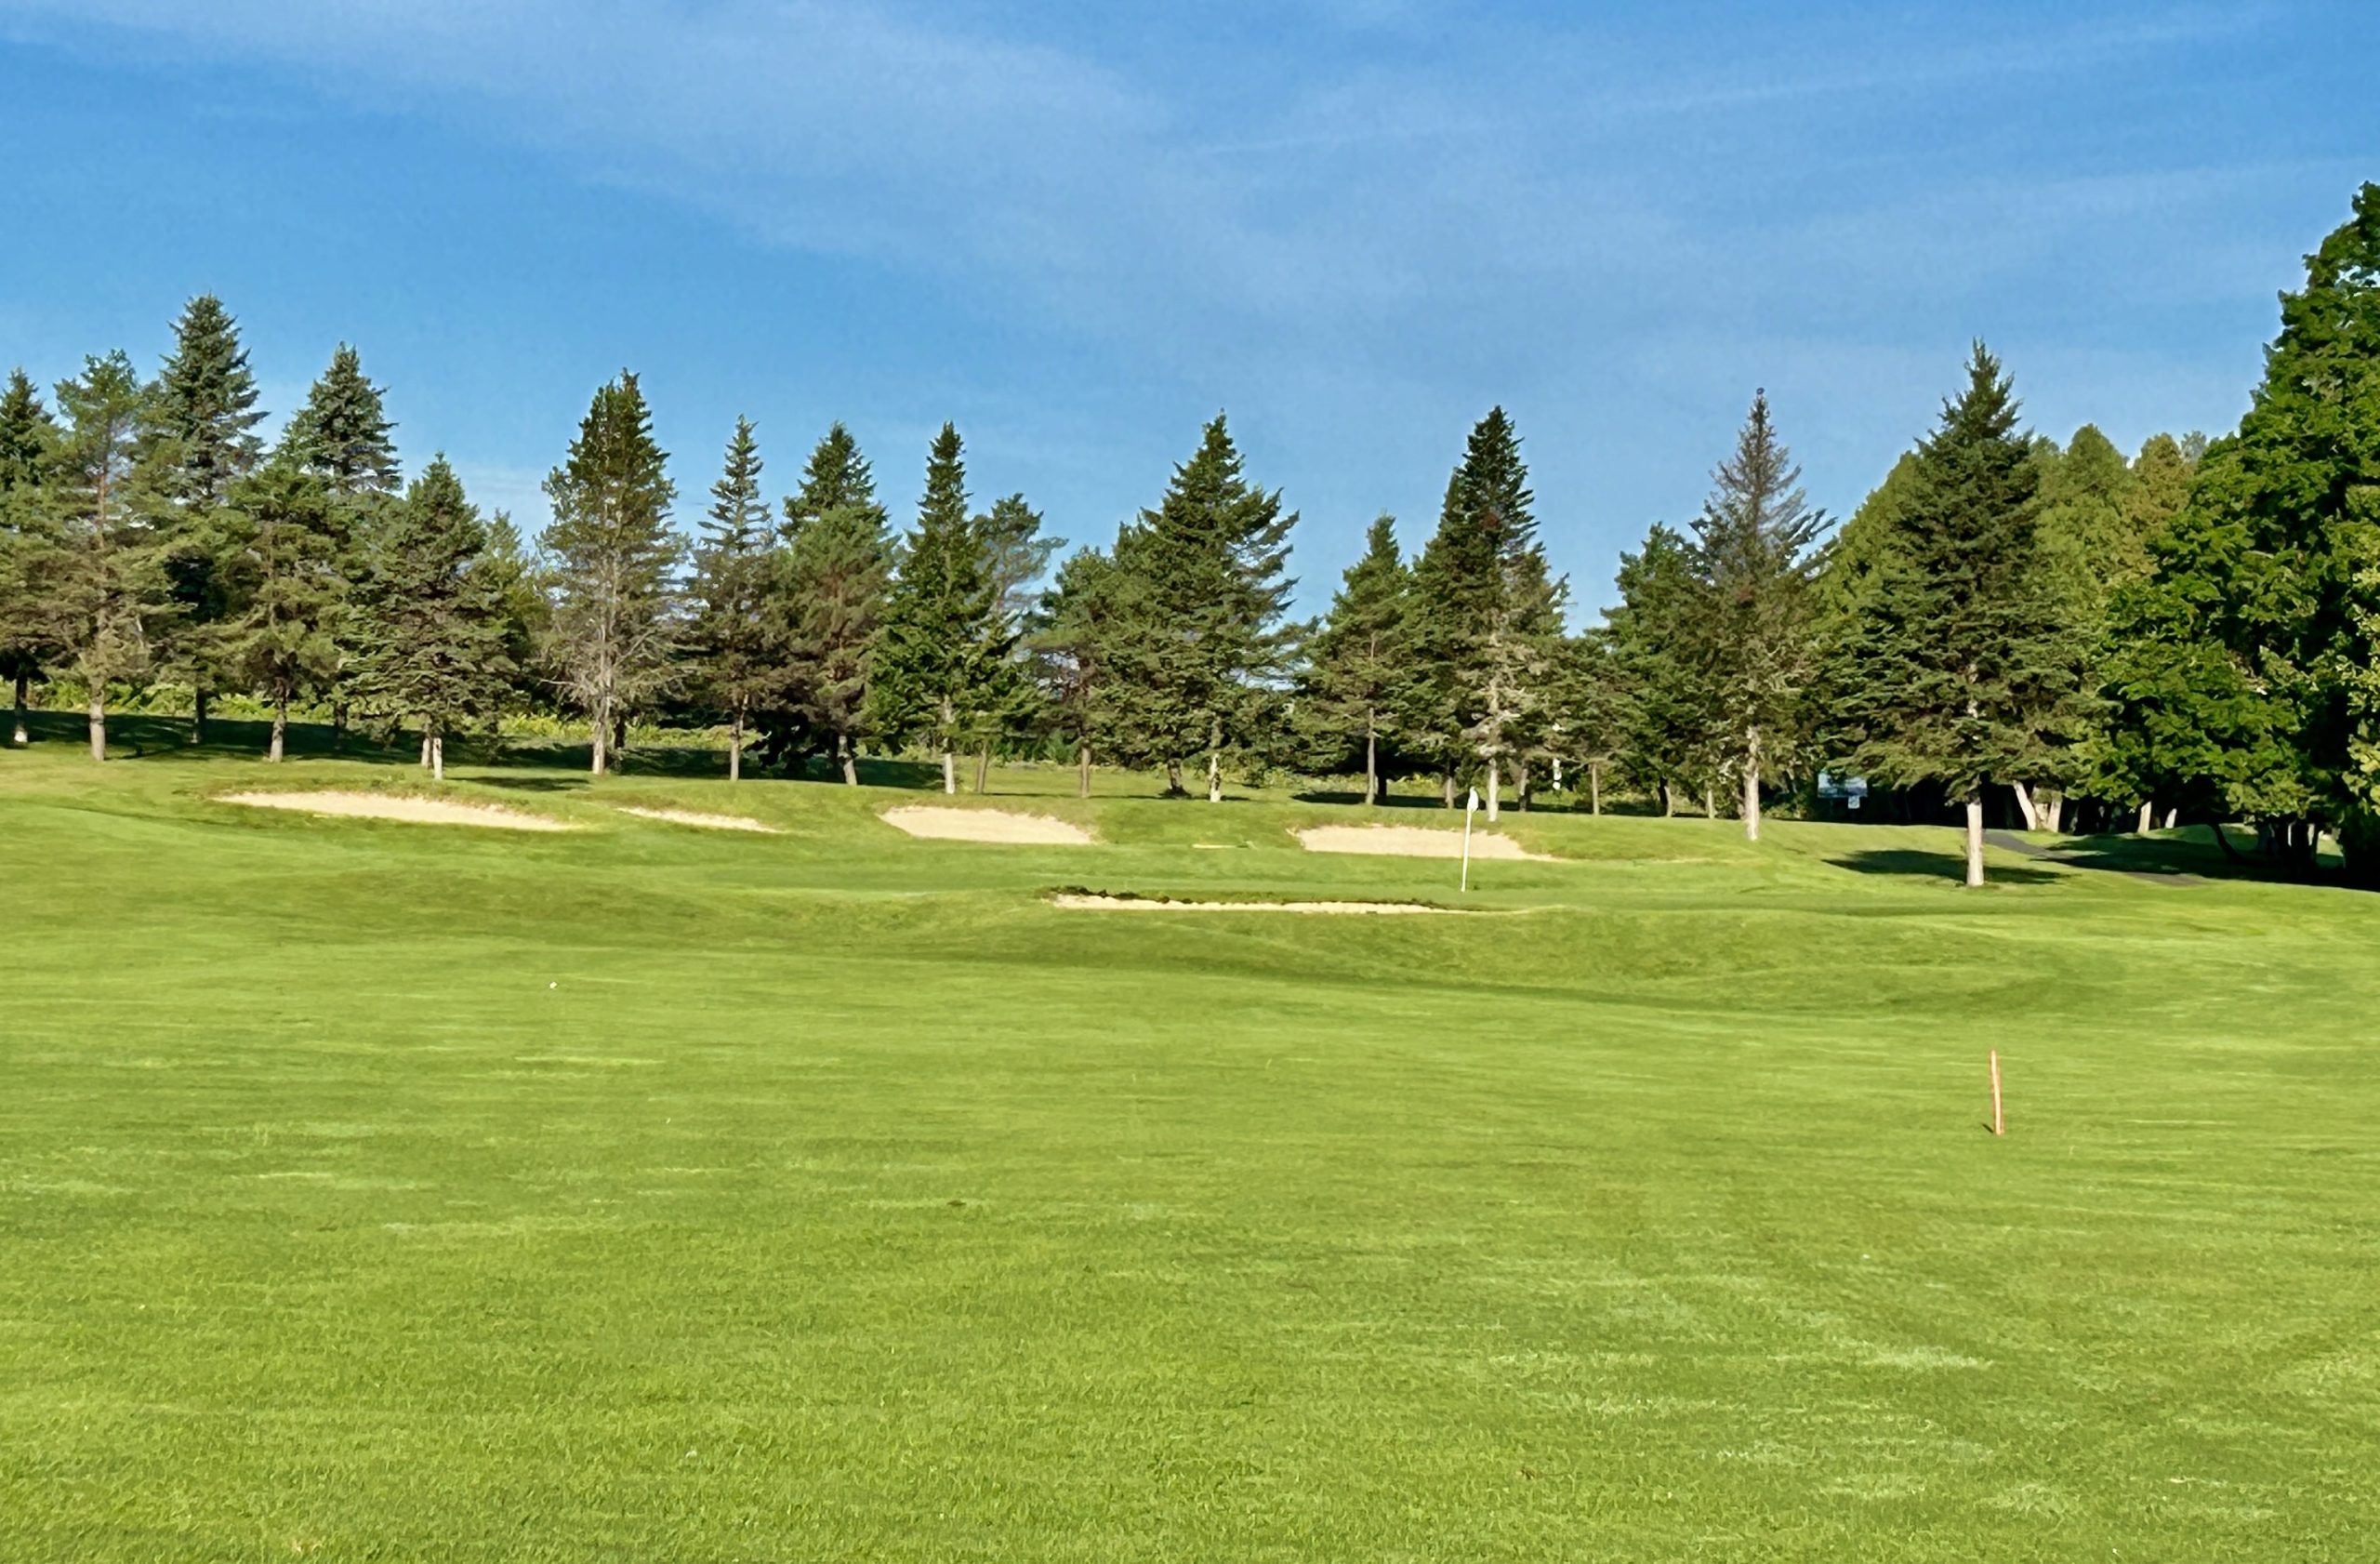
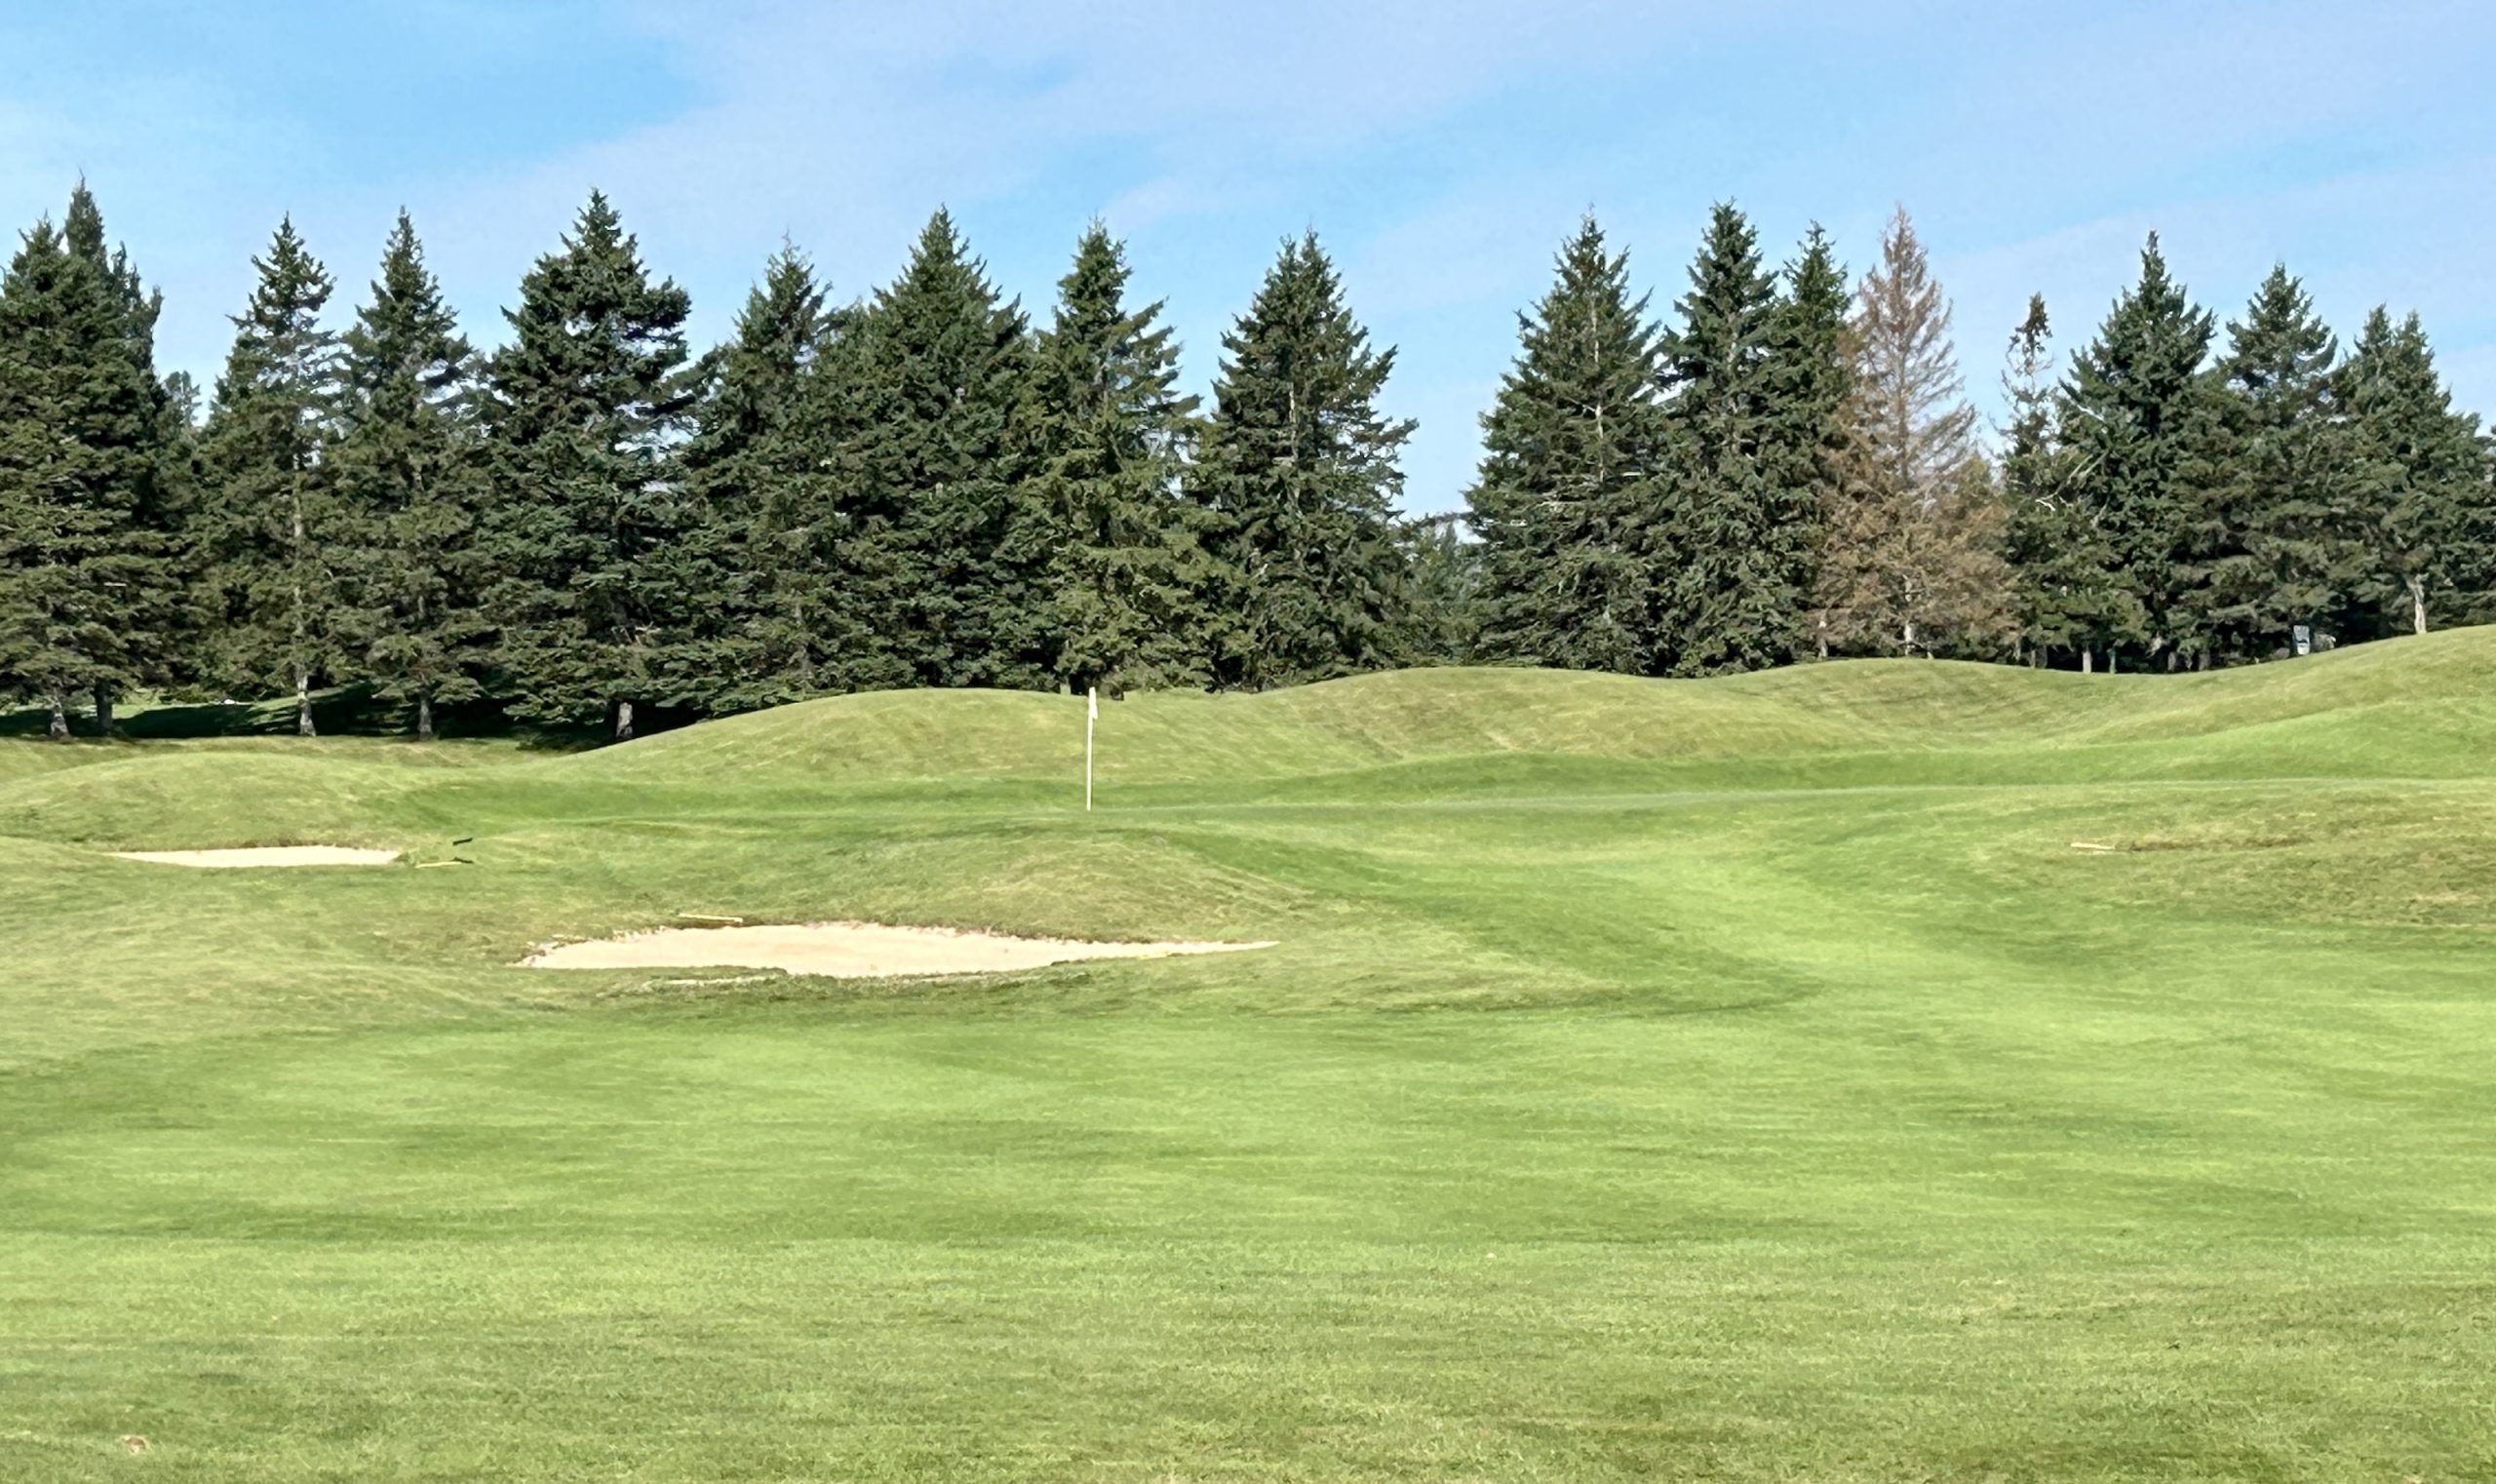
This is the third shot on #1 and another thing becomes apparent – the greens are massive, perhaps the largest in Atlantic Canada. My home course, New Ashburn has huge greens, but these are even larger. Now I understand the slope rating – three putts are going to be hard to avoid if you aren’t close to the pin. While it’s early morning and the greens are still bedewed and not as fast as they will get later in the day, I can see that they could be lightning fast. The condition of the greens is equal to that of the fairways with nary a brown spot or intrusive weed patch. Again something that only happens with expert care.
Overall this is a great starting hole that despite its length, is not as difficult as its #3 difficulty rating would suggest.
#2 – 360 Yard Par 4
The drive on #2 is relatively straightforward leaving this approach shot which is a challenge. Clearing the water hazard that transects the fairway is not an issue, but sand trap is a different matter. Fortunately the pin placement is well back on this green that is 45 yards deep (yes you could have a 130 foot putt on this green!) so its not really an issue today.
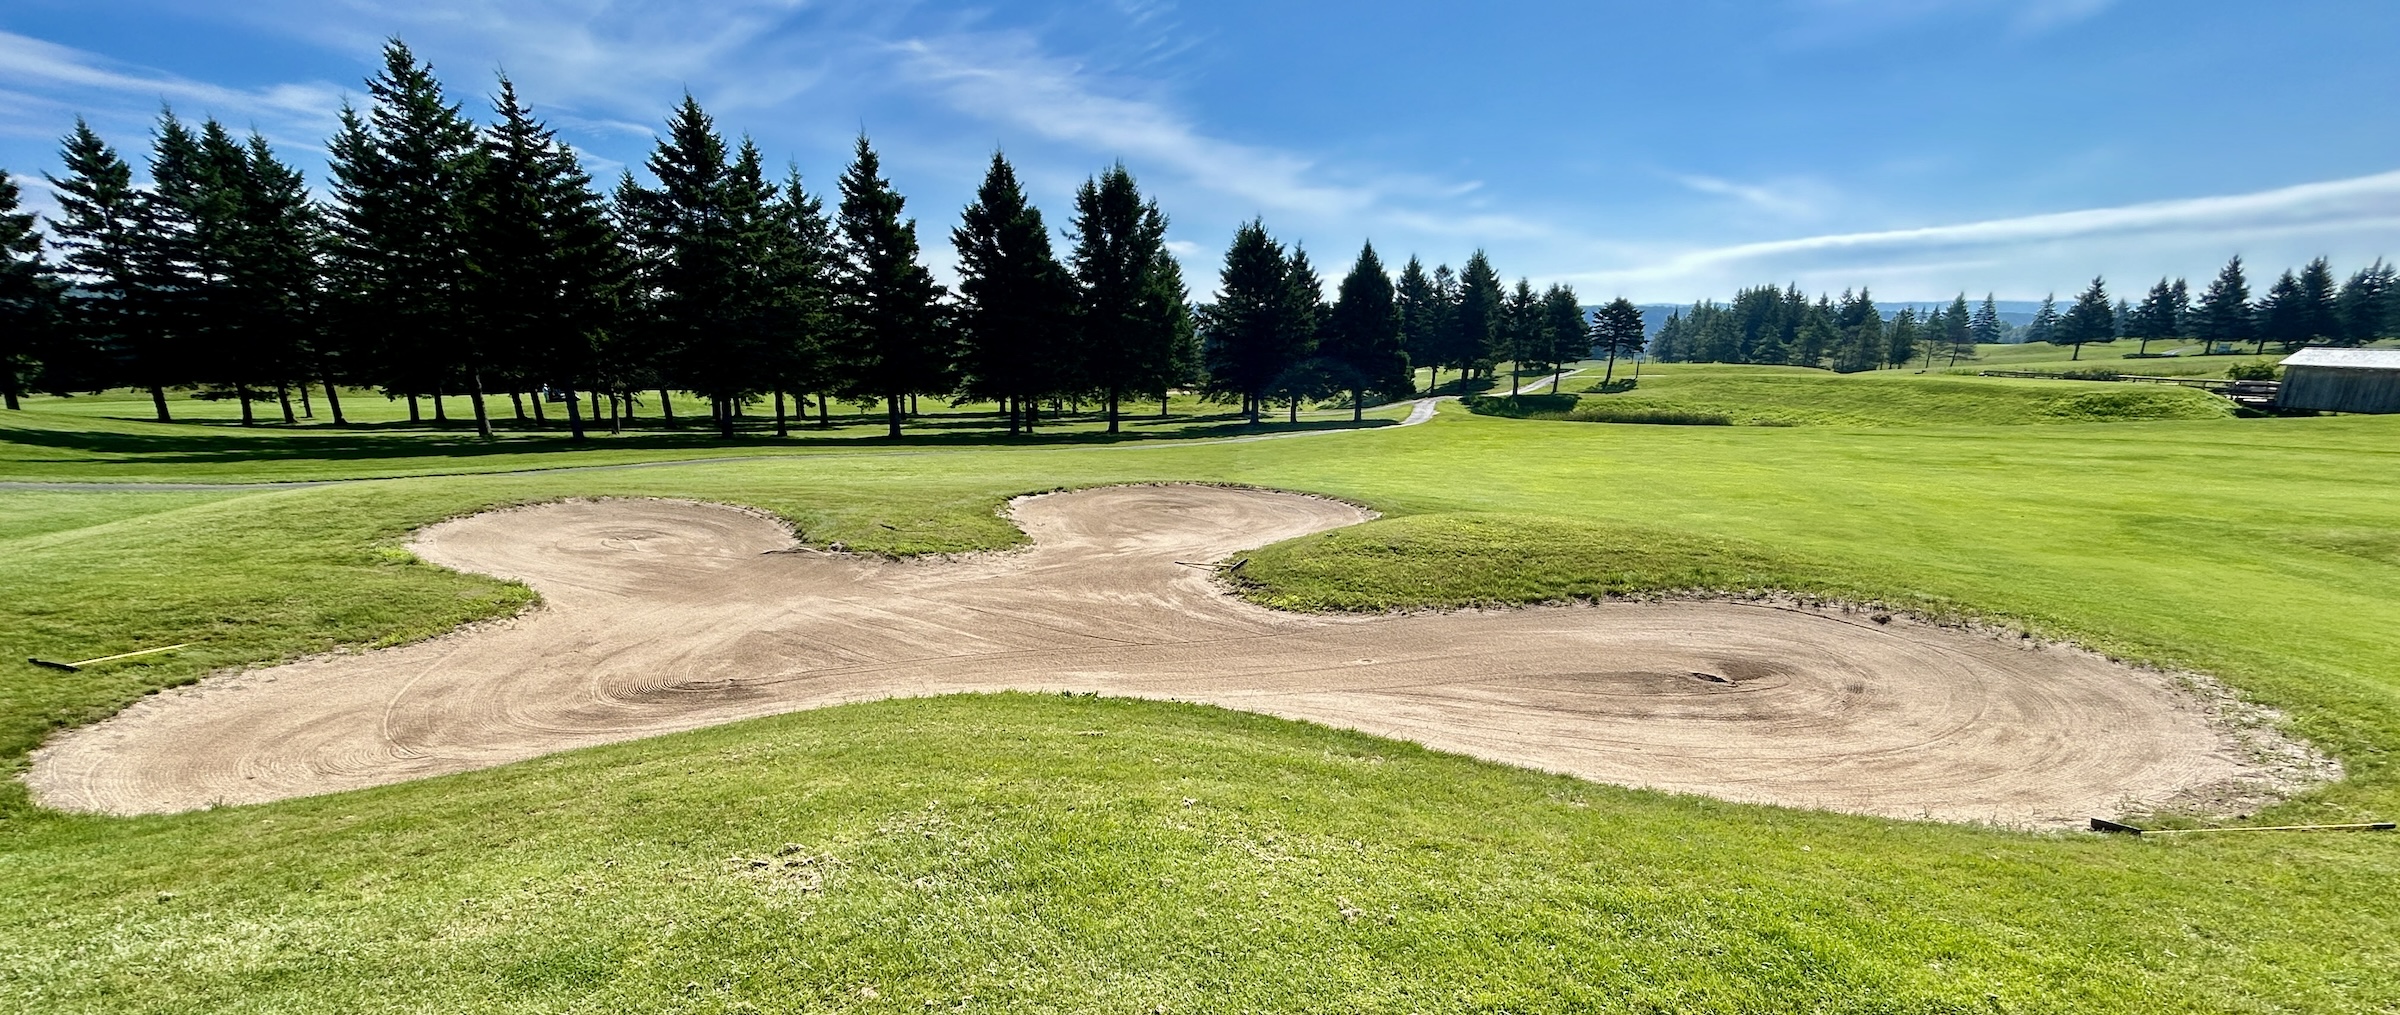
This brings me to my third observation about the conditioning of Covered Bridge GC and that is the sand traps. They are almost works of art with the sand perfectly shaped into spiral patterns that reminded me of the swirls on top of a latte. One might say that whoever is looking after these traps is the barista of the links. The sand is very fine and consistent which actually makes landing in them not the disaster it can be if the sand is coarse. As well, Mr. Robinson designed them without forbidding lips like the one below, which is something to be thankful for. If I want to play out of impossible to get out of bunkers, I’ll go to Scotland.
Covered Bridge # 3 – 350 Yard Par Four
Now I have a confession to make. When I arrived at Covered Bridge GC I did not bring my Nikon D7200 that I usually use to photograph golf holes, because, well I wasn’t expecting to need it. The result was it took me until the fourth hole to realize that this was no ordinary golf course and definitely merited a hole-by-hole post. I even failed to get a photo of #3, but did manage to find this fly by on YouTube that gives a much better indication of the hole. The huge trap on the right forces one to risk going in the woods on the left on what is a much narrower fairway than on the first two holes.
If you do stay on the fairway, the second shot is to one of the narrower greens on the course with a trap lurking at the back if you take too much club. Despite its rank as only the #11th most difficult hole, I found this to be the toughest of the first three holes.
#4 145 Yard Par Three
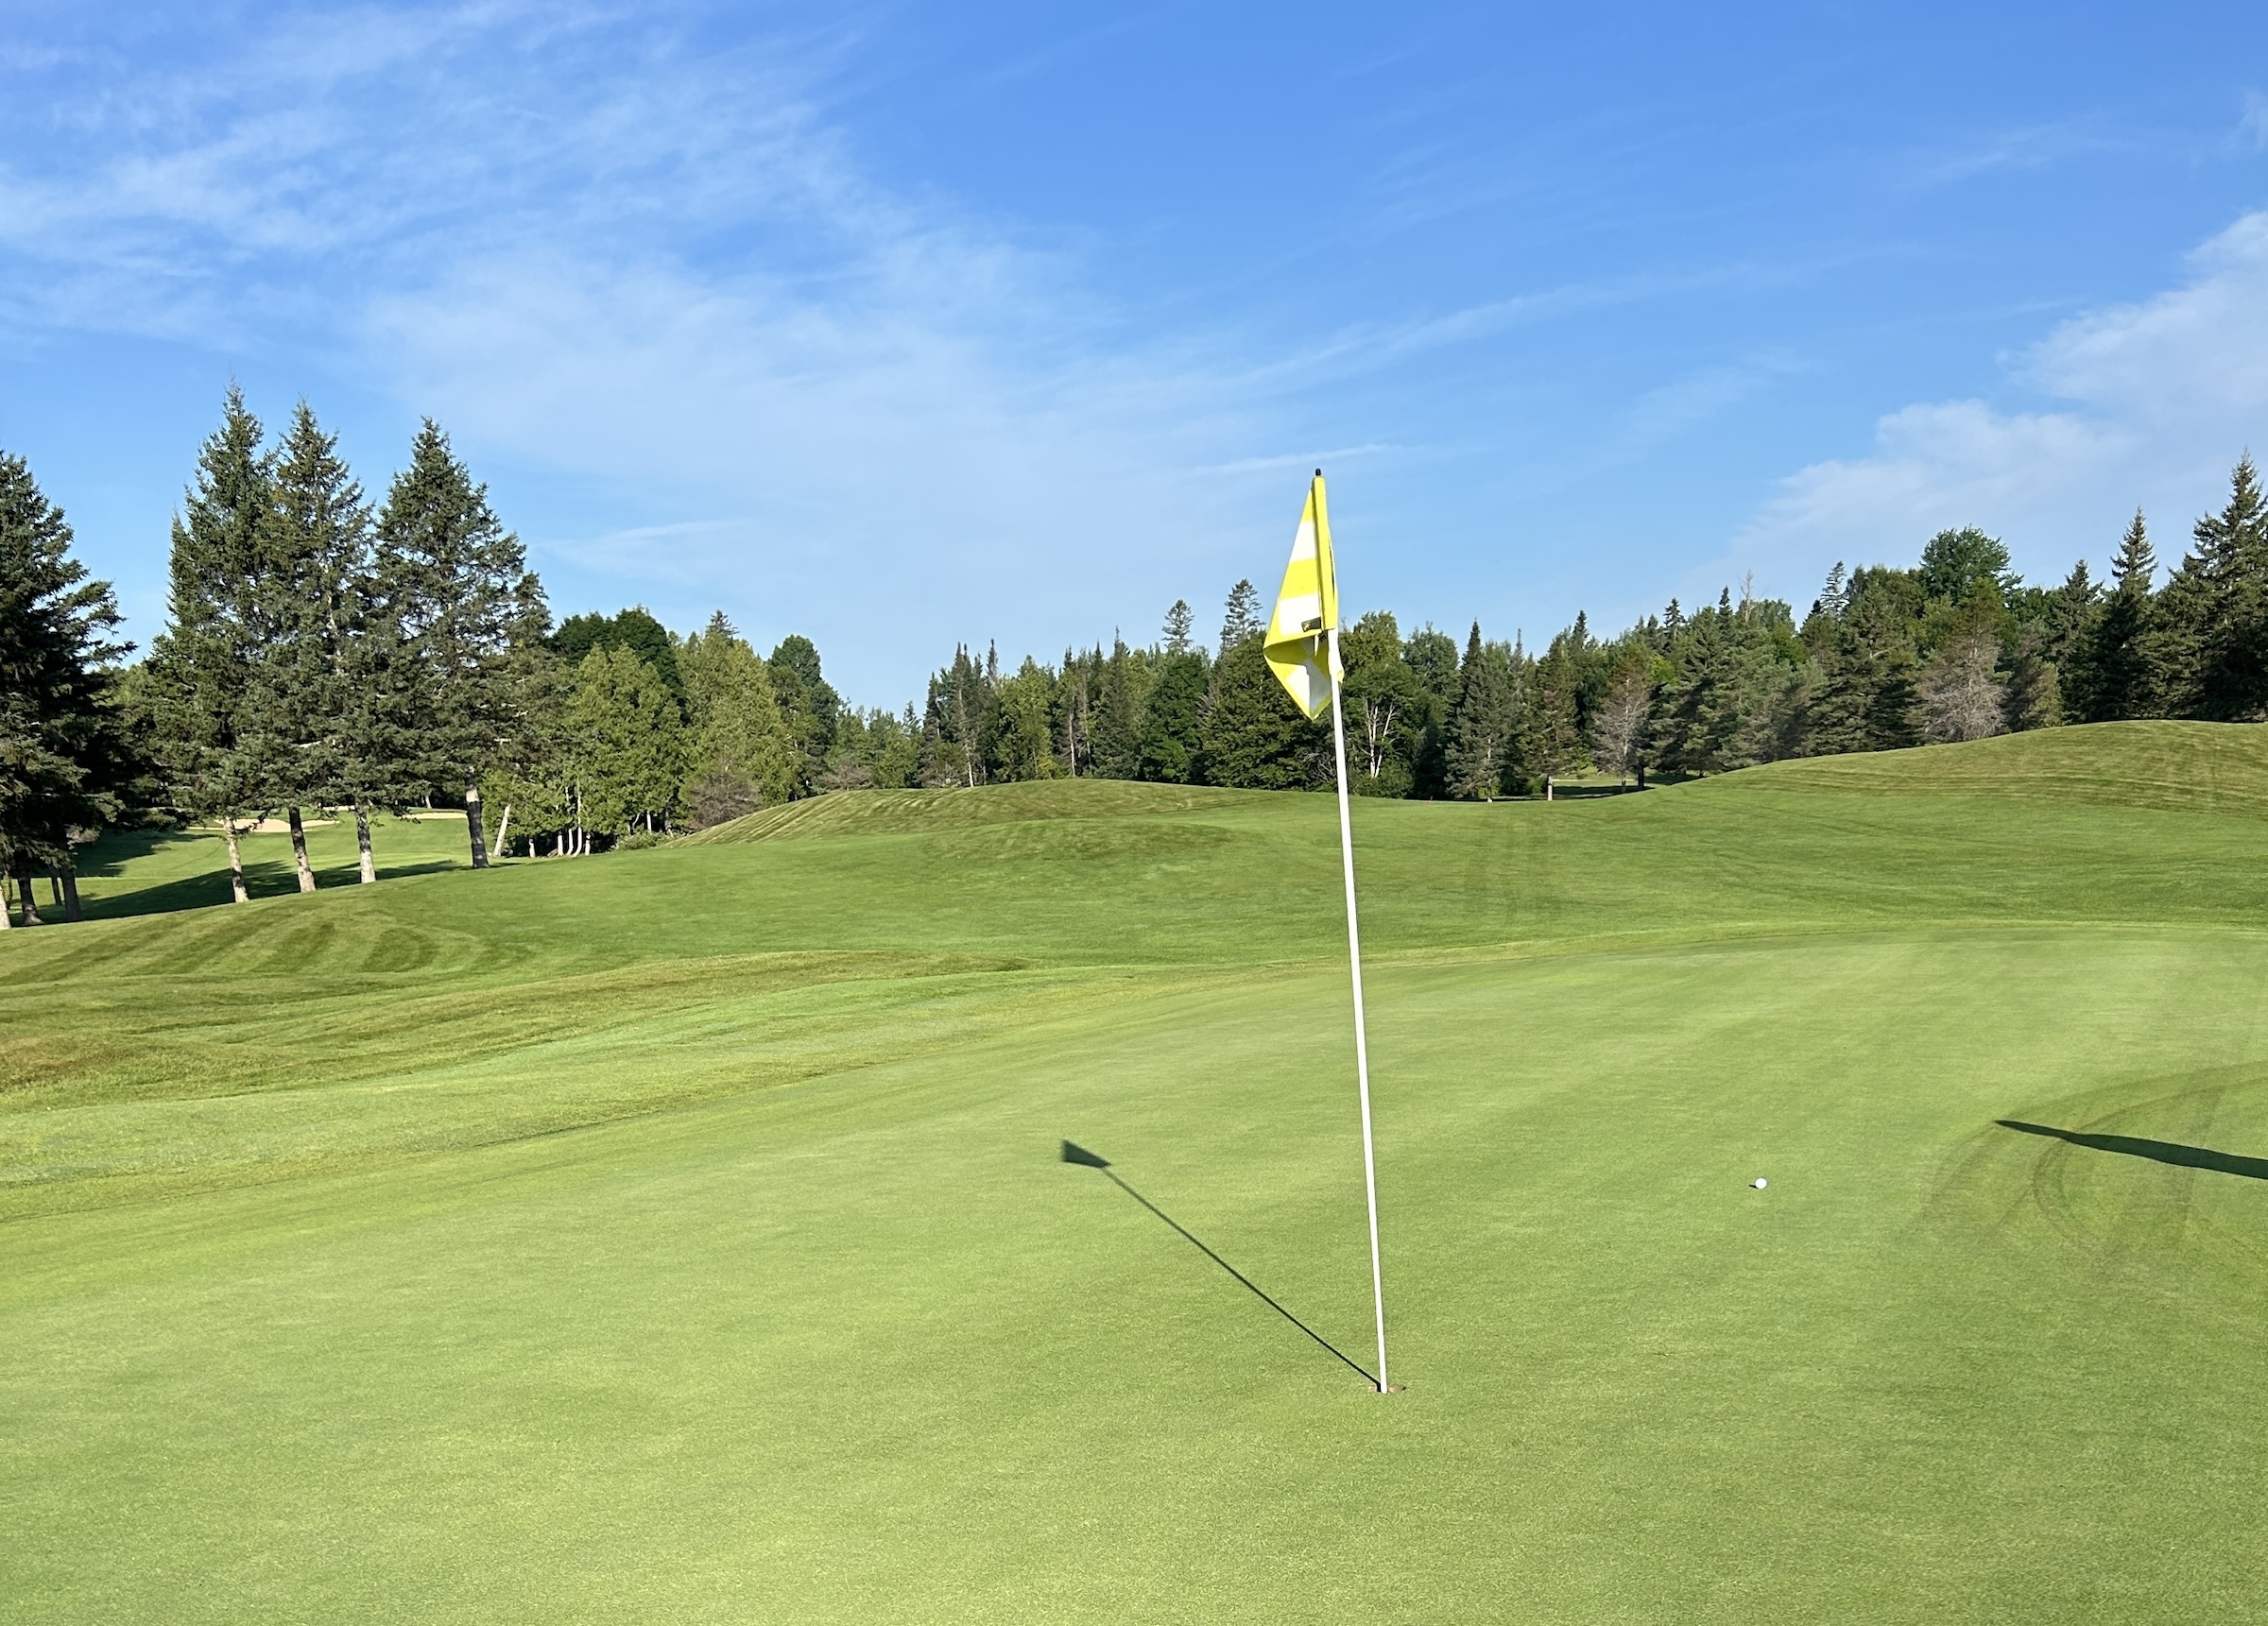
OK, I’ve finally wised up and there will be photos of every hole from hereon in. #4 is a what you see is what you get par three that simply requires proper club selection and a straight ball flight to land on the huge green. If you can avoid a three putt, this should be a relatively stress free par.
Covered Bridge #5 – 311 Yard Par Four
This short par four plays longer than its length due to the fact that it’s slightly uphill. However, the fairway is super wide so you can grip it and rip it without fear, leaving a short wedge shot and another good chance for par or even birdie.
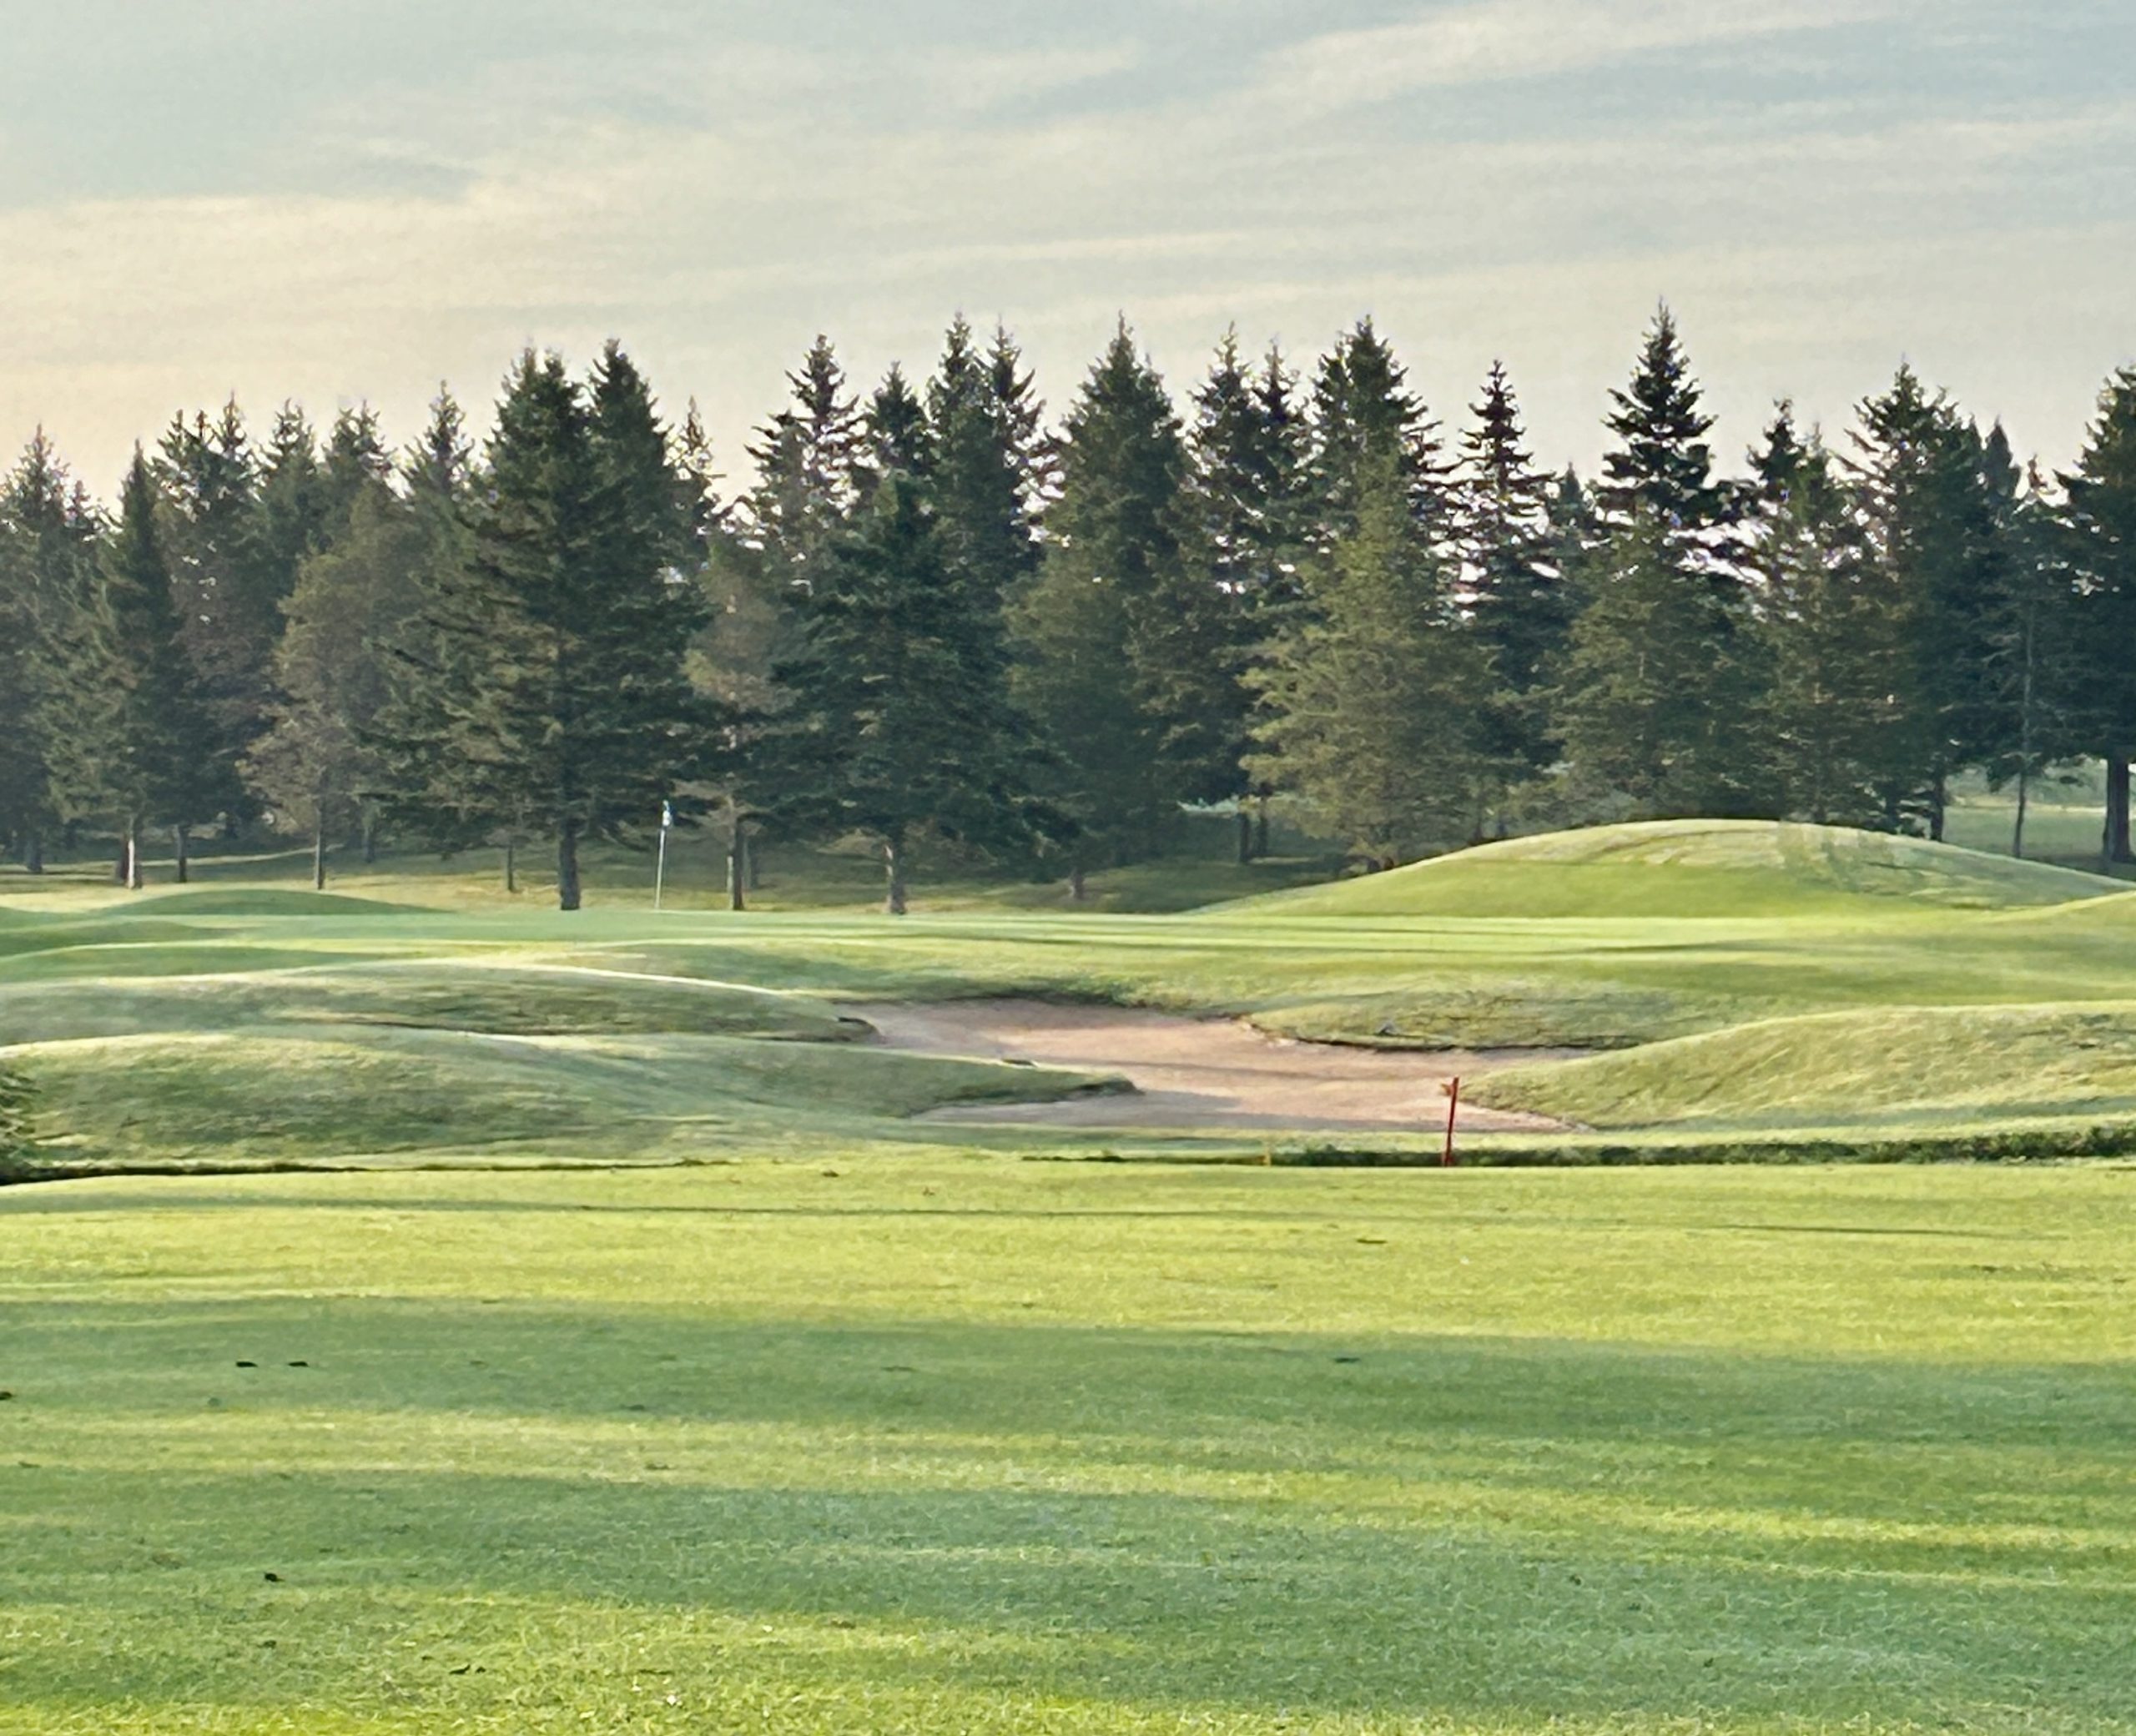
#6 487 Yard Par 5
After a couple of relatively easy holes things get serious at #6, ranked the toughest hole at Covered Bridge GC. From the tee box it’s not readily apparent if the hole veers left or right. The answer is left with a pond you can’t see from the tee on the right side.
Despite the fact it’s not that long, playing this as a three shot par 5 makes sense. The green is protected by no less than five traps and coming in high with a wedge on the third shot lessens the chance of straying off the back if you try to hit it with a wood on the second shot. This is a nice risk/reward hole, but playing it safe and parring the toughest hole is quite satisfying.
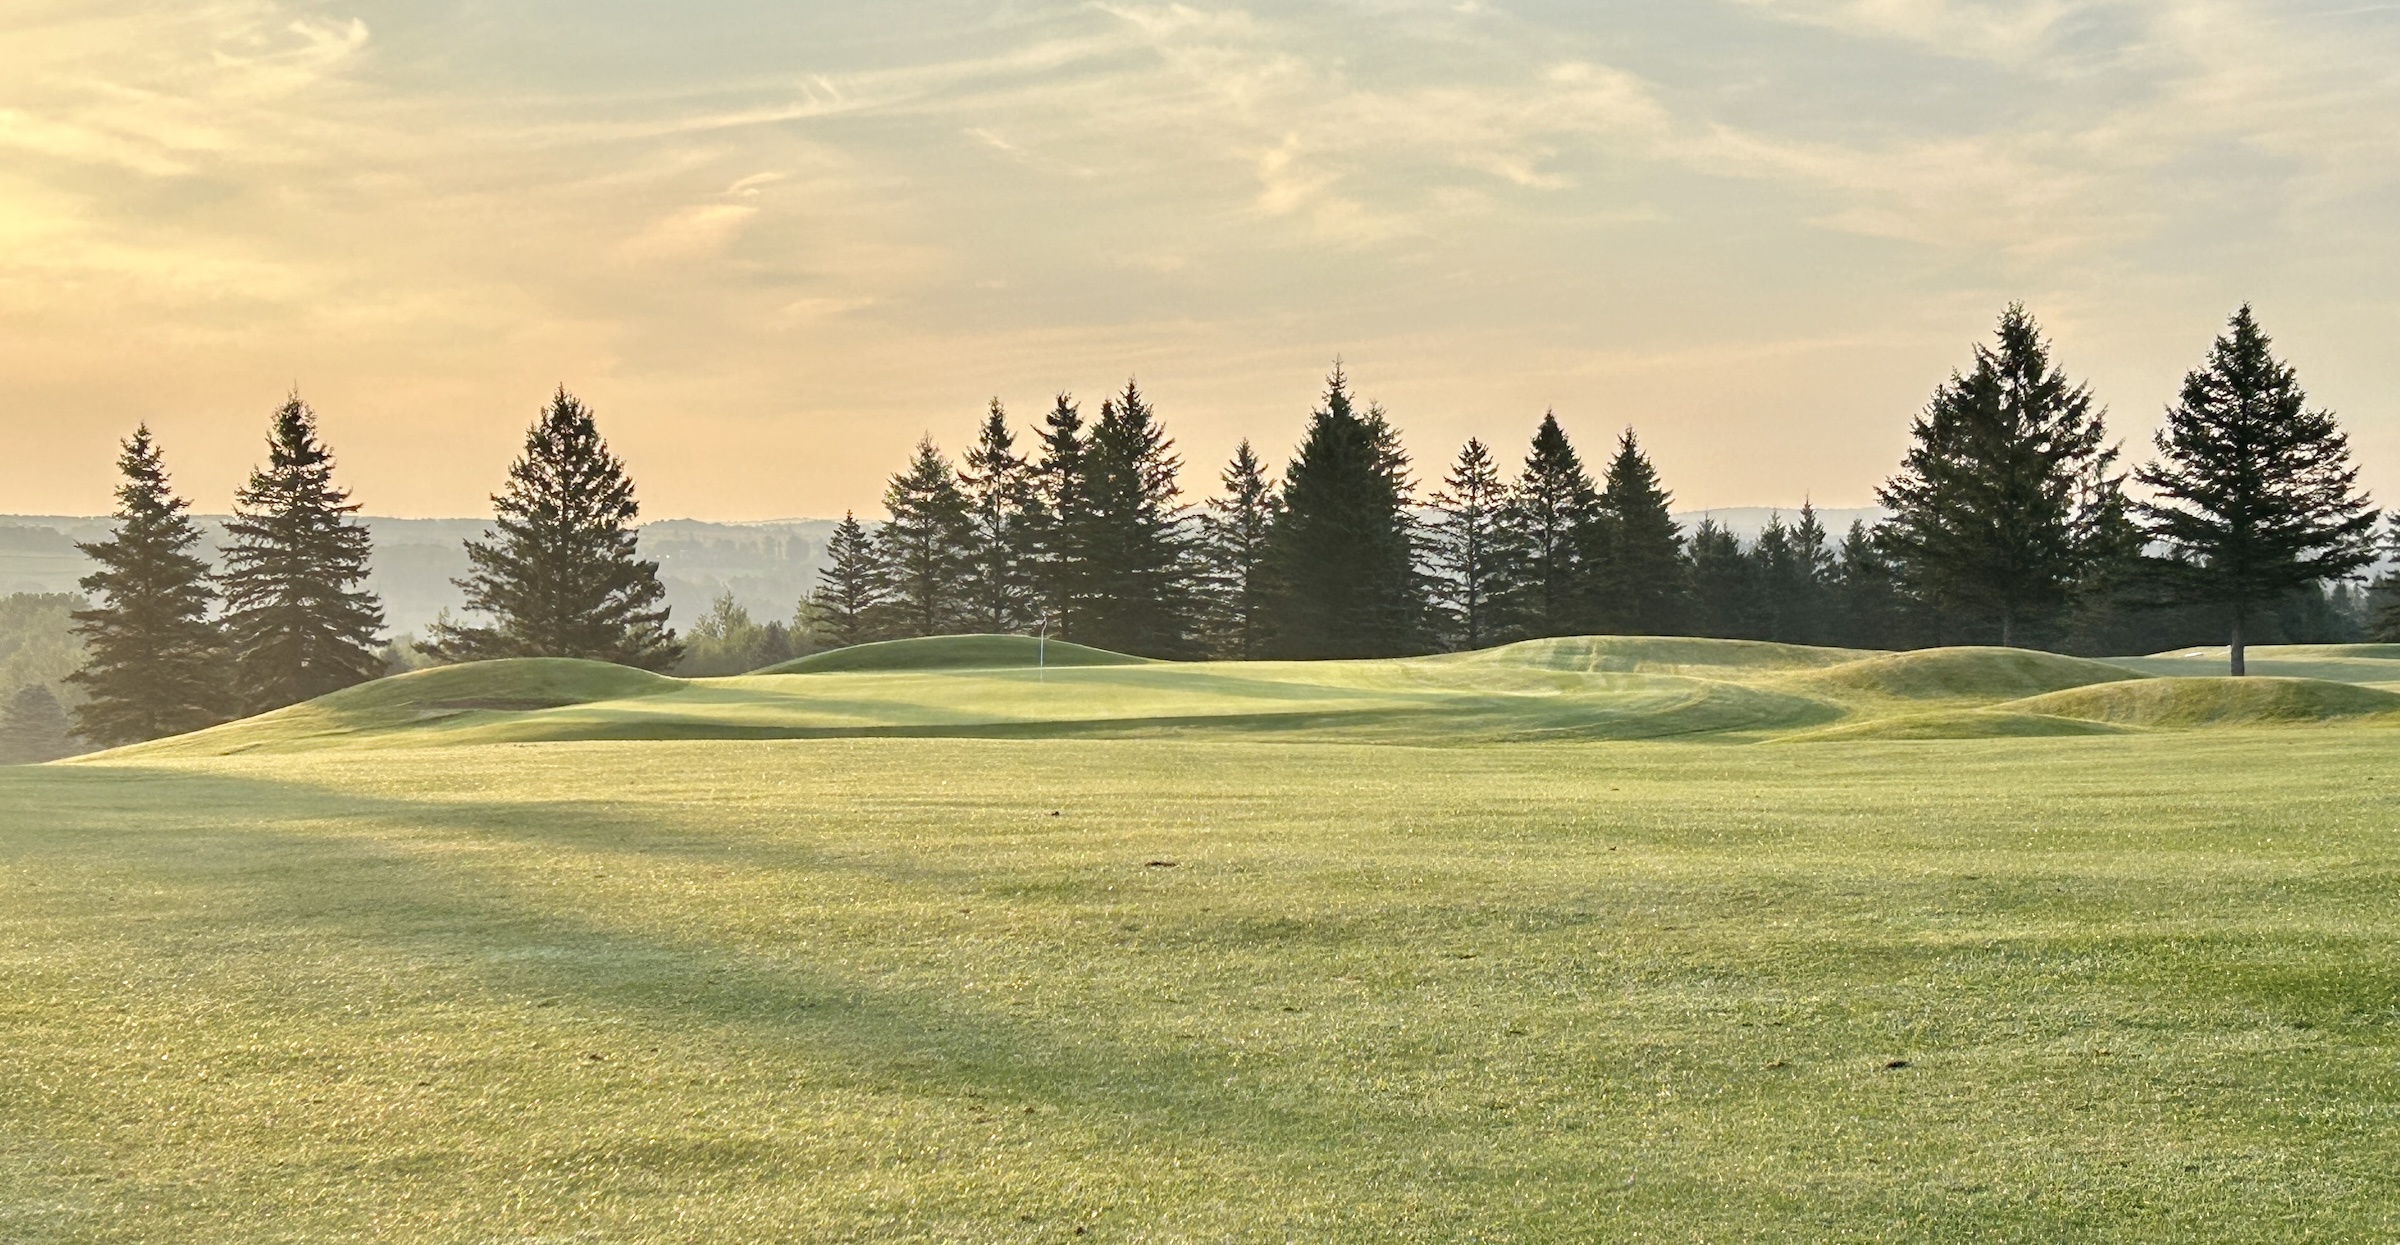
Covered Bridge #7 – 163 Yard Par Three

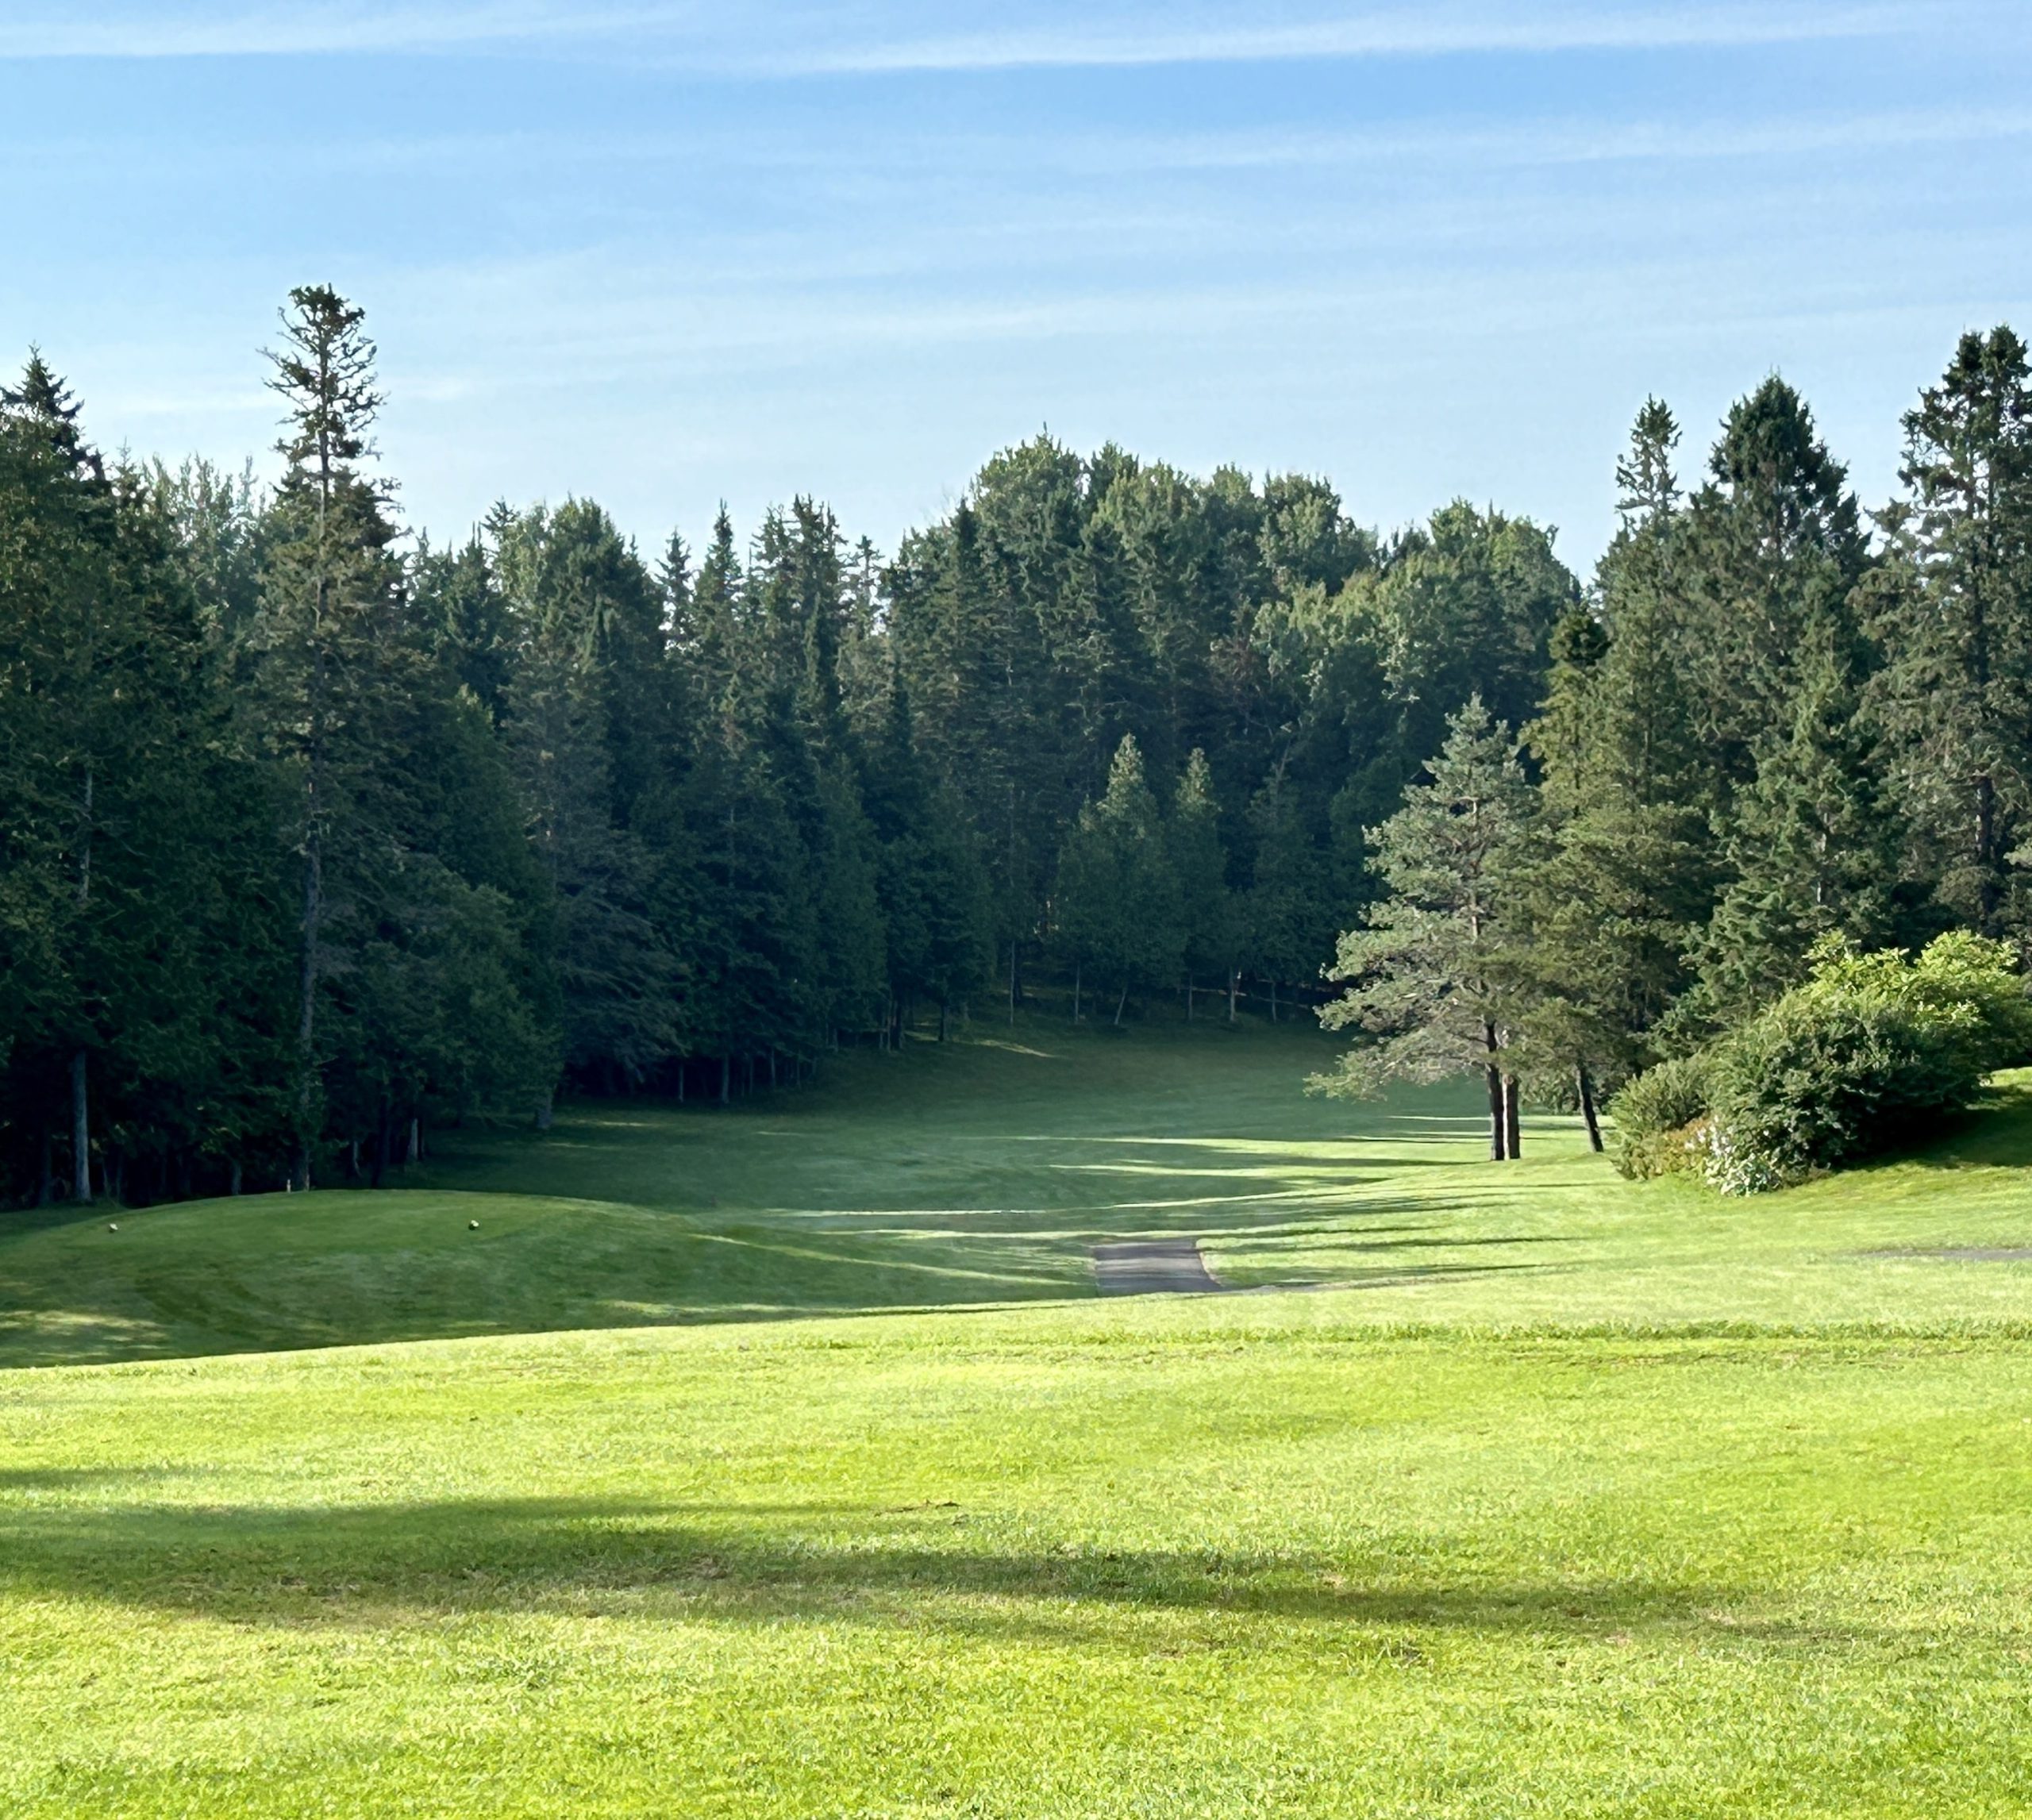
I absolutely loved playing this beautiful looking par three with the reflection of the trees in the pond. It plays way longer than its length and has traps on all four sides of one of the smaller greens at Covered Bridge. No way this is the 15th ranked hole on the course. Par is a very good score and I was not at all perturbed with a bogey. Holes like this are one of the reasons I love golf.
#8 – 330 Yard Par Four
It’s not hard to avoid the water on the right on your tee shot on this short par four, but the second shot to a long narrow green is no picnic. I wish I could say that was my second shot, but it wasn’t.
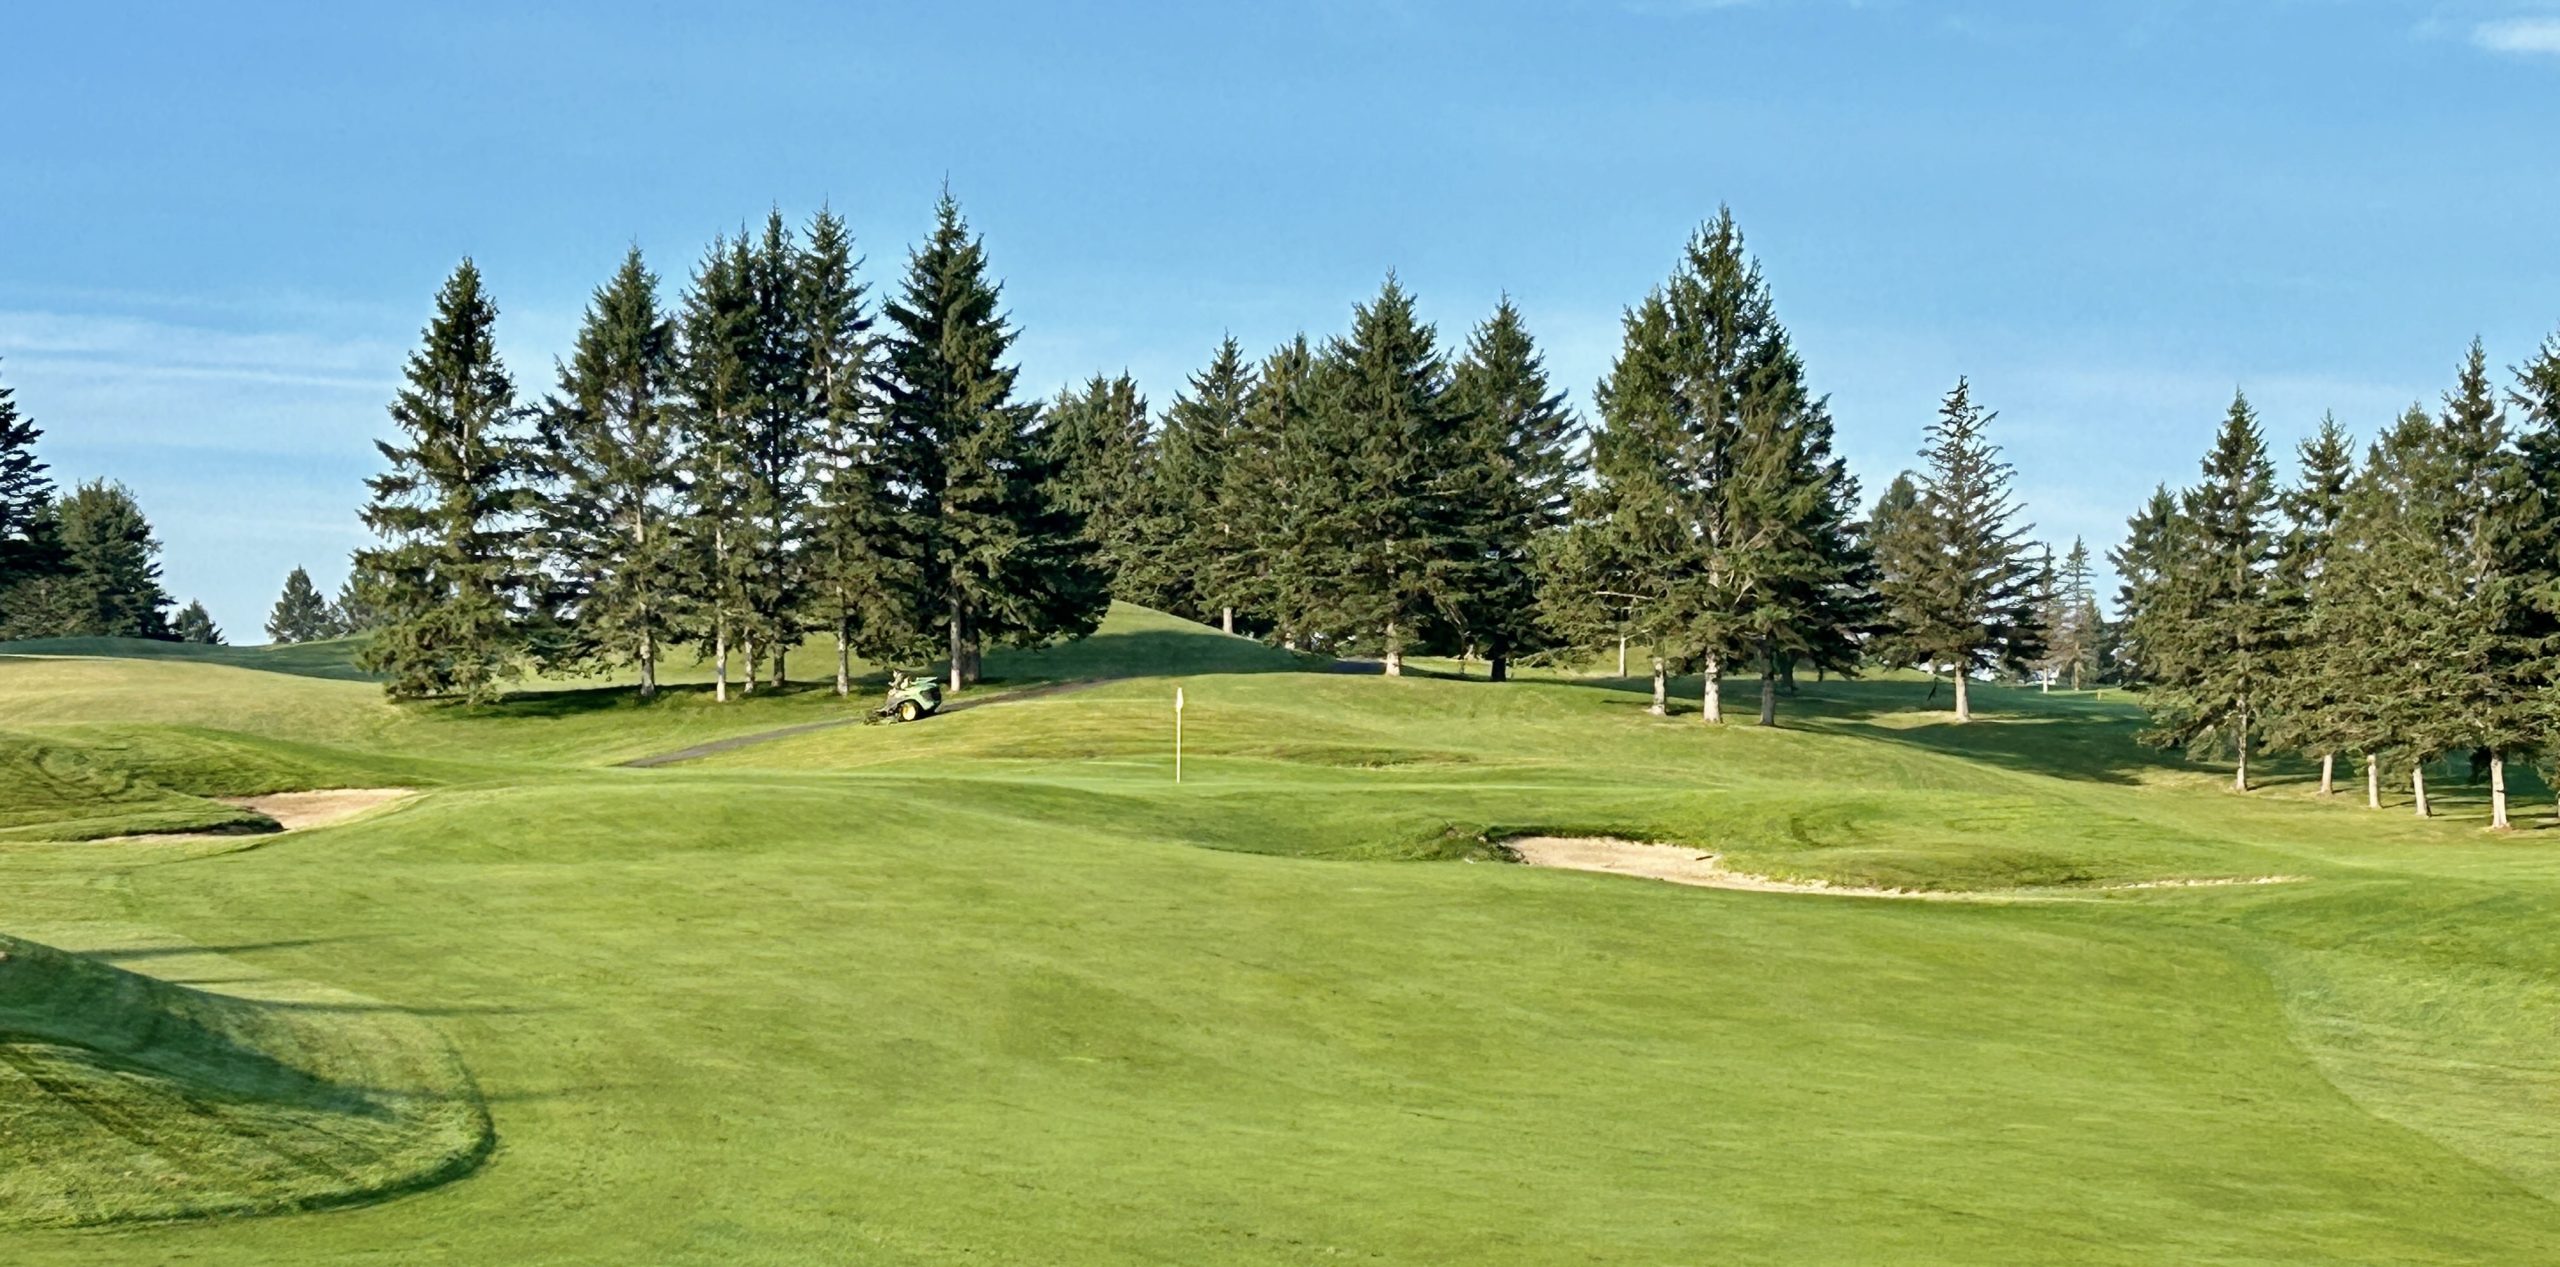
Covered Bridge #9 – 345 Yard Par Four
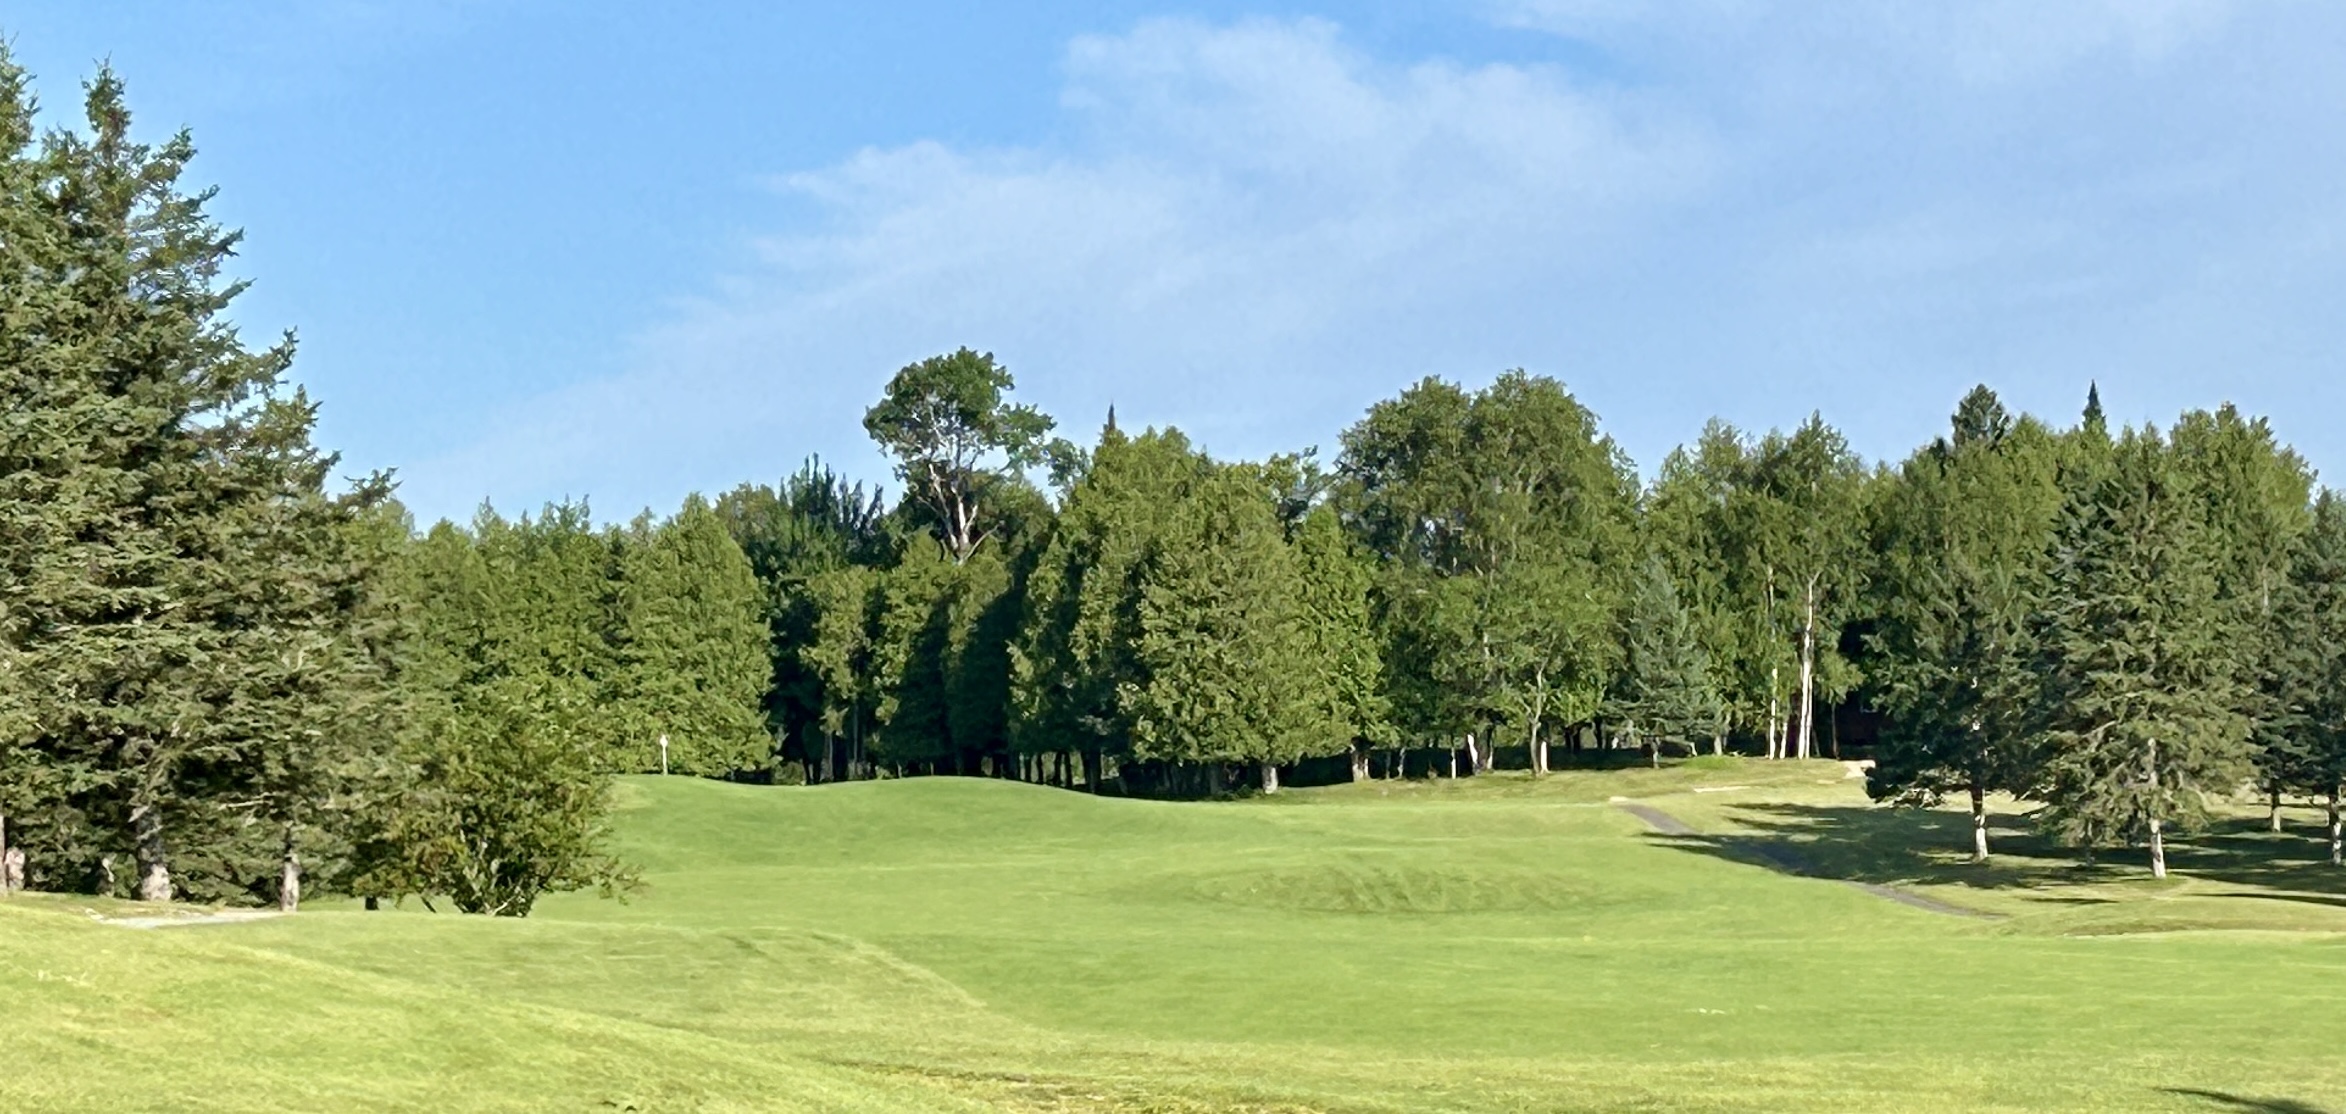
The front nine ends with a mid-length par four that has one of the more elevated greens at Covered Bridge. Getting some length of the tee is the solution to making this a g.i.r.
#10 – 355 Yard Par Four
The back nine starts off with a bang on this enticing looking par four that plays quite downhill. The foreshortening makes the traps on right look closer than they really are. However, if you can clear them off the tee you will get a lot of roll and have a short iron into a massive green. This is a decent birdie opportunity for longer hitters. For shorter hitters like me, it’s still a very makeable par.
Covered Bridge #11 – 381 Yard Par Four
This is another hole where you can let it rip as the fairway is next to unmissable, especially if you have a right to left ball flight as I do. That will still leave a mid-iron to, guess what, a supersized green.
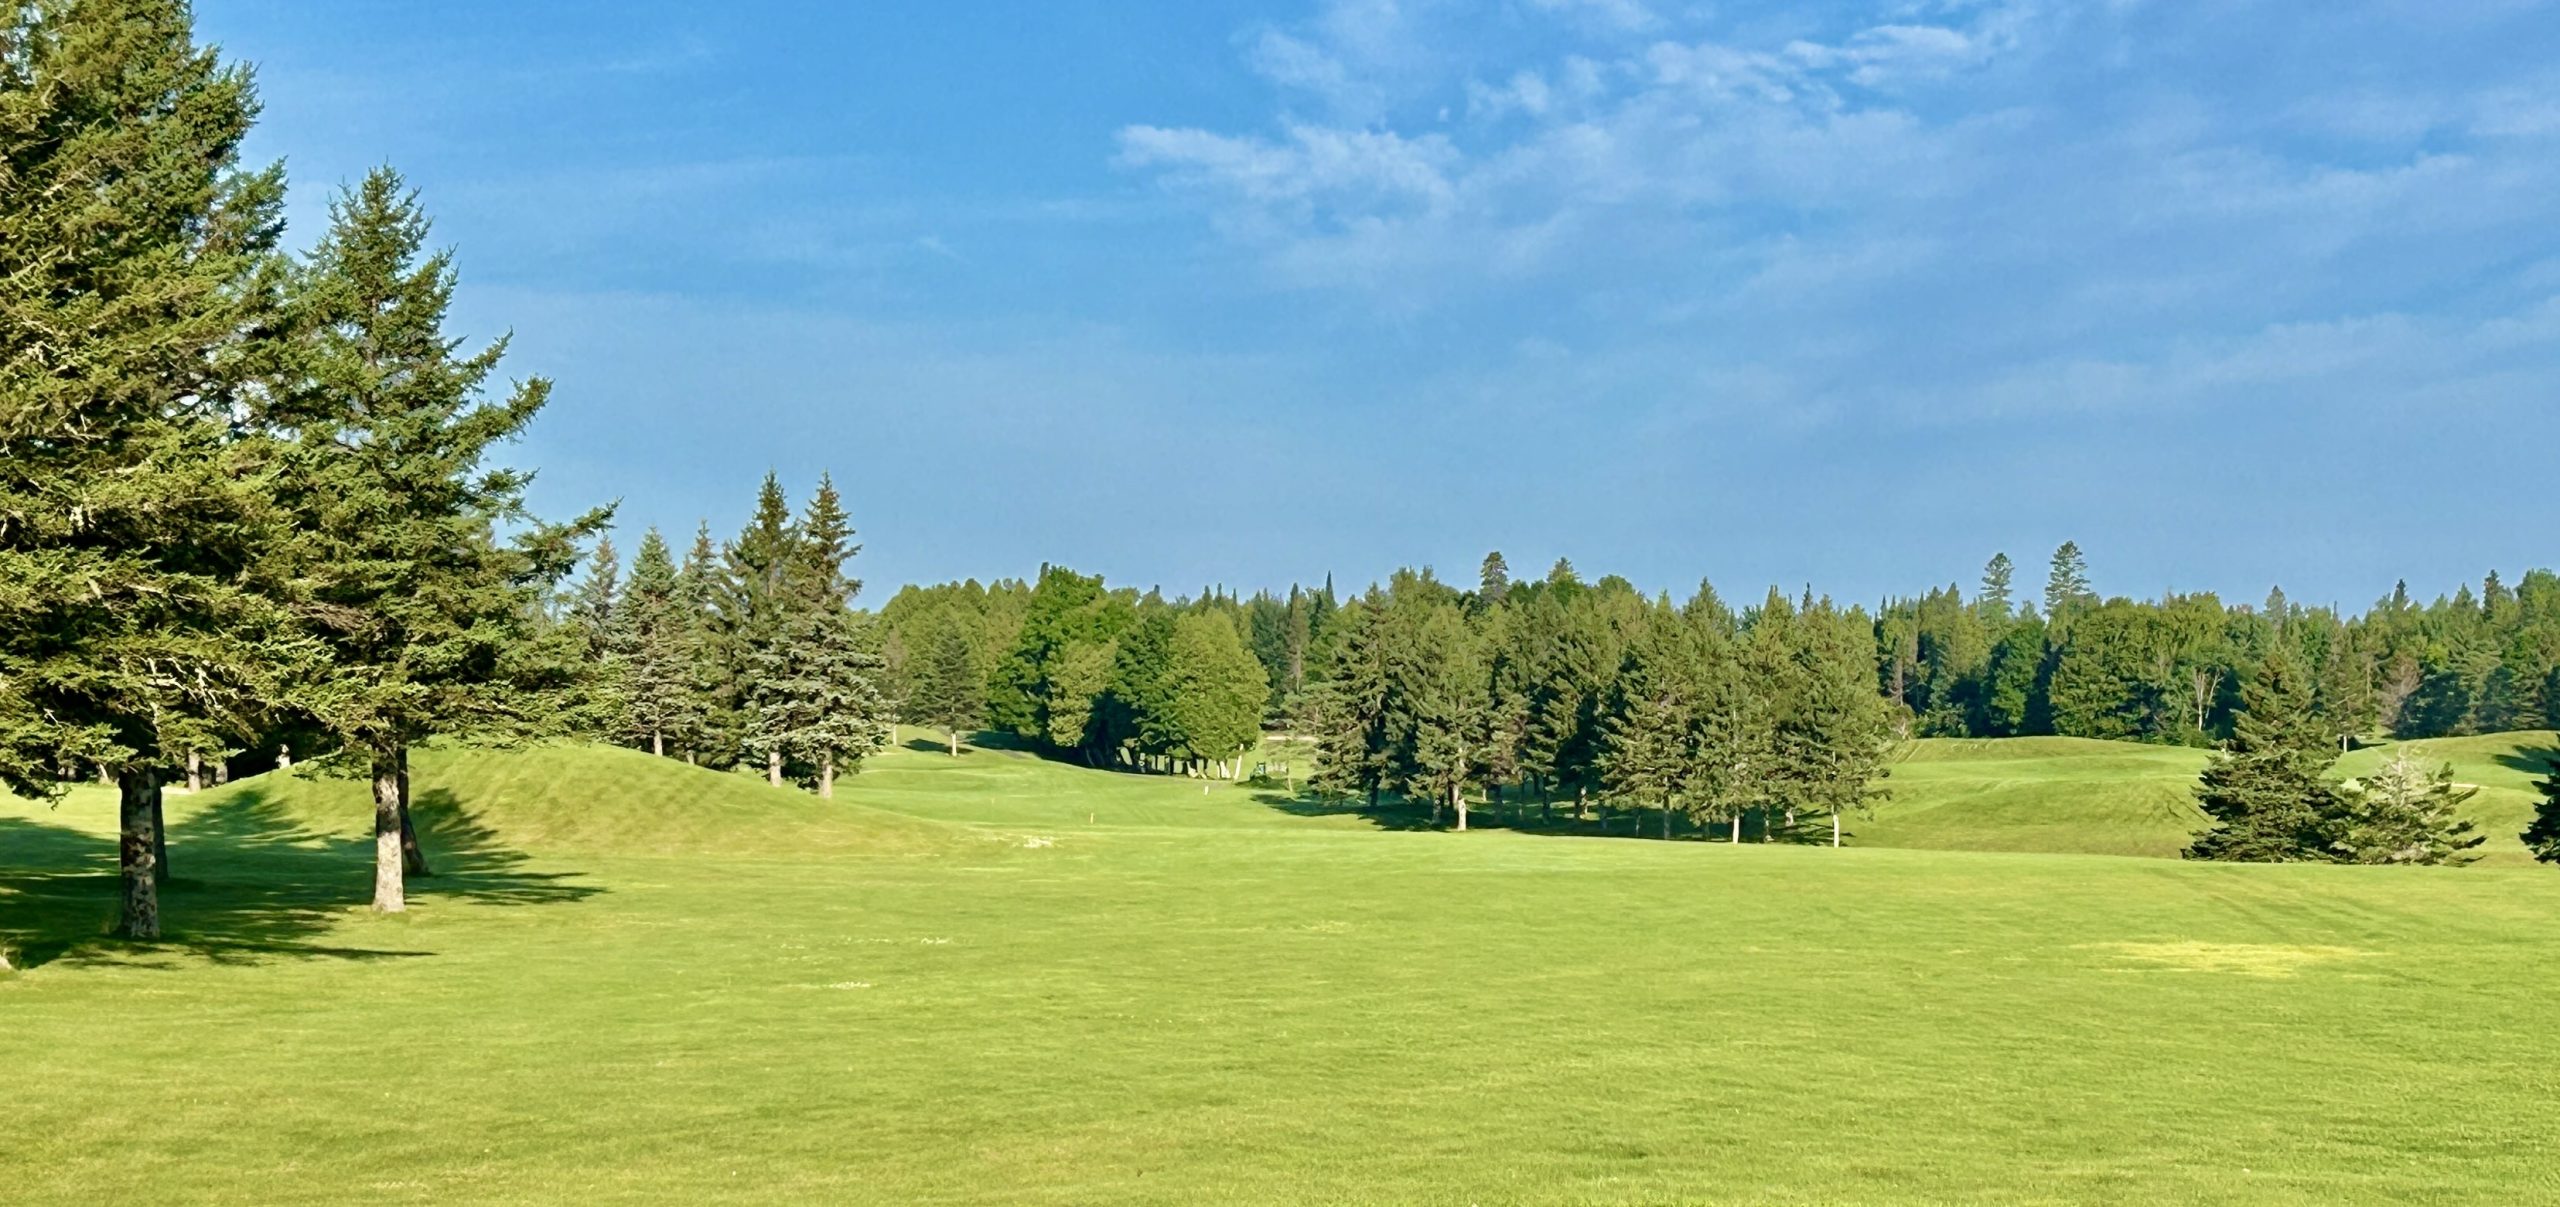
#12 – 530 Yard Par Five
This three shot par five is the polar opposite of #11 with the tightest fairway at Covered Bridge followed by a double dogleg. The narrow fairway continues all the way to the 100 yard marker and then opens up. Avoiding the woods on this hole requires accuracy more than length and playing a wood off the tee is the better play. There is little to be gained by trying to cut off the right hand corner as you will still not be able to reach the green in two – at least if you are mortal.
For me, this was the toughest hole at Covered Bridge.
Covered Bridge #13 – 127 Yard Par Three
This is a nice little par three with a bit of an infinity green look to it and a nice reprieve after 12. Choose the right club to land on this huge green and par should be no problem, but even with a good shot, three putt is always in the picture.
#14 – 328 Yard Par Four

This is a really lovely looking short par four that plays much shorter than its stated distance. It is the beginning of a very pretty stretch of holes that end the round at Covered Bridge with a bang and not a whimper. Avoiding the traps on each side of the fairway is not difficult and any decent drive will leave a wedge into the green. By now the greens have dried out and are presenting a real challenge in terms of both speed and subtlety. There were a few occasions where I failed to see a break and others where I thought I saw a break that didn’t exist. This is perhaps the greatest challenge of Covered Bridge and certainly helps explain its high slope rating.
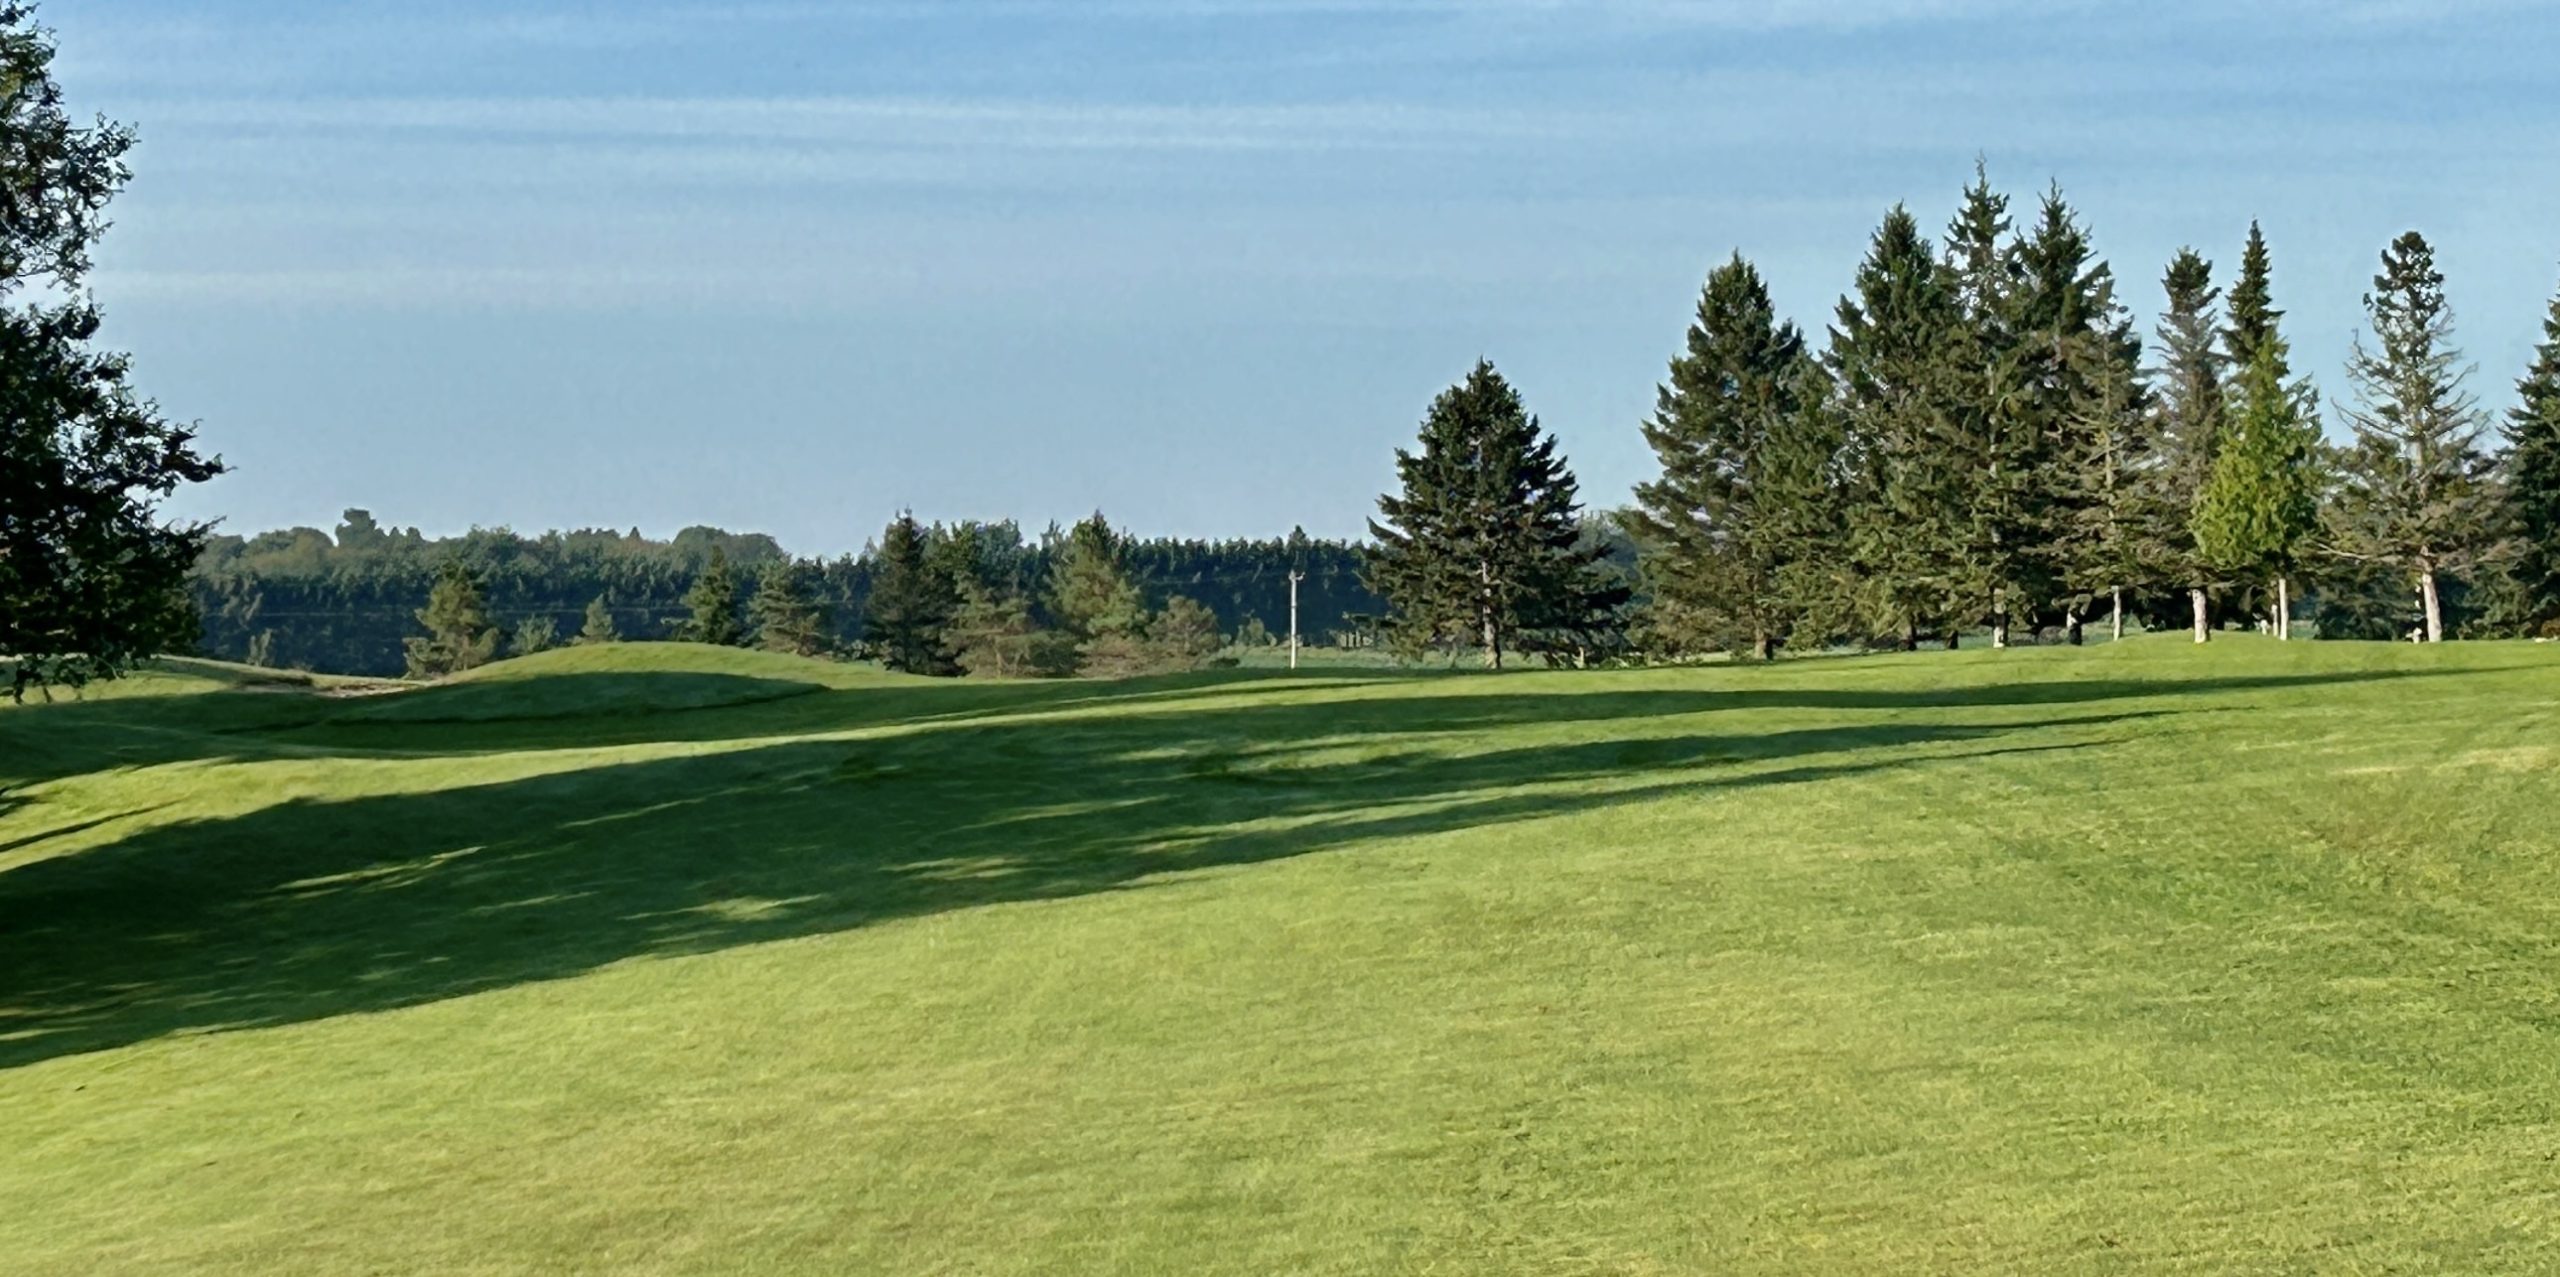
Covered Bridge #15 – 360 Yard Par Four
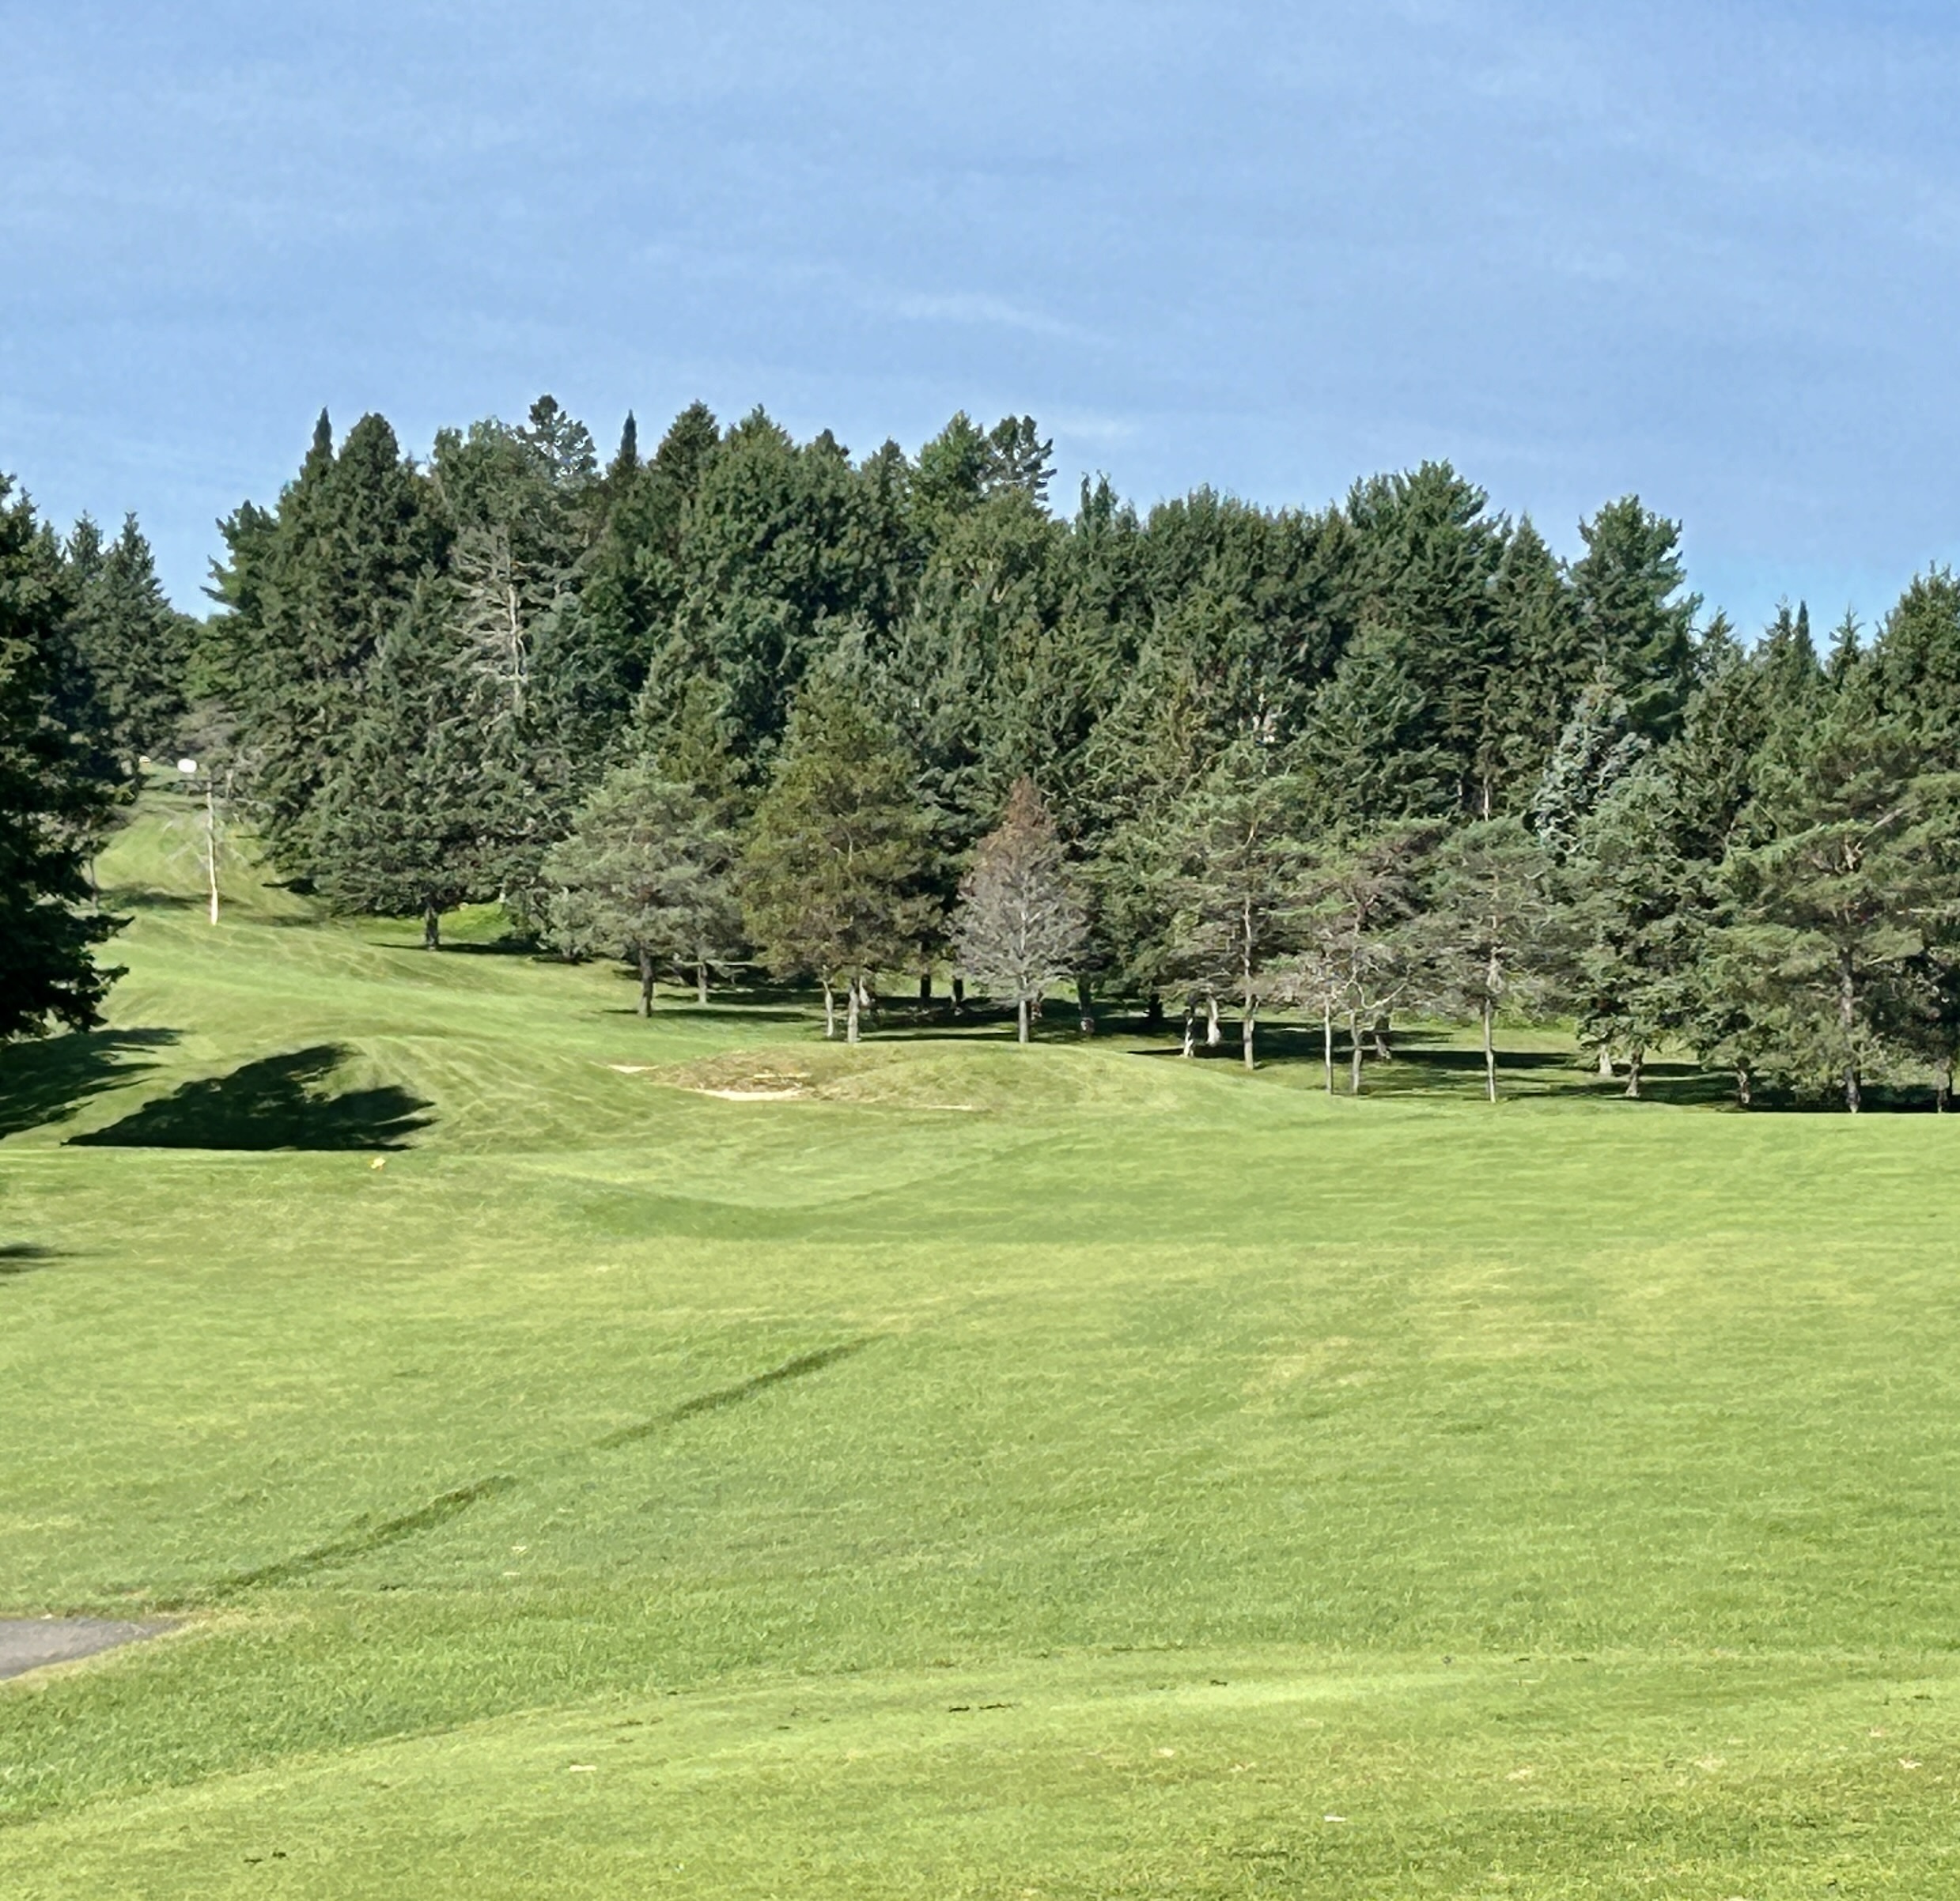
After a couple of relatively easy holes, Covered Bridge hits you with this uphill bear of a par four. Just look at the conditioning of the tee box on this hole to get an idea of how well manicured this course is. That will take your mind off the fact that it will be very difficult to reach in two and bogey is a good score here.
#16 – 360 Yard Par Four
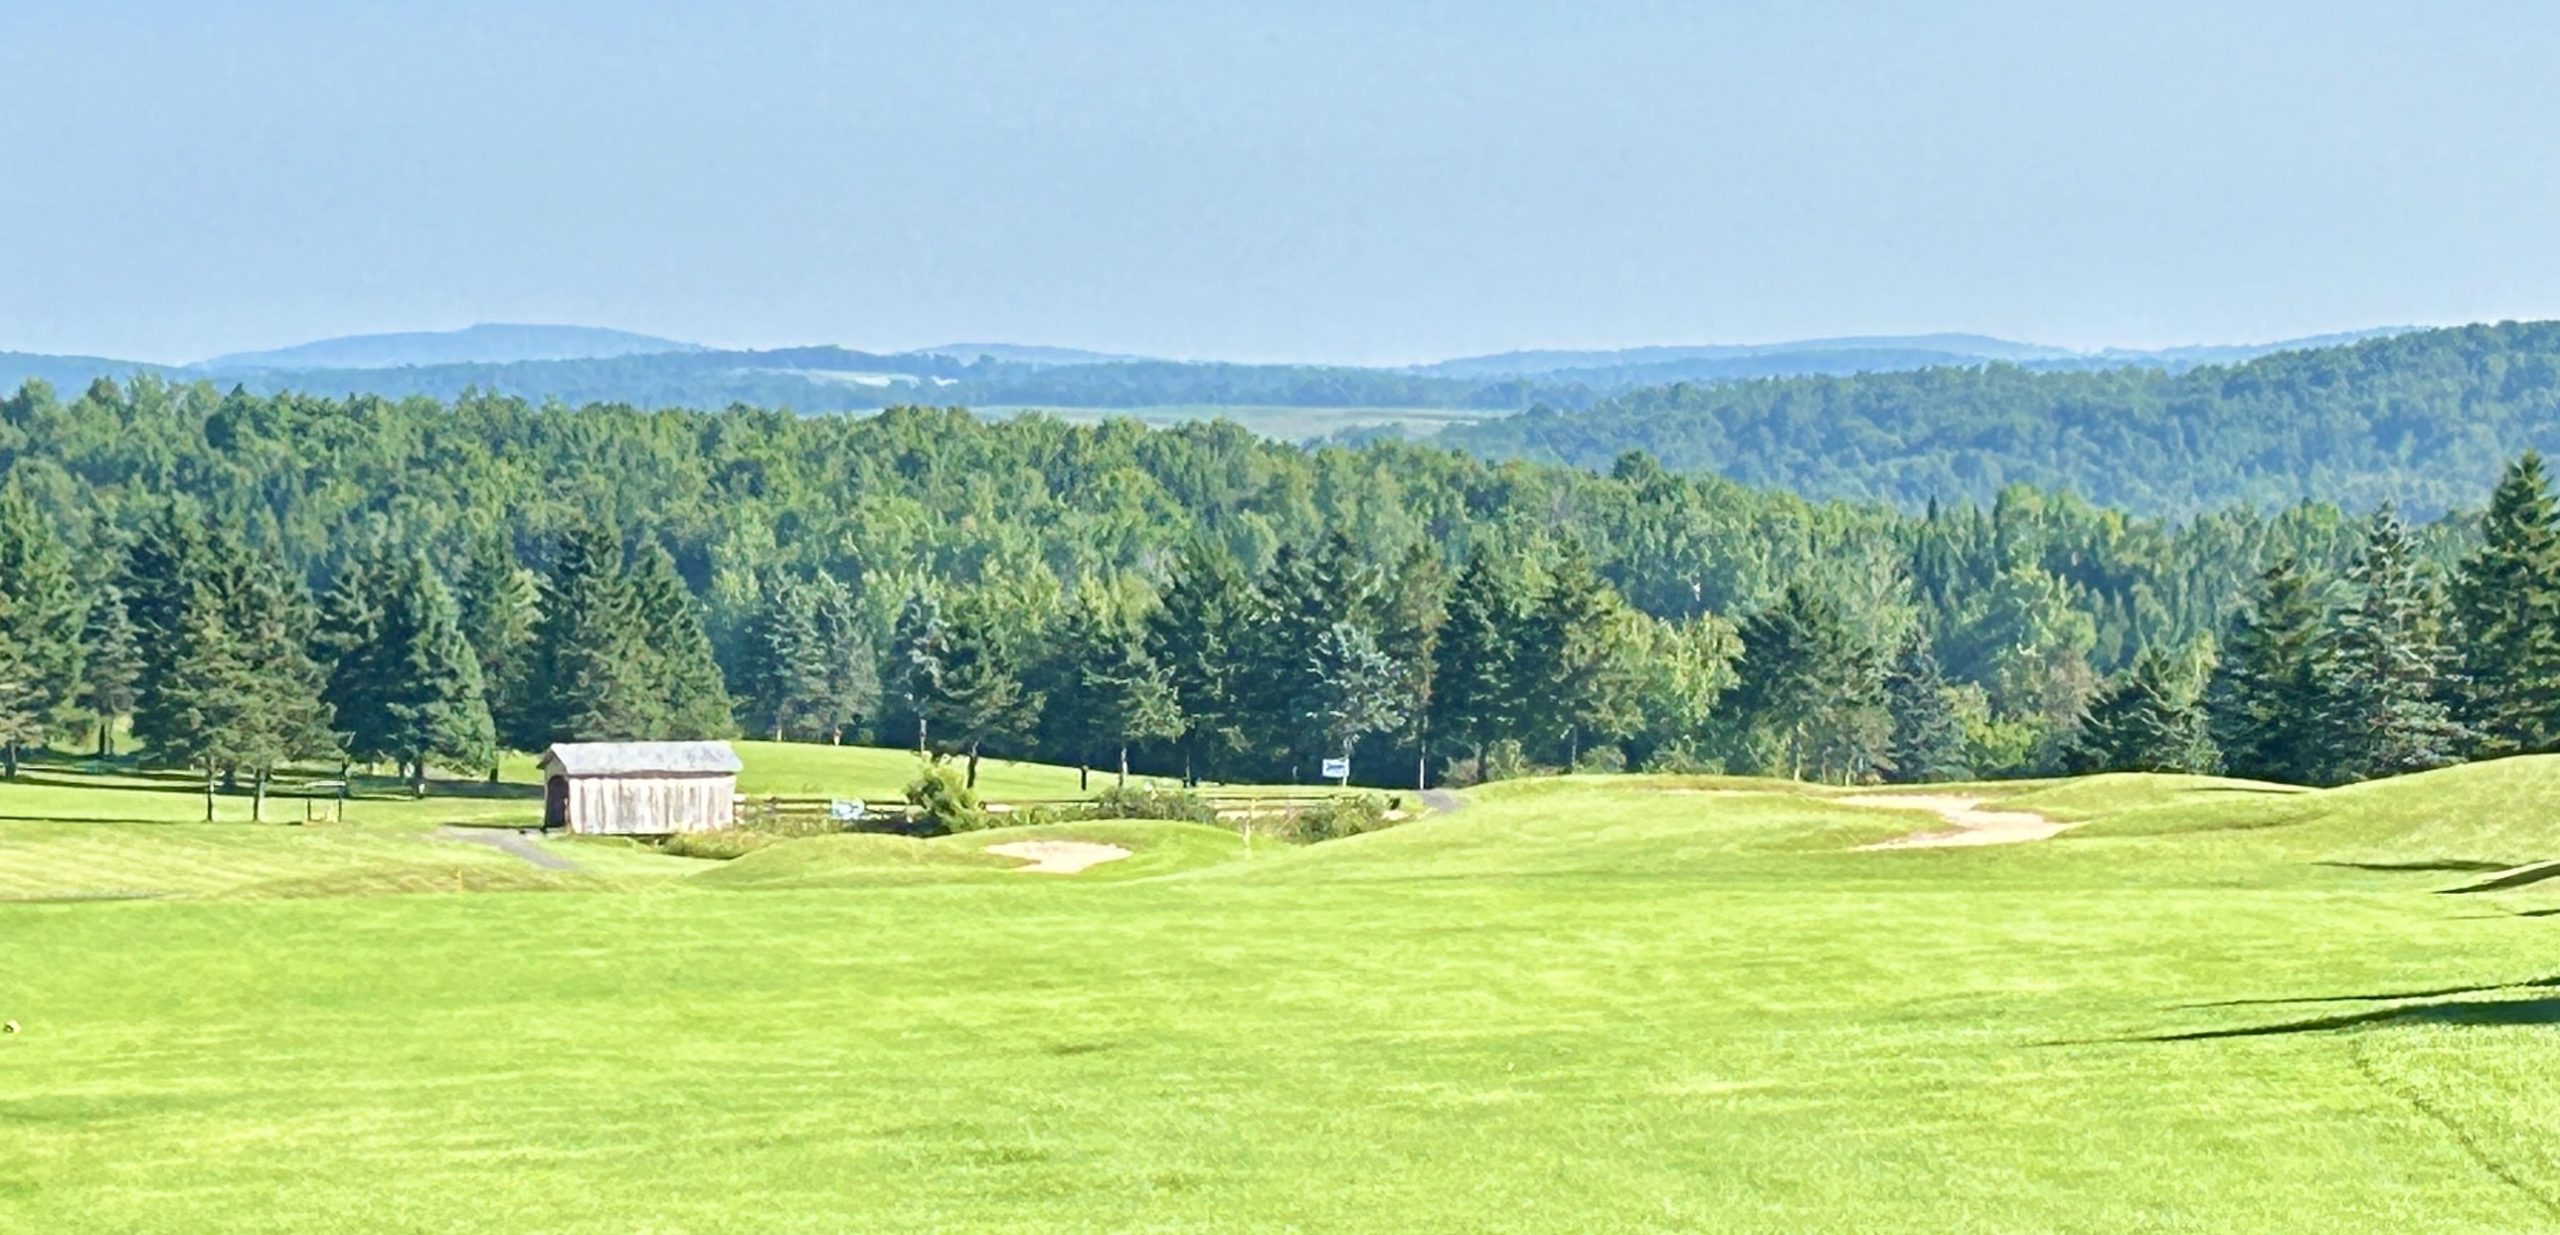
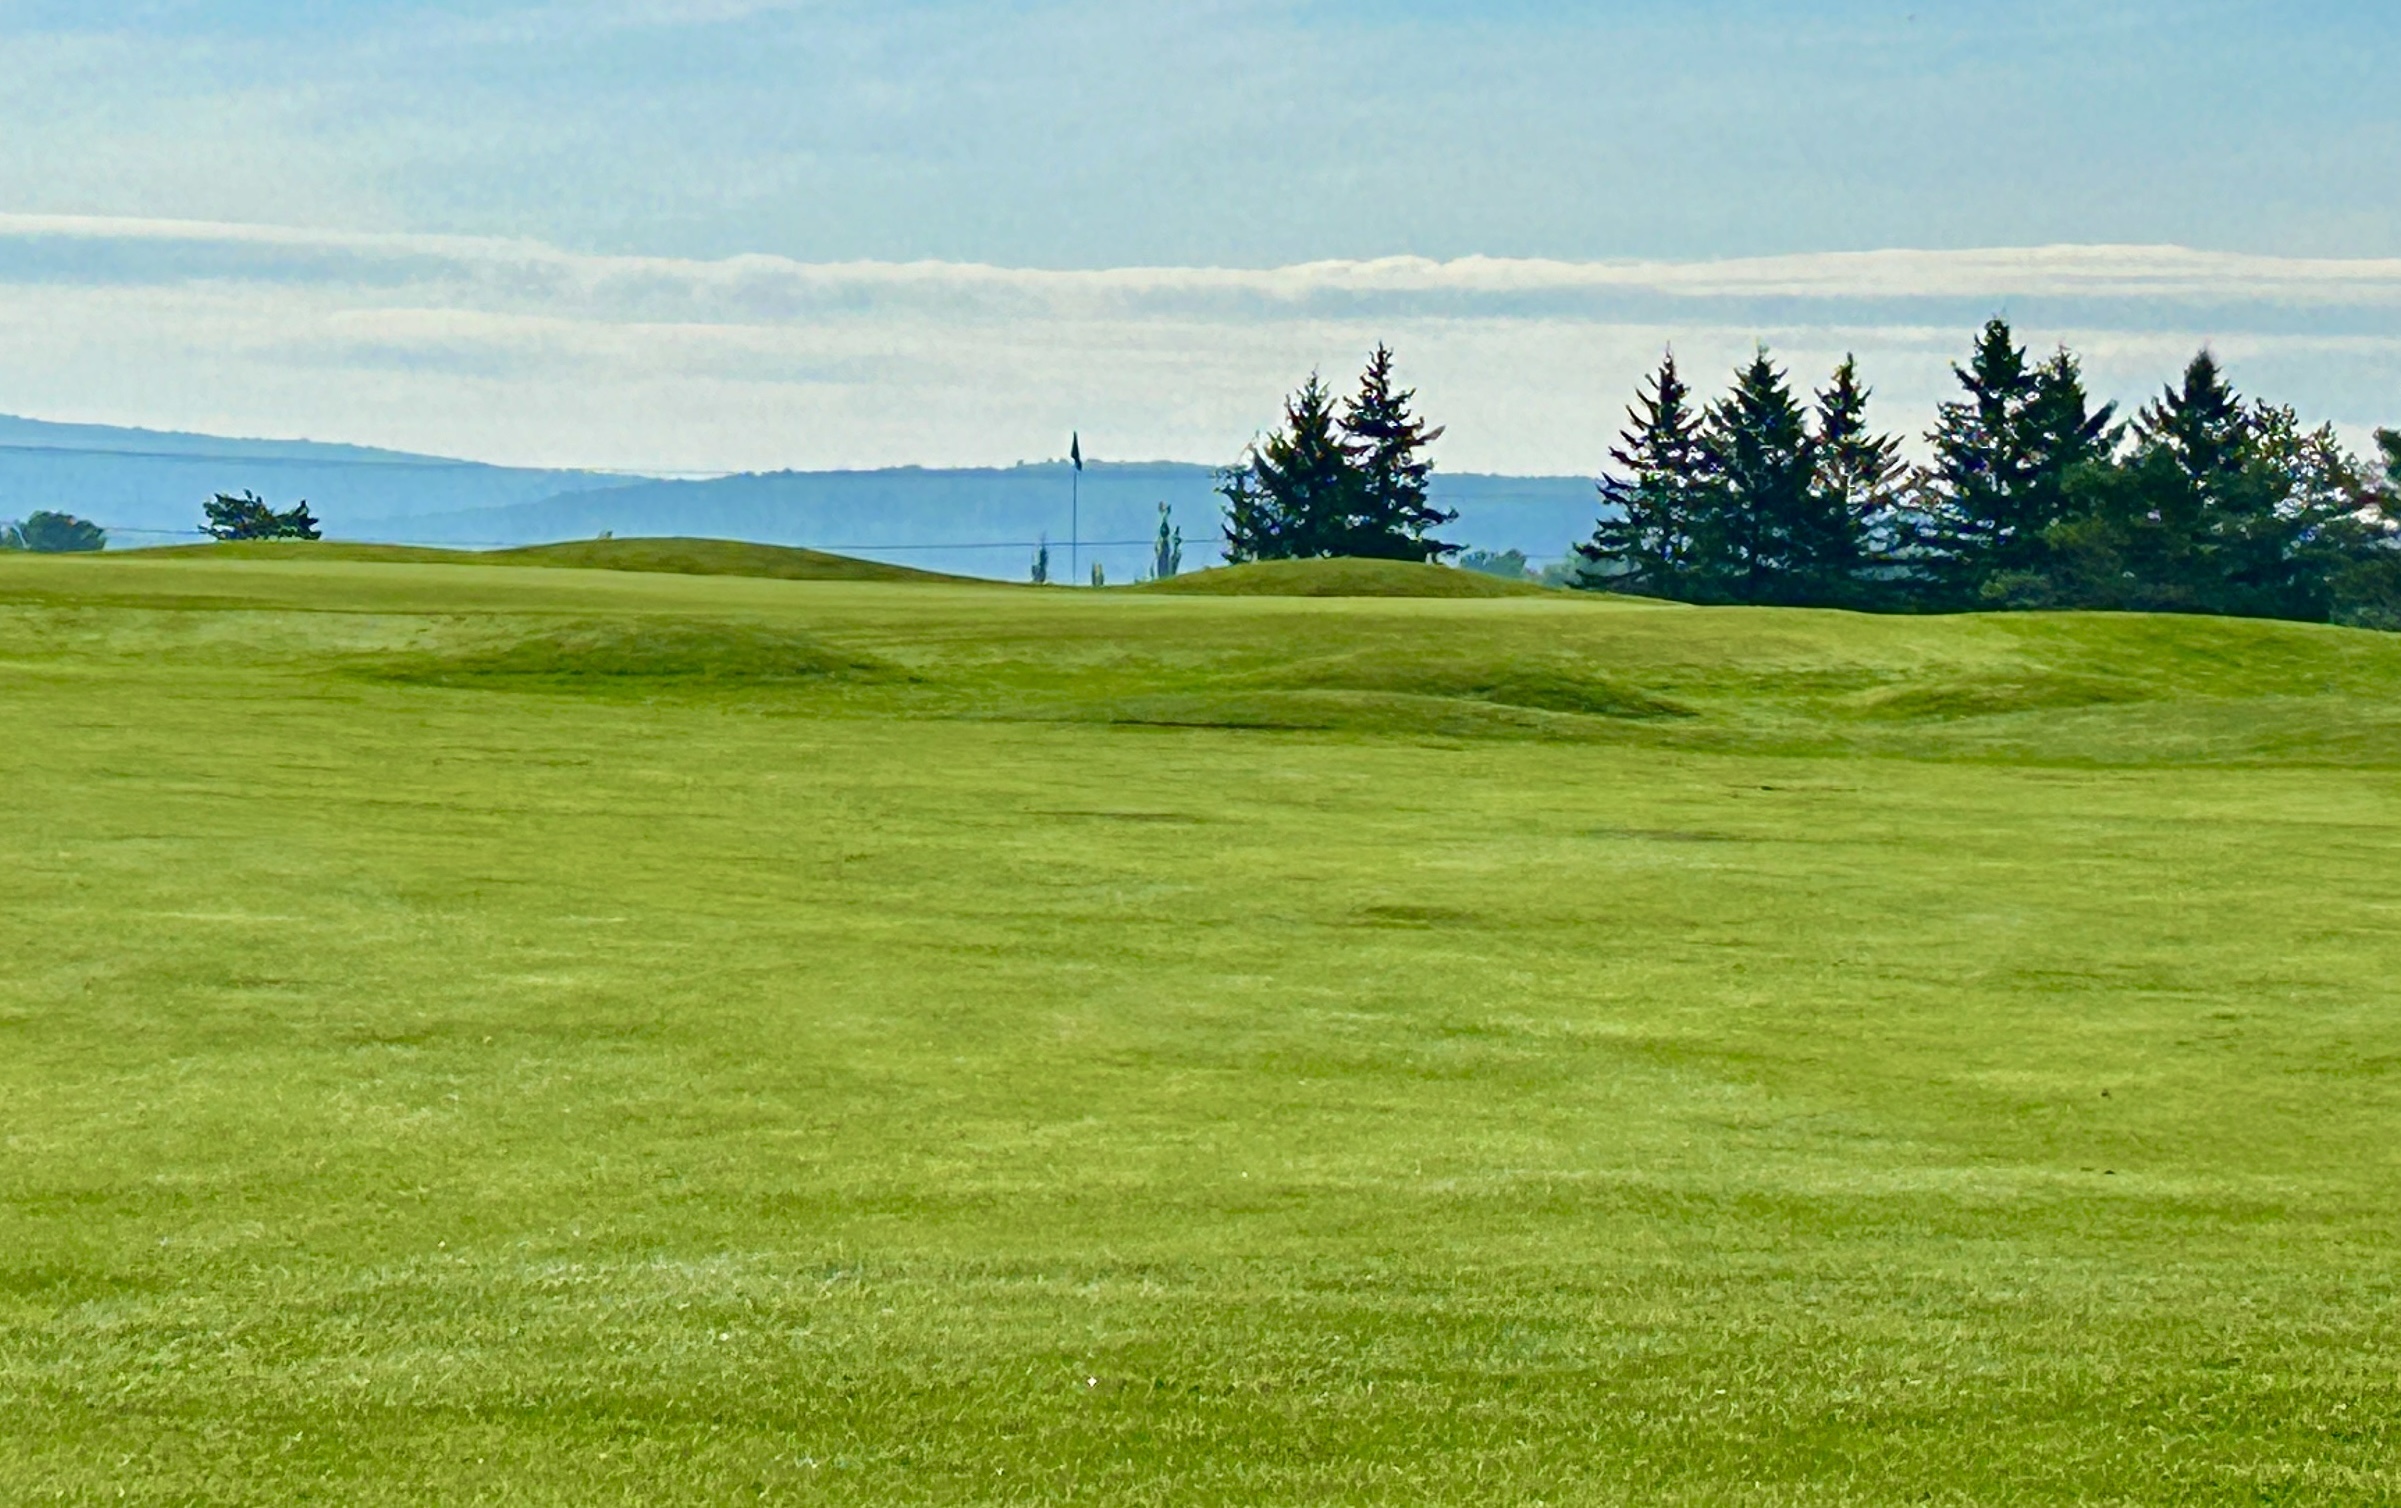
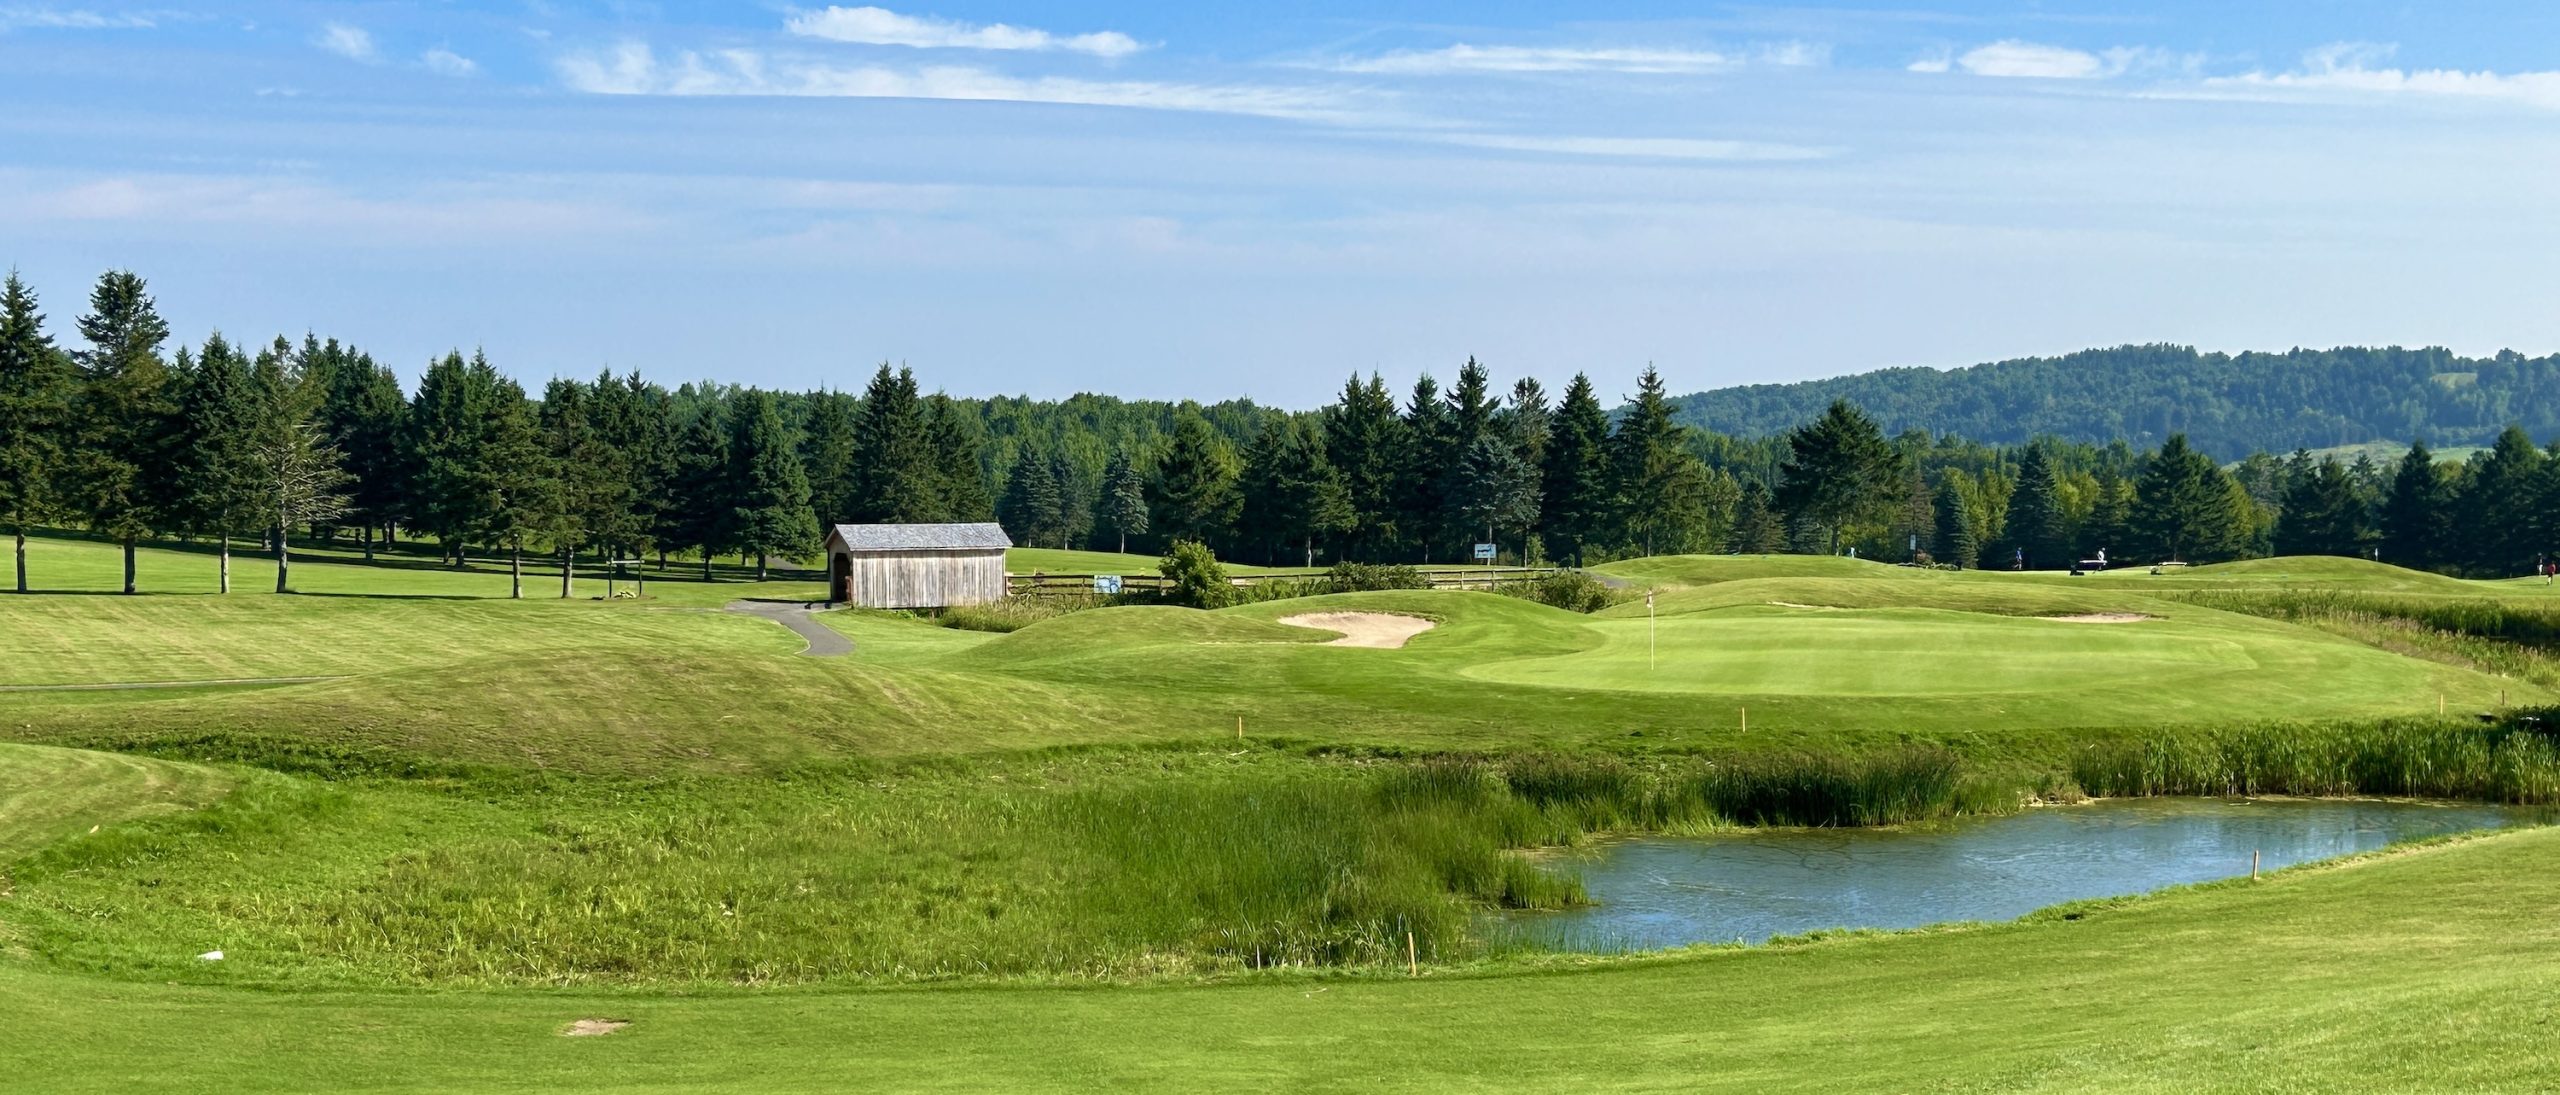
What goes up, must come down and after the slog on #15 you come to the brilliant signature hole at Covered Bridge. What you can’t see from the tee box is a large pond that must be cleared to reach the green so even though you will get a lot of roll on your tee shot, you will still be left with a substantial carry.
I was not happy with my drive and chose to lay up leaving this third shot to maybe the largest green on the course. The view from here, which includes the miniature covered bridge and the hills behind it rolling down to the river, is about as New Brunswick as you can get. I would come to play Covered Bridge just to make this shot, which thankfully I did.
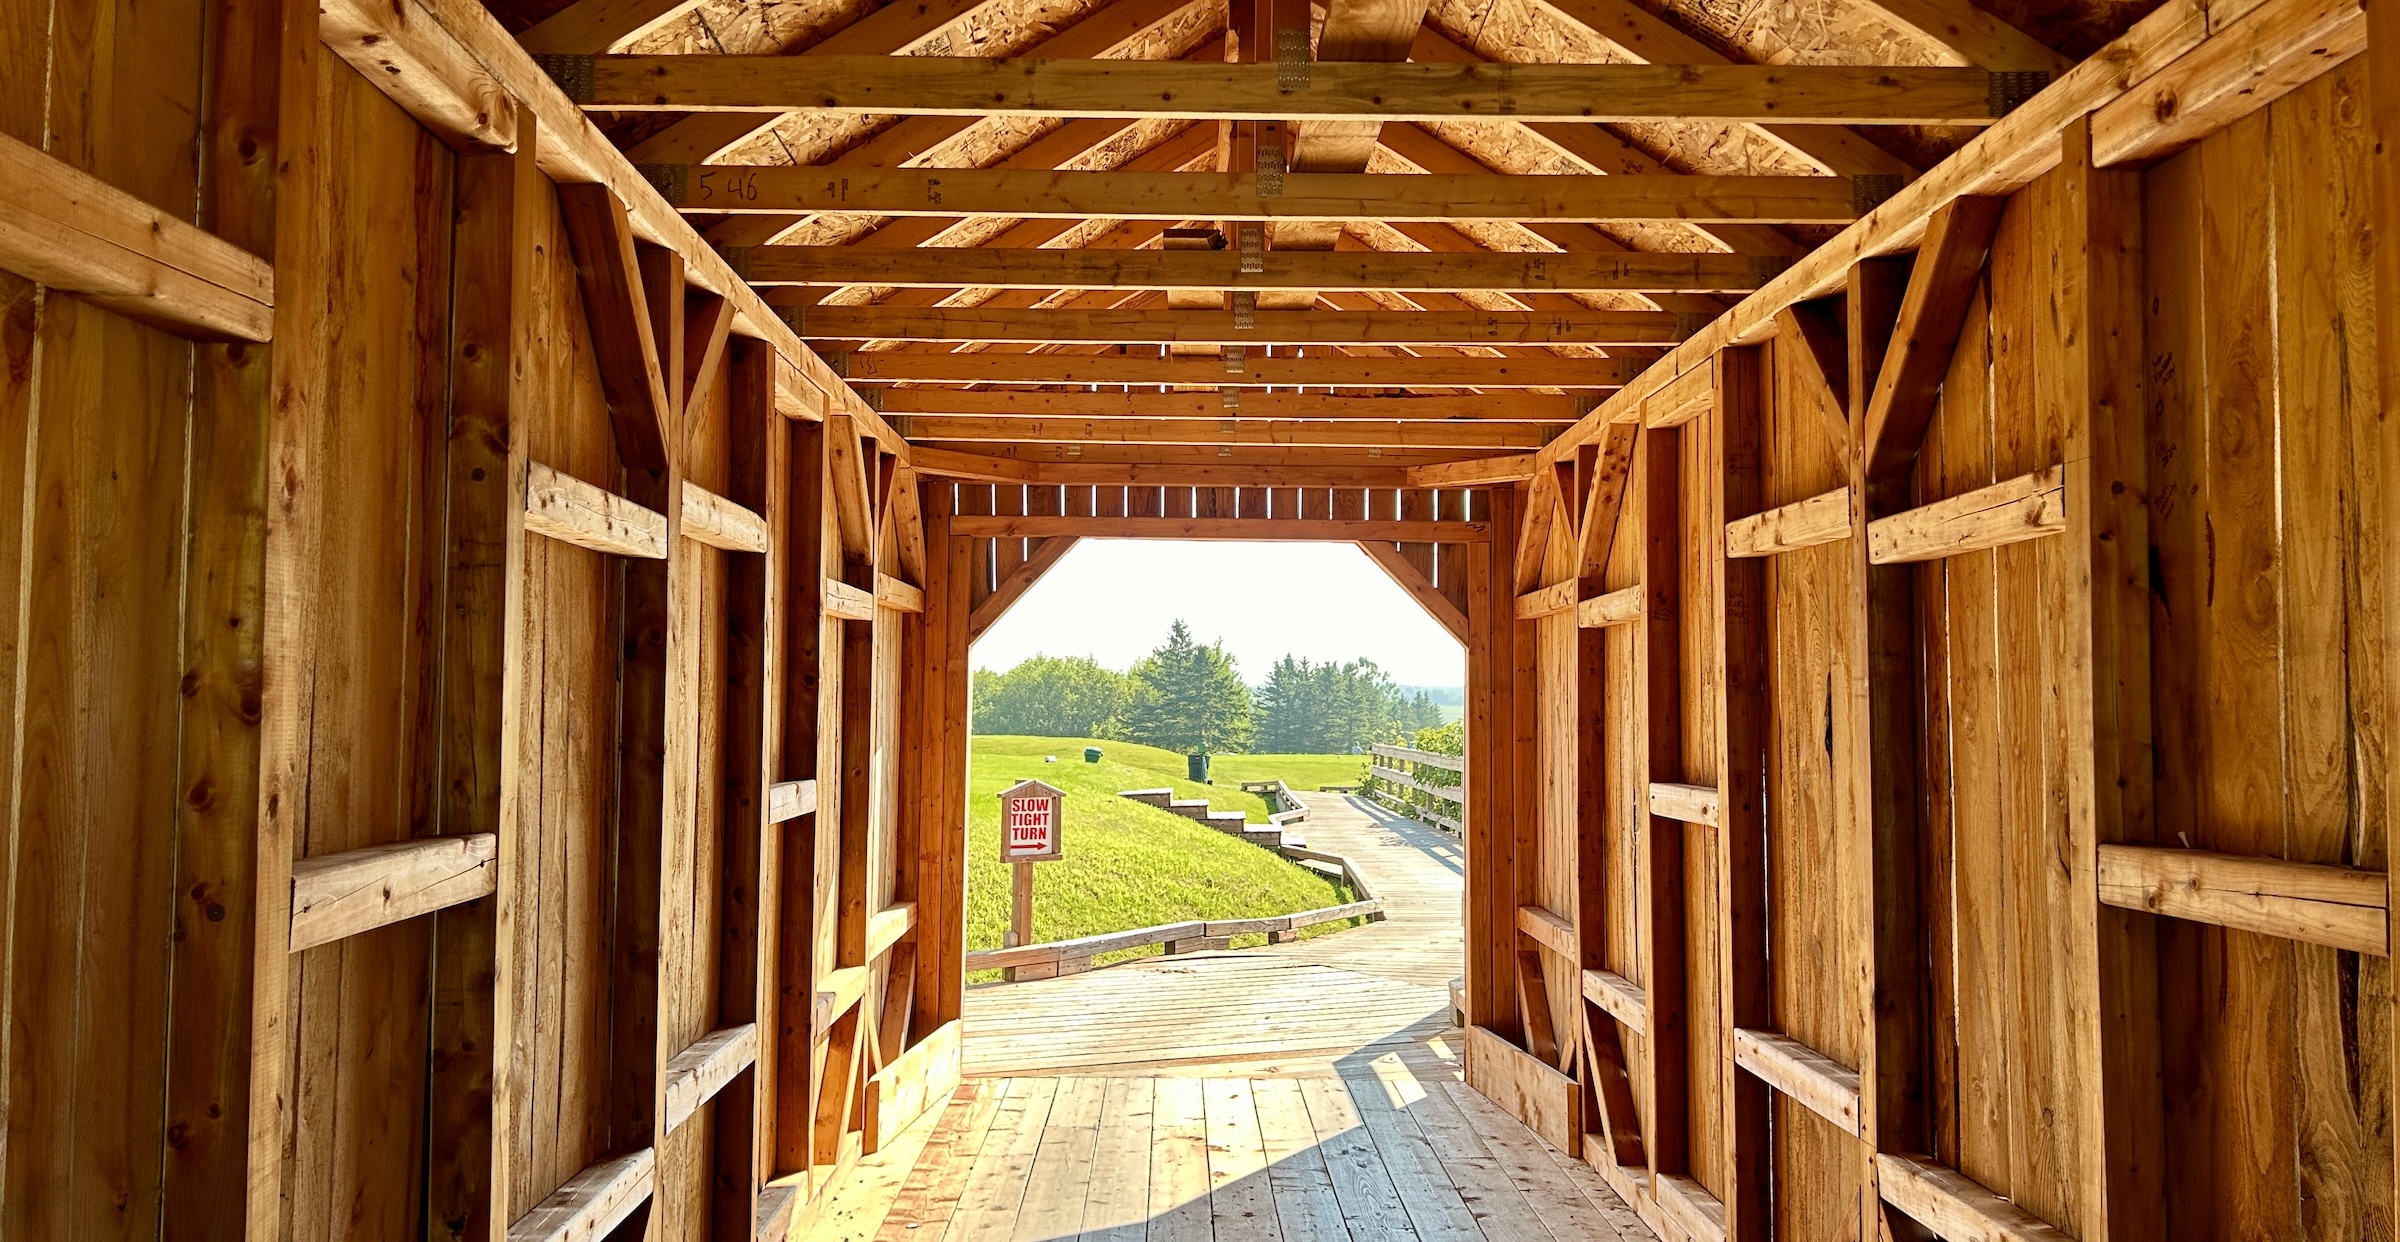
You then pass through the covered bridge to get to the 17th tee.
Covered Bridge #17 – 135 Yard Par Three
The final par three is one of the best birdie opportunities at Covered Bridge. Select the right club and you should be on the green, hopefully reasonably close to the pin.
#18 – 478 Yard Par Five
We started out with a downhill par five and now we pay the price as the course ends with this most steep par five that plays long, long, long. You can clear those traps with a good drive and make the 45° turn to the left to ascend your way to the green with at least two more shots. Boy was I glad we had a cart when we got here, but it was a journey through 18 holes of golfing bliss and a round I will long remember. Do yourself a favour and add this great New Brunswick course to your must play list. You won’t regret it.
Covered Bridge has a restaurant on site and cottages located on a stream not far from the clubhouse. They offer stay and play packages that you can check out on their website. The Fredericton area has definitely joined Prince Edward Island and Cape Breton as a got to golf destination.
If you’re looking for another under the radar golf course in New Brunswick head over to the Kouchibouguac area on the Acadian coast and check out Geoffrey Cornish’ under appreciated St. Ignace course.