Wolf Creek Links Course – Hole-by-Hole

Wolf Creek Golf Resort, just outside Ponoka, Alberta and about 30 minutes north of Red Deer, is a 36 hole destination with two completely different courses designed by Rod Whitman, the same architect behind Cabot Links, the first true links course in Canada and currently #3 on the SCORE Golf Top 100. Years before Mr. Whitman was handed the Cabot project, he was asked to create a course out of the rolling, mostly treeless hills of the Wolf Creek area, where in 1984 he had designed the original 18 holes now known as the Wolf Creek Old Course. The result was the Wolf Creek Links Course which currently stands as #78 in the Top 100. I have long wanted to play the two Wolf Creek courses and on a recent trip to Alberta I finally got the chance. This post will feature a hole-by-hole description of the Wolf Creek Links course.
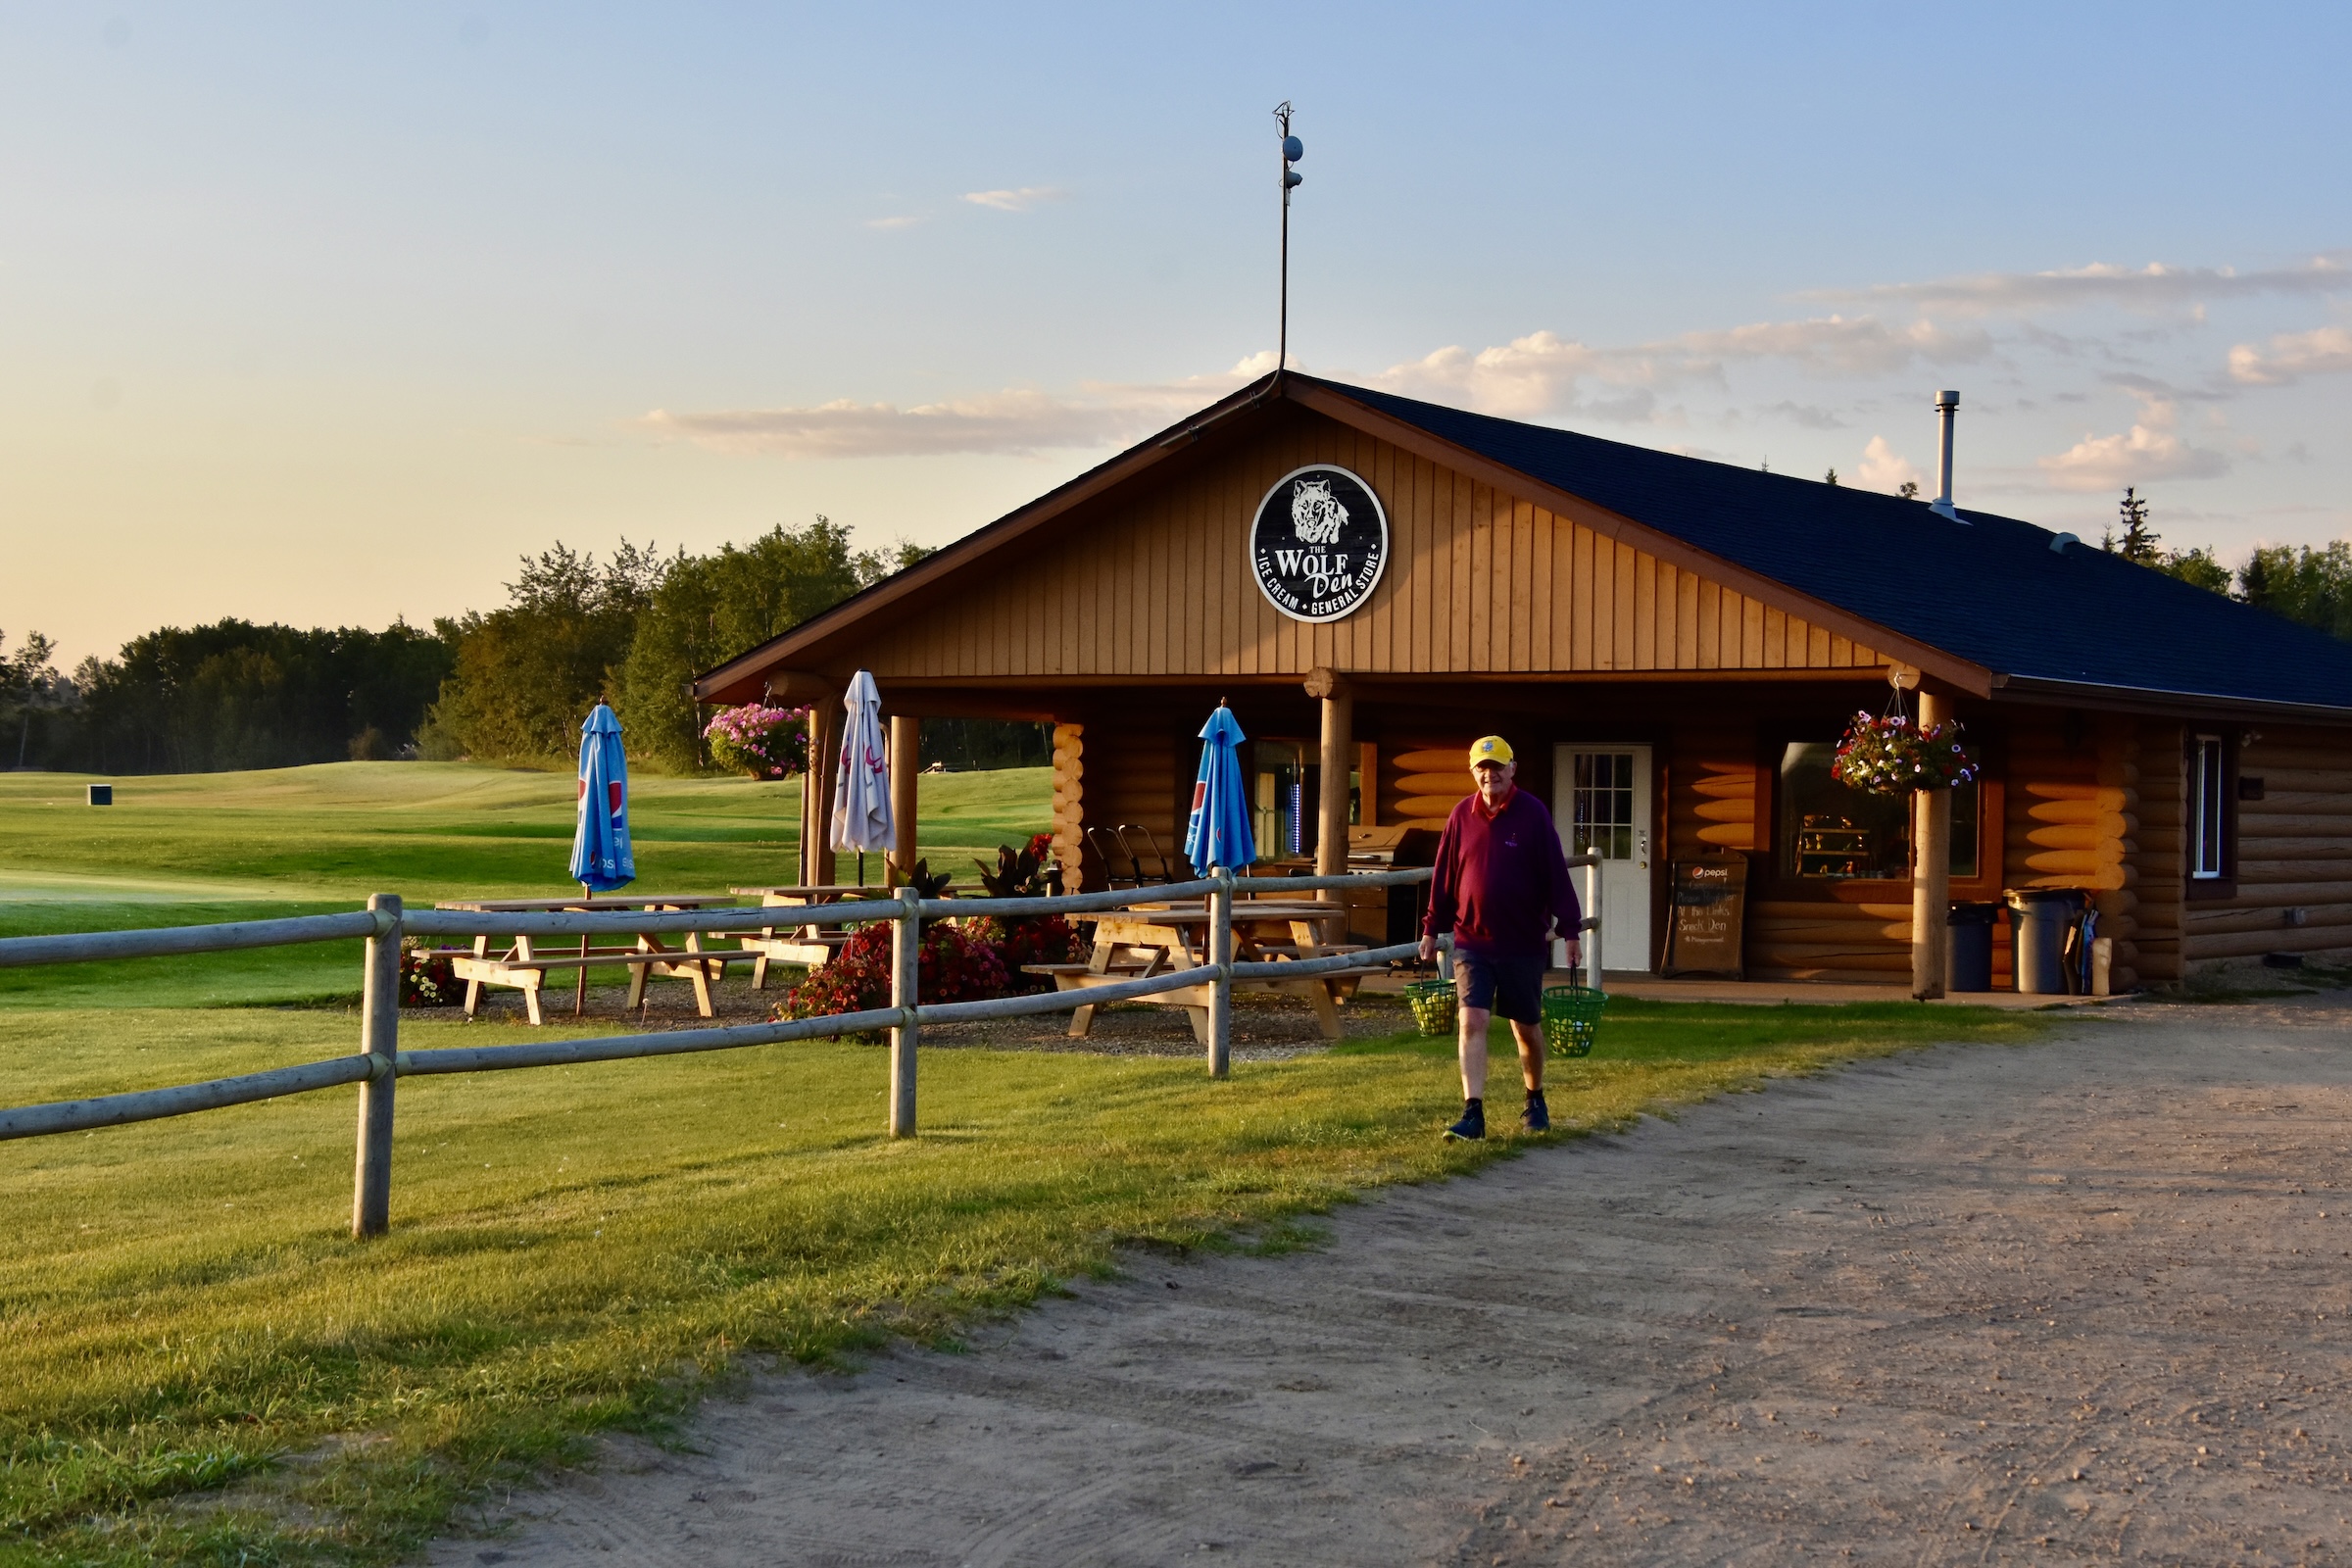
The Wolf Creek Links course is completely separate from the Wolf Creek Old course and has its own driving range and small canteen. As you can see from this photo, it is a beautiful morning for golf as I head for the range to warm up.
The course can play as long as 7,155 yards from the tips which is not remotely in the cards for anyone but a scratch golfer. I will be playing from the blue tees which are a much more reasonable 5,935 yards for someone my age and a slope rating of 119 which is just a bit above the average slope of 113 for a bogey golfer.
Wolf Creek Links No. 1 Morningside – 339 Yard Par Four
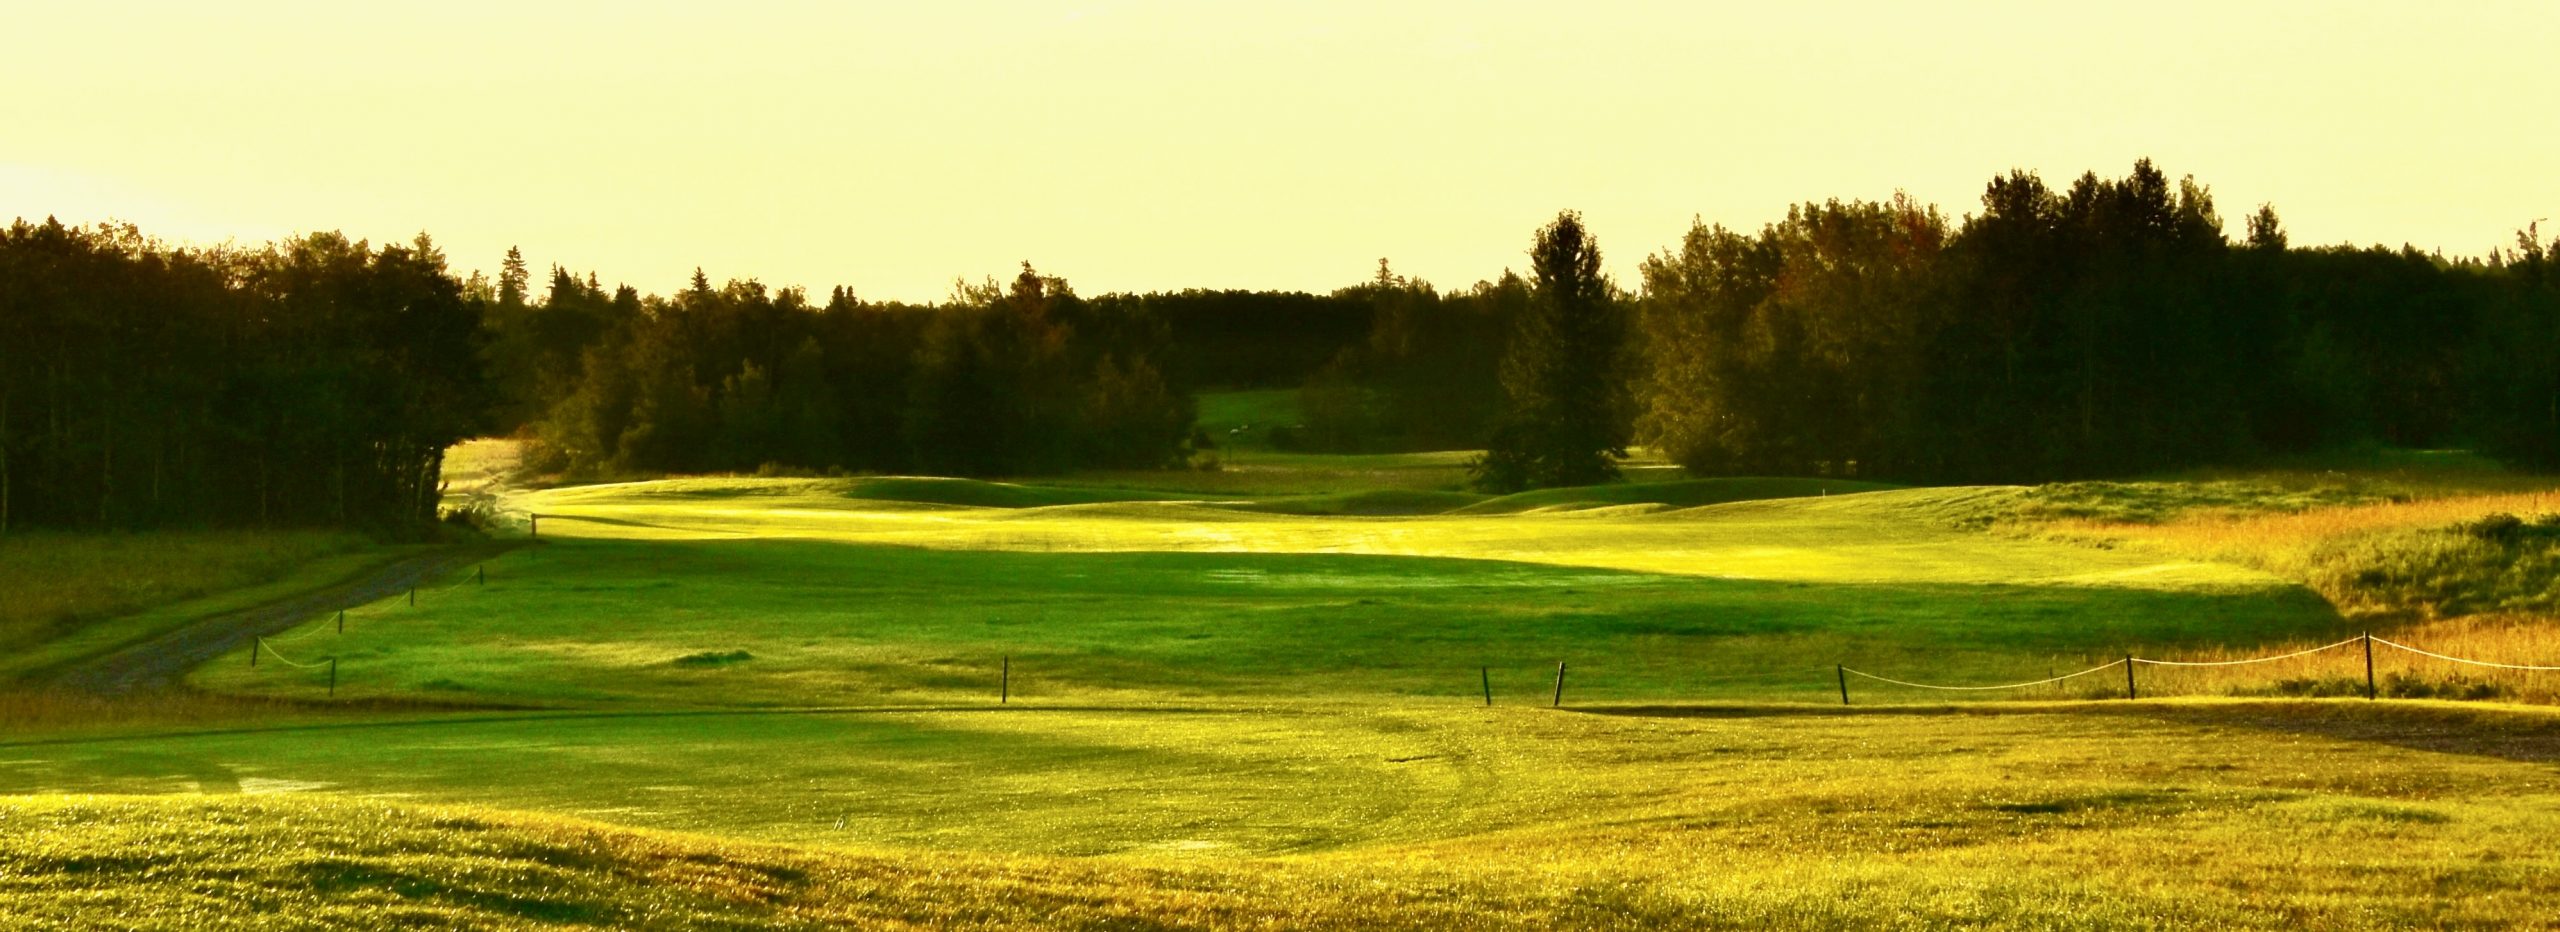
Alison and I are playing very early, so the first few photos will be a bit on the under exposed side. The first hole features a generous fairway and more trees than we will find on most of the holes going forward.

A decent drive should leave a relatively benign second shot to a fairly large green that is not overly fast and putts quite true. I am not a fan of difficult starting holes and Rod Whitman has realized that with this gentle par four that should yield a par for most golfers.
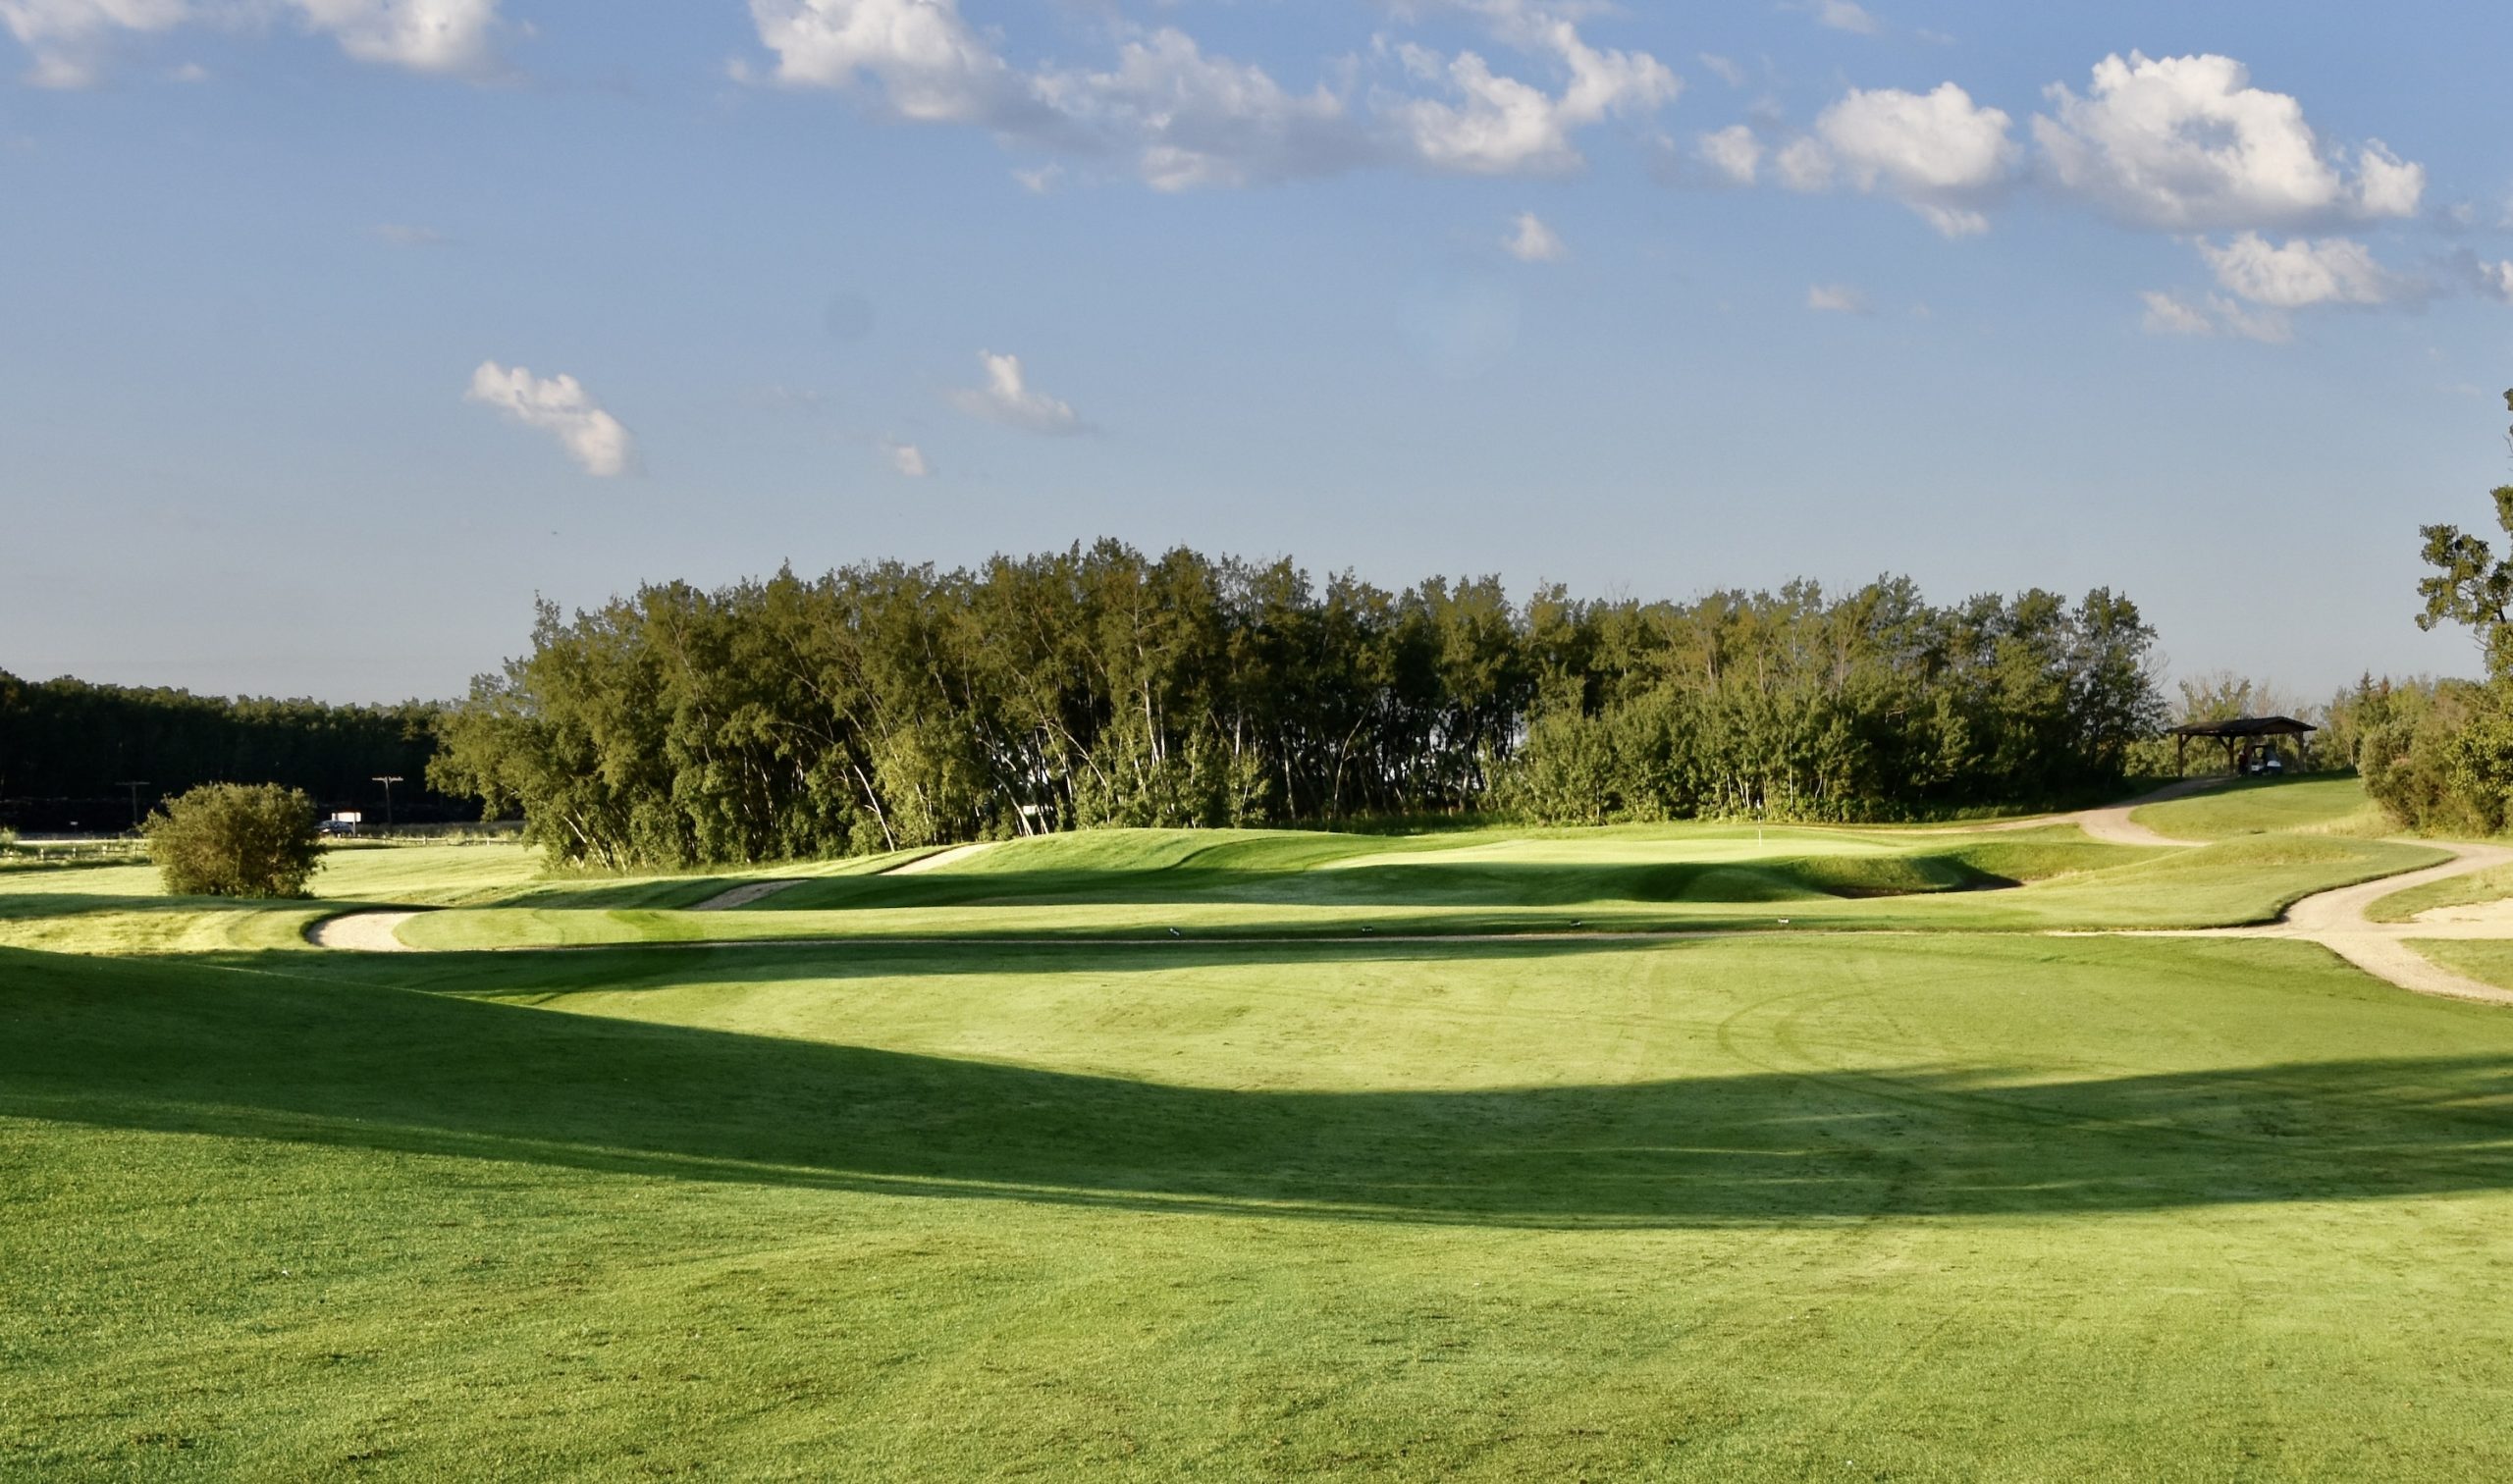
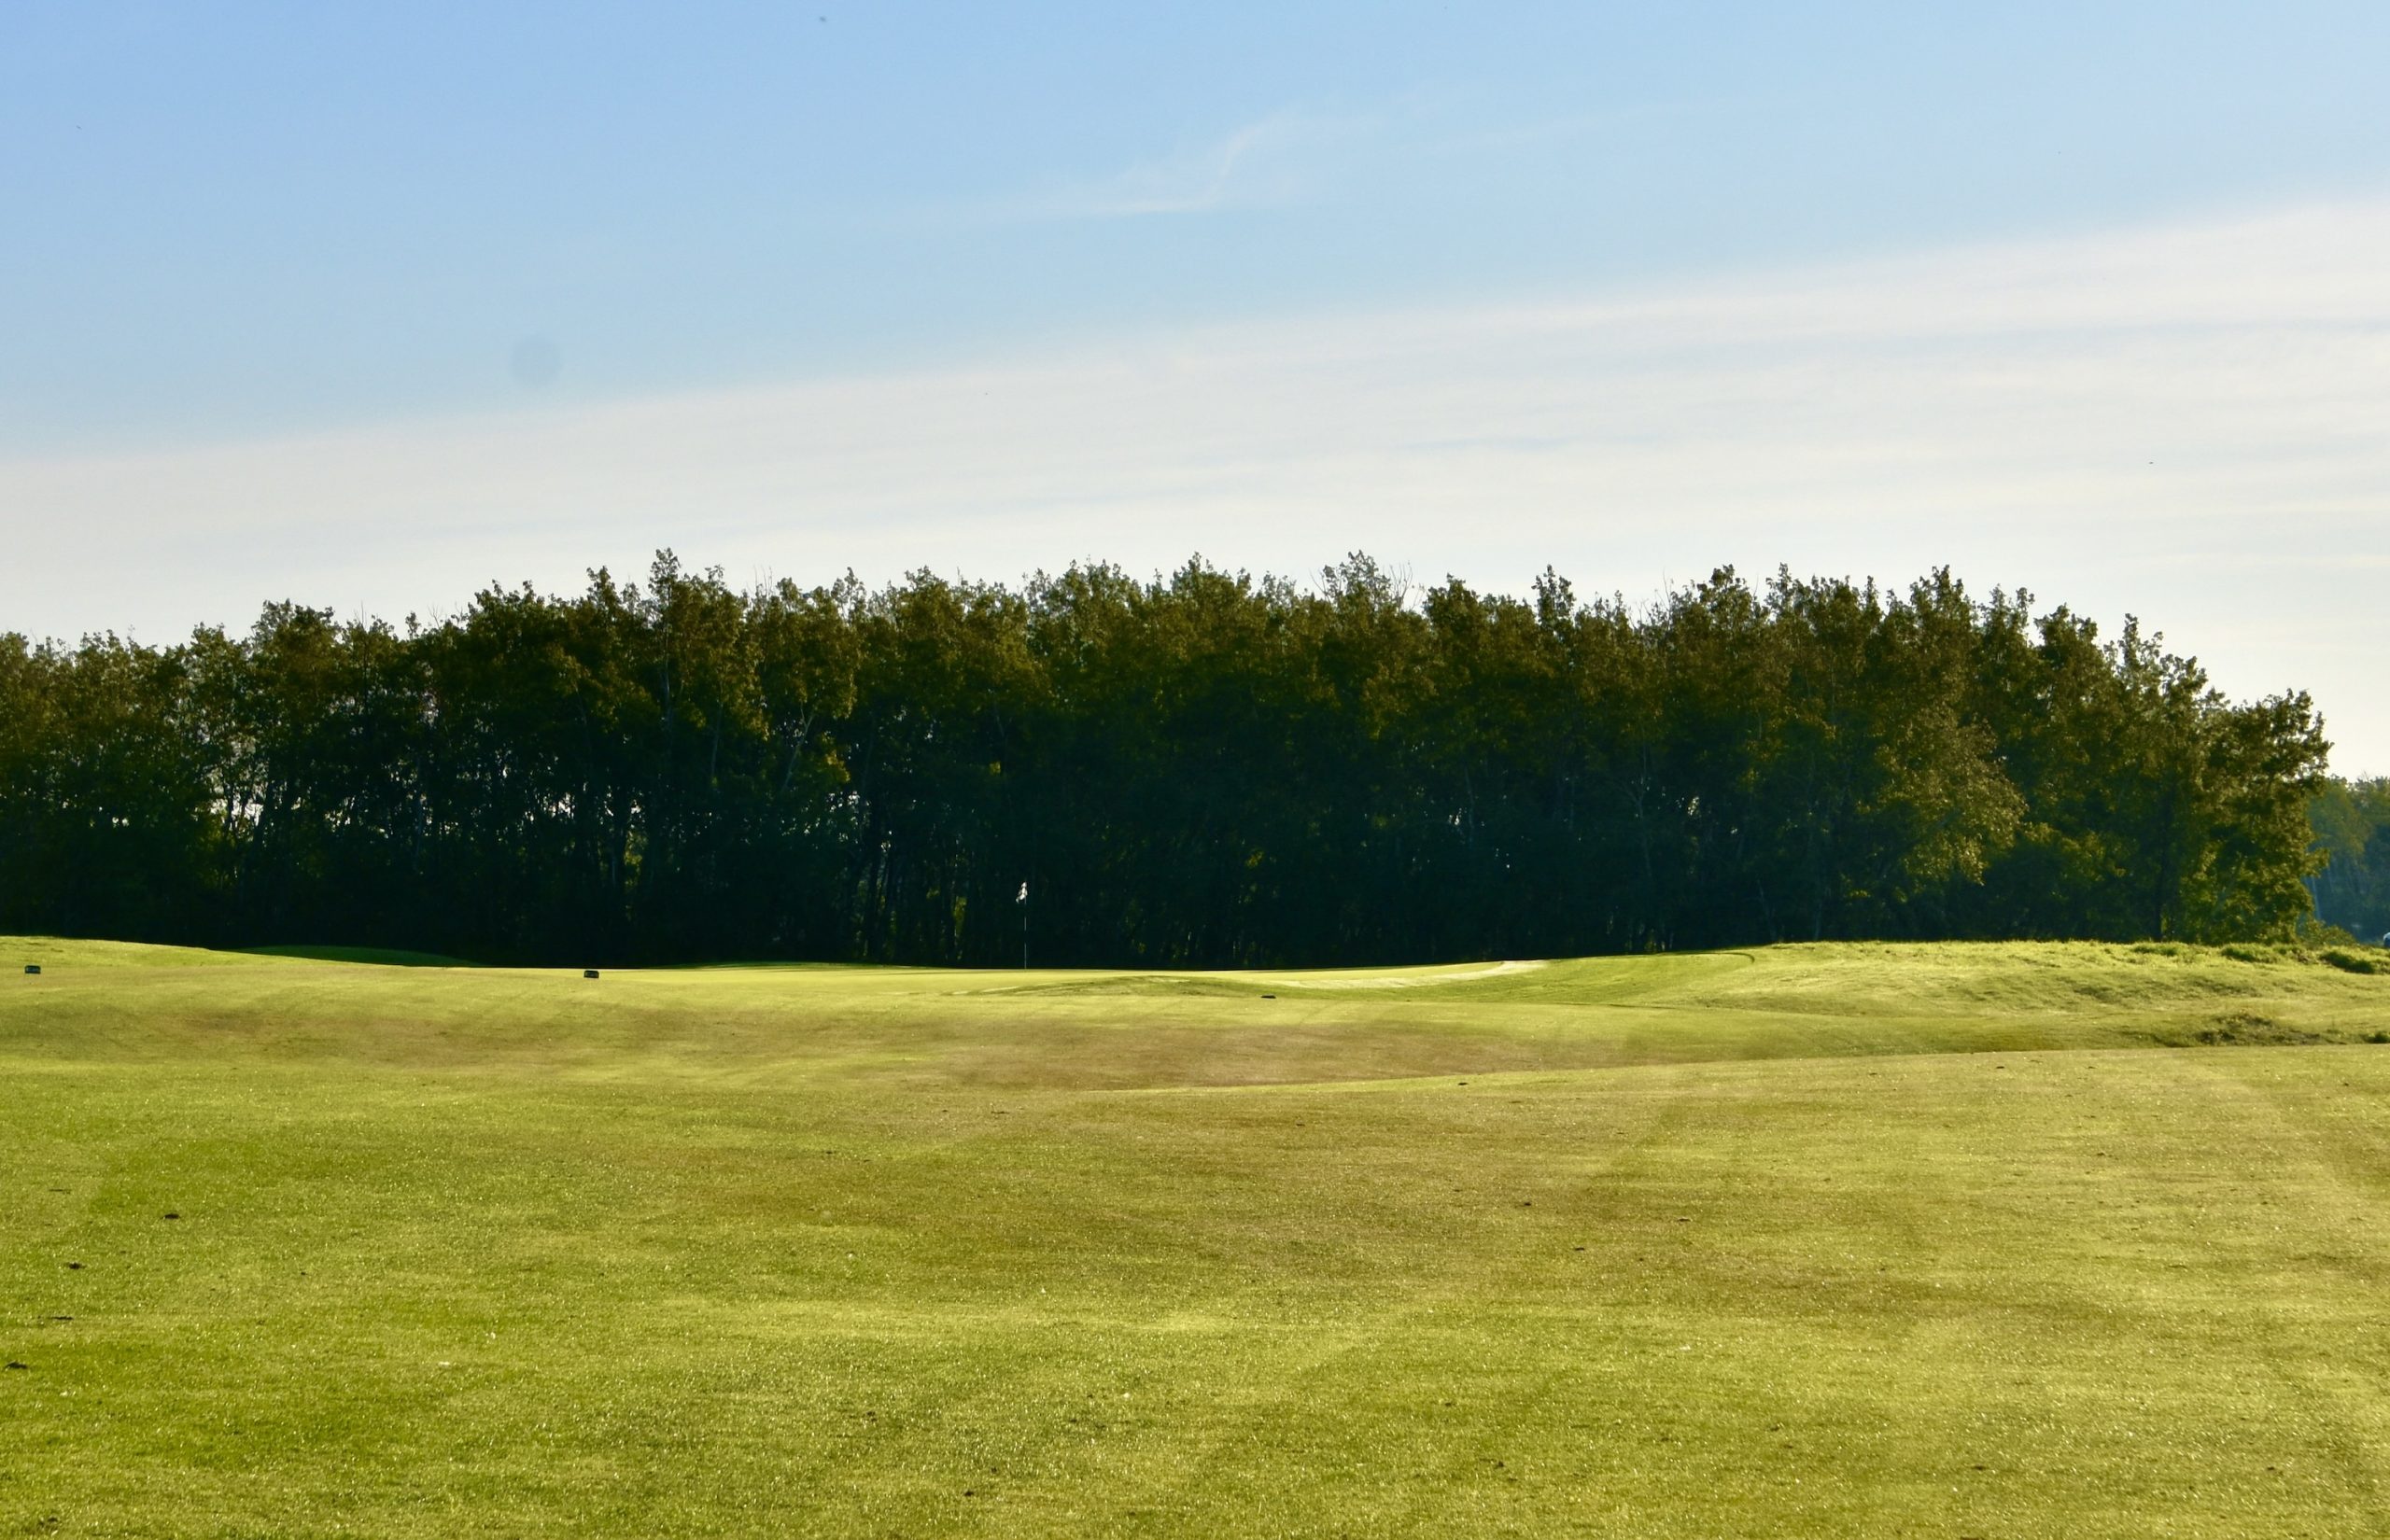
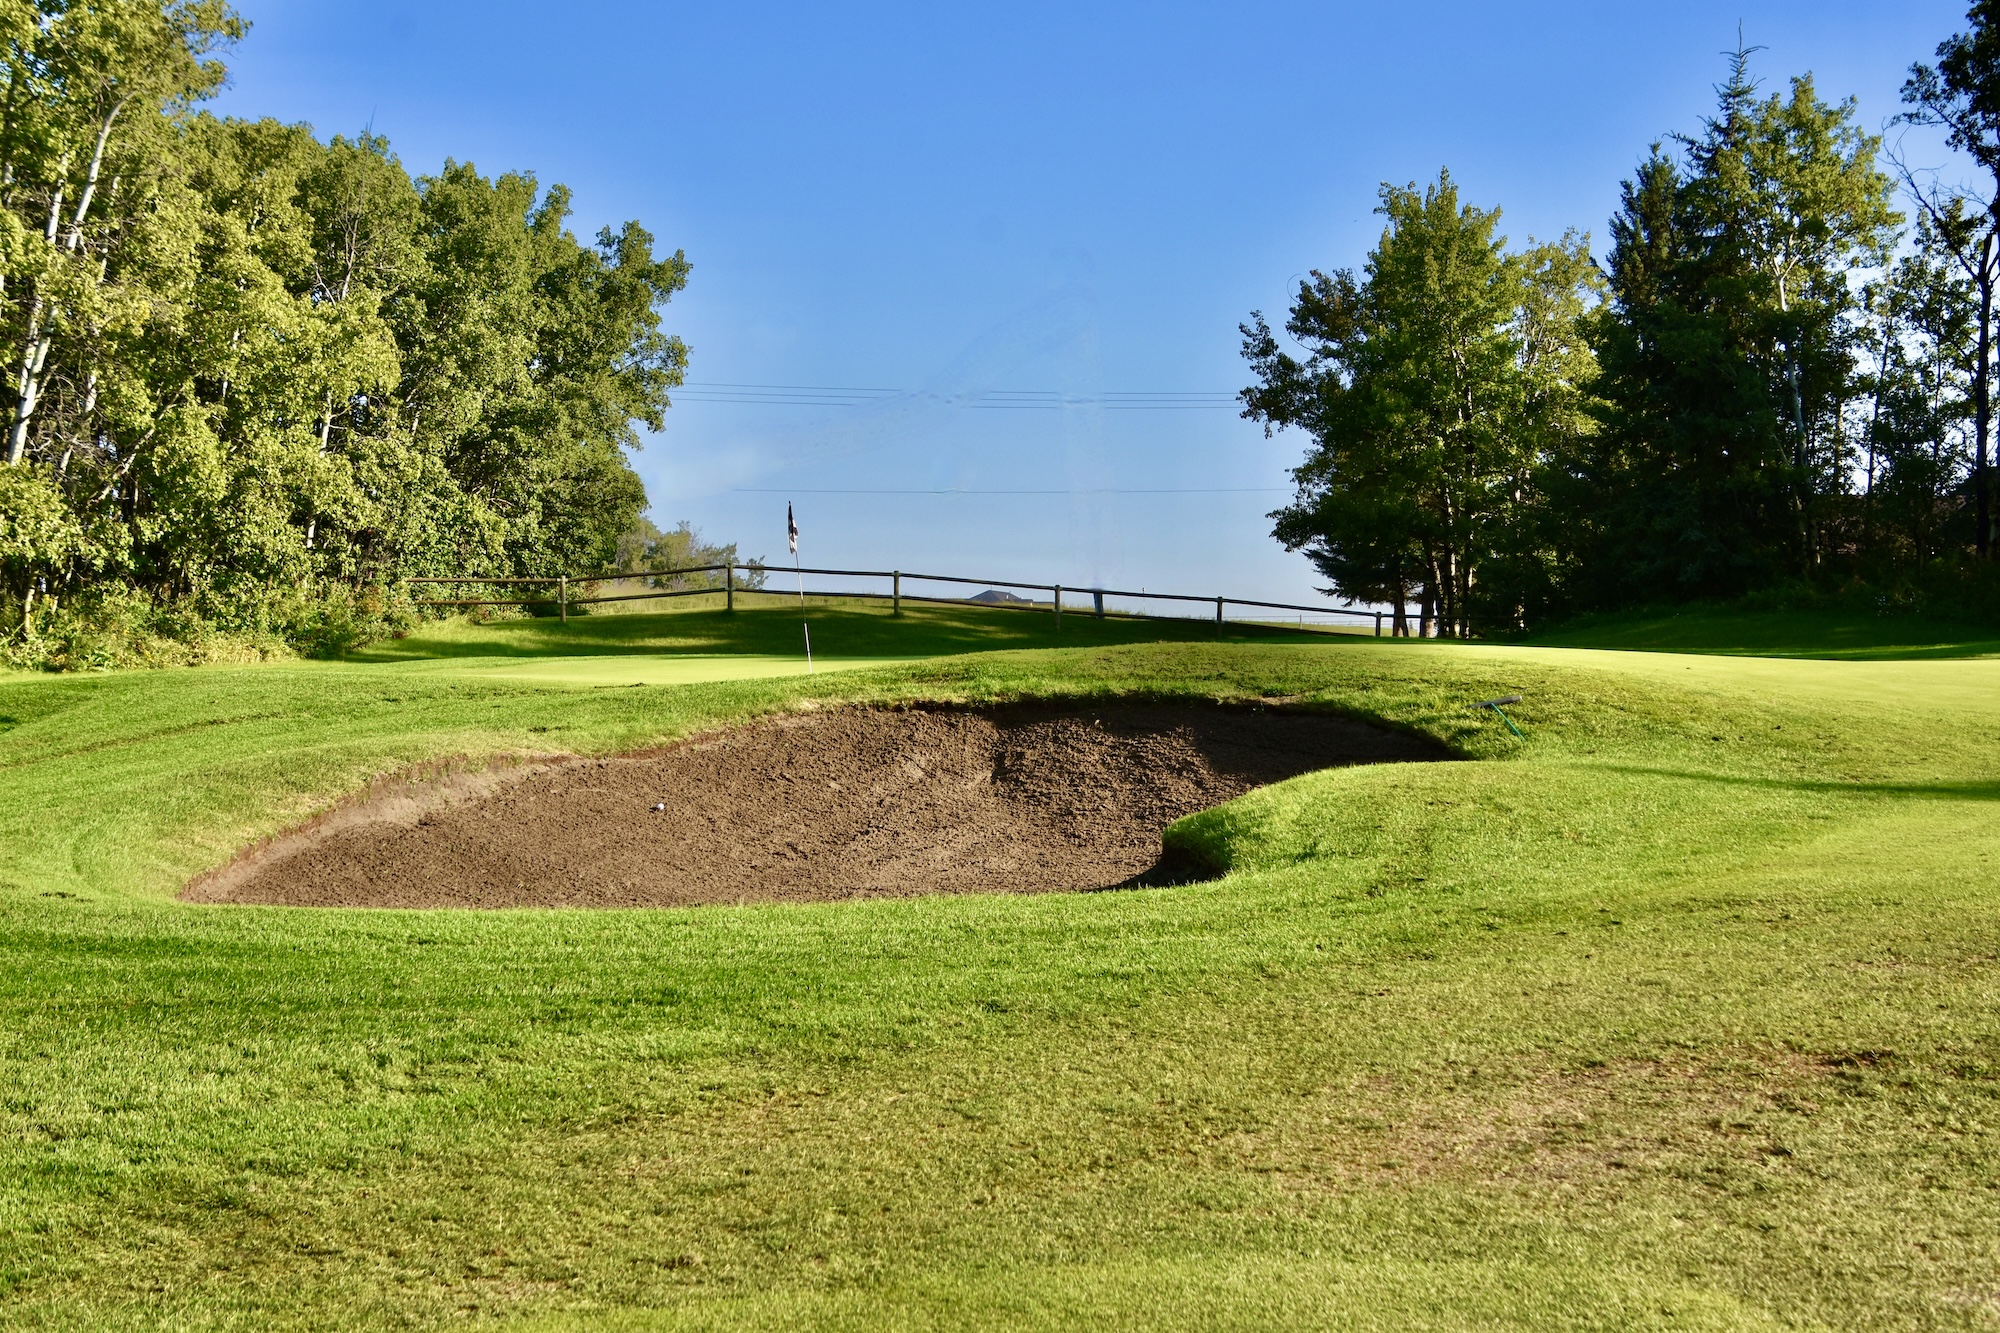
No. 2 Halfner Corner – 136 Yard Par Three
The relatively easy start continues on the second hole which is the #17 rated hole on the Wolf Creek Links course. The issue here is picking the right club. With a back stop behind the green, long is better than short. Once again, par or even birdie is on the menu.
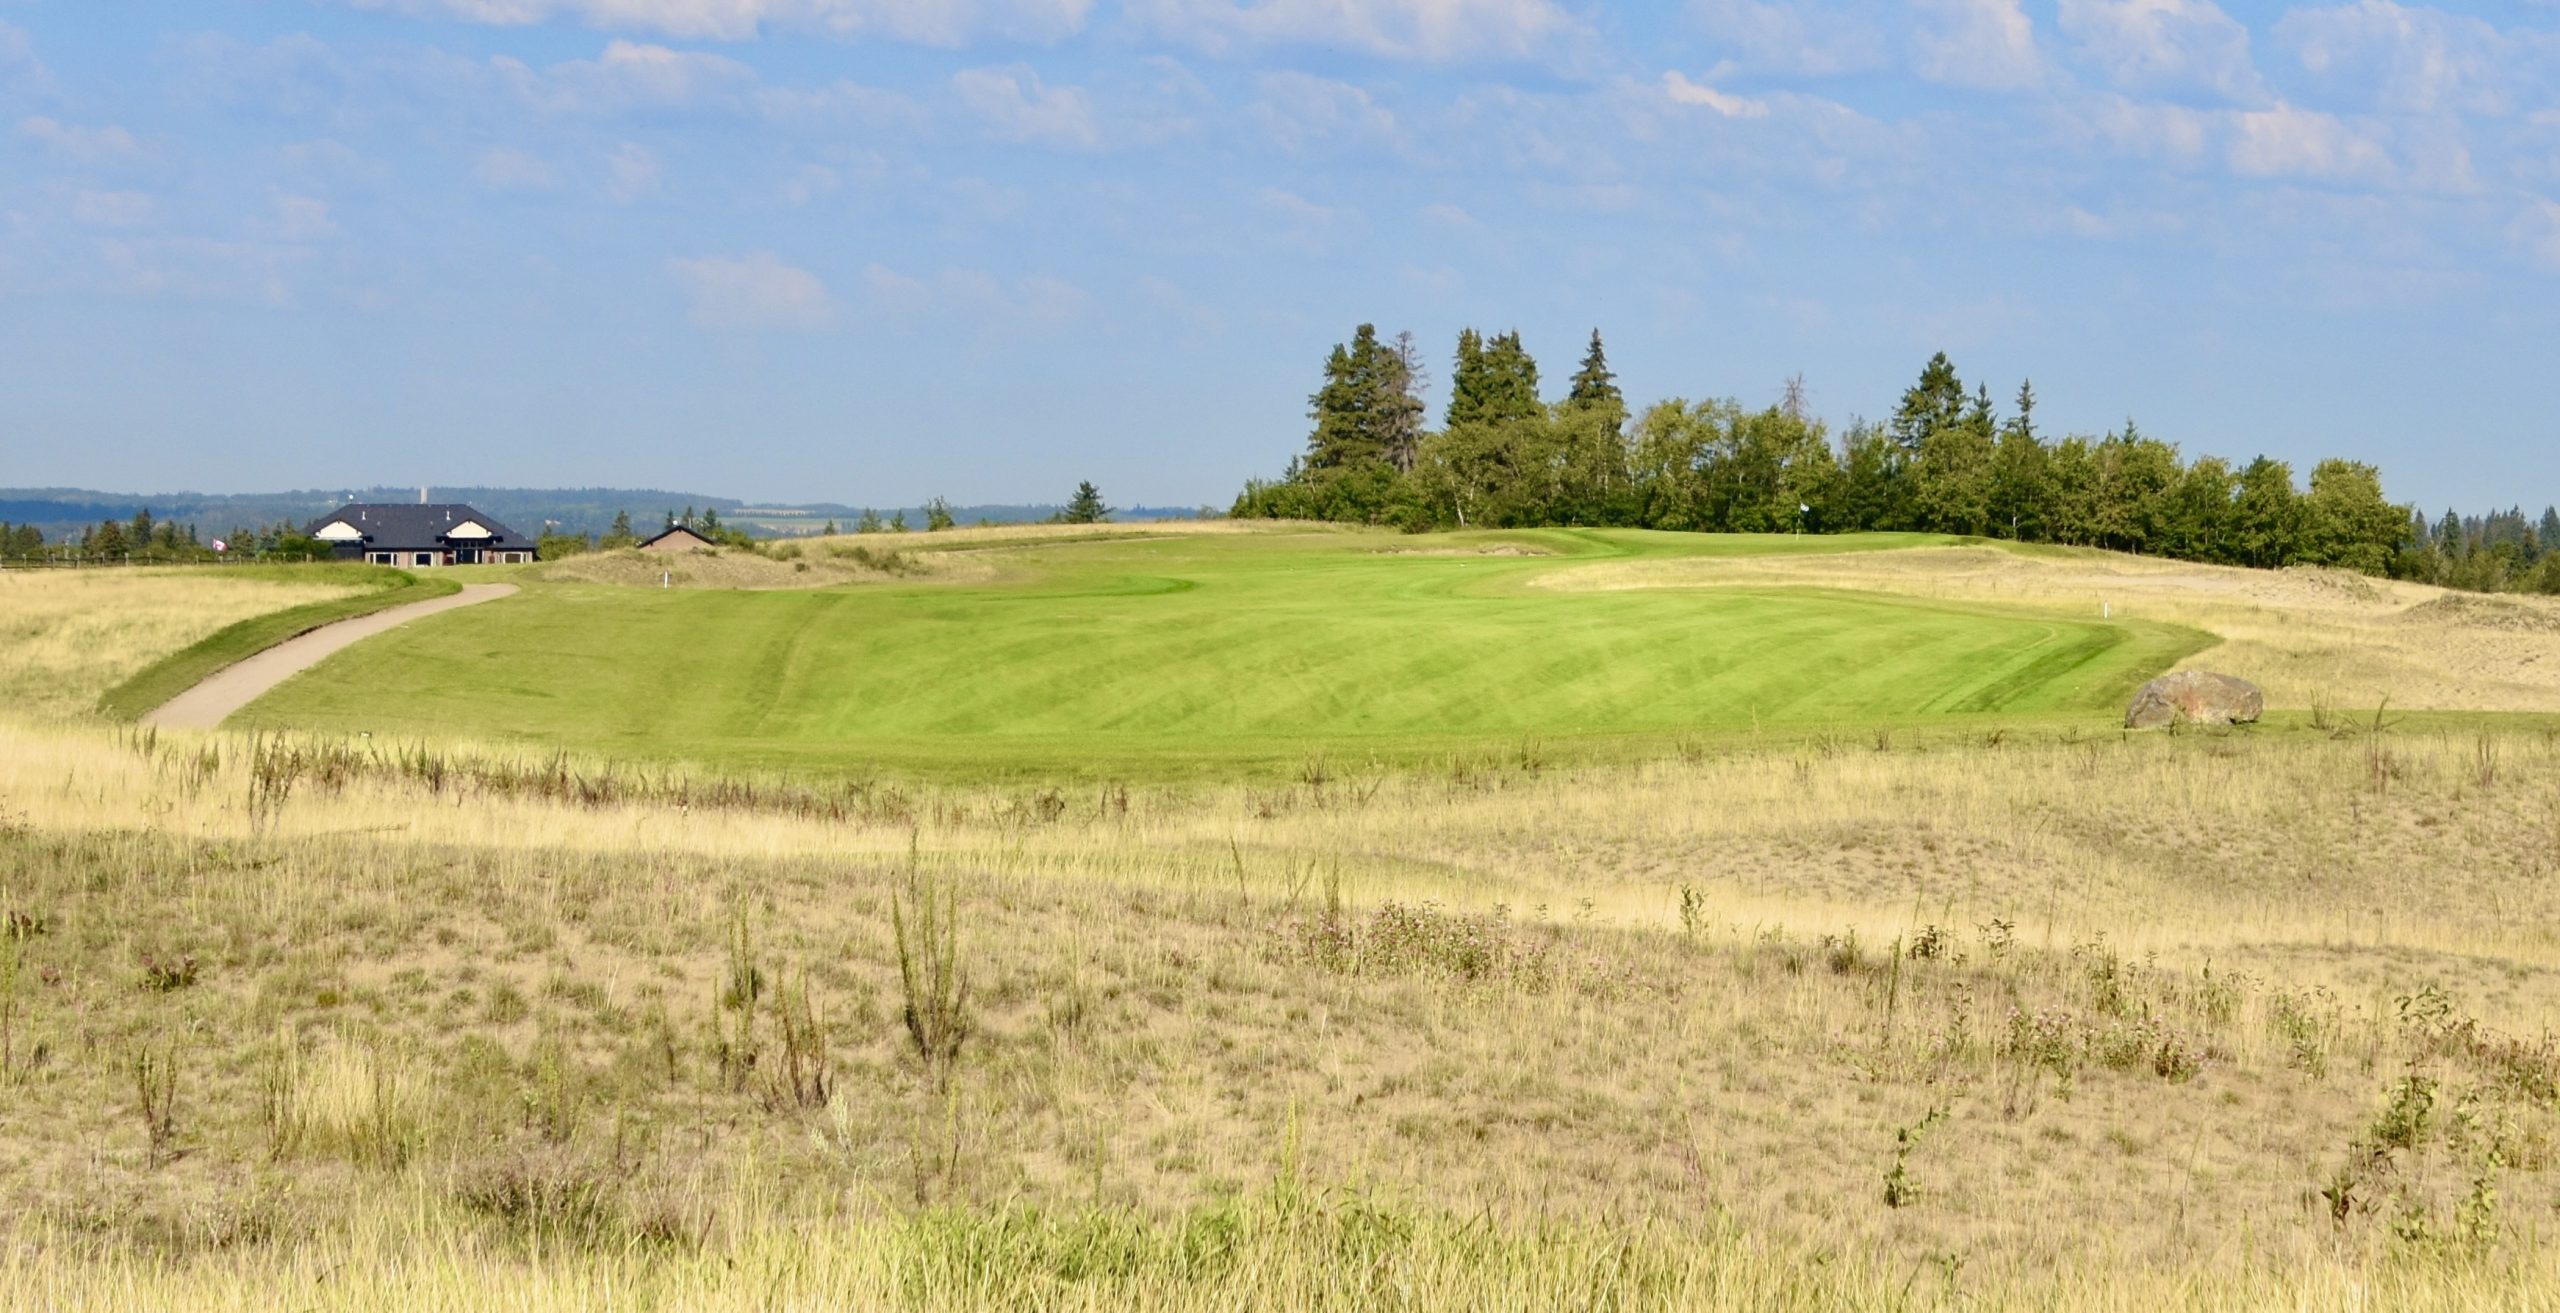
Wolf Creek Links No. 3 Dupe’s Revenge – 375 Yard Par Four
The Wolf Creek Links course honeymoon comes to a crashing end with Dupe’s Revenge, the #1 stroke hole. It’s a gorgeous looking hole that is the ultimate risk/reward challenge. Just how much of the water do you dare cross to get a better approach?
Even with a good drive there is still going to be a mid-iron or higher on the approach which must avoid the trap on the right. I was quite happy to get out of here with a bogey.
This photo gives a good impression of the conditioning of the fairways on the Wolf Creek Links course.
No. 4 Devil’s Trap – 394 Par Four
Things don’t get any easier on the next hole, which I think is more difficult than the third. The fairway is quite narrow and you have to pick a landing spot that will take the trees on the right out of play.
A well positioned drive will leave this approach shot. The traps on the right are not a concern, but the one to the left of the green which is barely visible and I presume is the Devil’s trap, is definitely something to be avoided at all costs.
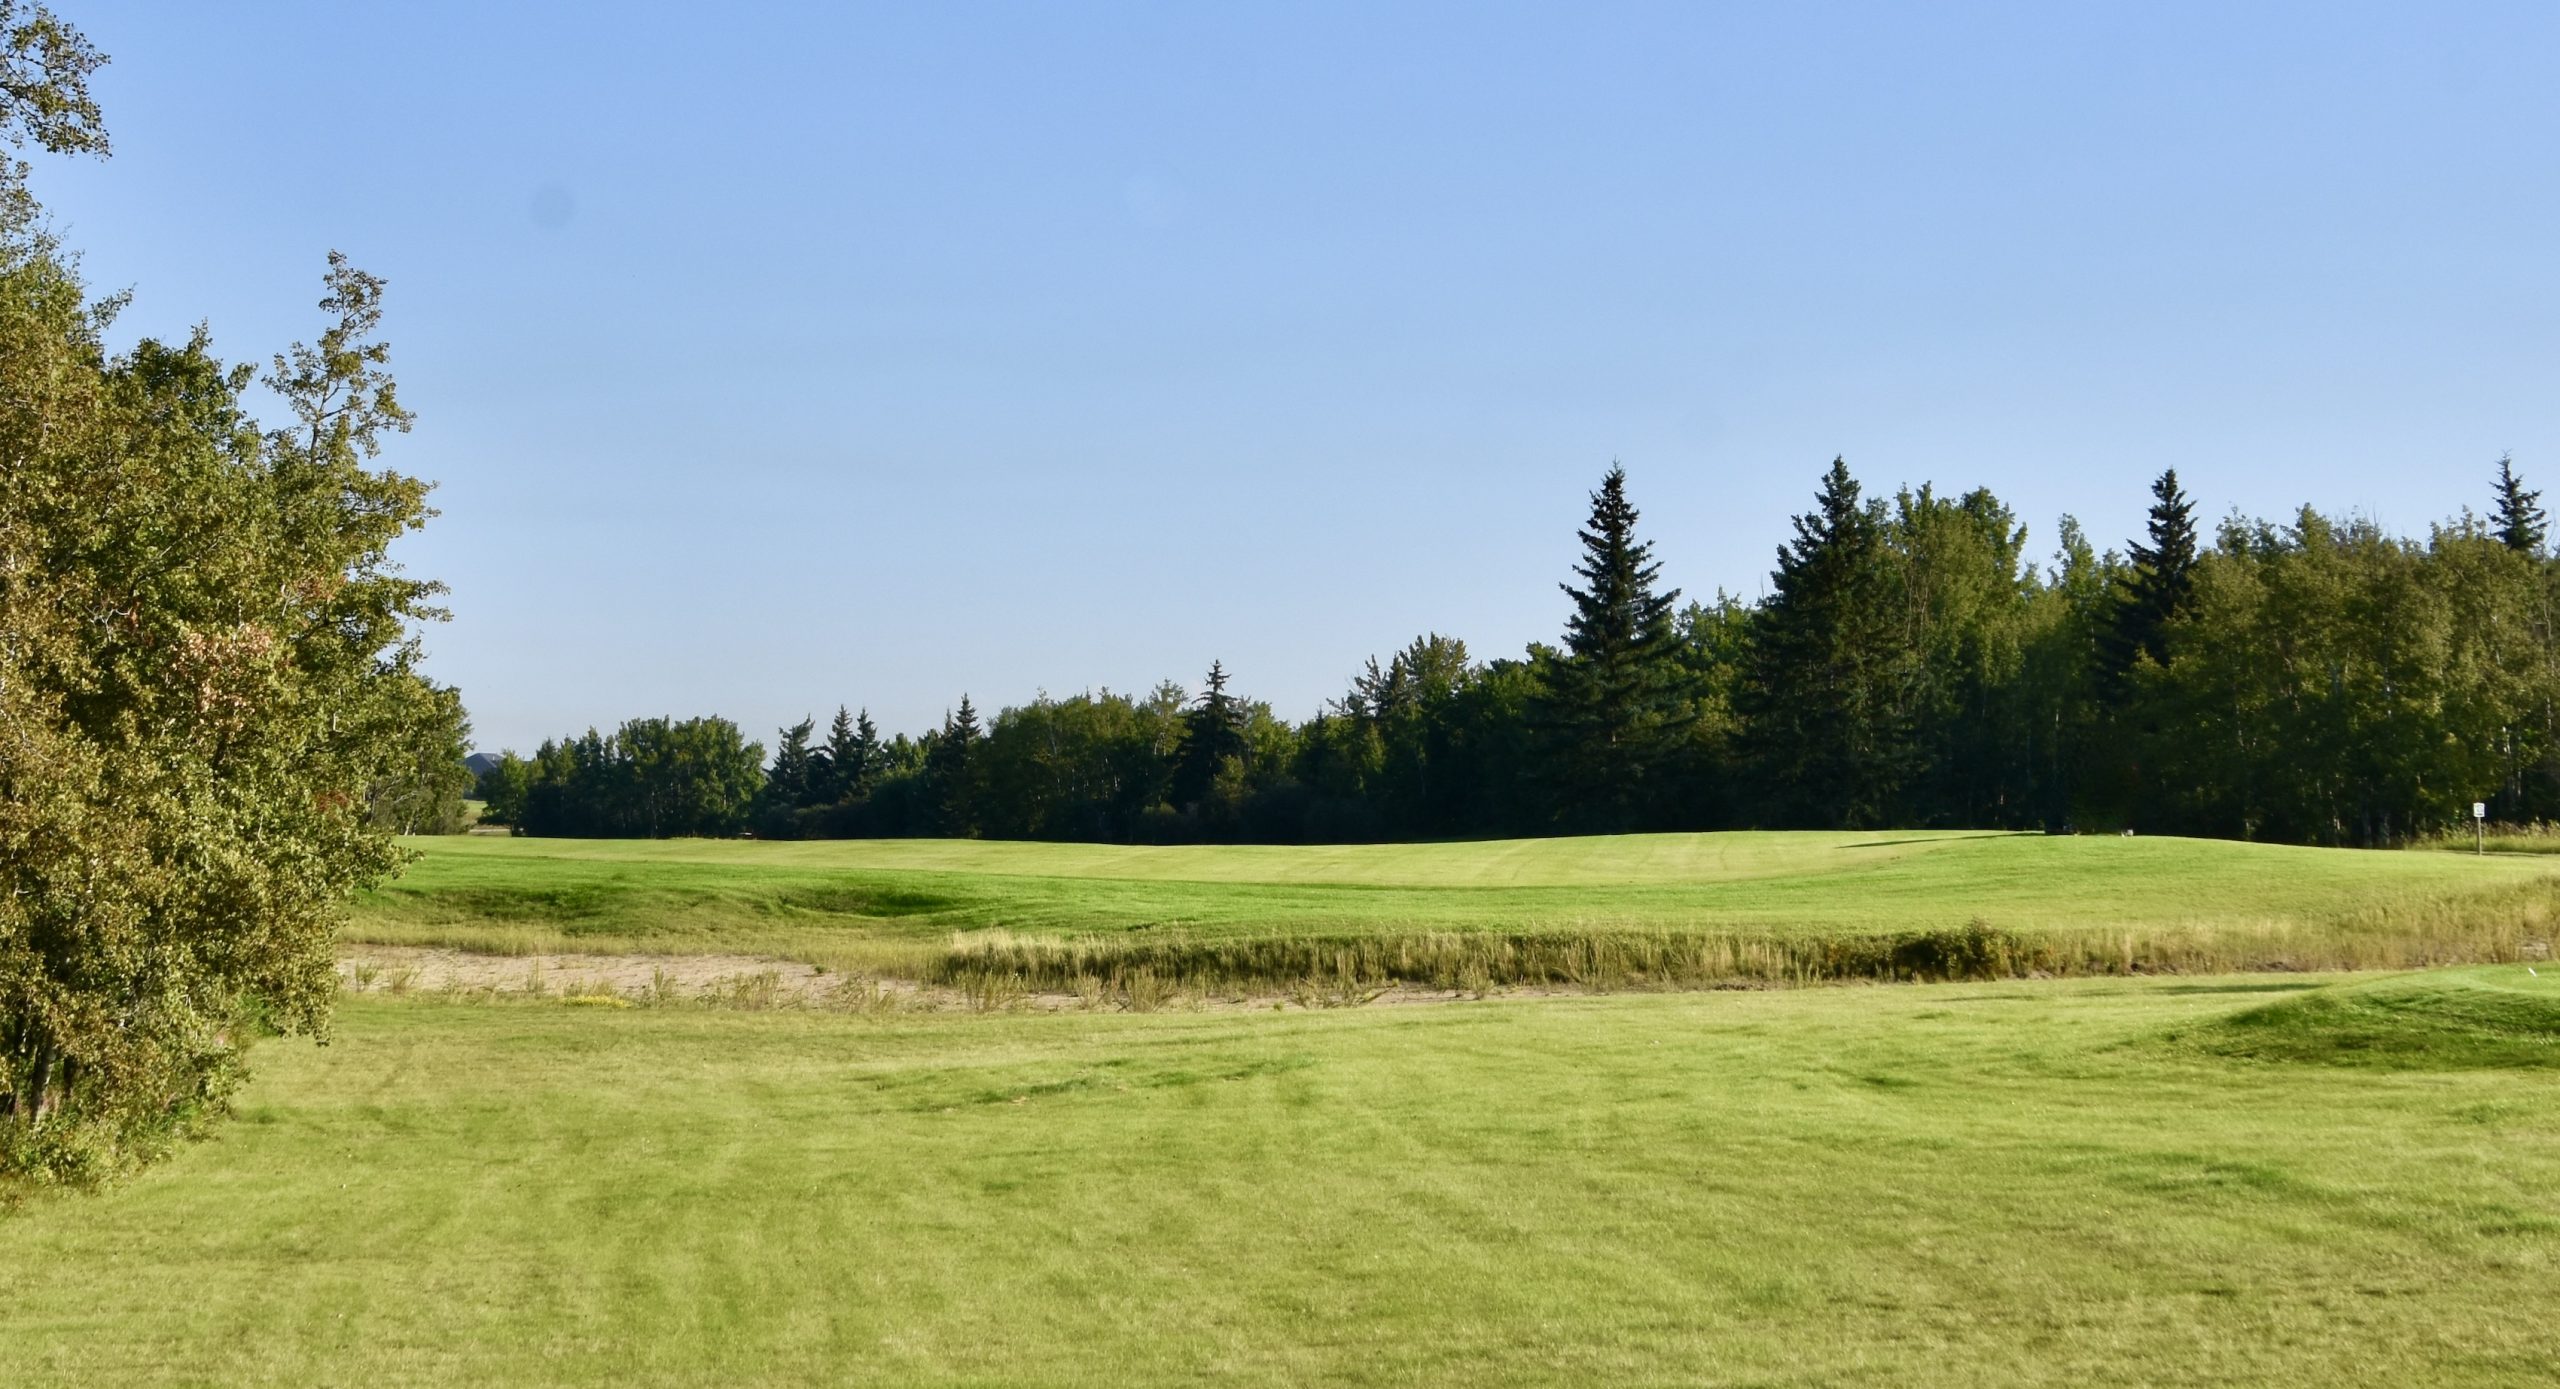
So far, the first four holes have played much more like a parkland course than a links course, but that is about to change.
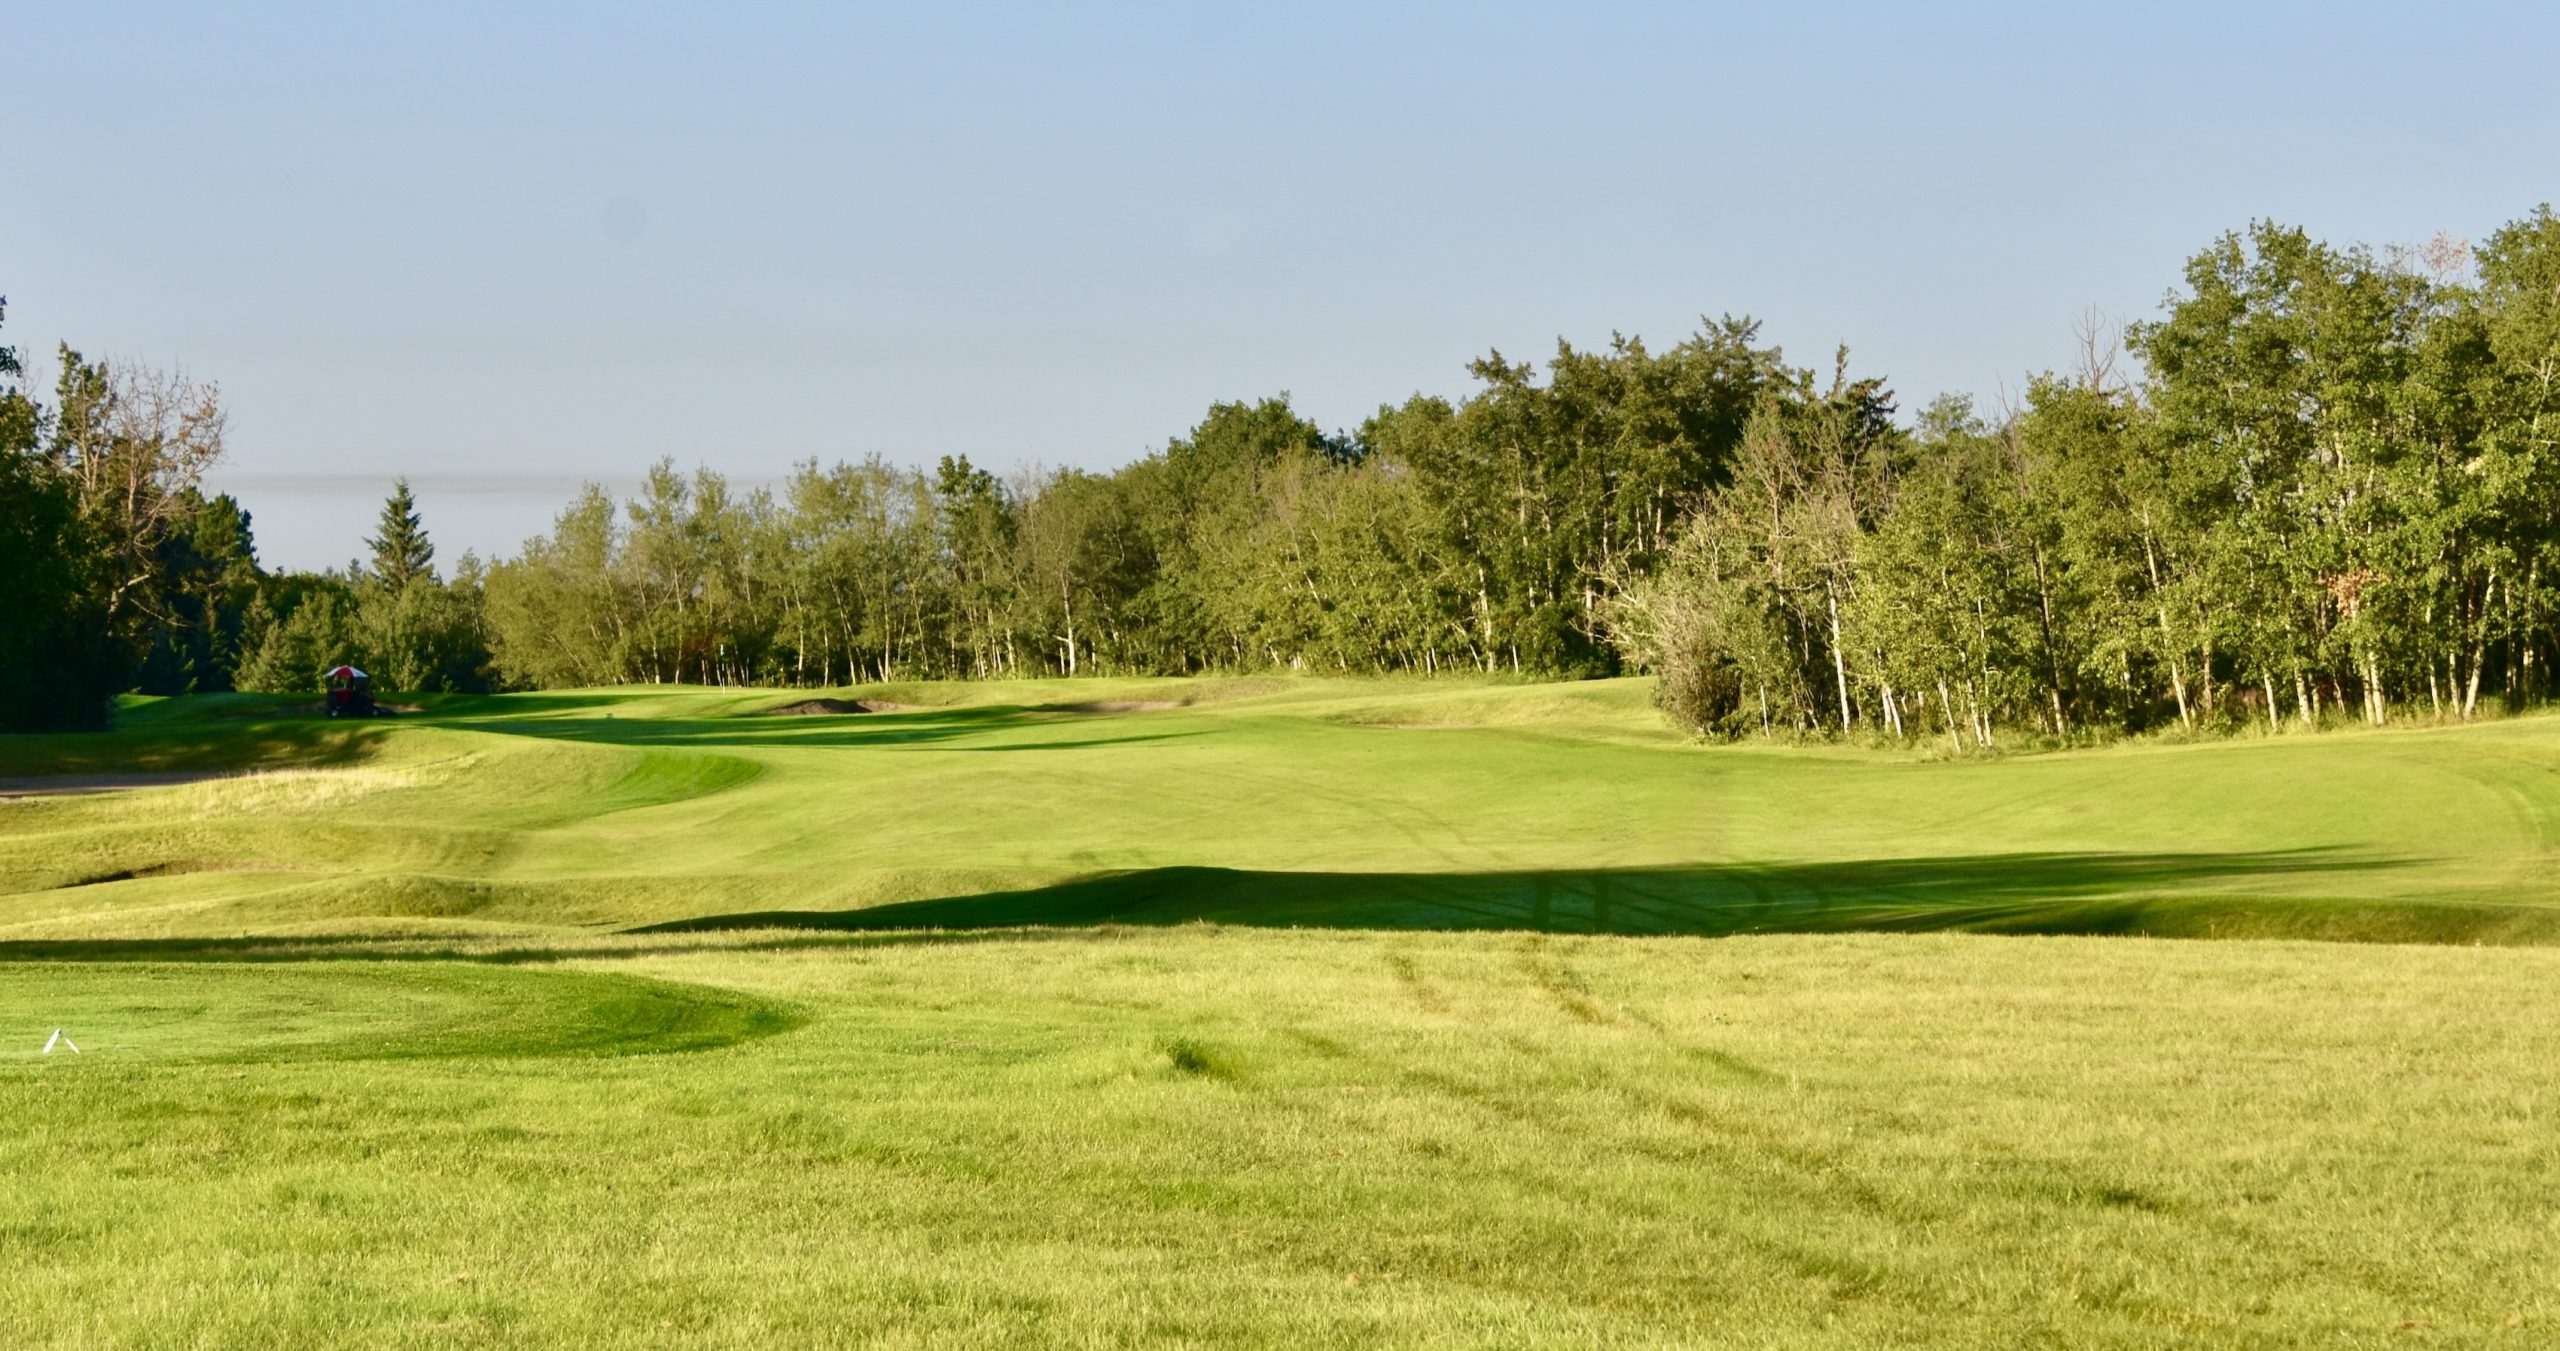
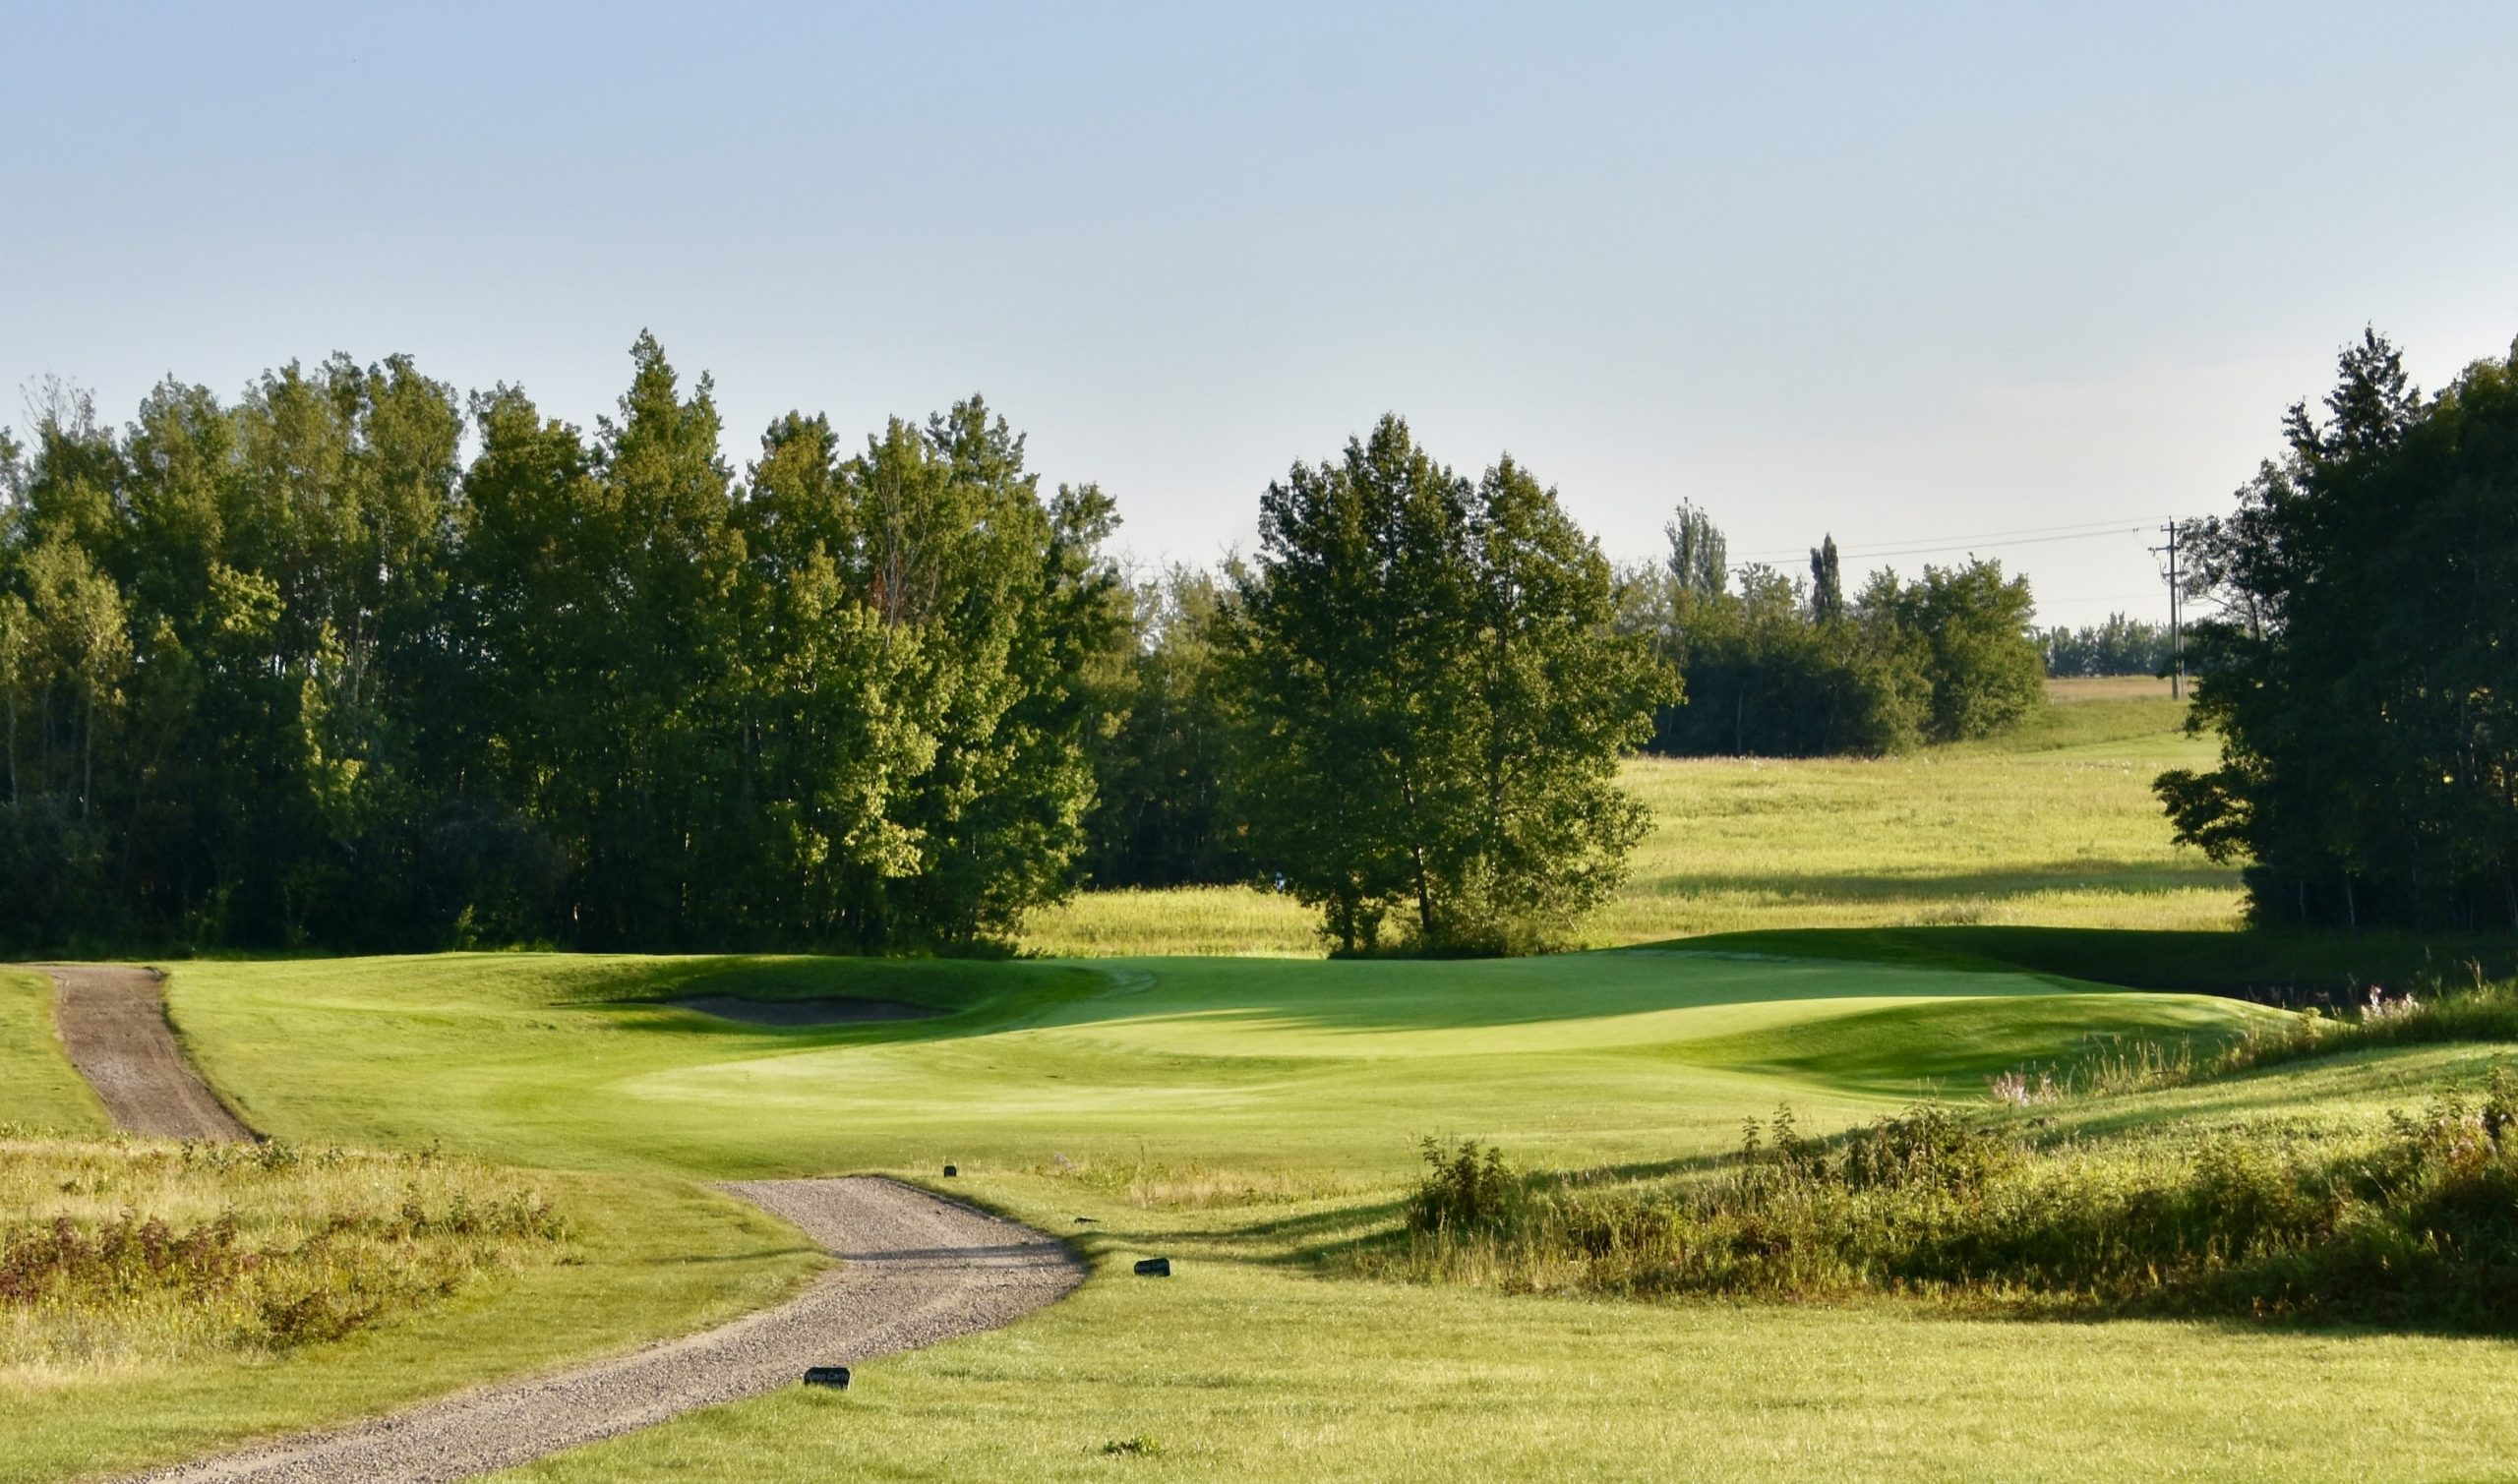
Wolf Creek Links No. 5 Sandy Divide – 350 Yard Par Four
So far the bunkers on the Wolf Creek Links course haven’t really been an issue, but that also changes at this mid-length par four. The bunker you see on the right is actually enormous and stretches to exactly where an errant drive might land. Fortunately, my ball flight is right to left so that’s not an issue, but for most right handers it certainly will be. So stay left at all costs.
Okay, I’m in good shape off the tee, but looking at the score card I can see that there is a bunker that covers the entirety of the back of the green so the approach shot cannot be long. Links courses are known to be conducive to bump and run approach shots and that might be an option here but for that small knoll just in front of the green. So it’s a six or seven iron to a relatively flat green that makes par or better a real opportunity.
No. 6 Teeth of the Wolf – 182 Yard Par Three
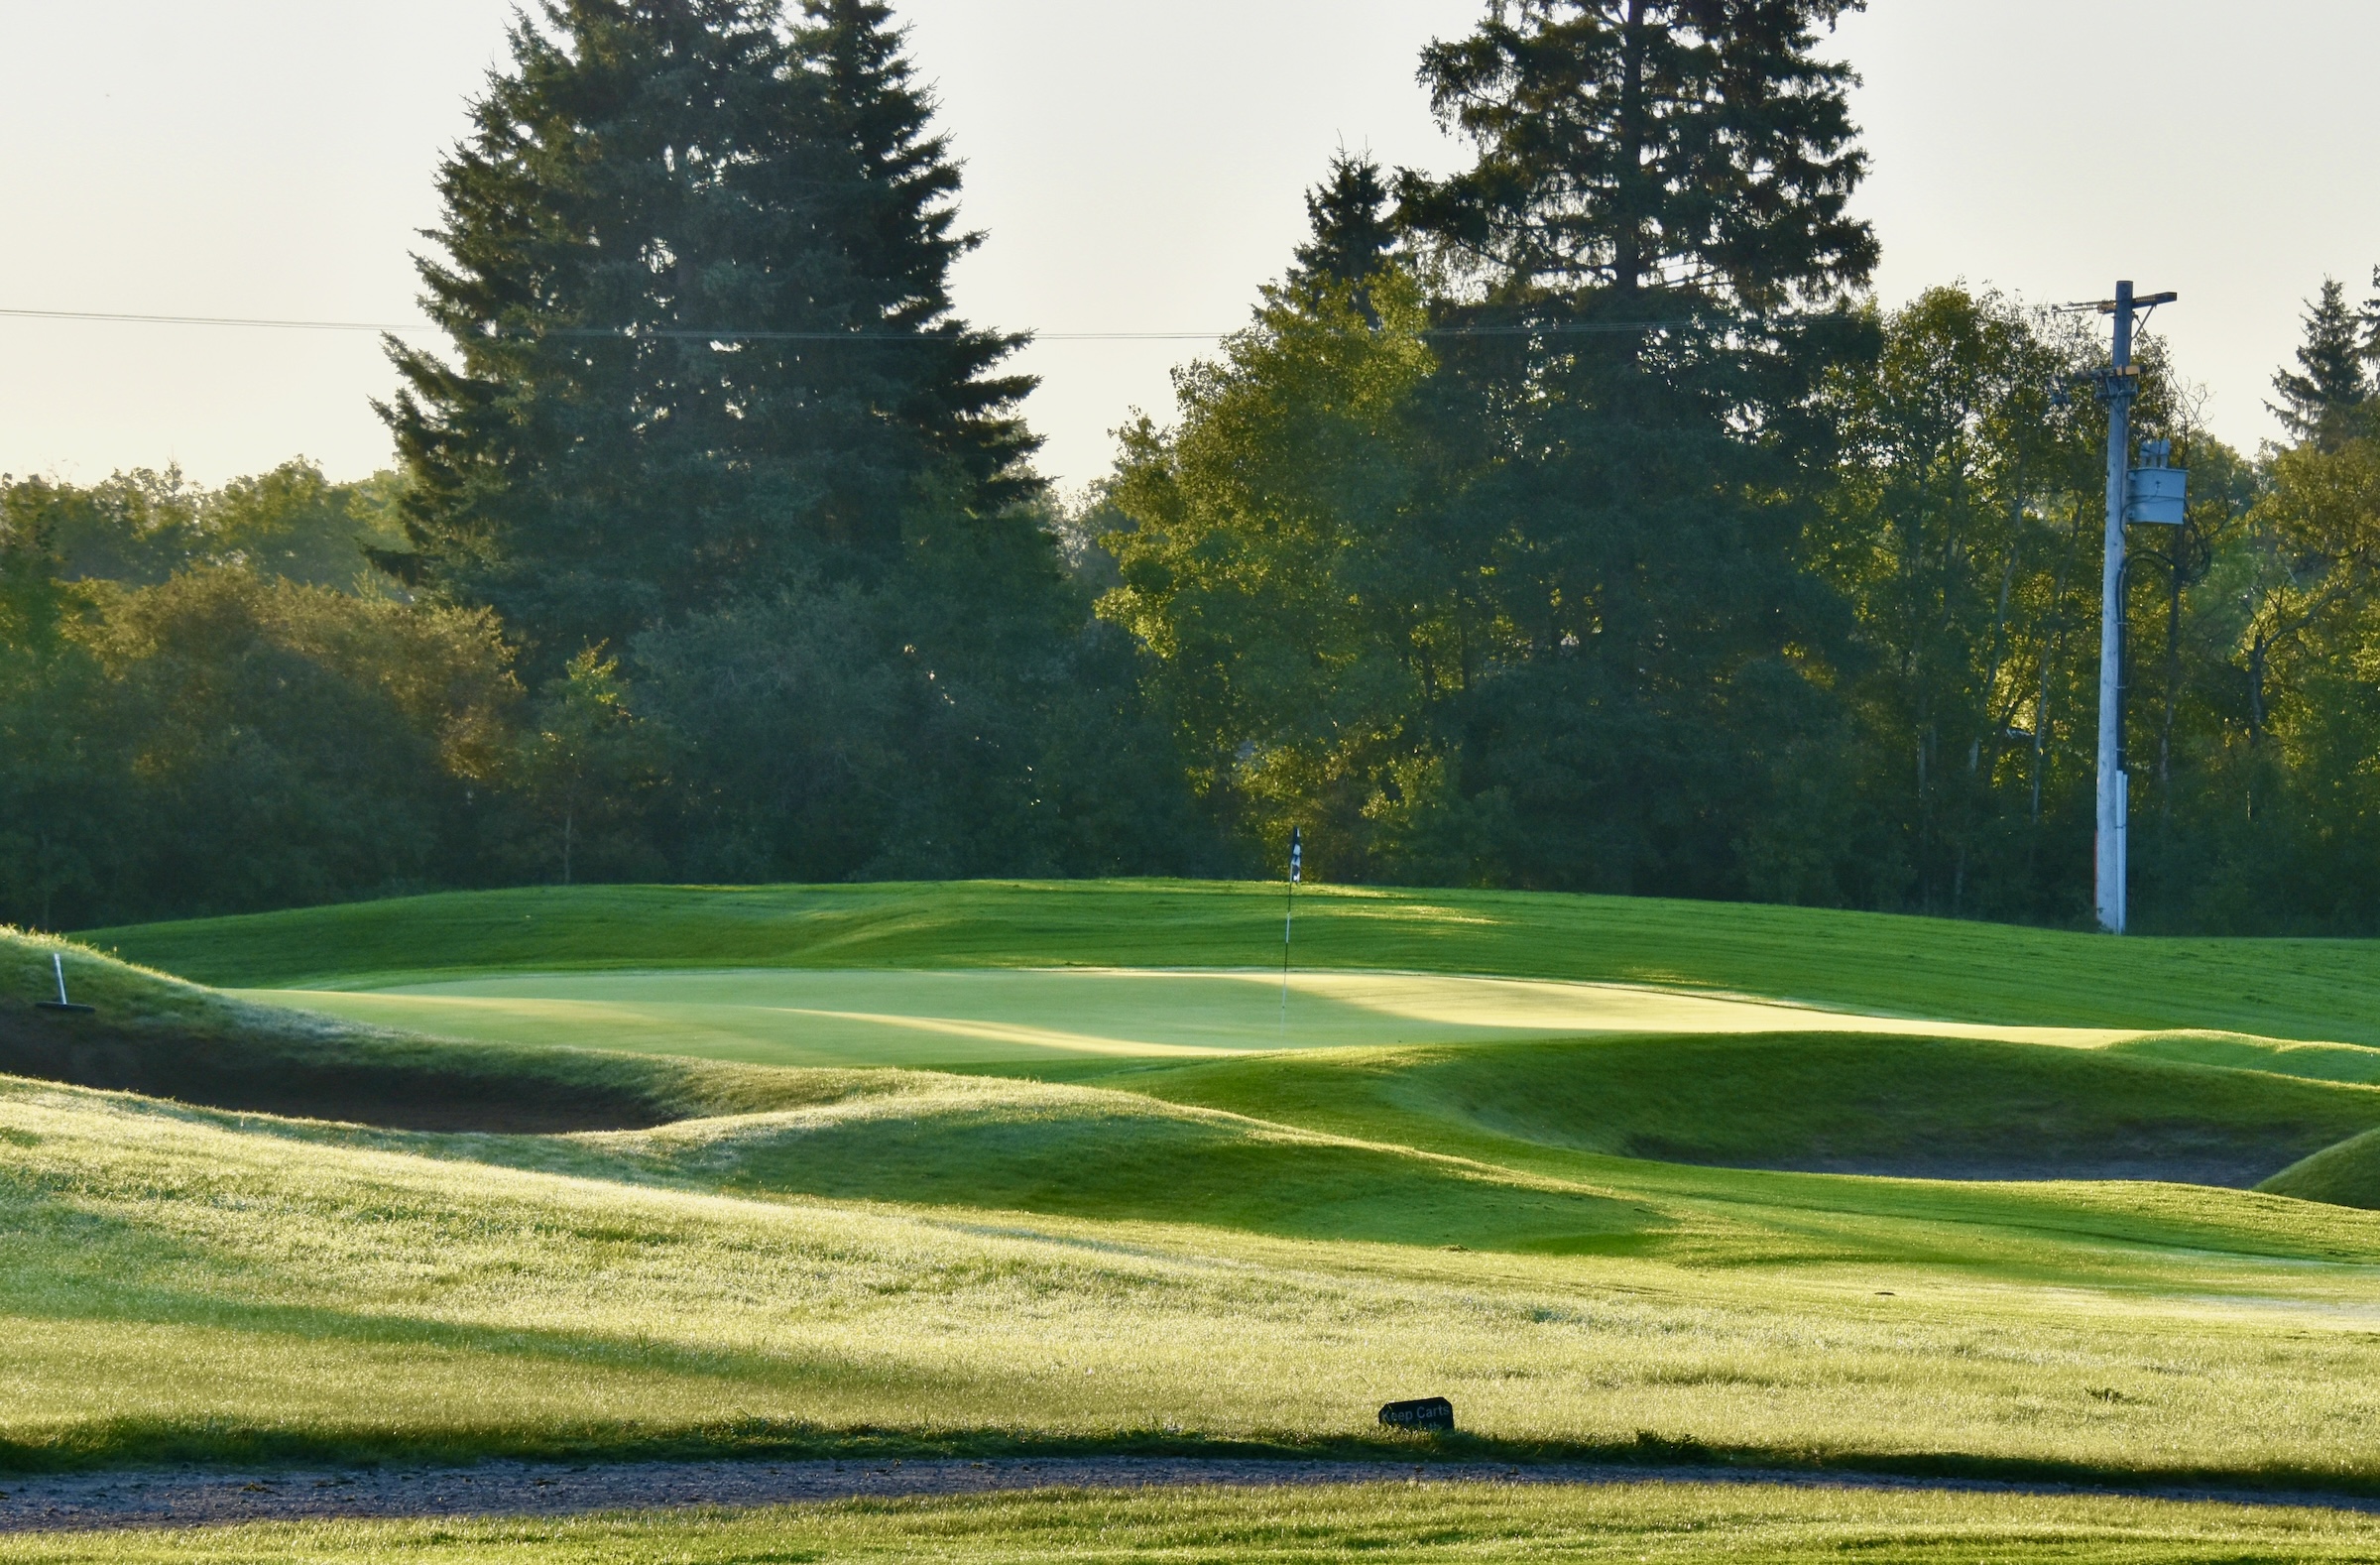
The length of this hole is somewhat offset by the fact it is a downhill tee shot. There are two traps to be avoided on either side of the green which is one of the largest on the Wolf Creek Links course. Long or short is OK, but just don’t be left or right.
Wolf Creek Links No. 7 Pinnacle – 375 Yard Par Four

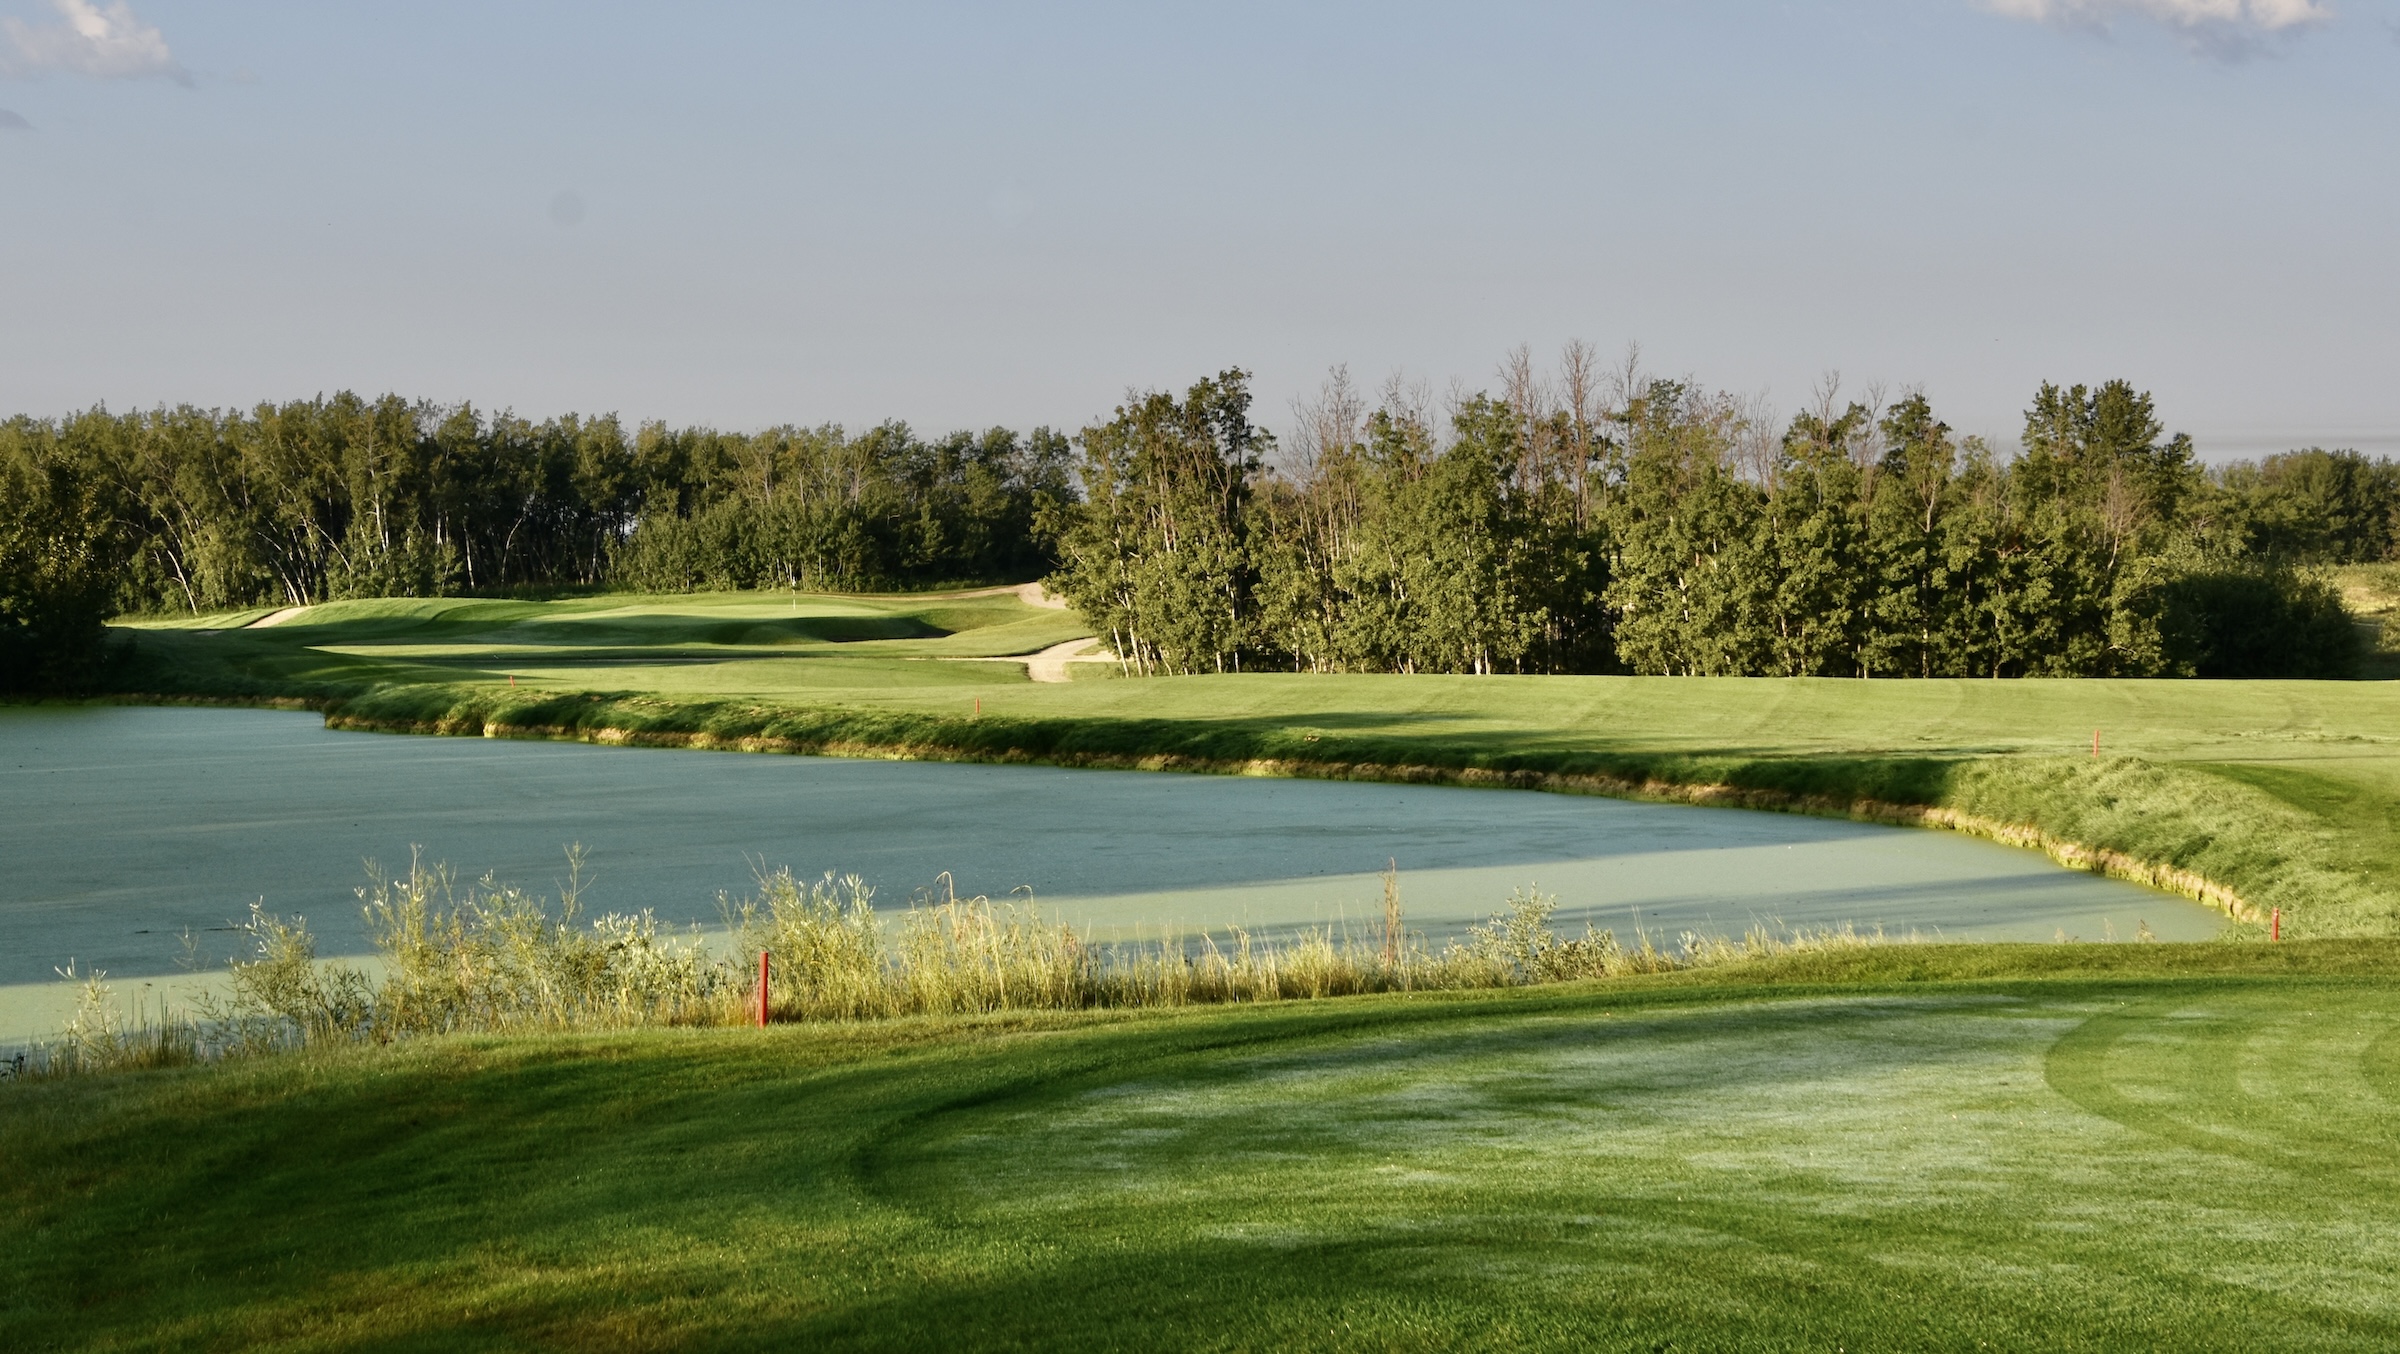
This is where the true nature of the Wolf Creek Links course comes out. While the rightside fairway bunker on number five was not really in play for me, on this hole there is waste bunker down the entire left side of this hole and it’s very much an issue for my fade which can quickly turn into a slice.

I have avoided the waste bunker, but now face this uphill approach shot that will require more club than the yardage suggests. There are small bunkers to the front left and back right which you cannot see on the approach shot. That’s why it’s always smart to look at your course map on the scorecard on a course you’re playing for the first time.
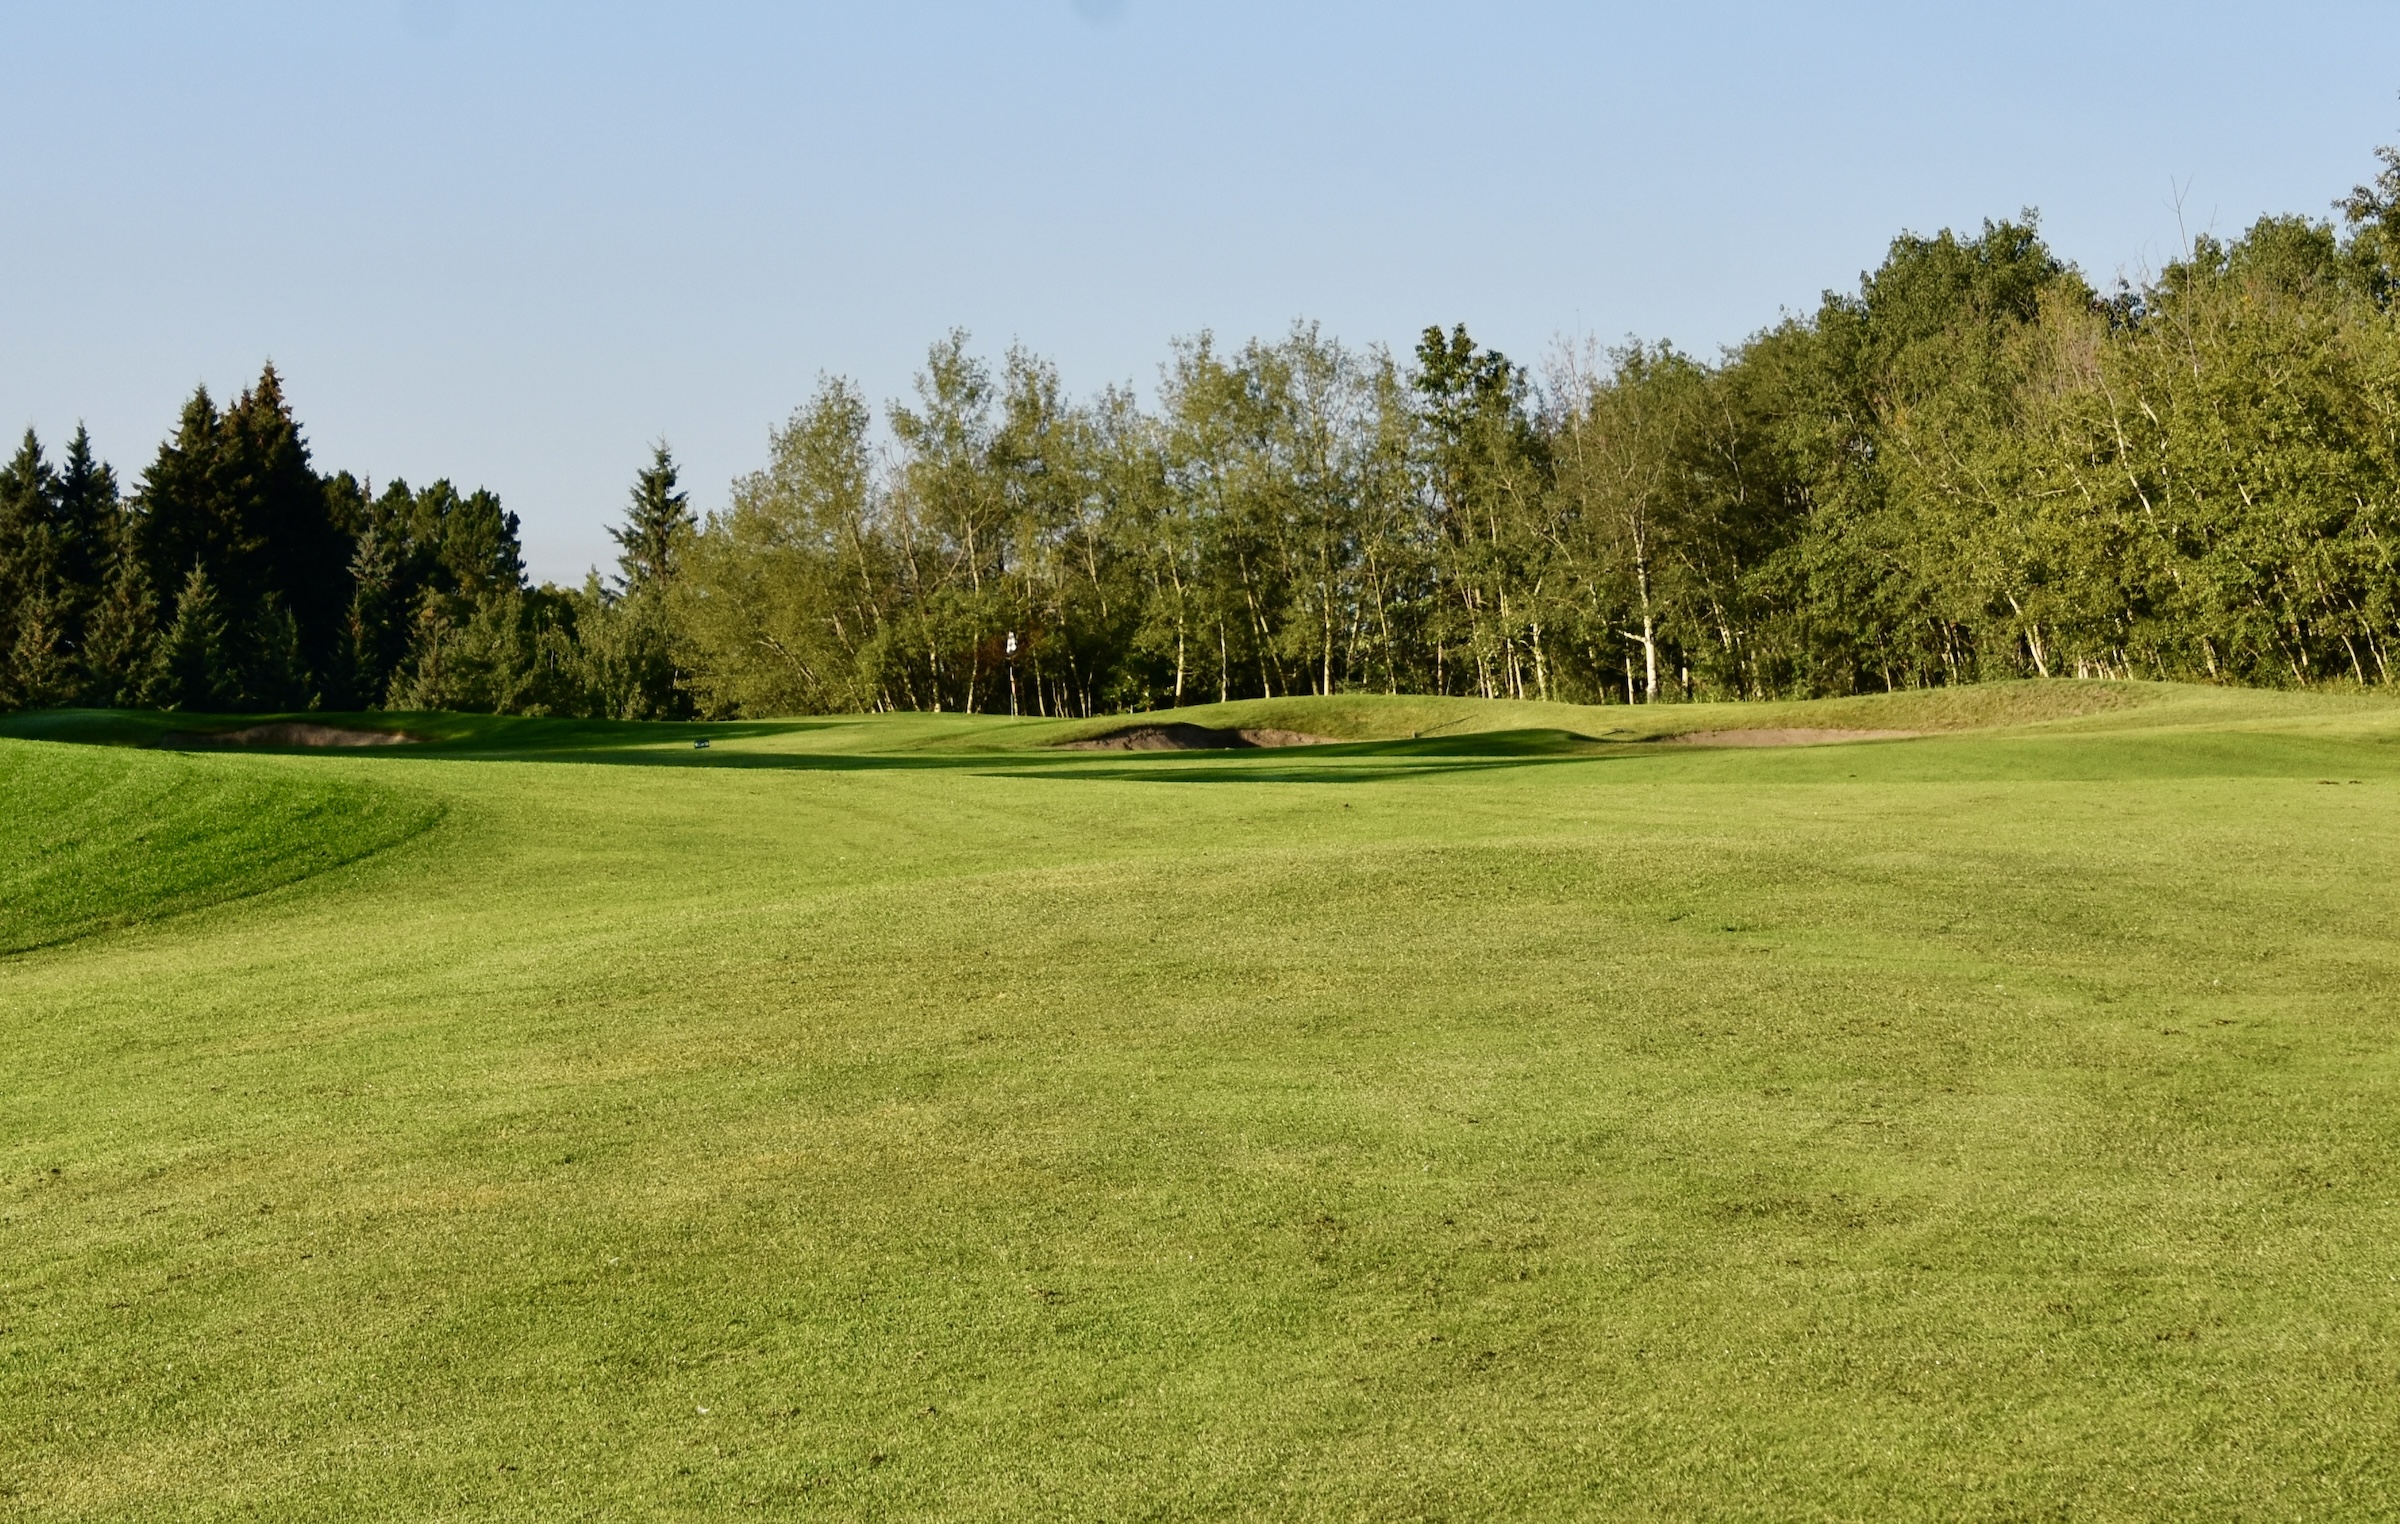
No. 8 Temptation – 282 Yard Par Four
This mini par four features a waste bunker down the entire right side which is not really in play for me, but will force righties to play well away from it. The smart move here is not to hit driver, but something that will leave a full wedge into the small green. Don’t be tempted into trying to go for the green unless you are a big hitter in which case it absolutely demands that you go for the eagle.
A gentle five wood left this wedge shot that didn’t net a birdie, but the easiest par you will find on the Wolf Creek Links course. At my age I really appreciate a hole like this – it almost makes me feel like the good golfer I once was.
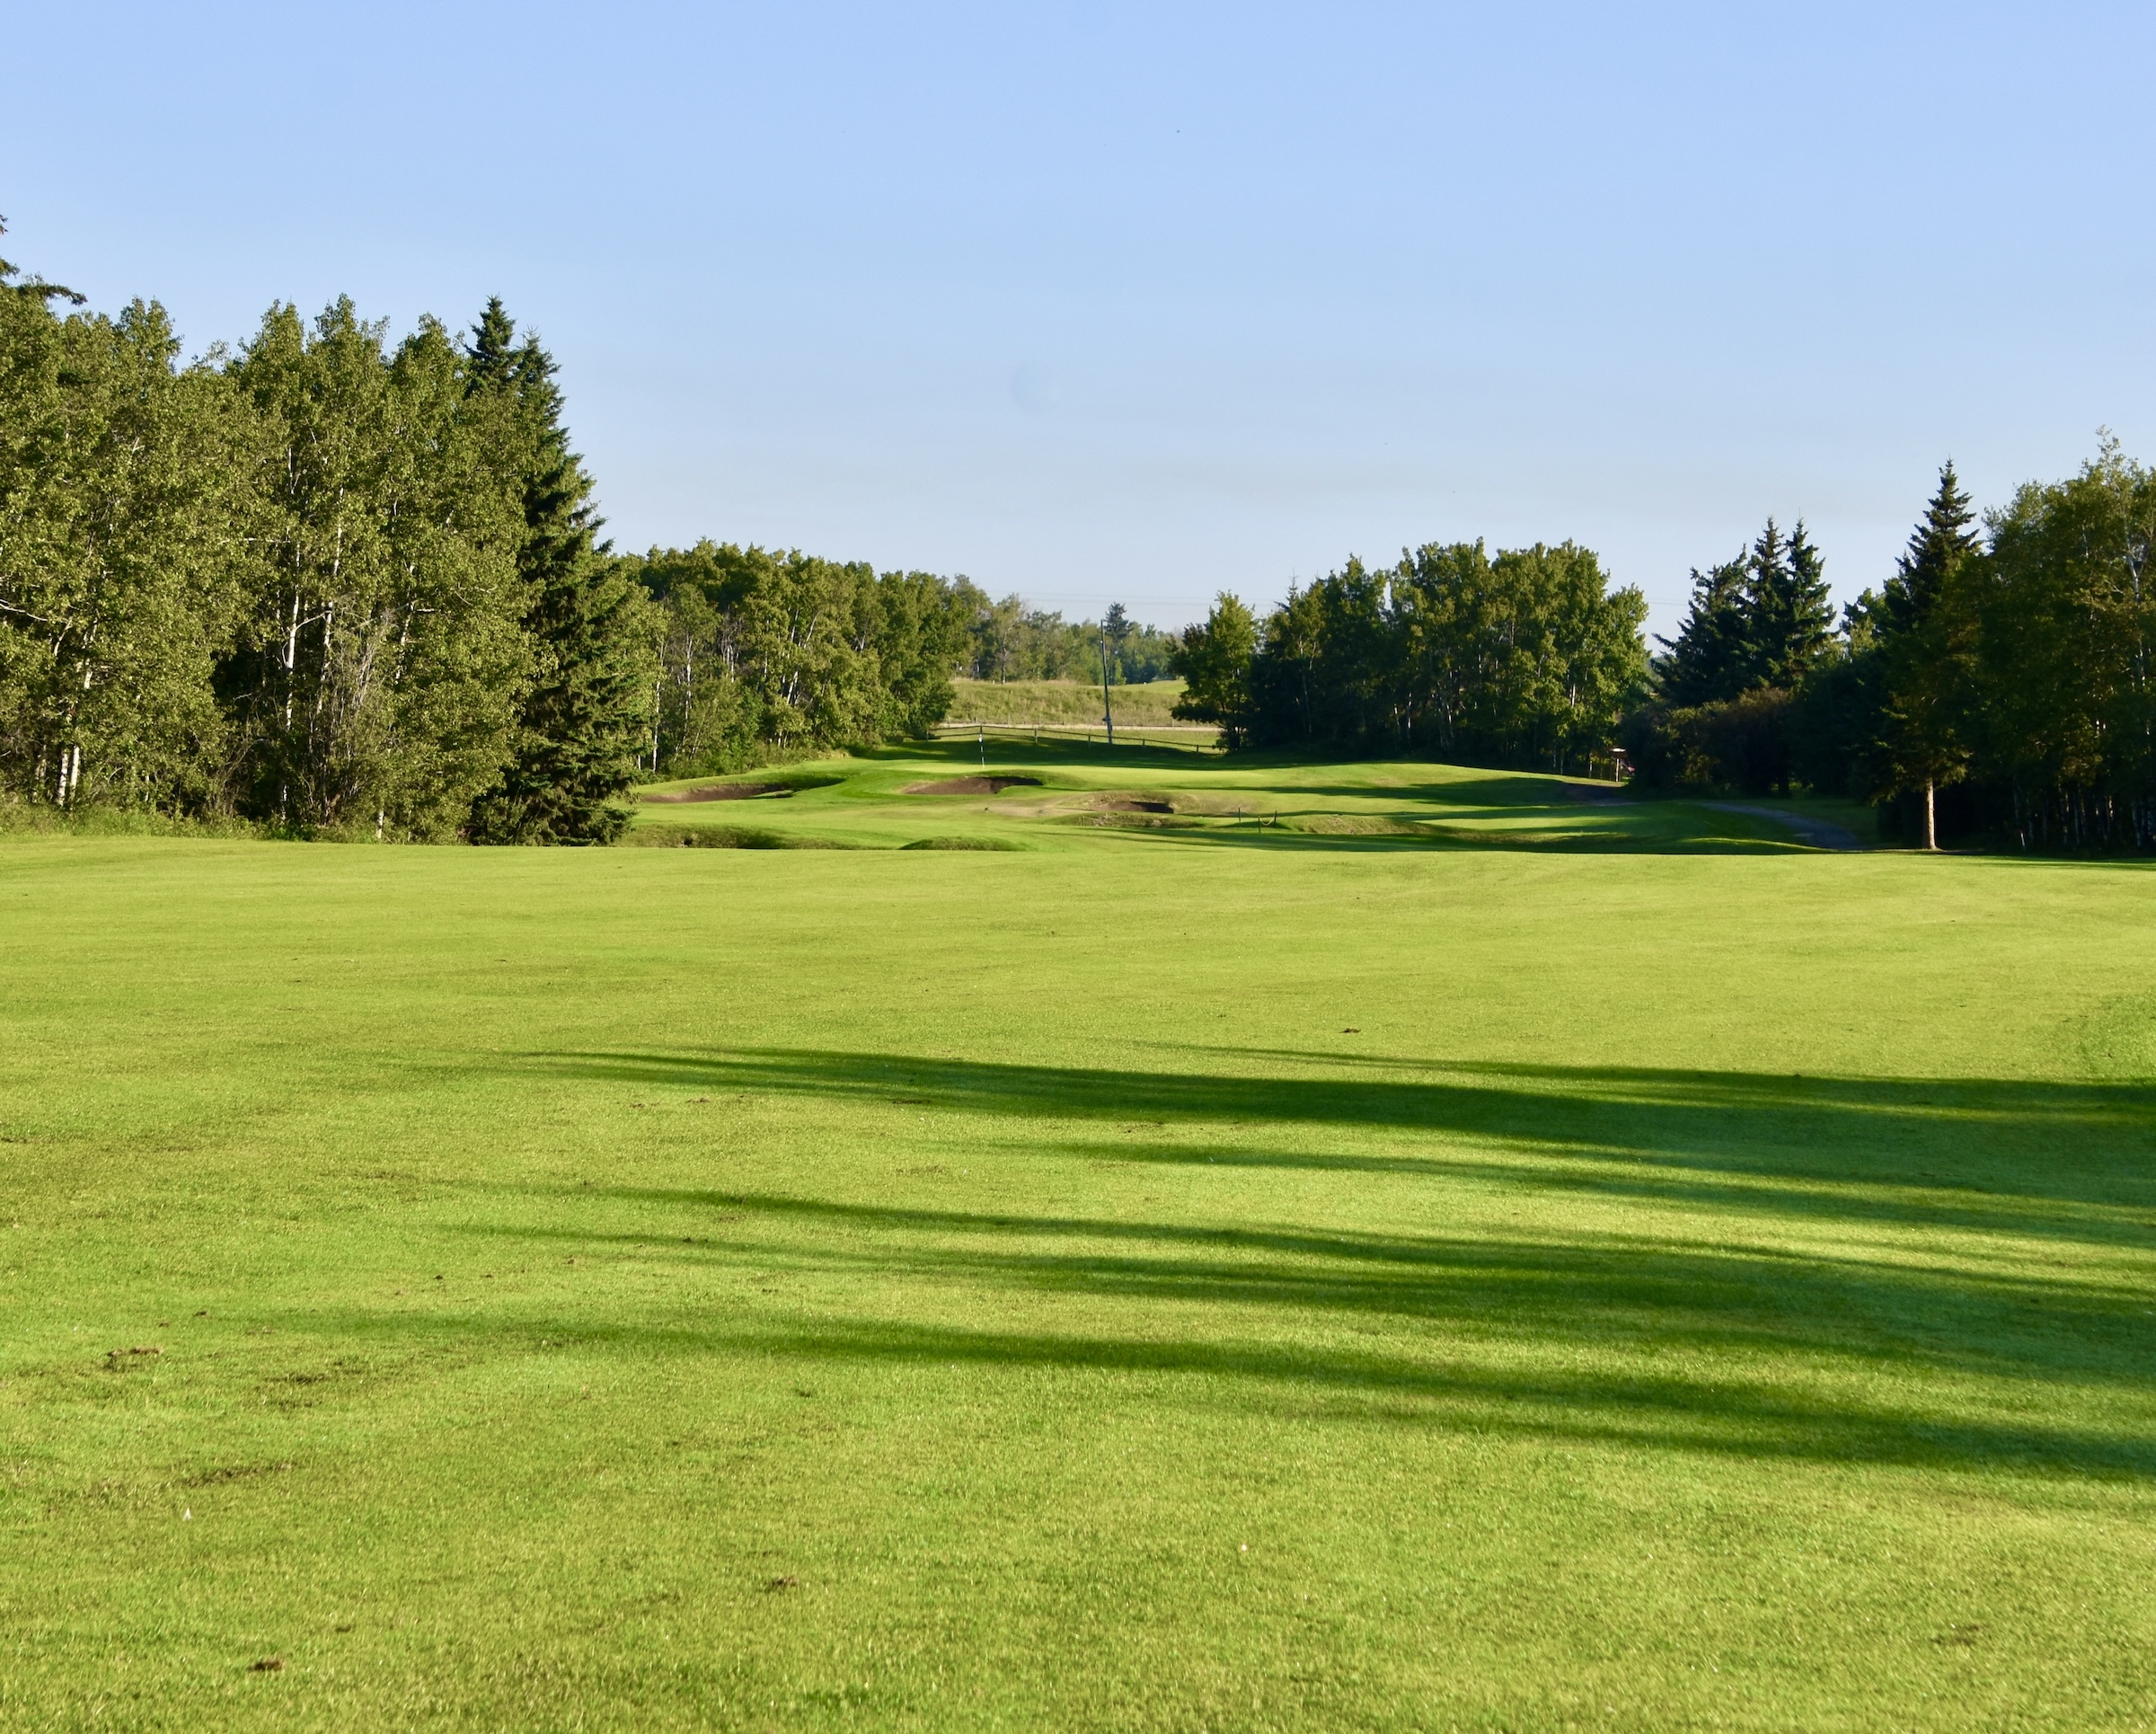
This photo gives some idea of just how massive the bunkering is on this hole and 7 through 11. Although the scorecard deems these to be waste bunkers, they are in fact much closer to real sand bunkers. Yes you can ground your club, but that’s not going to help much. Unlike most waste bunkers, you will not have much of an option to advance the ball, but instead will have to pitch out almost sideways to get back on the fairway.
If there was one feature of the Wolf Creek Links course that made it stand out, it was these unique bunkers.
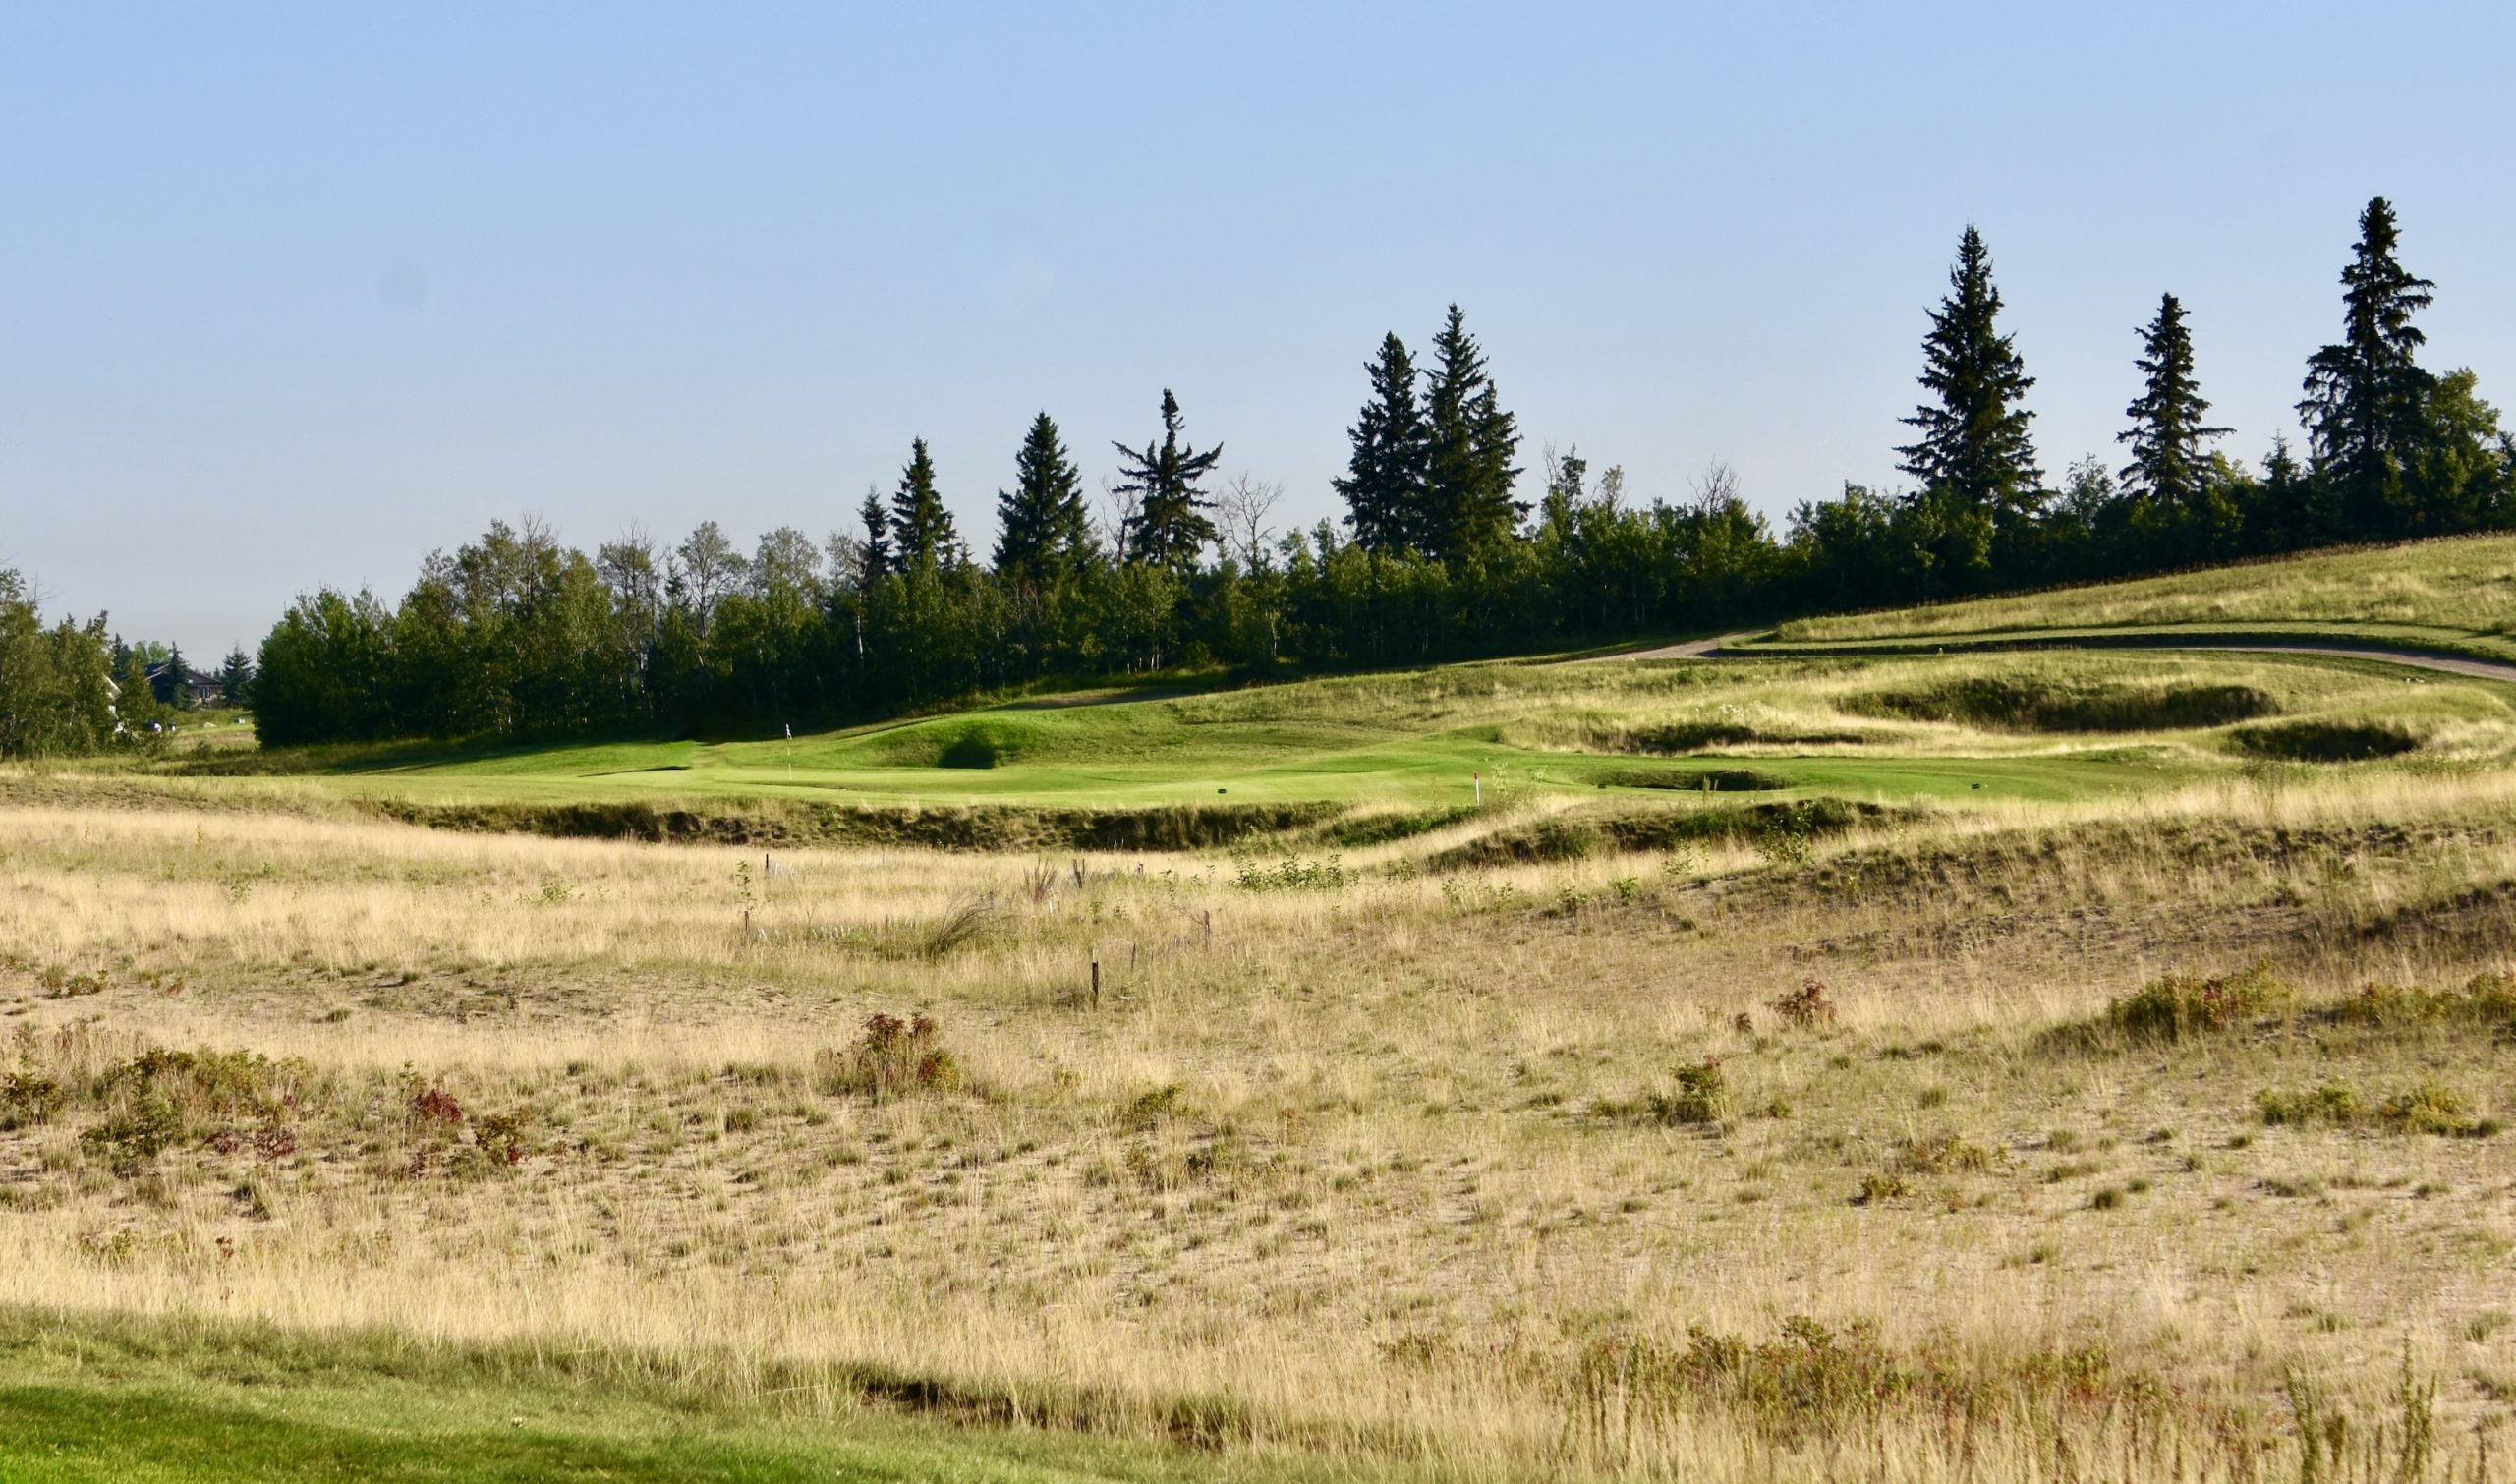
Wolf Creek Links No. 9 Hell’s Highway – 530 Yard Par Five
By now you might be wondering “Where the hell are the par fives?”. Well they have arrived in the shape of this double dogleg Hell’s Highway. It starts off reasonably well with a tee shot to a generous fairway.
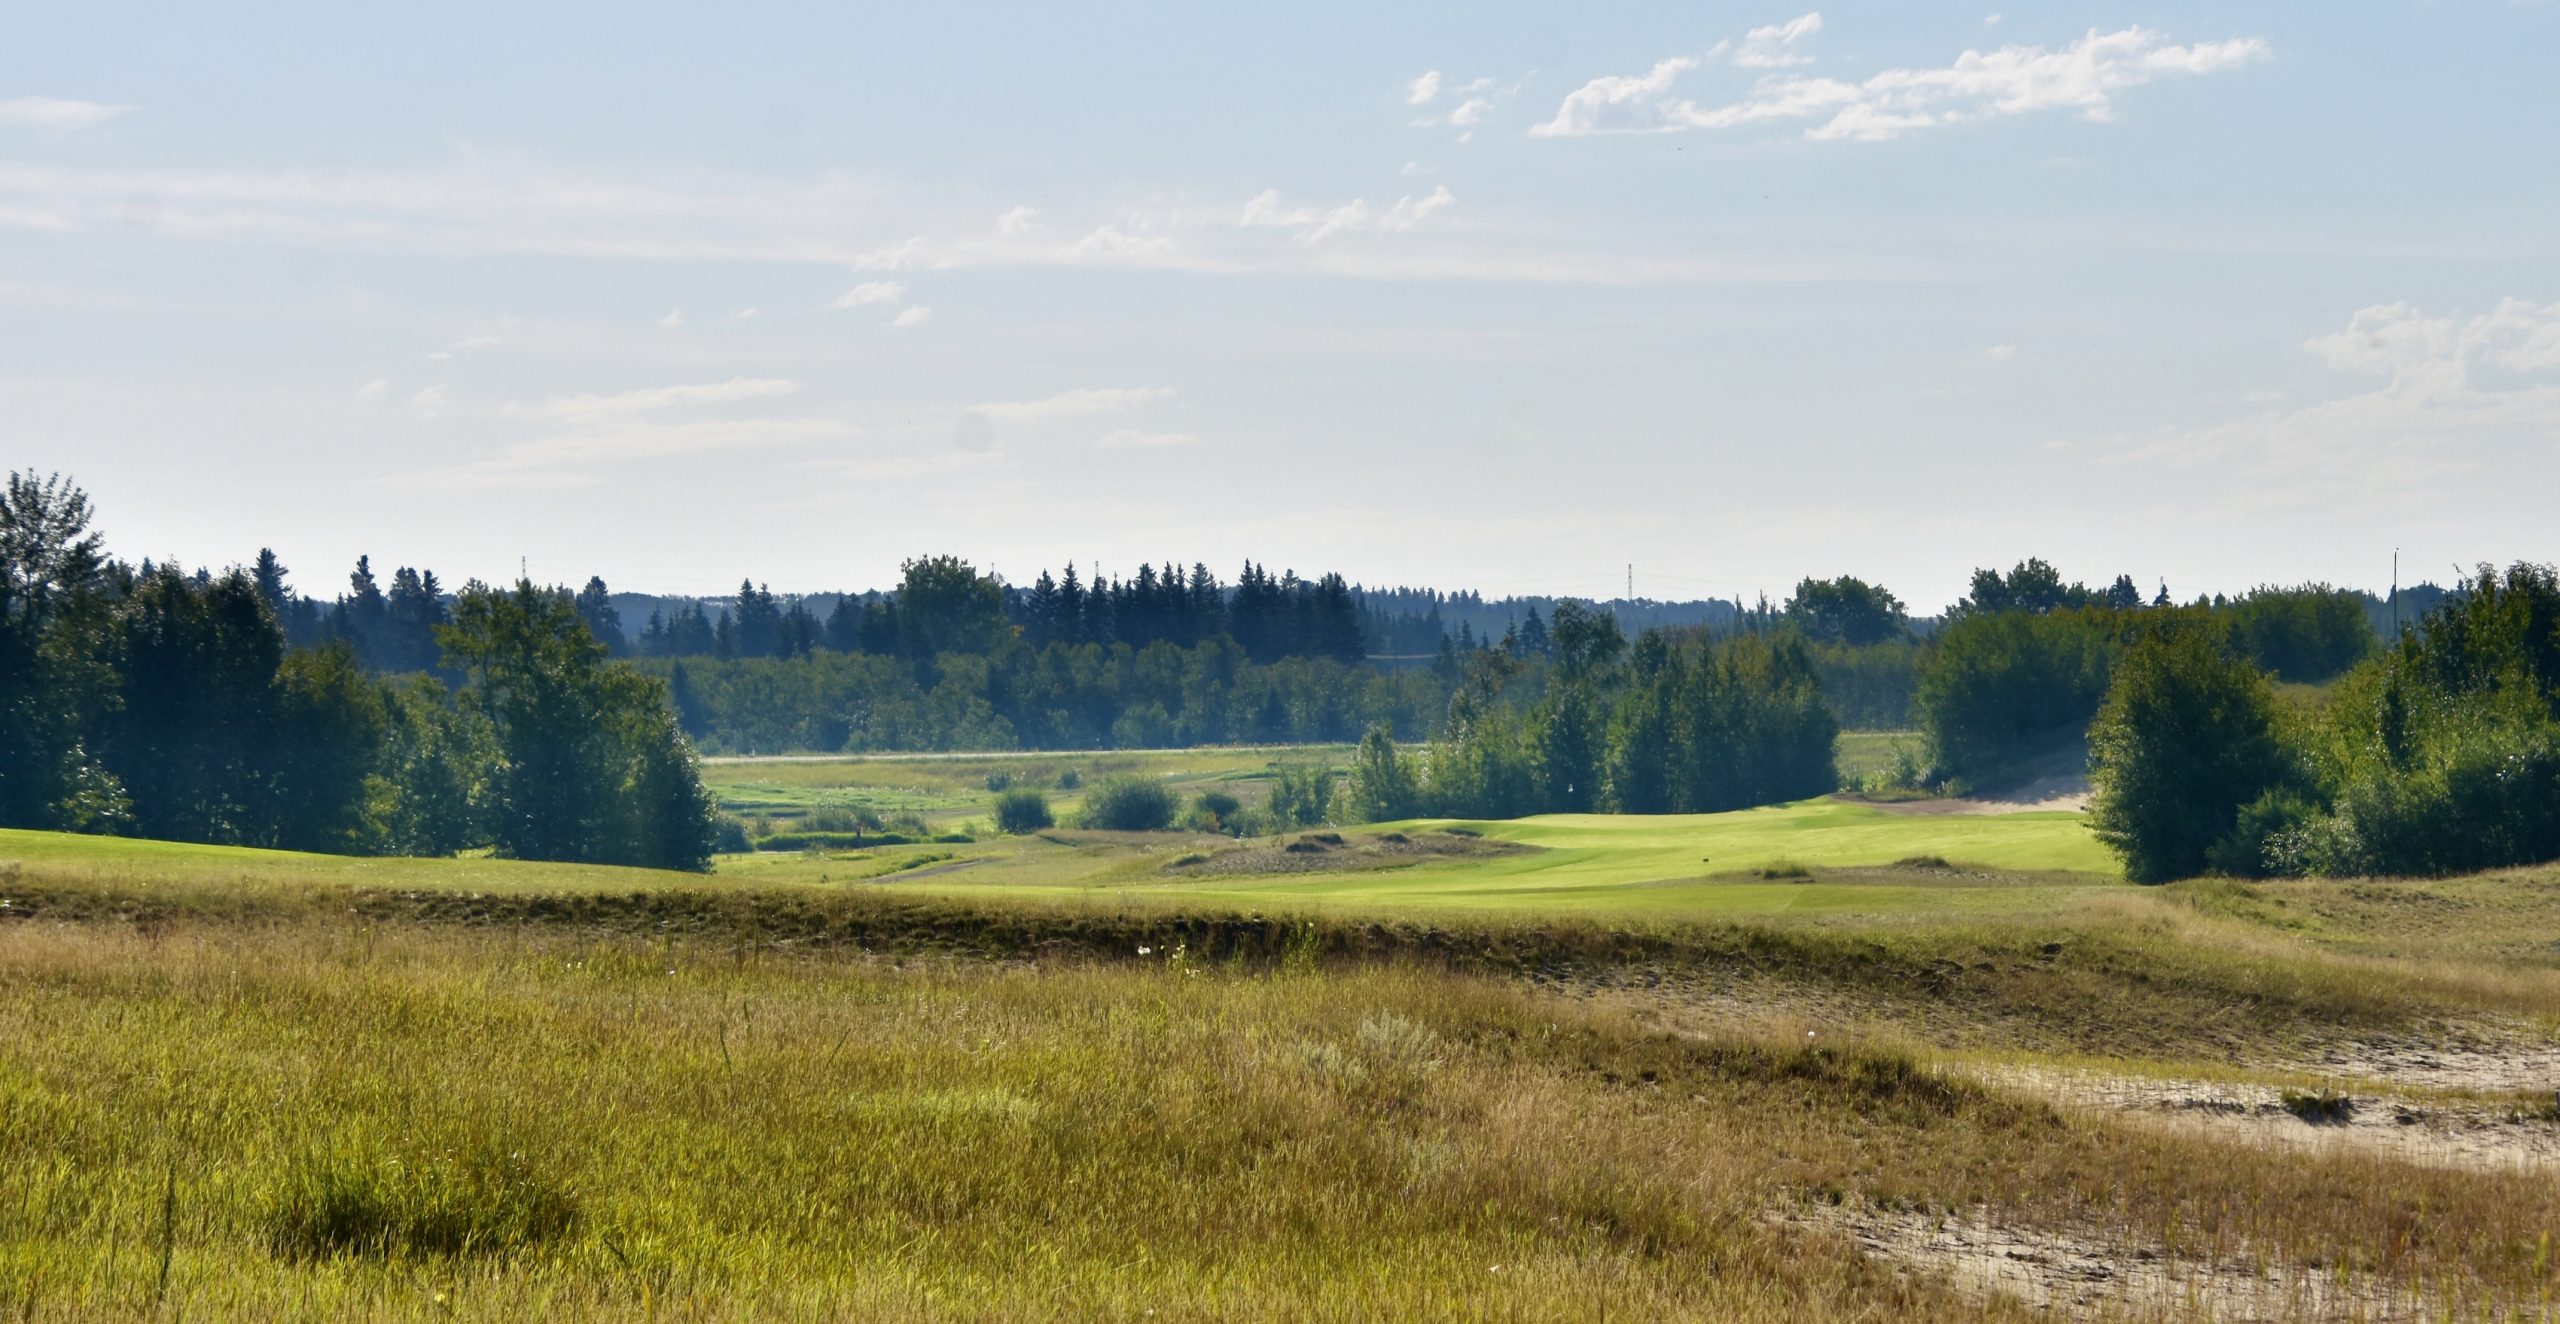
And then this. There simply appears to be no place to land a second shot that won’t end up in a bunker. It’s a bit of an optical illusion, there being more landing room than it appears, but first timers like me don’t know that. So I lay up well short of where I would like to be for an approach shot to a par five.
It doesn’t look like it from the photo, but I still have over 150 yards to the green and thanks to that bunker in front, I’ll need to carry it all the way.
Also notice the difference in the texture between the first bunker, which is clearly sand and the other three that are much darker. What exactly is the makeup of these hazards?
Well, as you can see, I am about to find out as I failed to clear the final hurdle. Now whereas in sand that shot probably would have rolled down to the floor of the bunker, with these that I can best describe as dirt bunkers, the ball stays at what are impossibly steep angles above your feet making for a real challenge. This was another aspect of the Wolf Creek Links course that I was not expecting and after being in this first one, I made it a condition of my future approaches to avoid them at all costs.
This hole truly is the Highway to Hell and AC/DC would be proud of Rod Whitman for making it so.
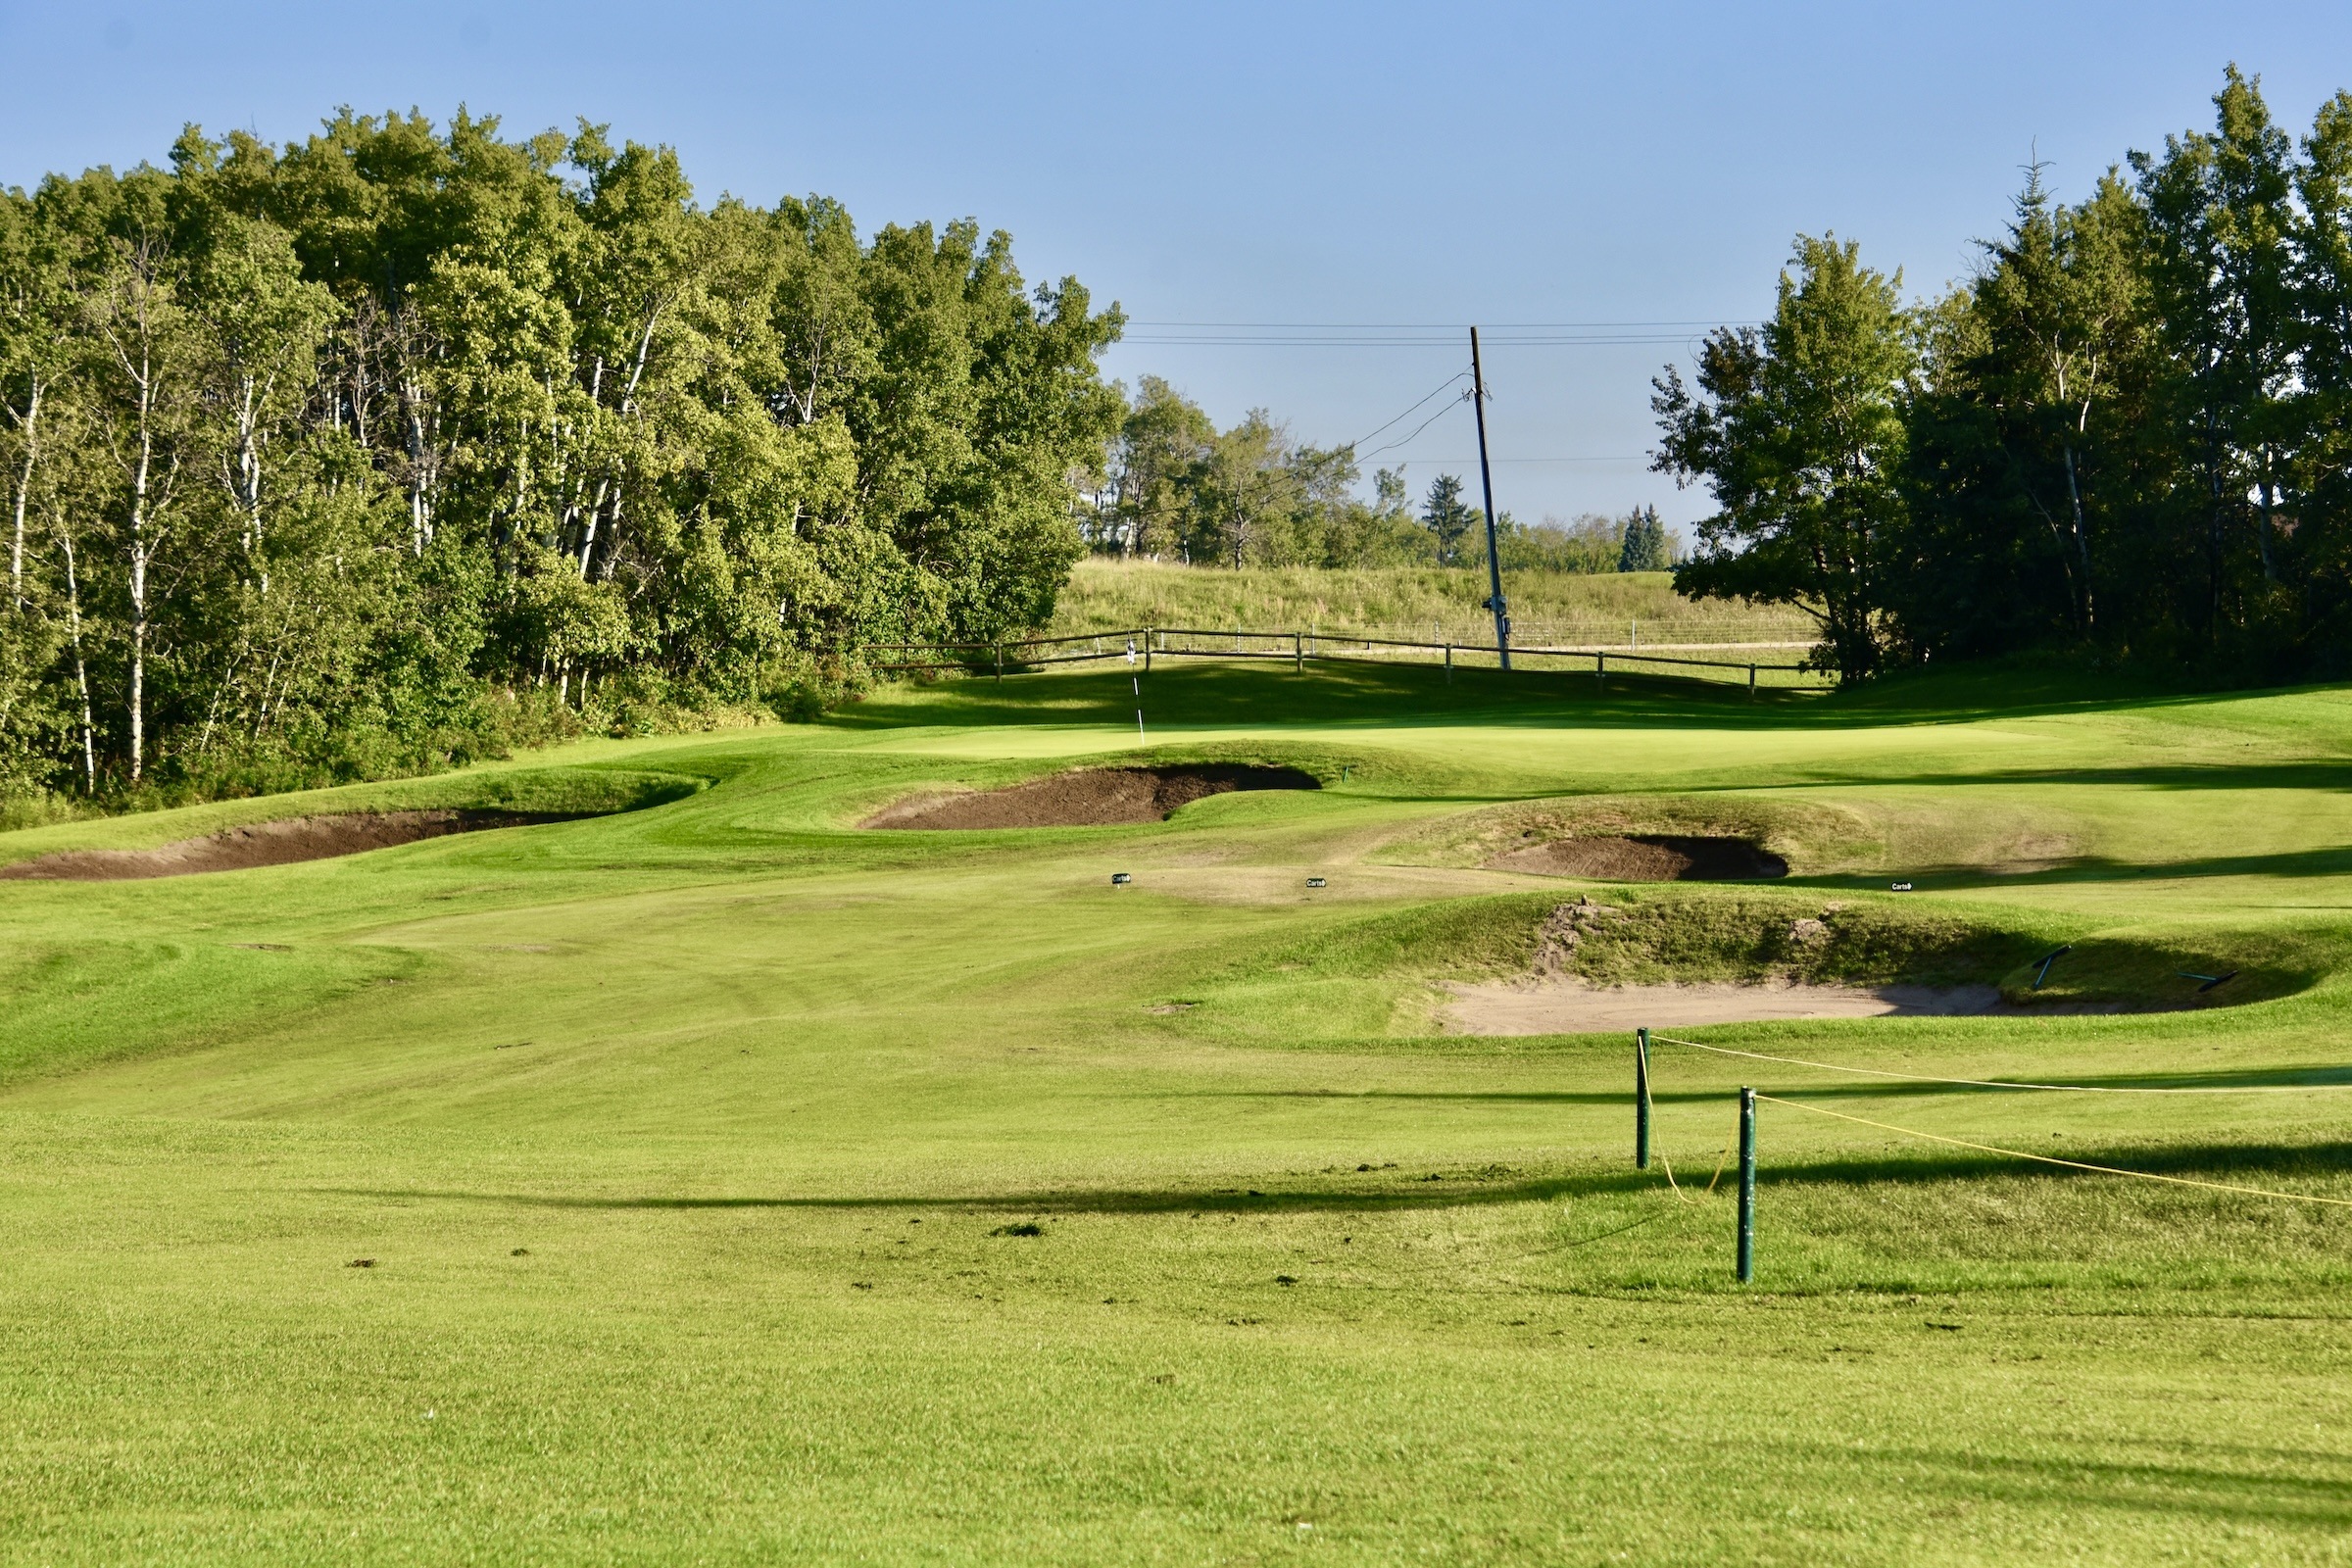
No. 10 Genesis – 308 Yard Par Four
While ordinarily I would have thought Genesis would be the name of the first hole, here it introduces a new nine with a short dogleg left par four. The drive looks uncomfortable with a bevy of traps in view from the tee, but these are easily cleared with even a hybrid off the tee.

While the traps near the tee box aren’t in play, this green looks like it underwent a WWI bombardment with shell hole like pot bunkers everywhere. The green is one of the smallest on the Wolf Creek Links course and requires a precision approach shot. Even though this is rated the #16 handicap hole, you could get in a lot of trouble if you end up in one of those bunkers.
Wolf Creek Links #11 Hell’s Full Acre – 478 Yard Par Five
You have to love the name of this hole which continues the devilry theme started on #4. There is plenty of landing room for the drive which should get some decent roll. For most this will be a three shot hole for a GIR.

The smart play on the second shot ids to stay well to the right and take aim at what I presume is the huge bunker that is Hell’s Full Acre. Far more nasty are the smaller bunkers to the left. Just make sure you don’t take too much club.

That should leave something like this short wedge shot to the green. Bump and run is also an option here. Despite the intimidating name this hole can be tamed by playing it sensibly.
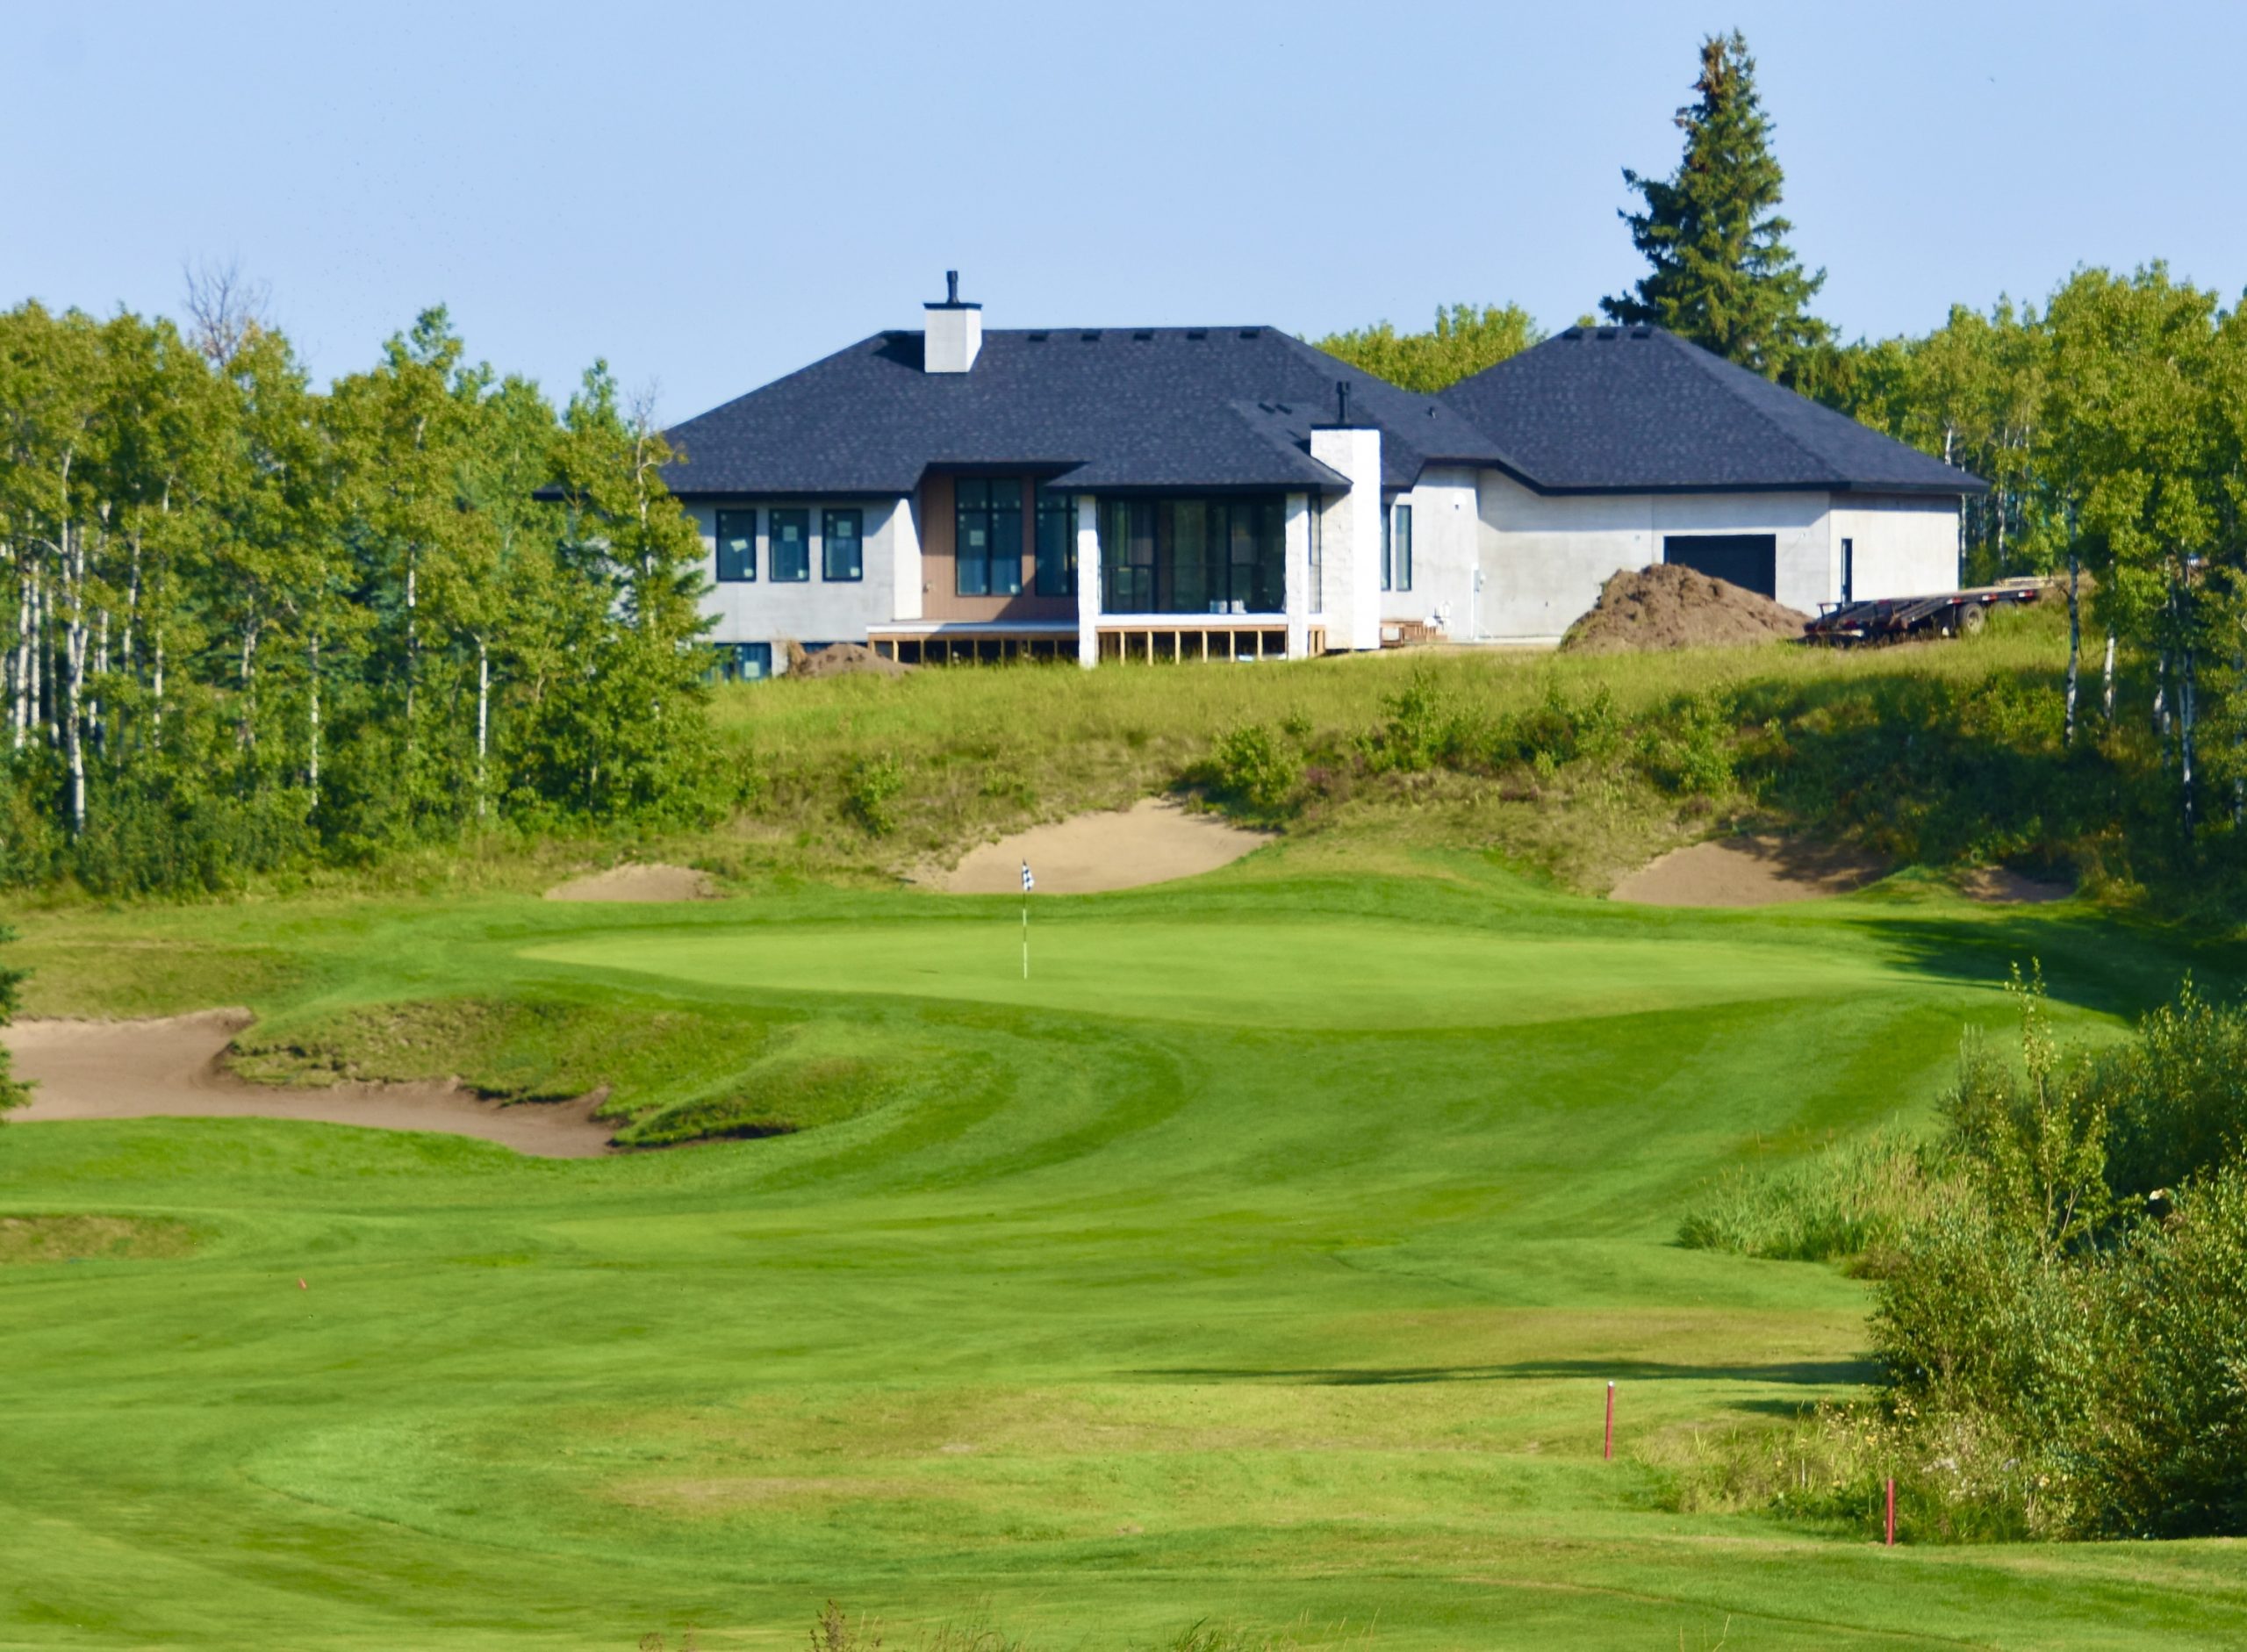
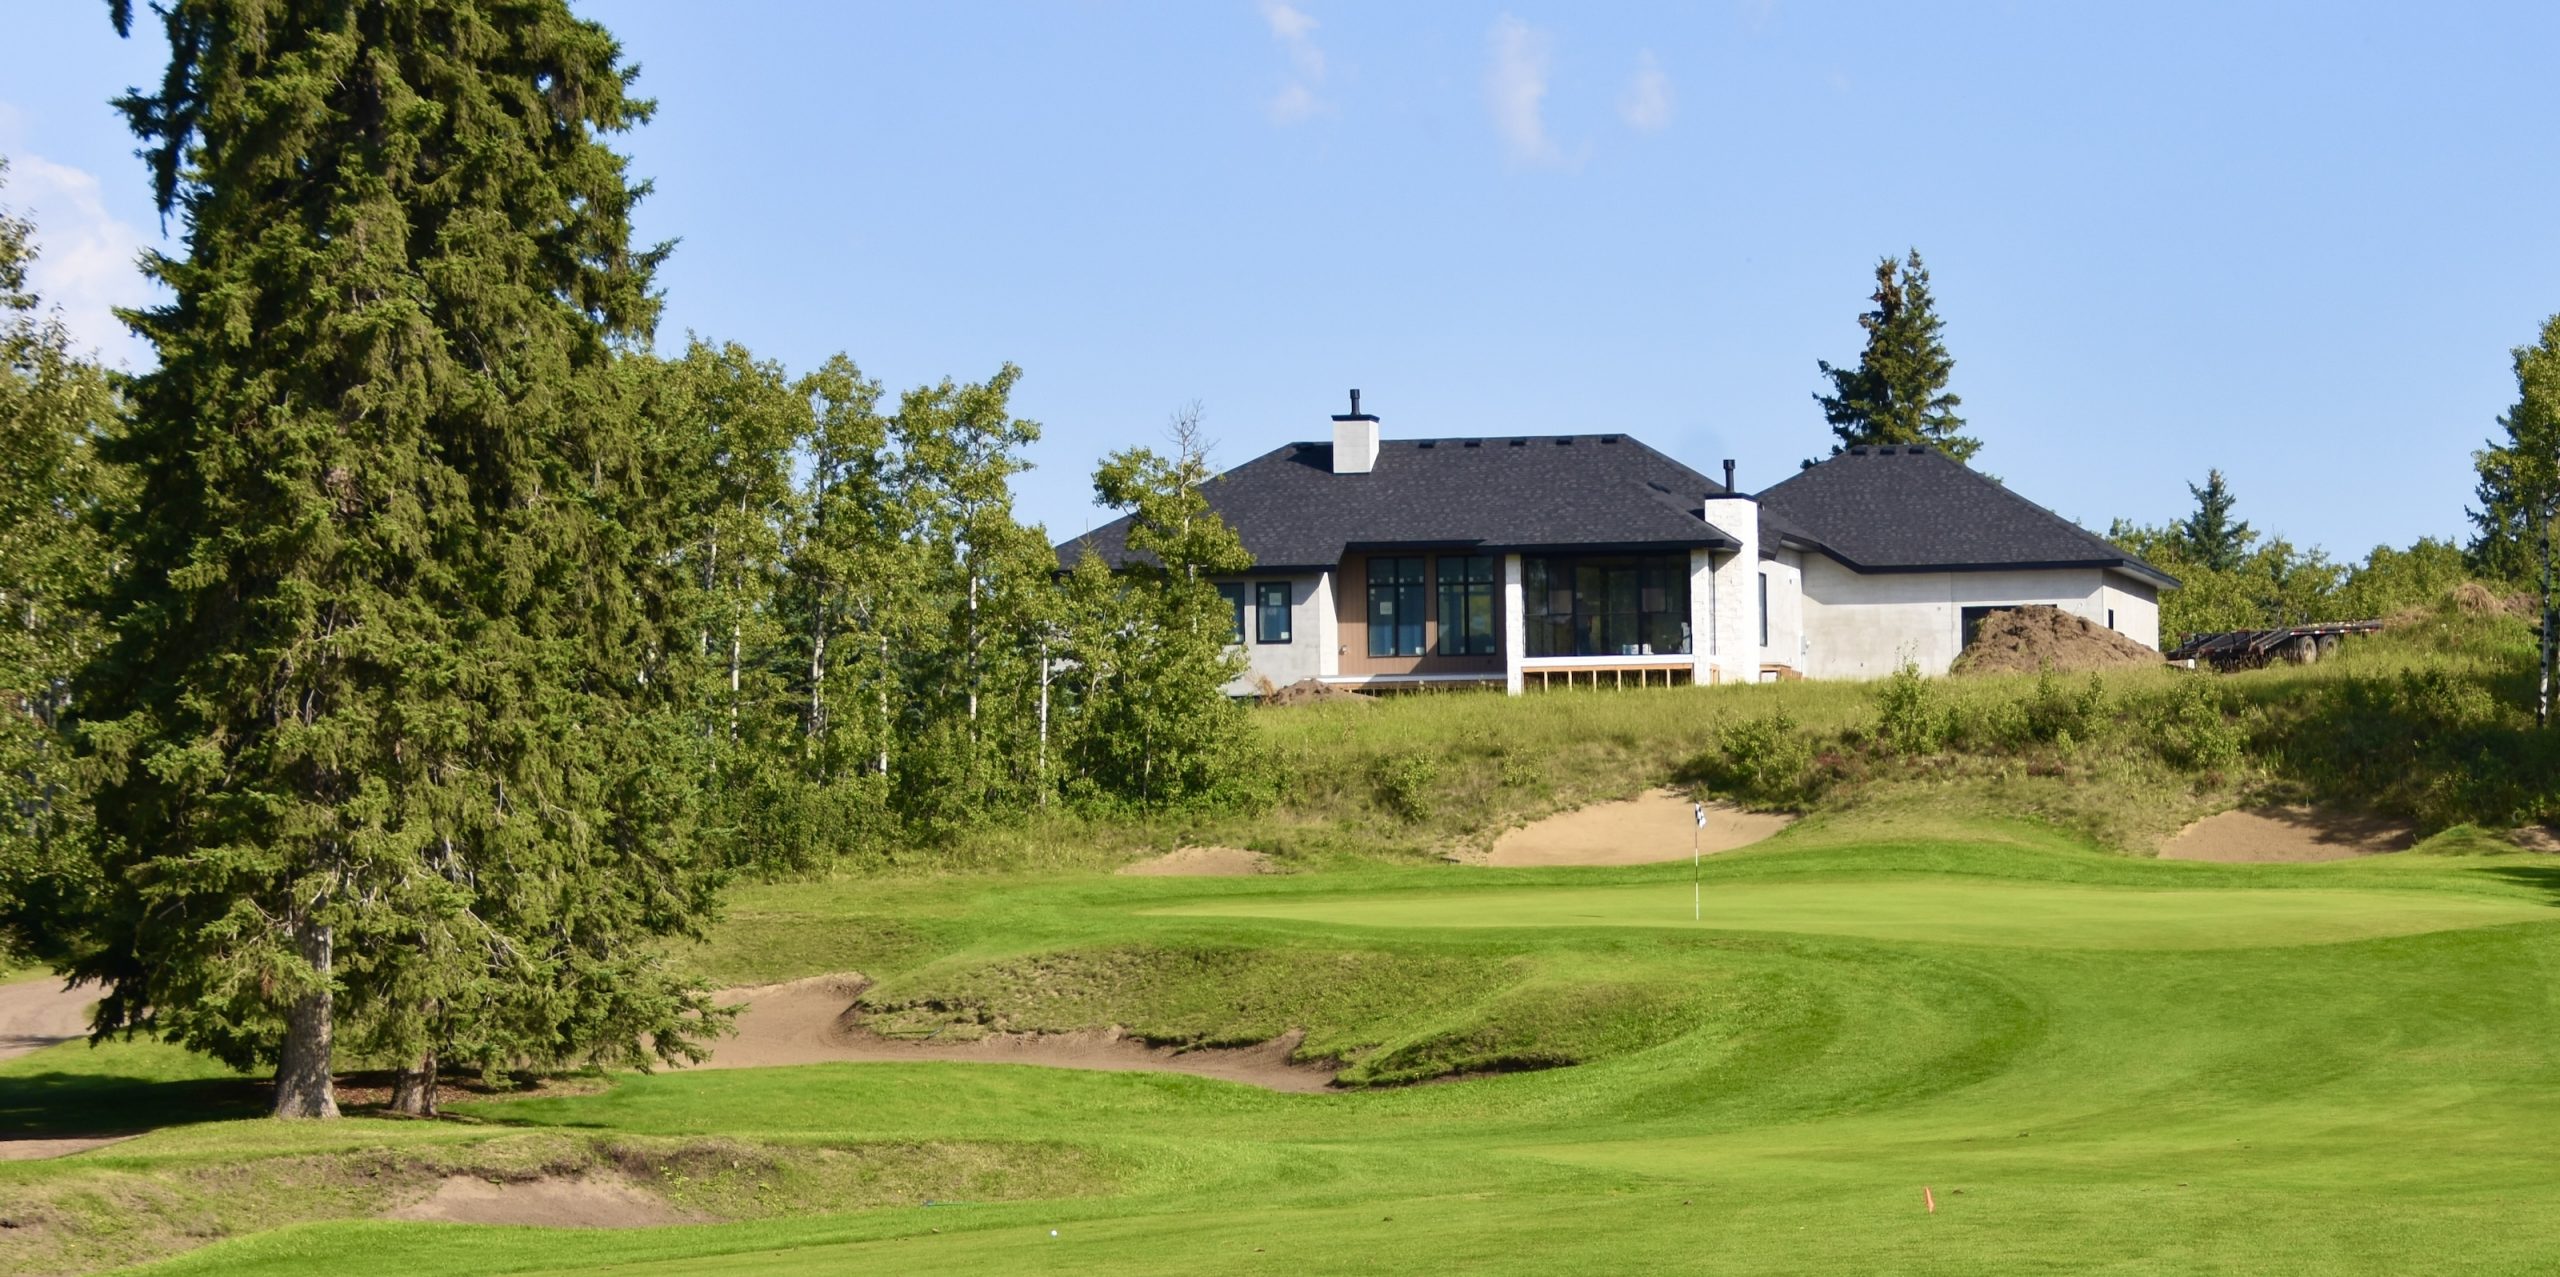
No. 12 Decision – 376 Yard Par Four
Although it does not look so from this photo, this is actually a split fairway with room on the left over the fairway bunkers. However, for me it was a no-brainer to stay to the right where the fairway is much wider. You will need to hit driver to set up a decent approach shot.
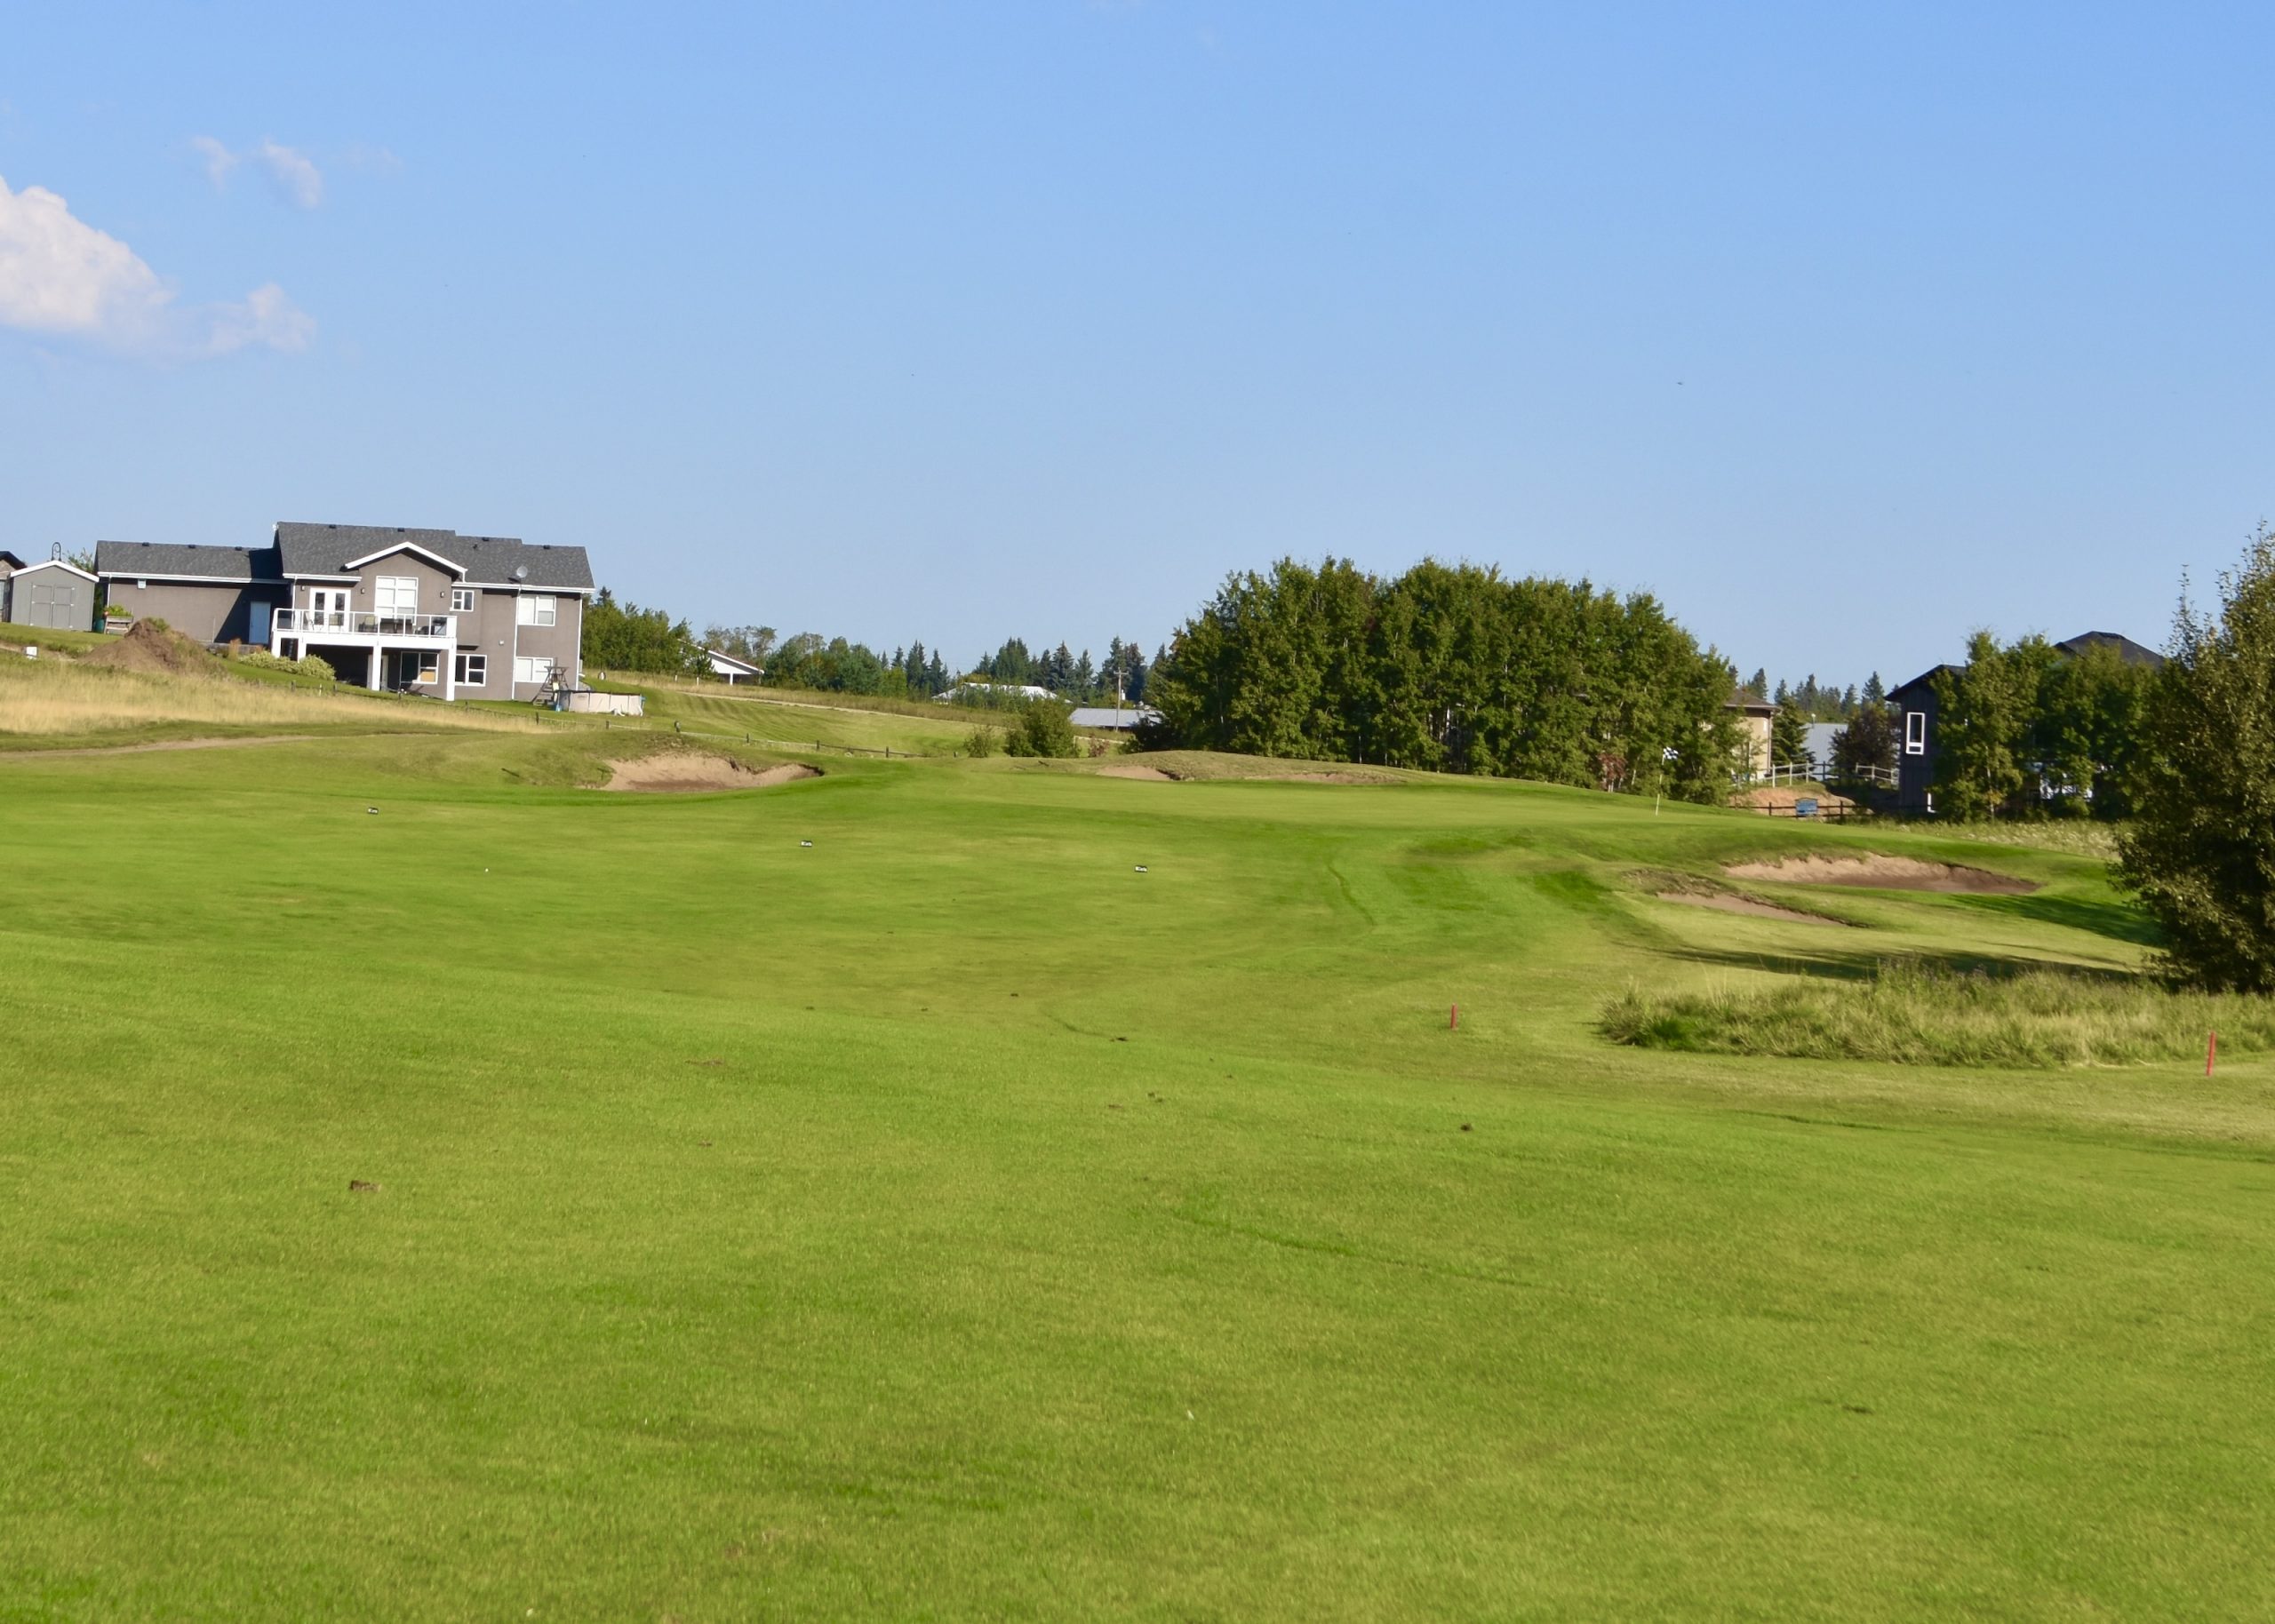
The green is quite large and slants from left to right which means you don’t need to go for this sucker pin placement. Aim for the centre of the green and you will get some advancement toward the pin. This is the type of hole that you just want to get out of Dodge with a par and not be upset with a bogey.
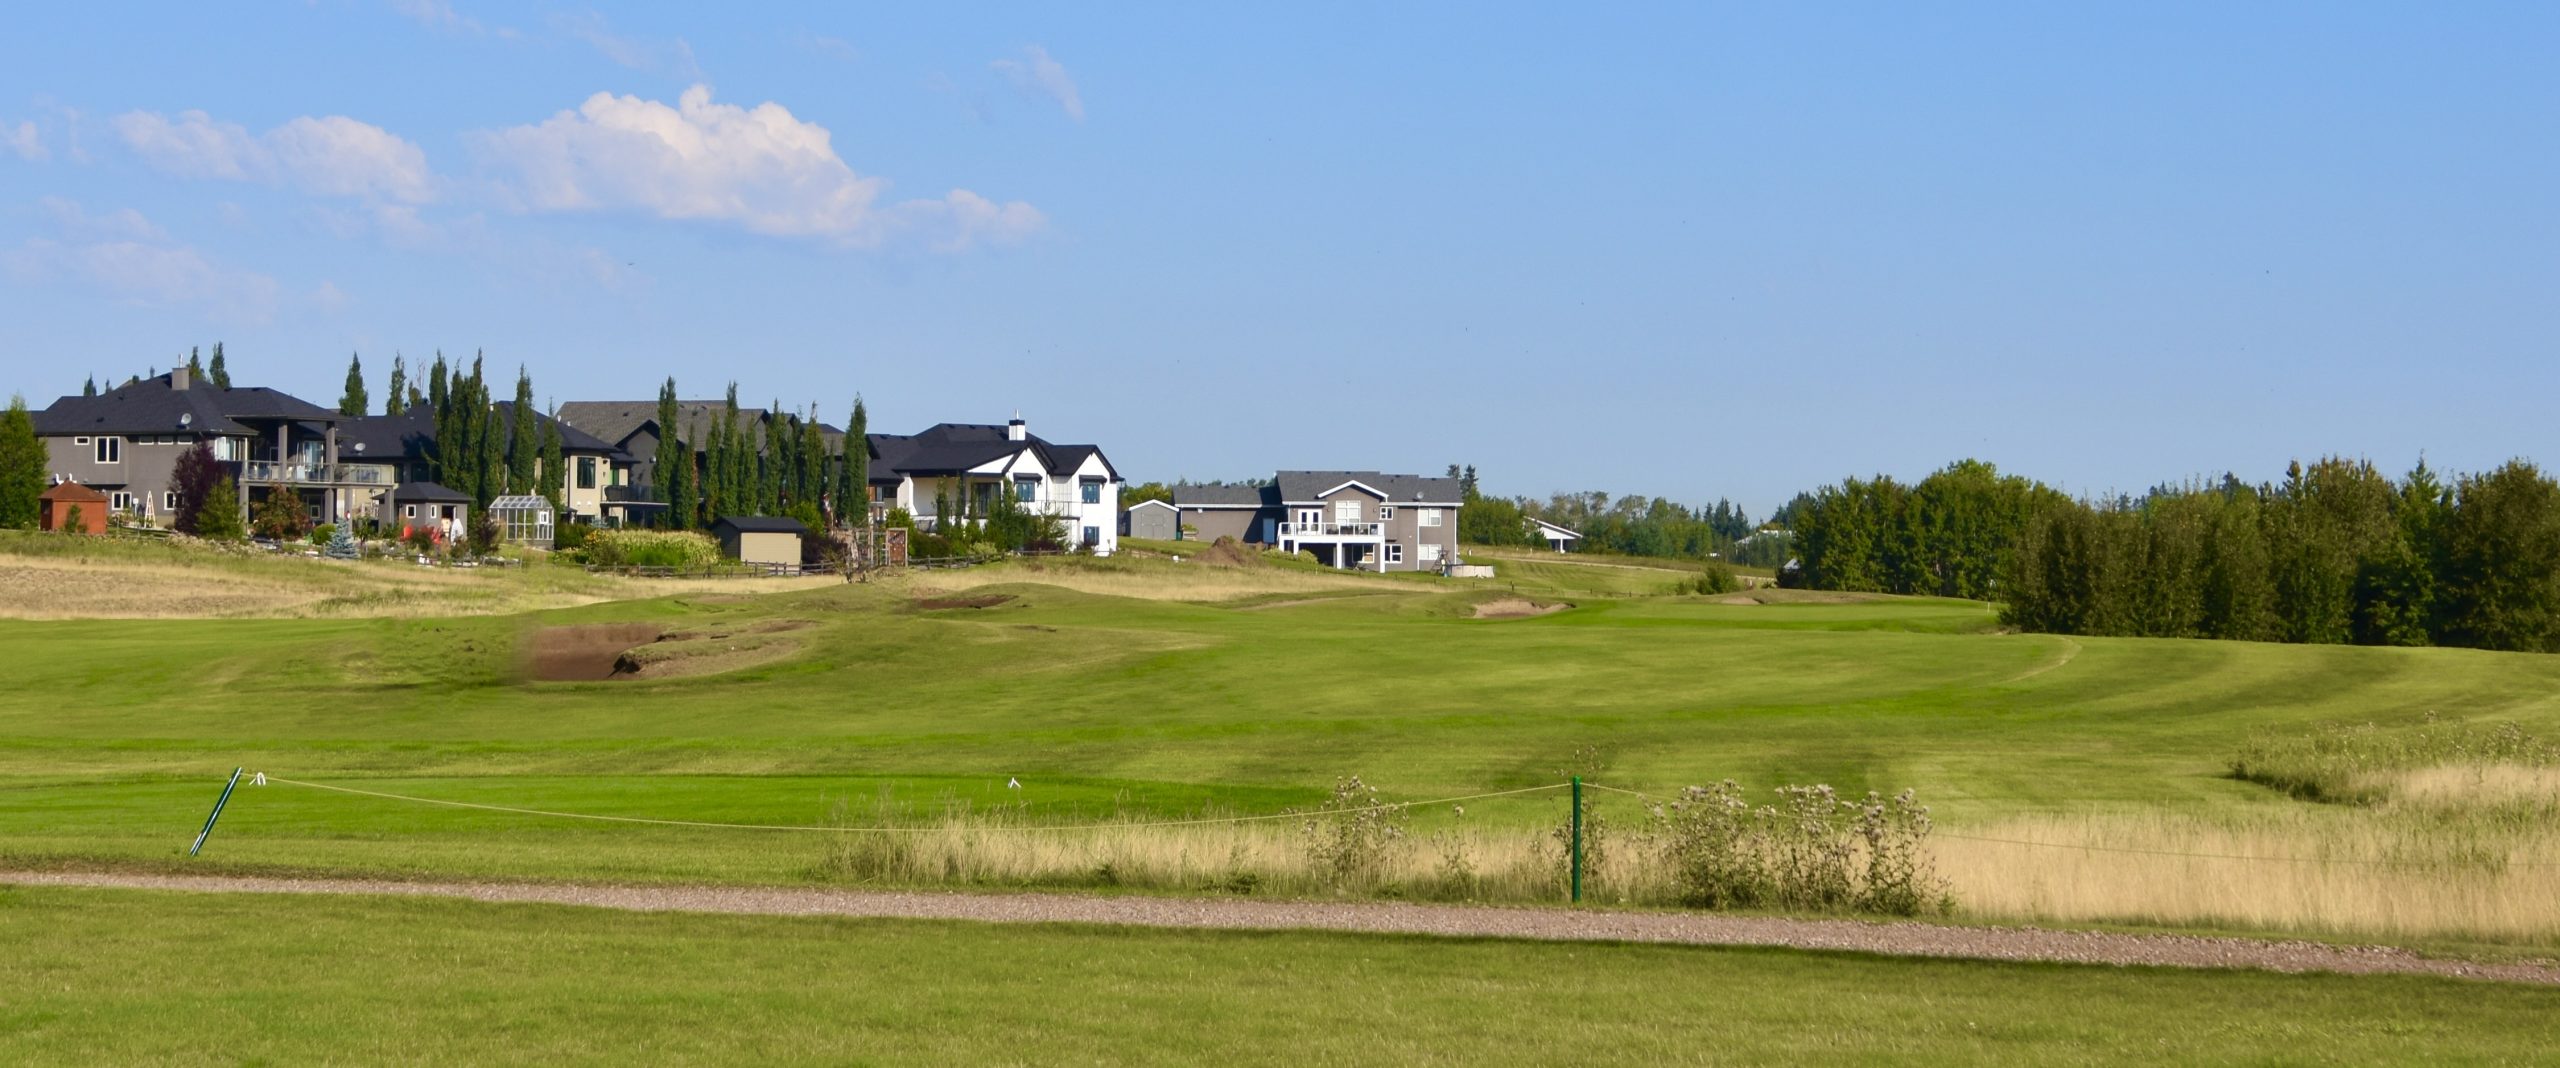
BTW this is one of the very few holes on the Wolf Creek Links course where you will see any signs of human habitation.
Wolf Creek Links No. 13 Kansas – 304 Yard Par Four
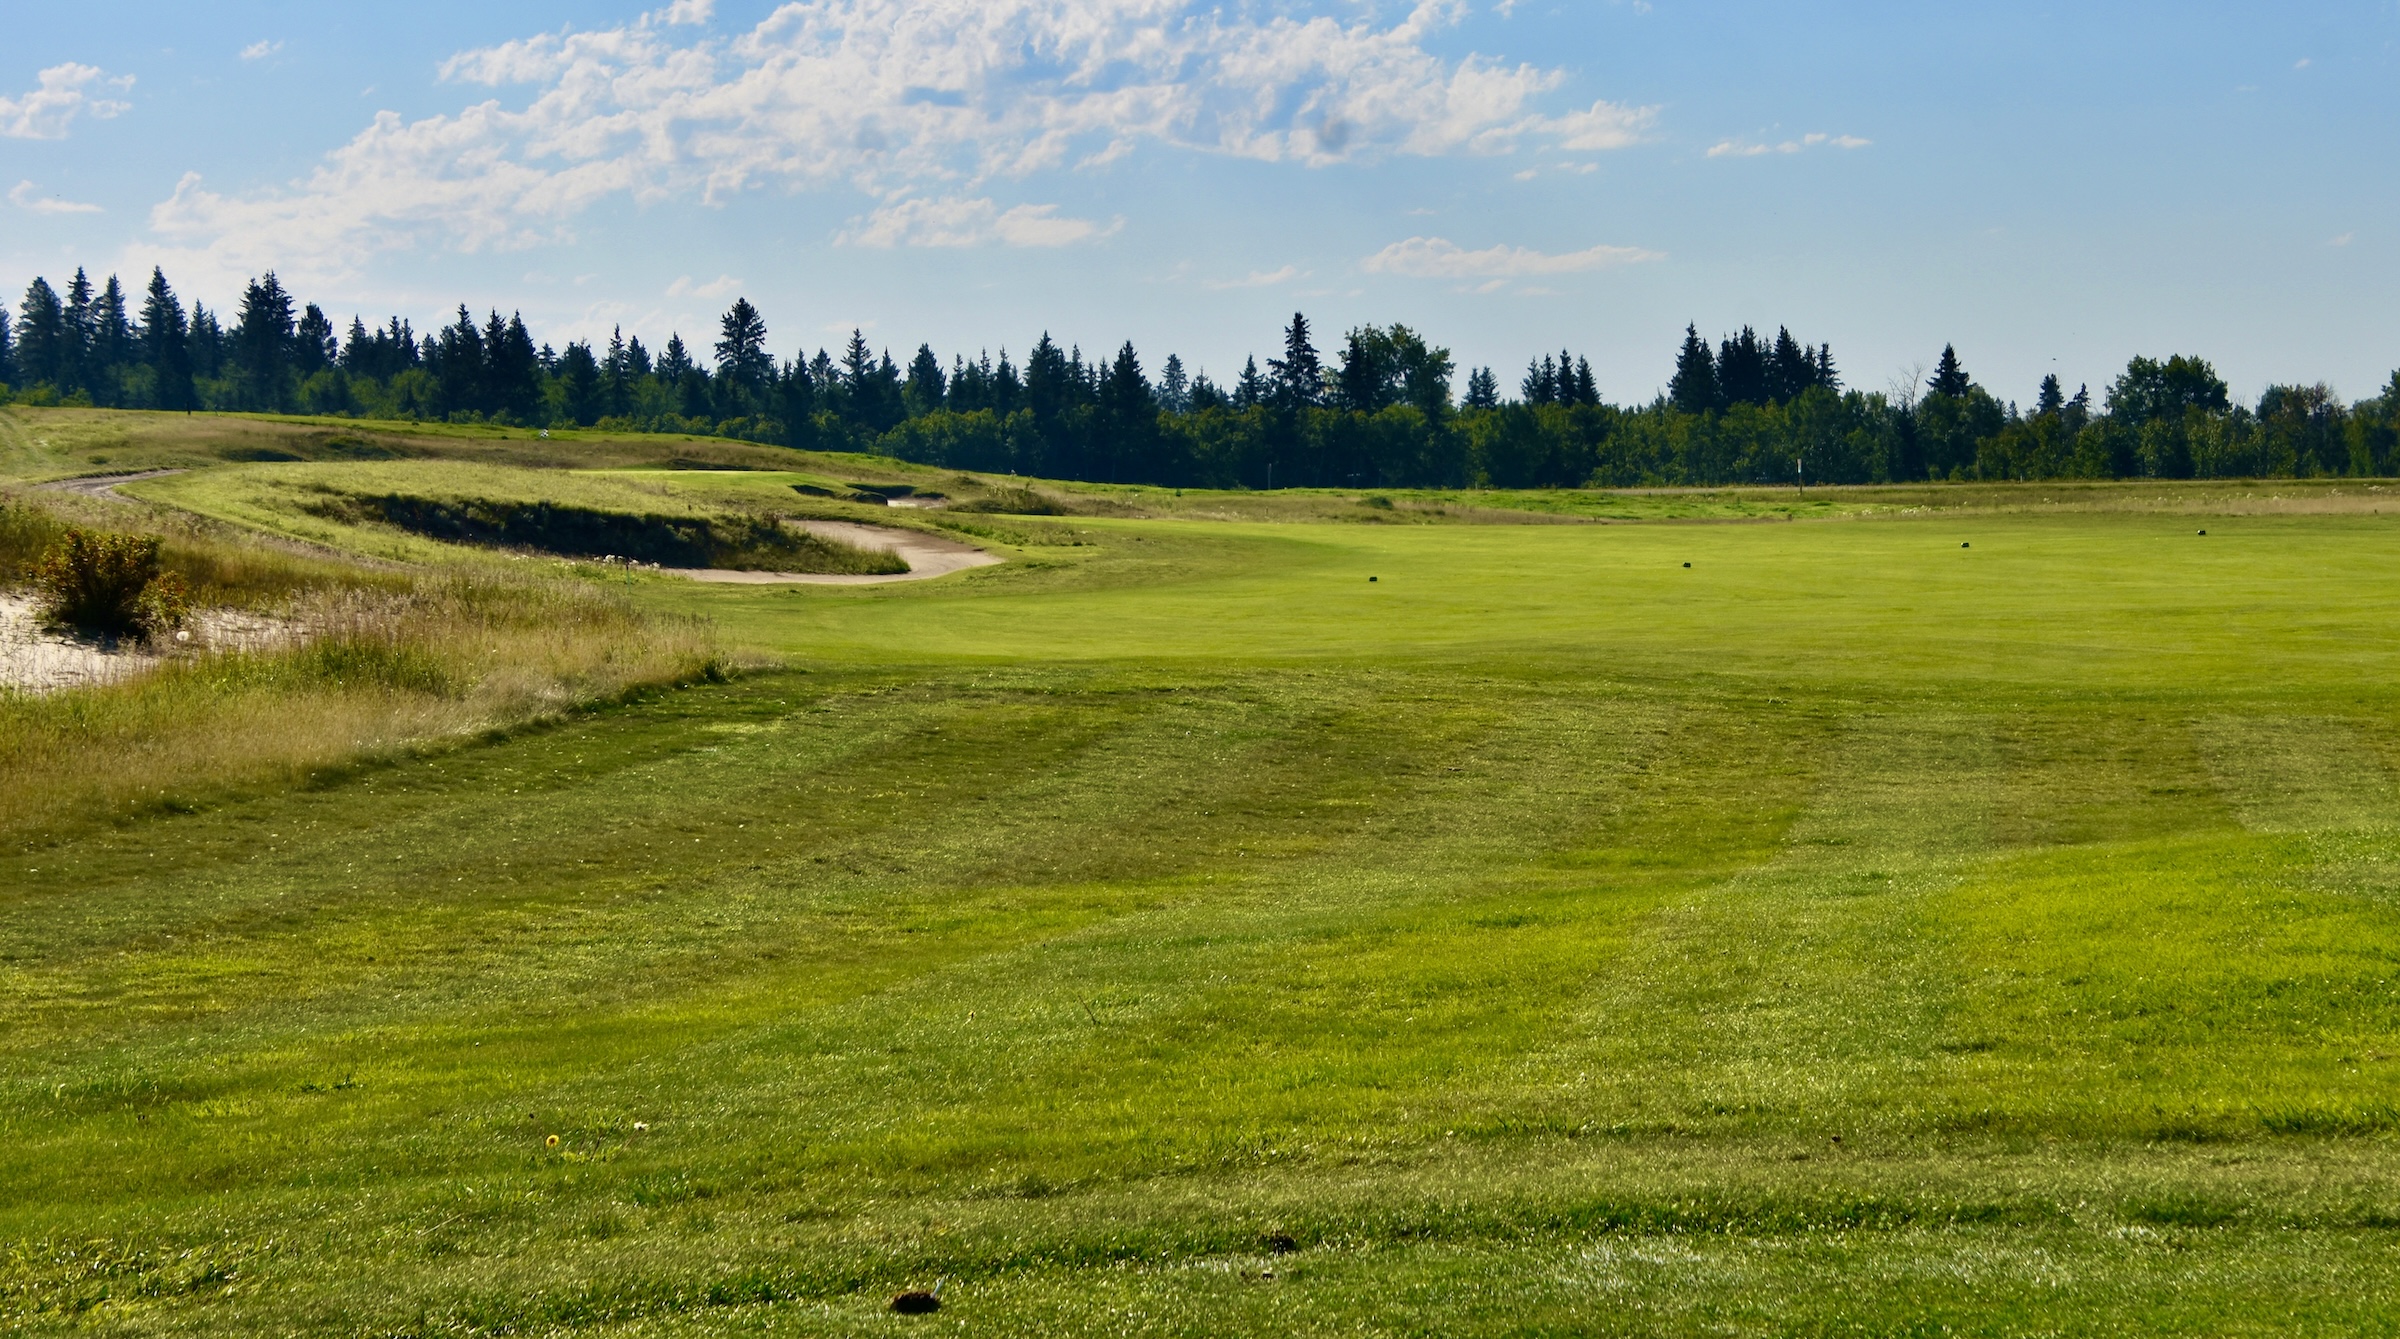
This short par four dogleg left is one of the true risk/reward holes on the Wolf Creek Links course. You definitely can try to cut off a sizeable portion of the dogleg to leave a real birdie opportunity.
Or you can play it safe as I have done, still leaving a not overly difficult wedge shot into a slightly uphill green. I found this to be one of the most enjoyable holes on the course, mainly because it was a nice respite after #11 and 12.
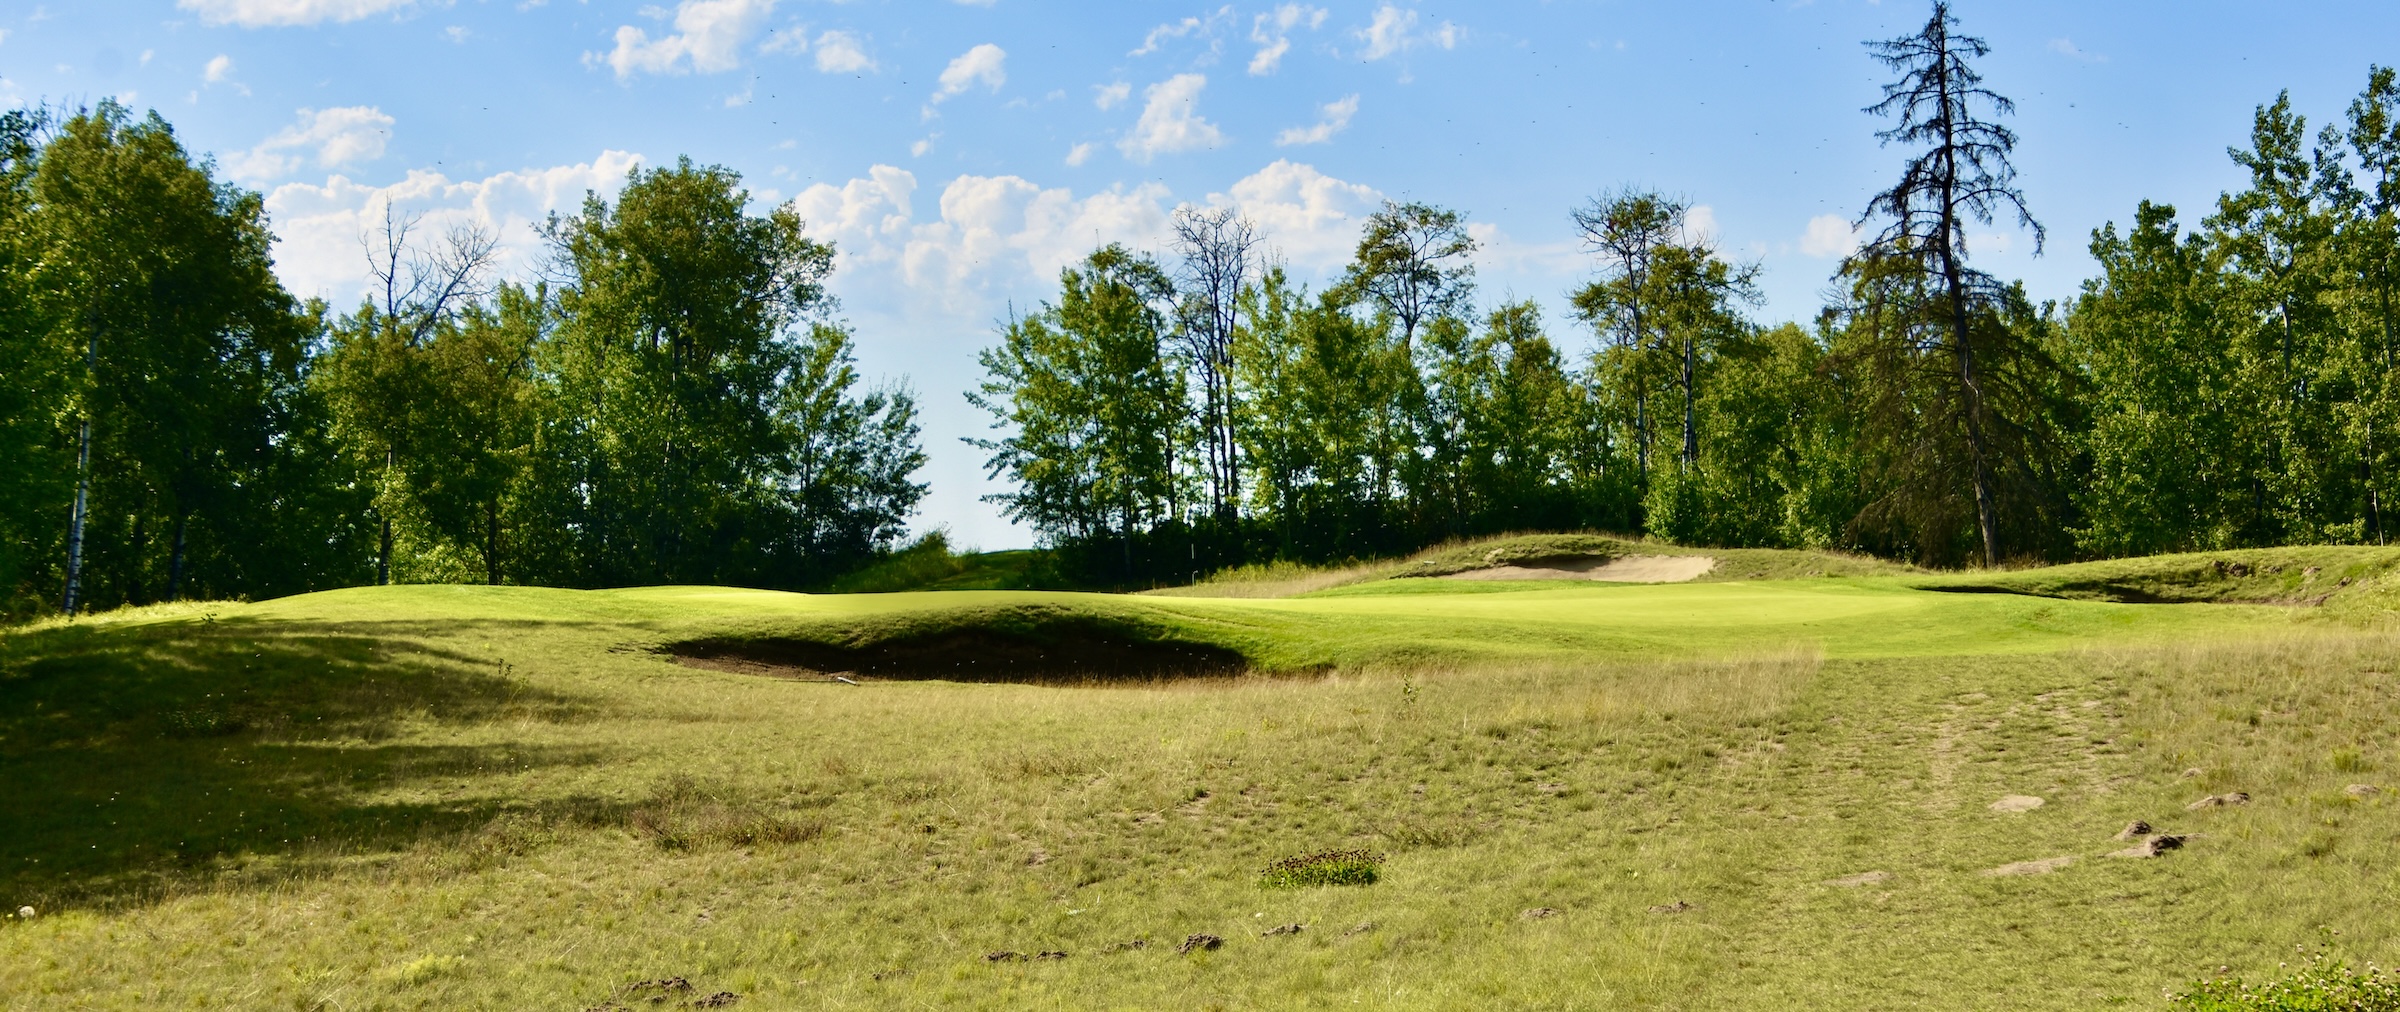
No. 14 Hybrid – 194 Yard Par Three
It’s been a while since the last par three and Hybrid is a welcome sight. It plays far less than the stated yardage to a huge green and there’s no trouble in front so the only issue is which hybrid do you hit? This should be a par for most, although there is always the danger of a three putt on a green this large.
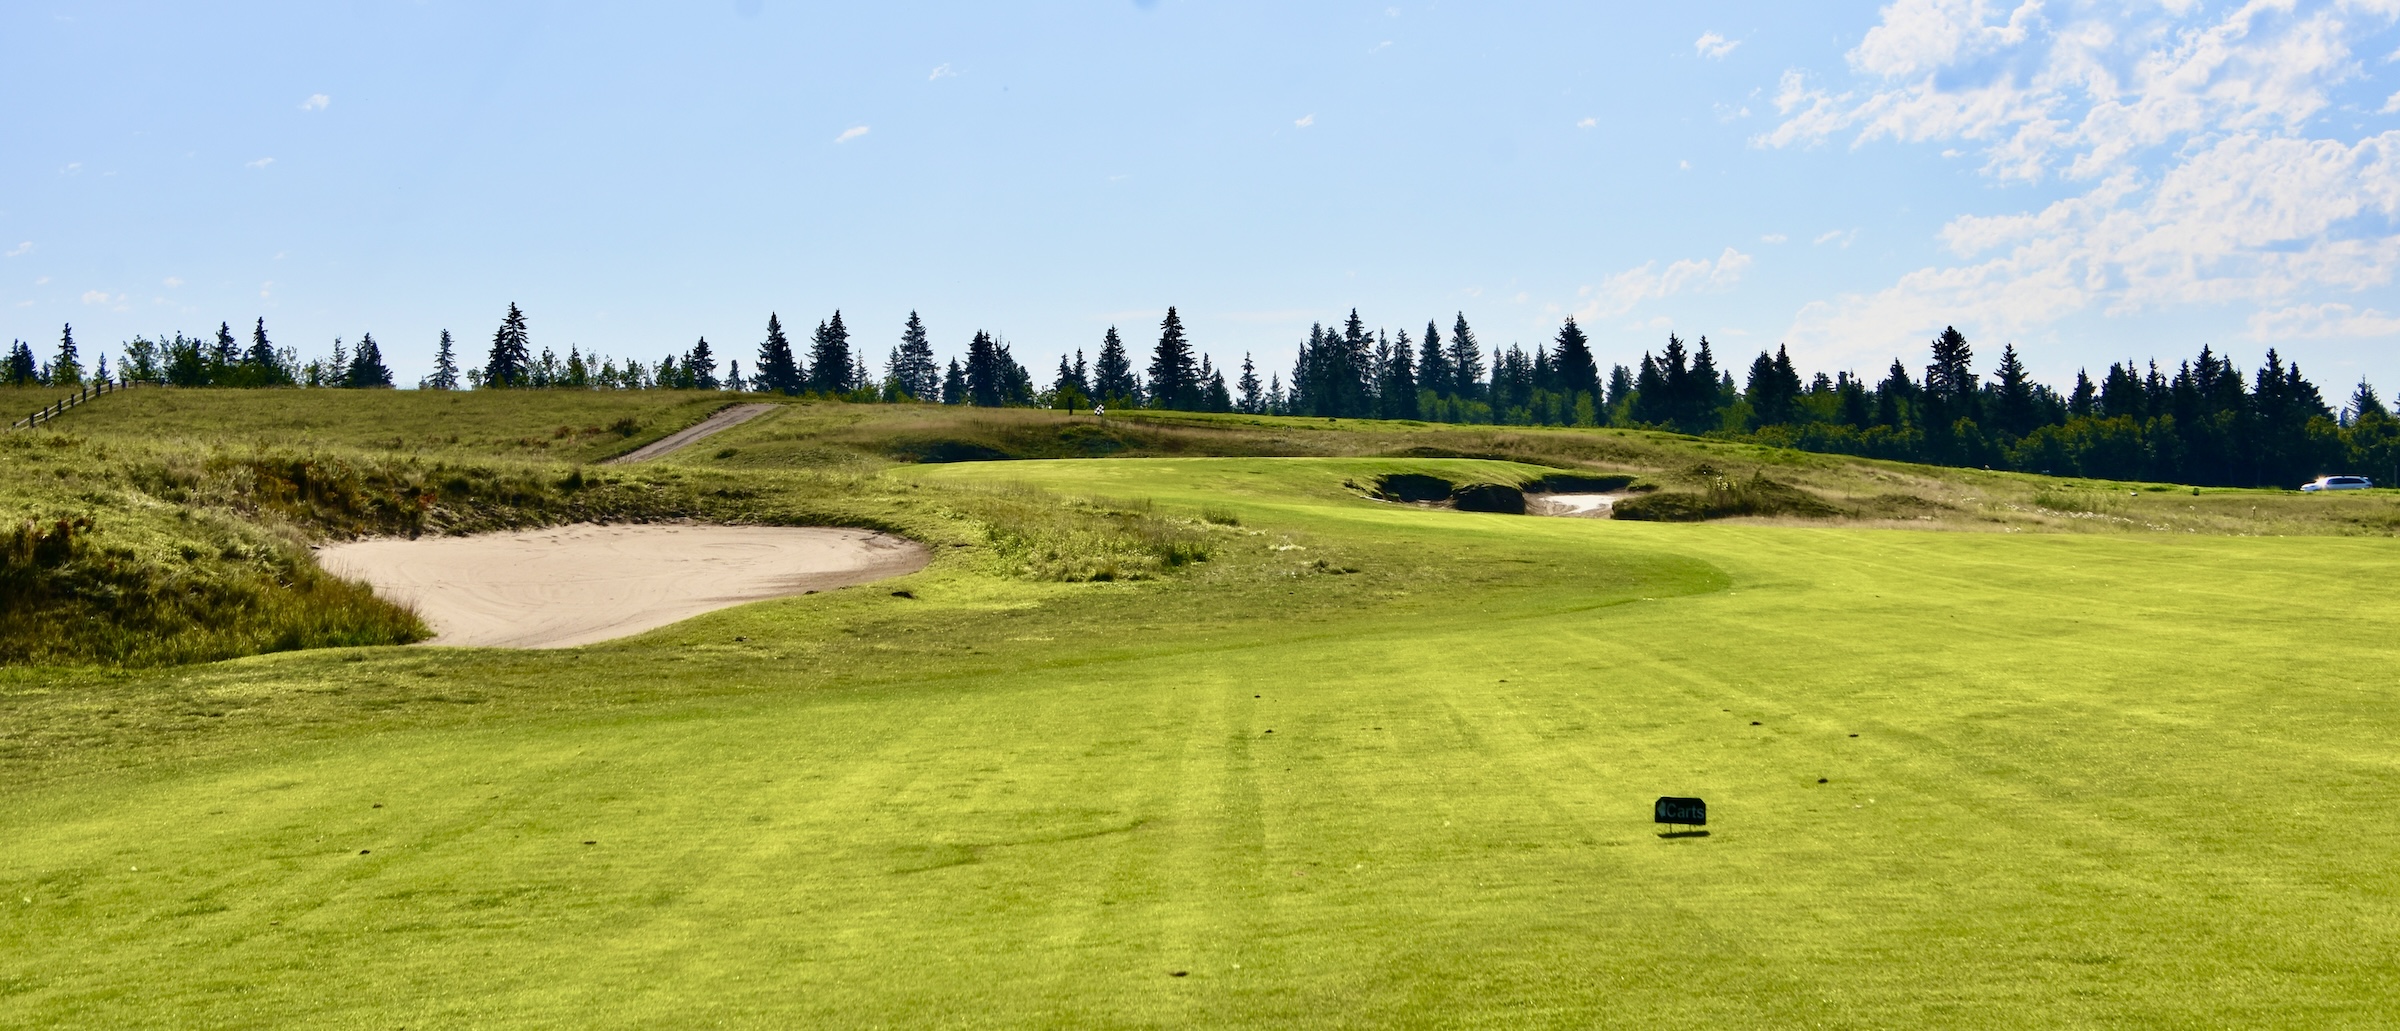
Wolf Creek Links #15 Dune Ridge – 462 Yard Par Five
This relatively short par five is trickier than it looks, coming in at the #4 stroke hole. Big hitters can certainly go for it in two, but then again they shouldn’t be playing from the blue tees. For ordinary mortals of my age playing this as a three shot hole makes more sense, including using a wood off the tee to set up the second shot.

As you can see, the green is considerably uphill and definitely out of reach. The fairway narrows to the right so the target needs to be somewhere to the left. It’s more important to leave yourself in good position for the approach than to try to get as close as possible to the green.

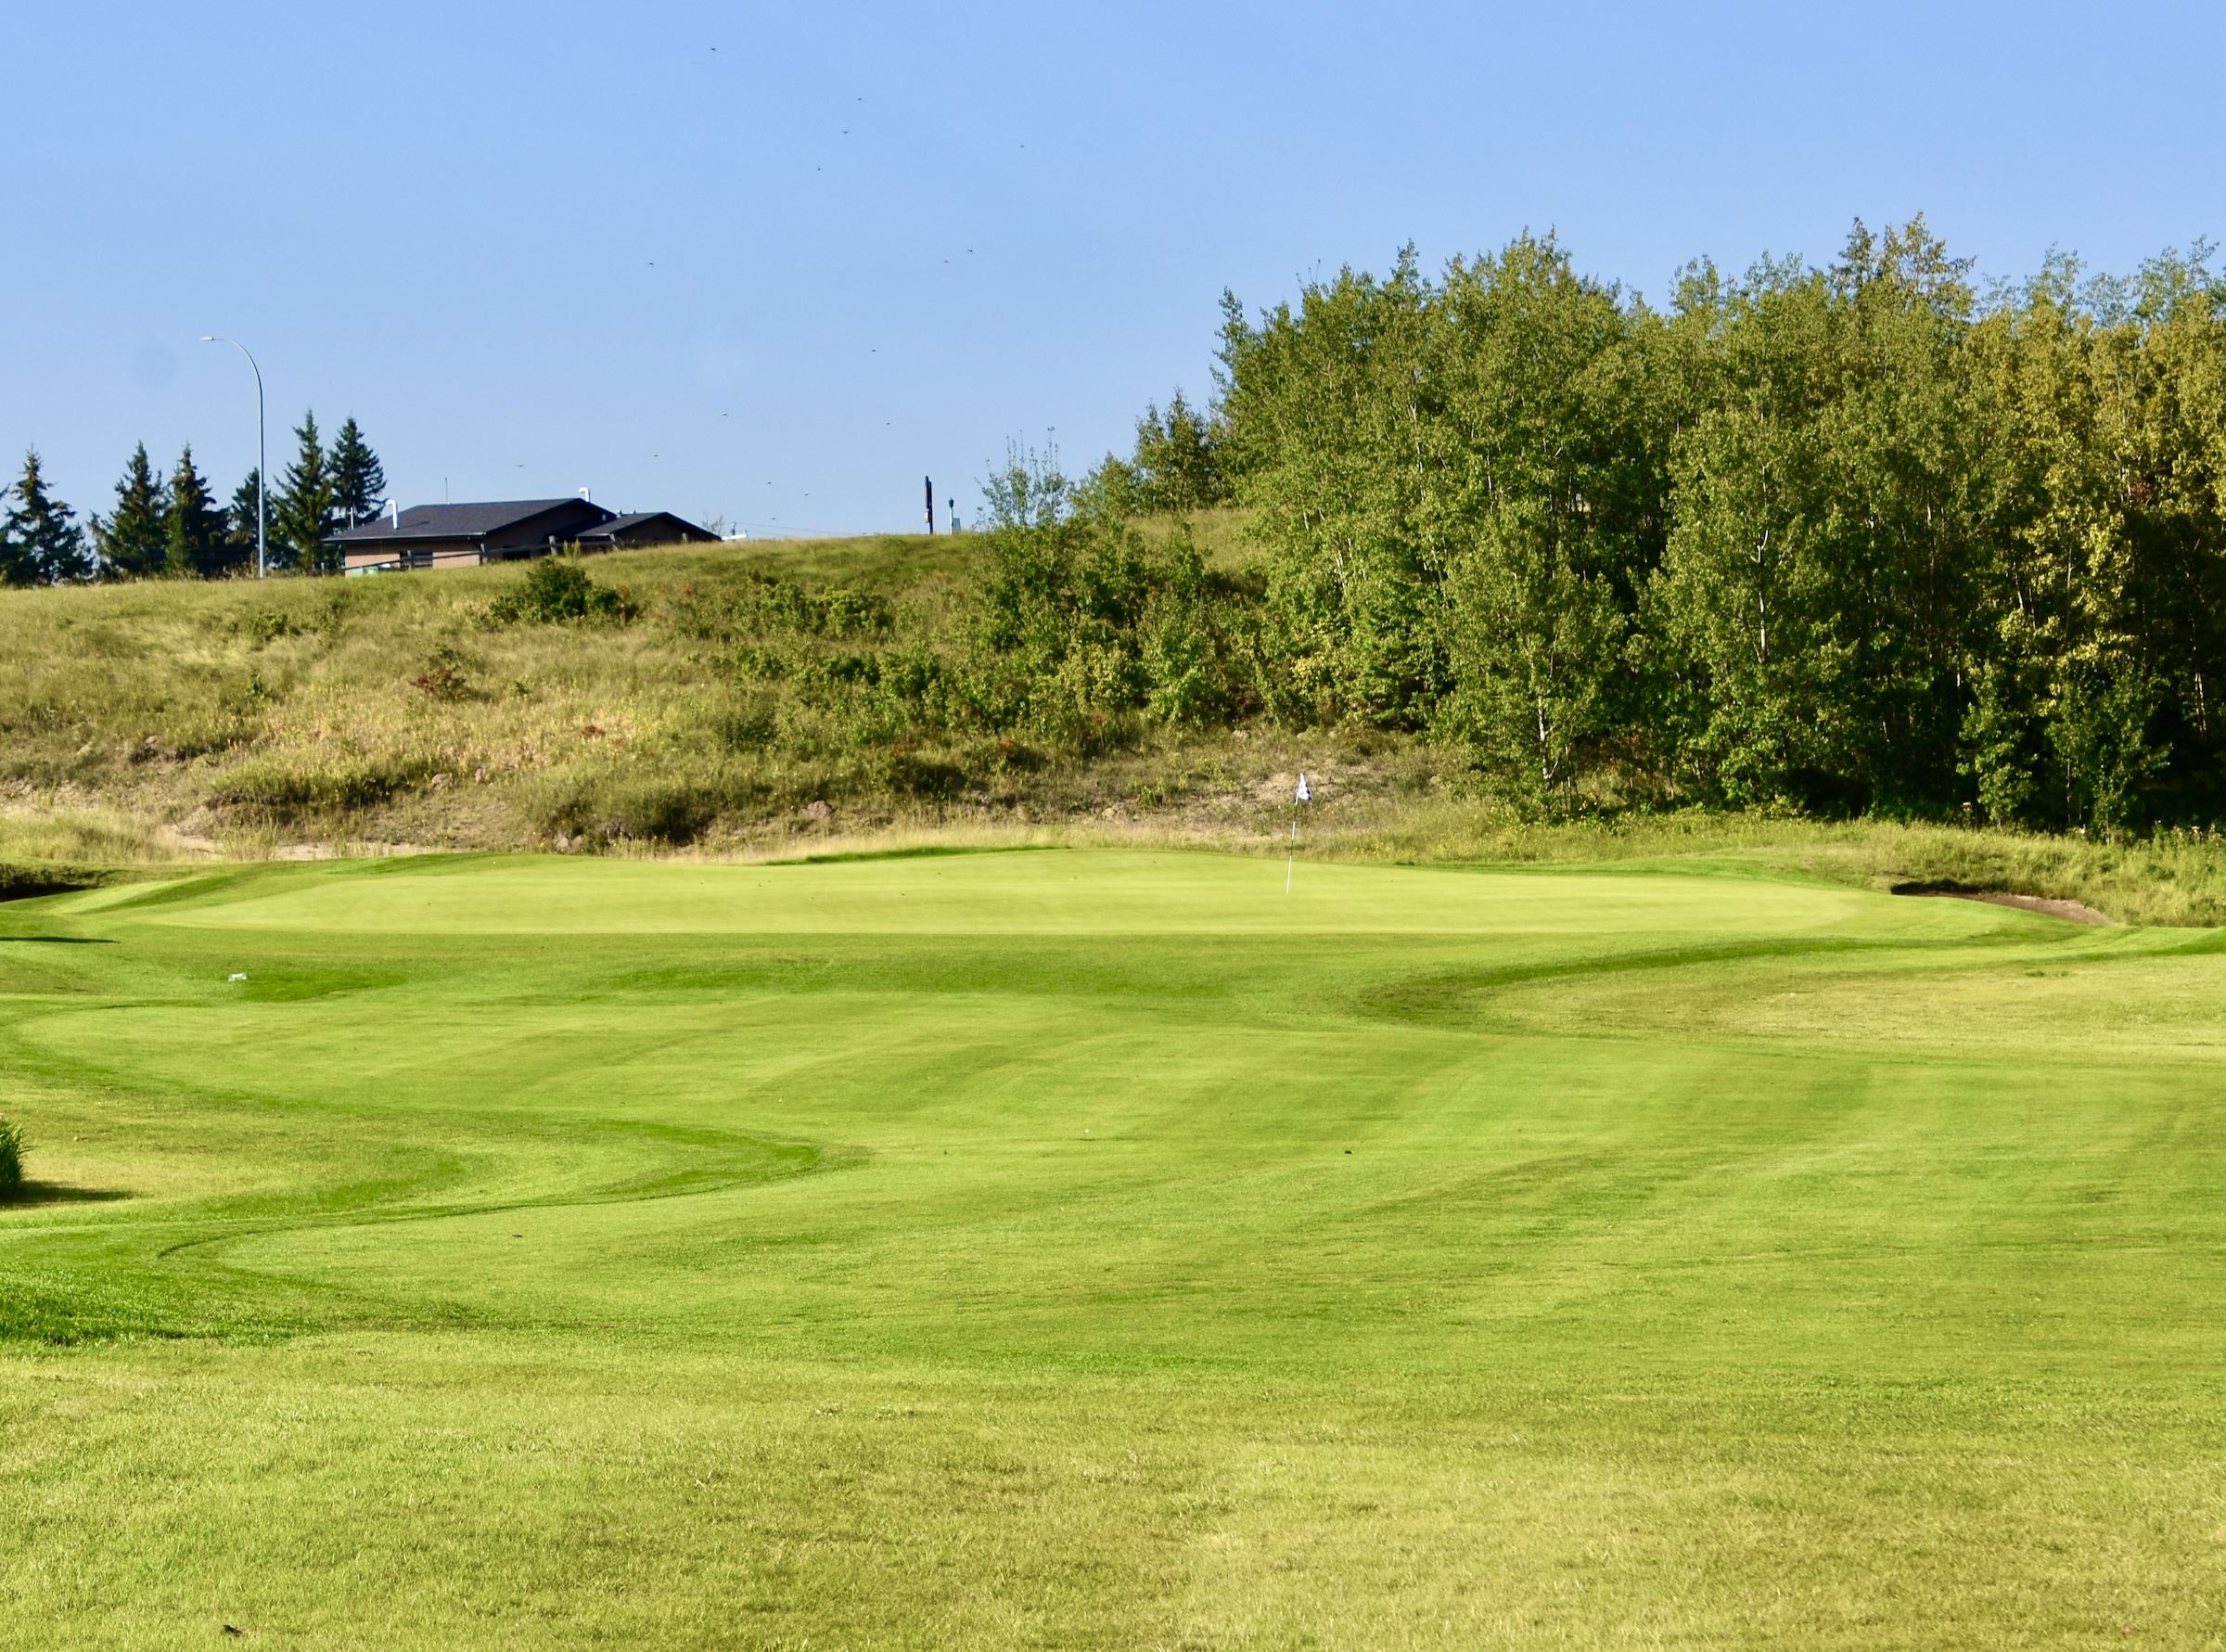
This is where I was positioned after the first two shots, leaving what has now become a very short par three. Once again, playing the short par fives at the Wolf Creek Links course as true par fives and not trying to over power them, yields par or even birdie on occasion.
#16 Tall Spruce – 325 Yard Par Four
This photo makes this hole look like a par three, but it’s an optical illusion. It does play quite short and requires precision over length. The last thing you need is to drive into the trap below the green and turn a potential birdie hole into a bogey or worse.
This is where a five wood ended up, leaving a quite doable wedge shot into an elevated green, one of the prettiest approach shots on the course.
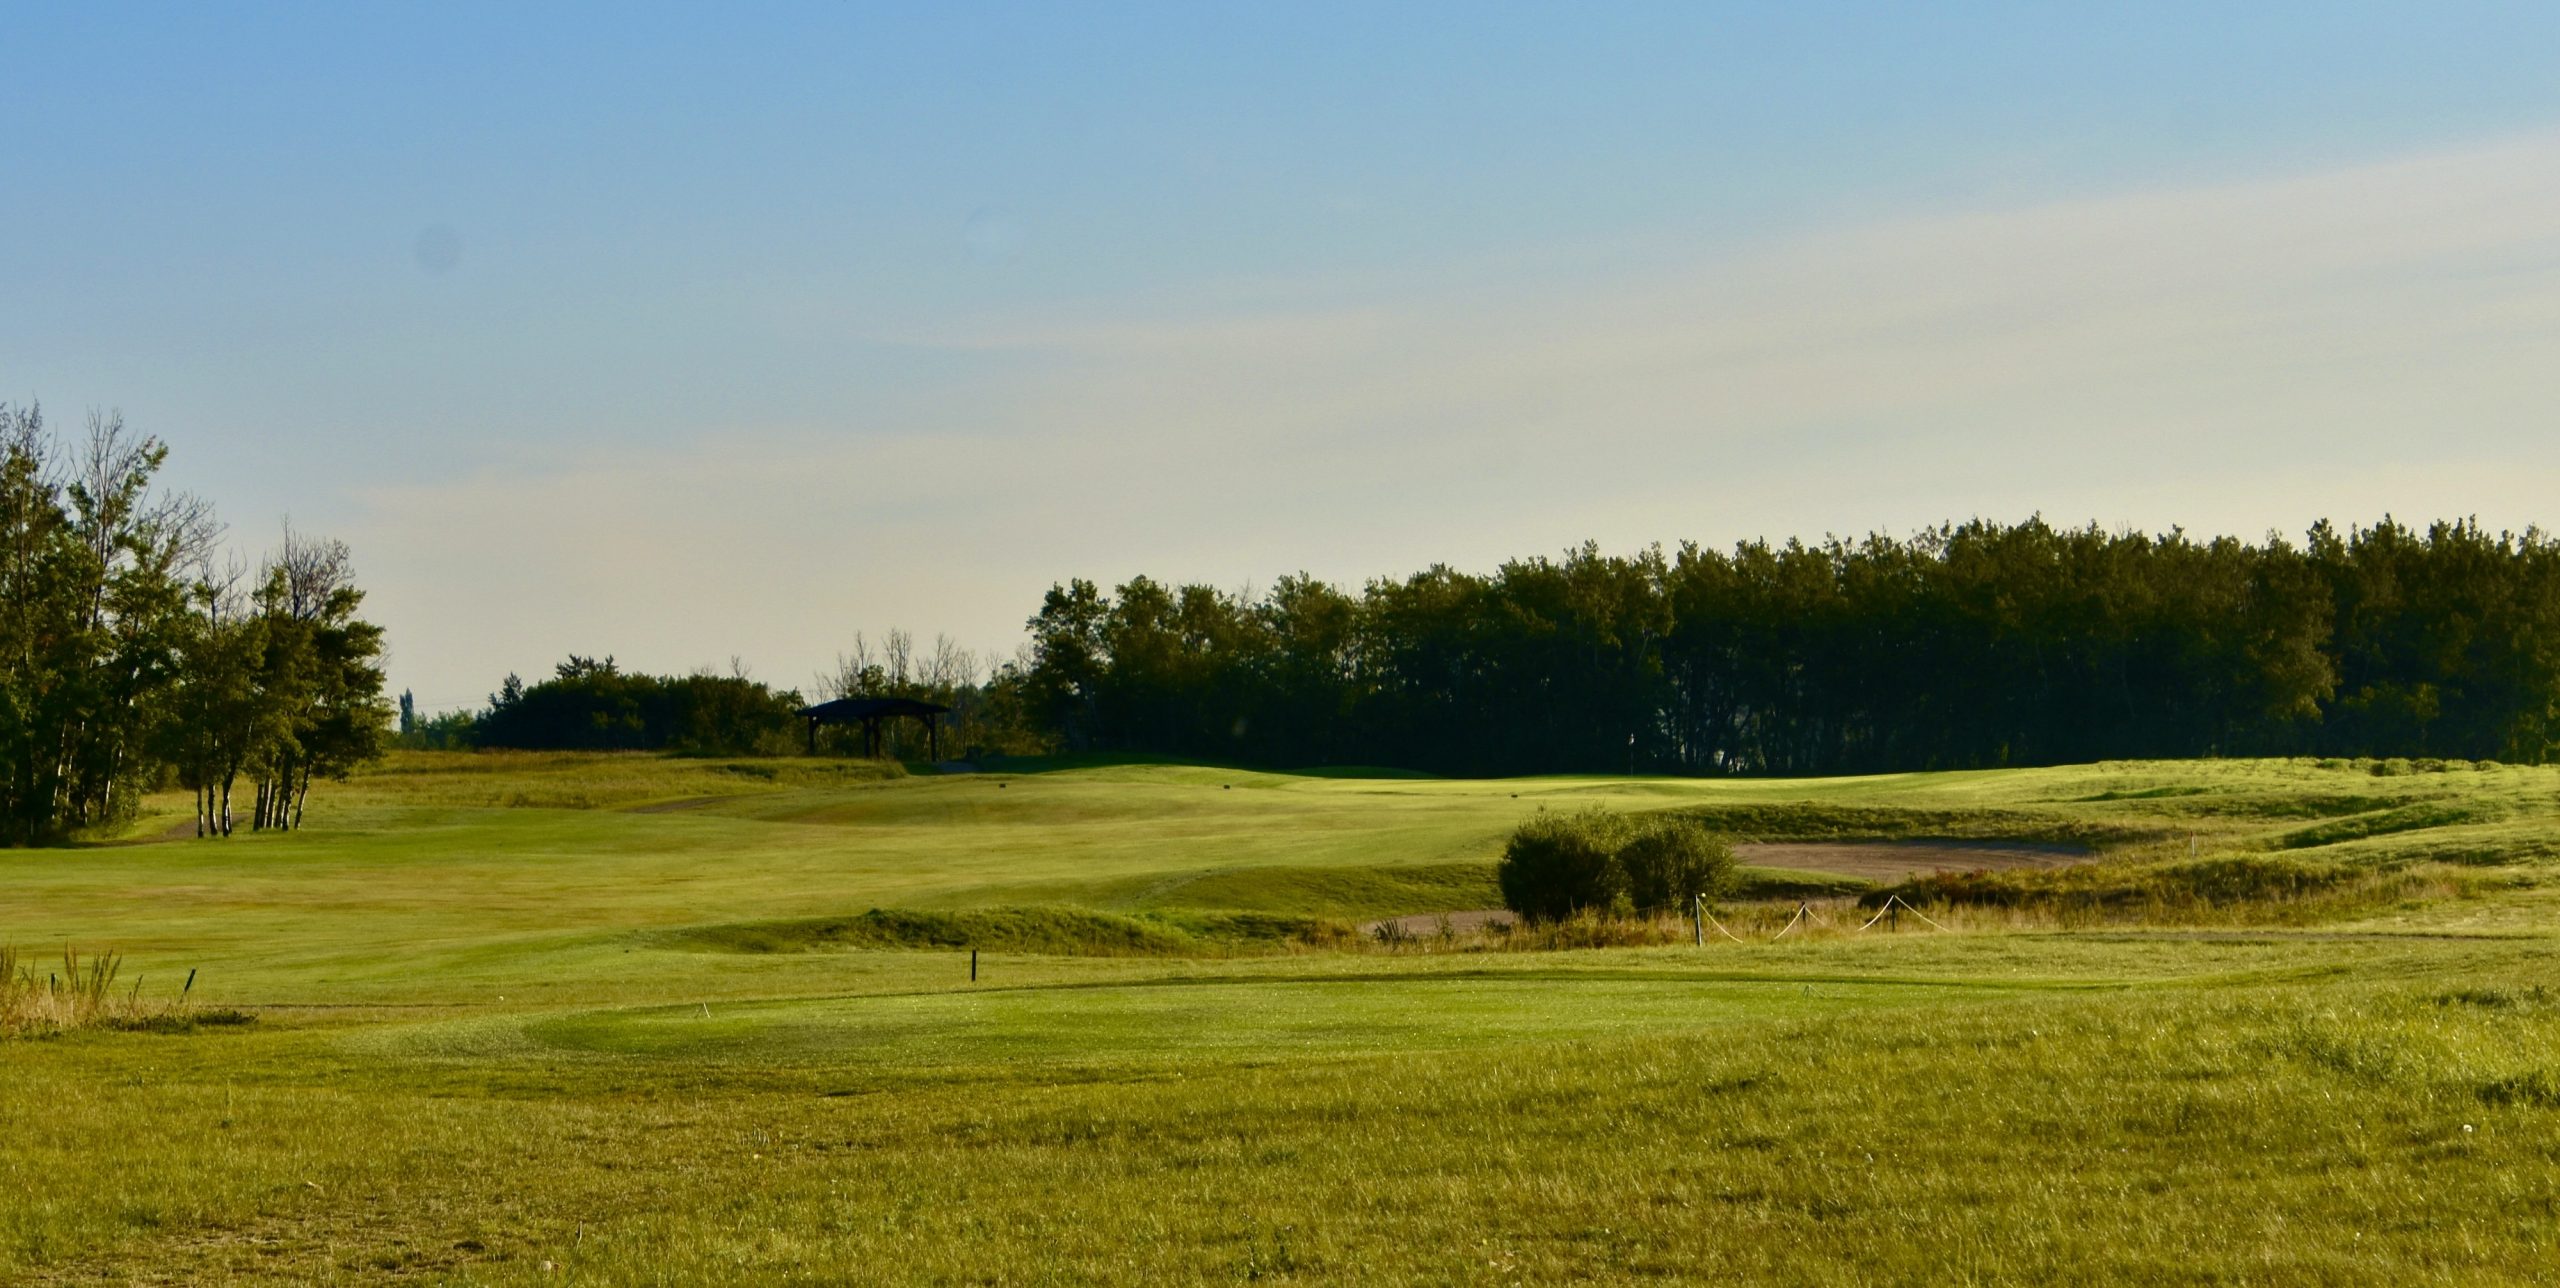
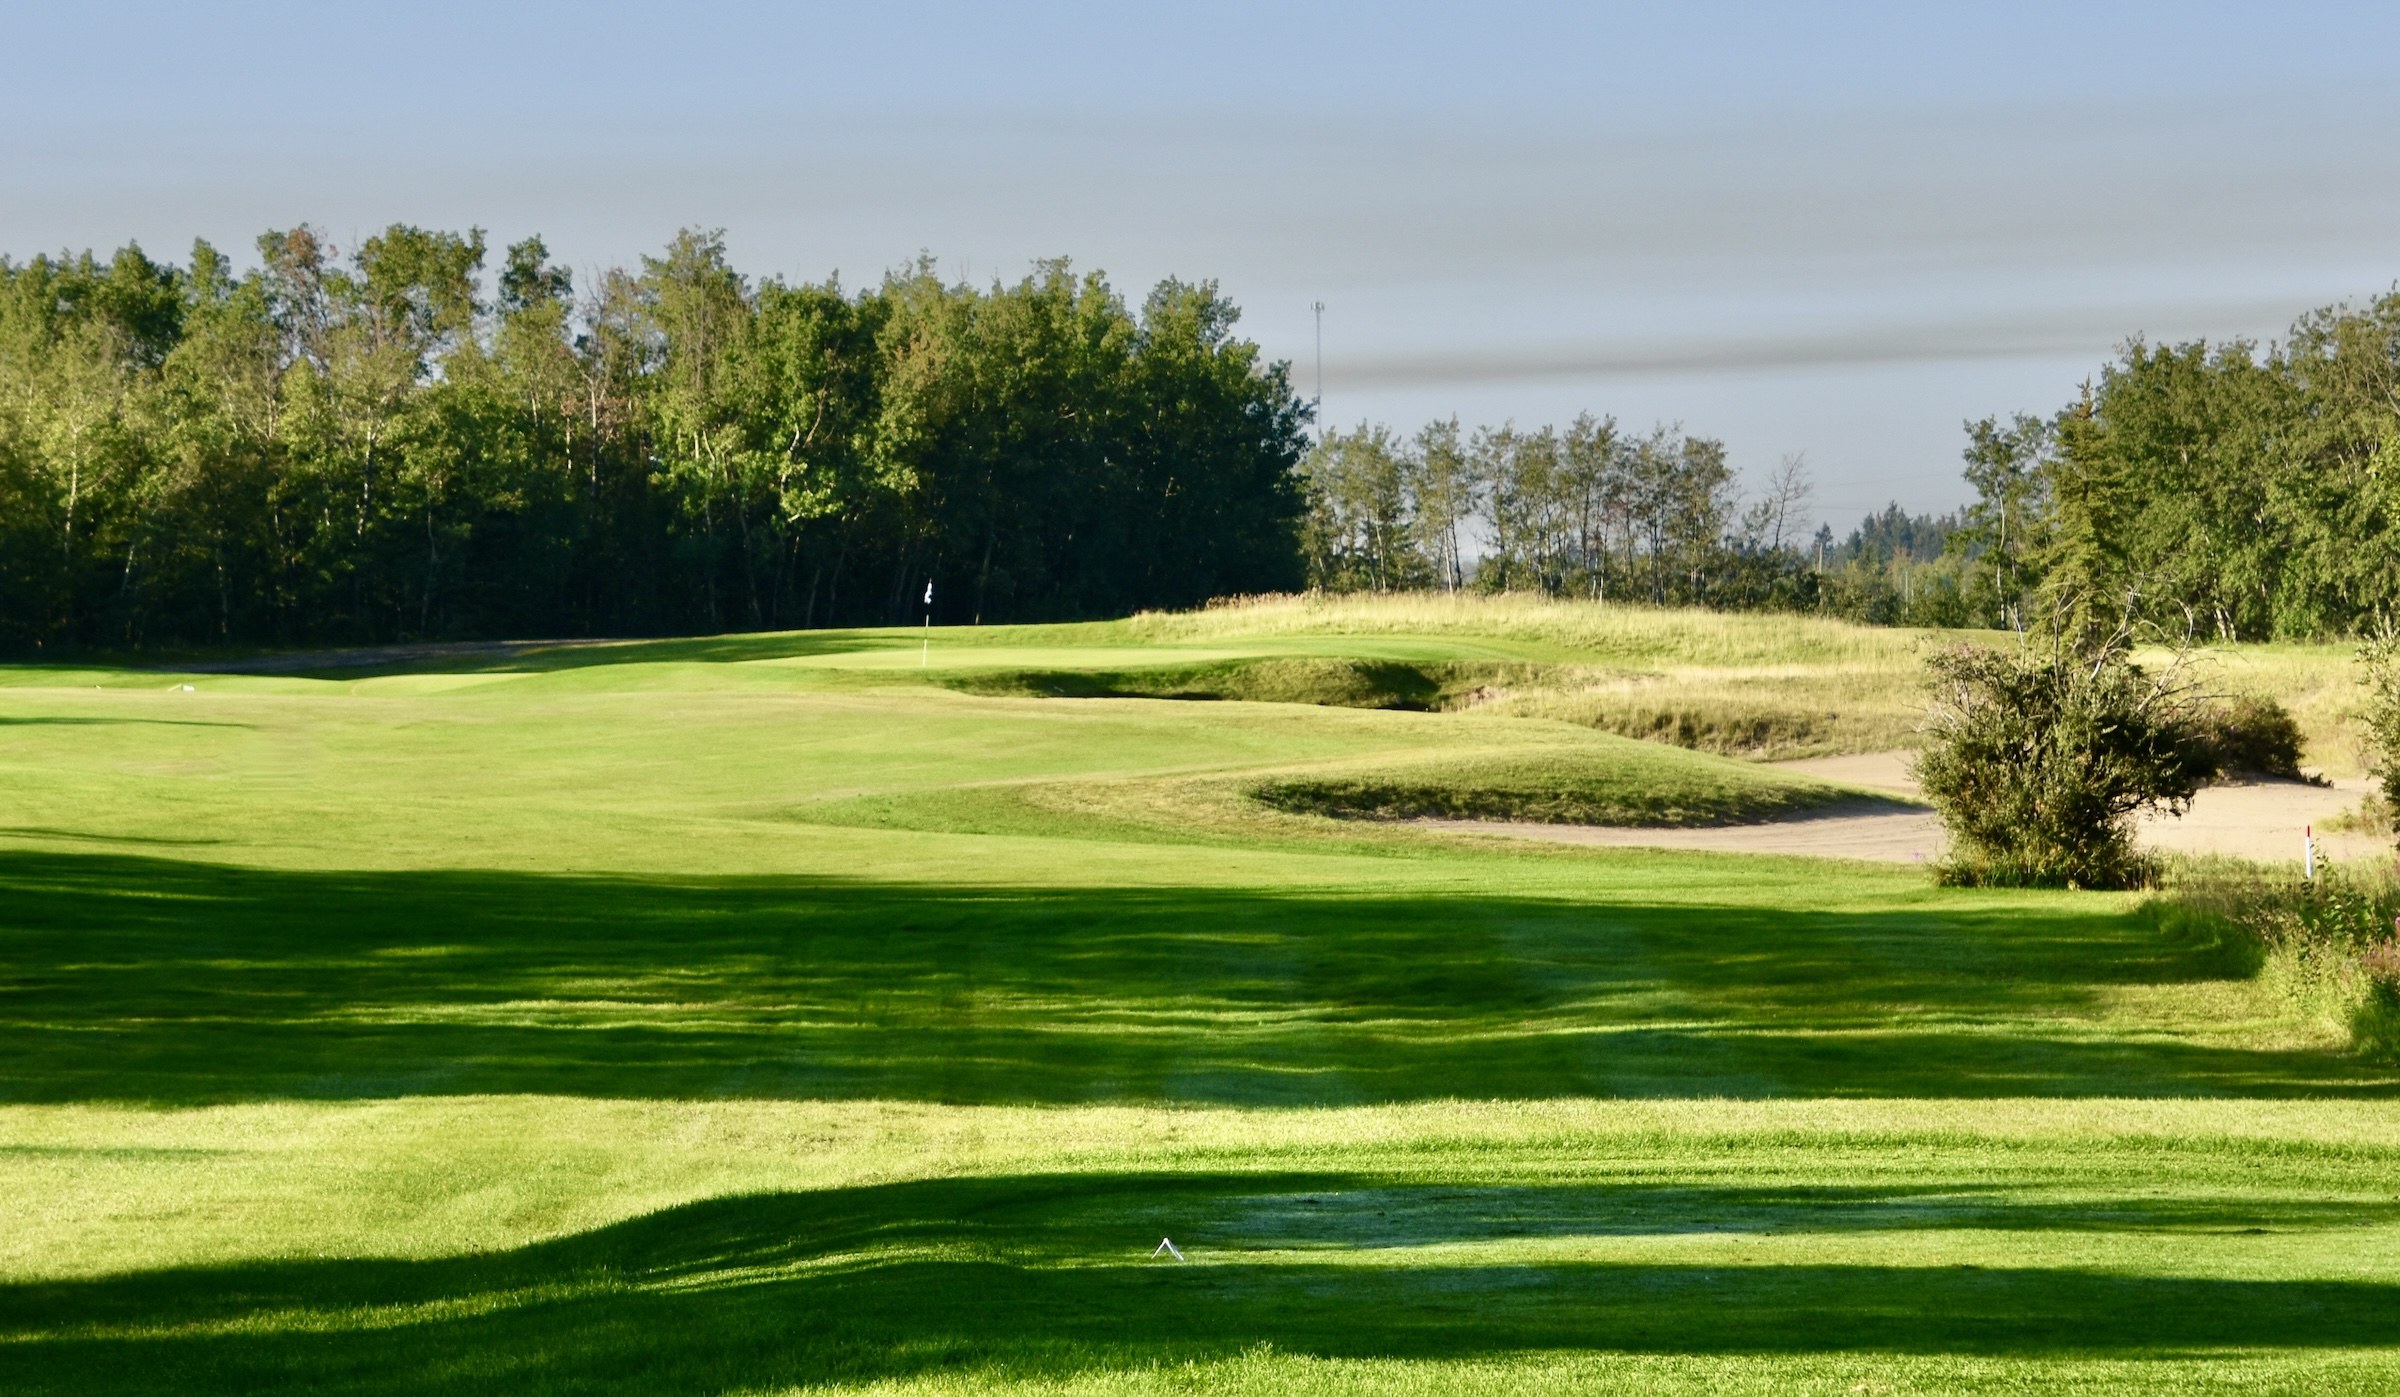
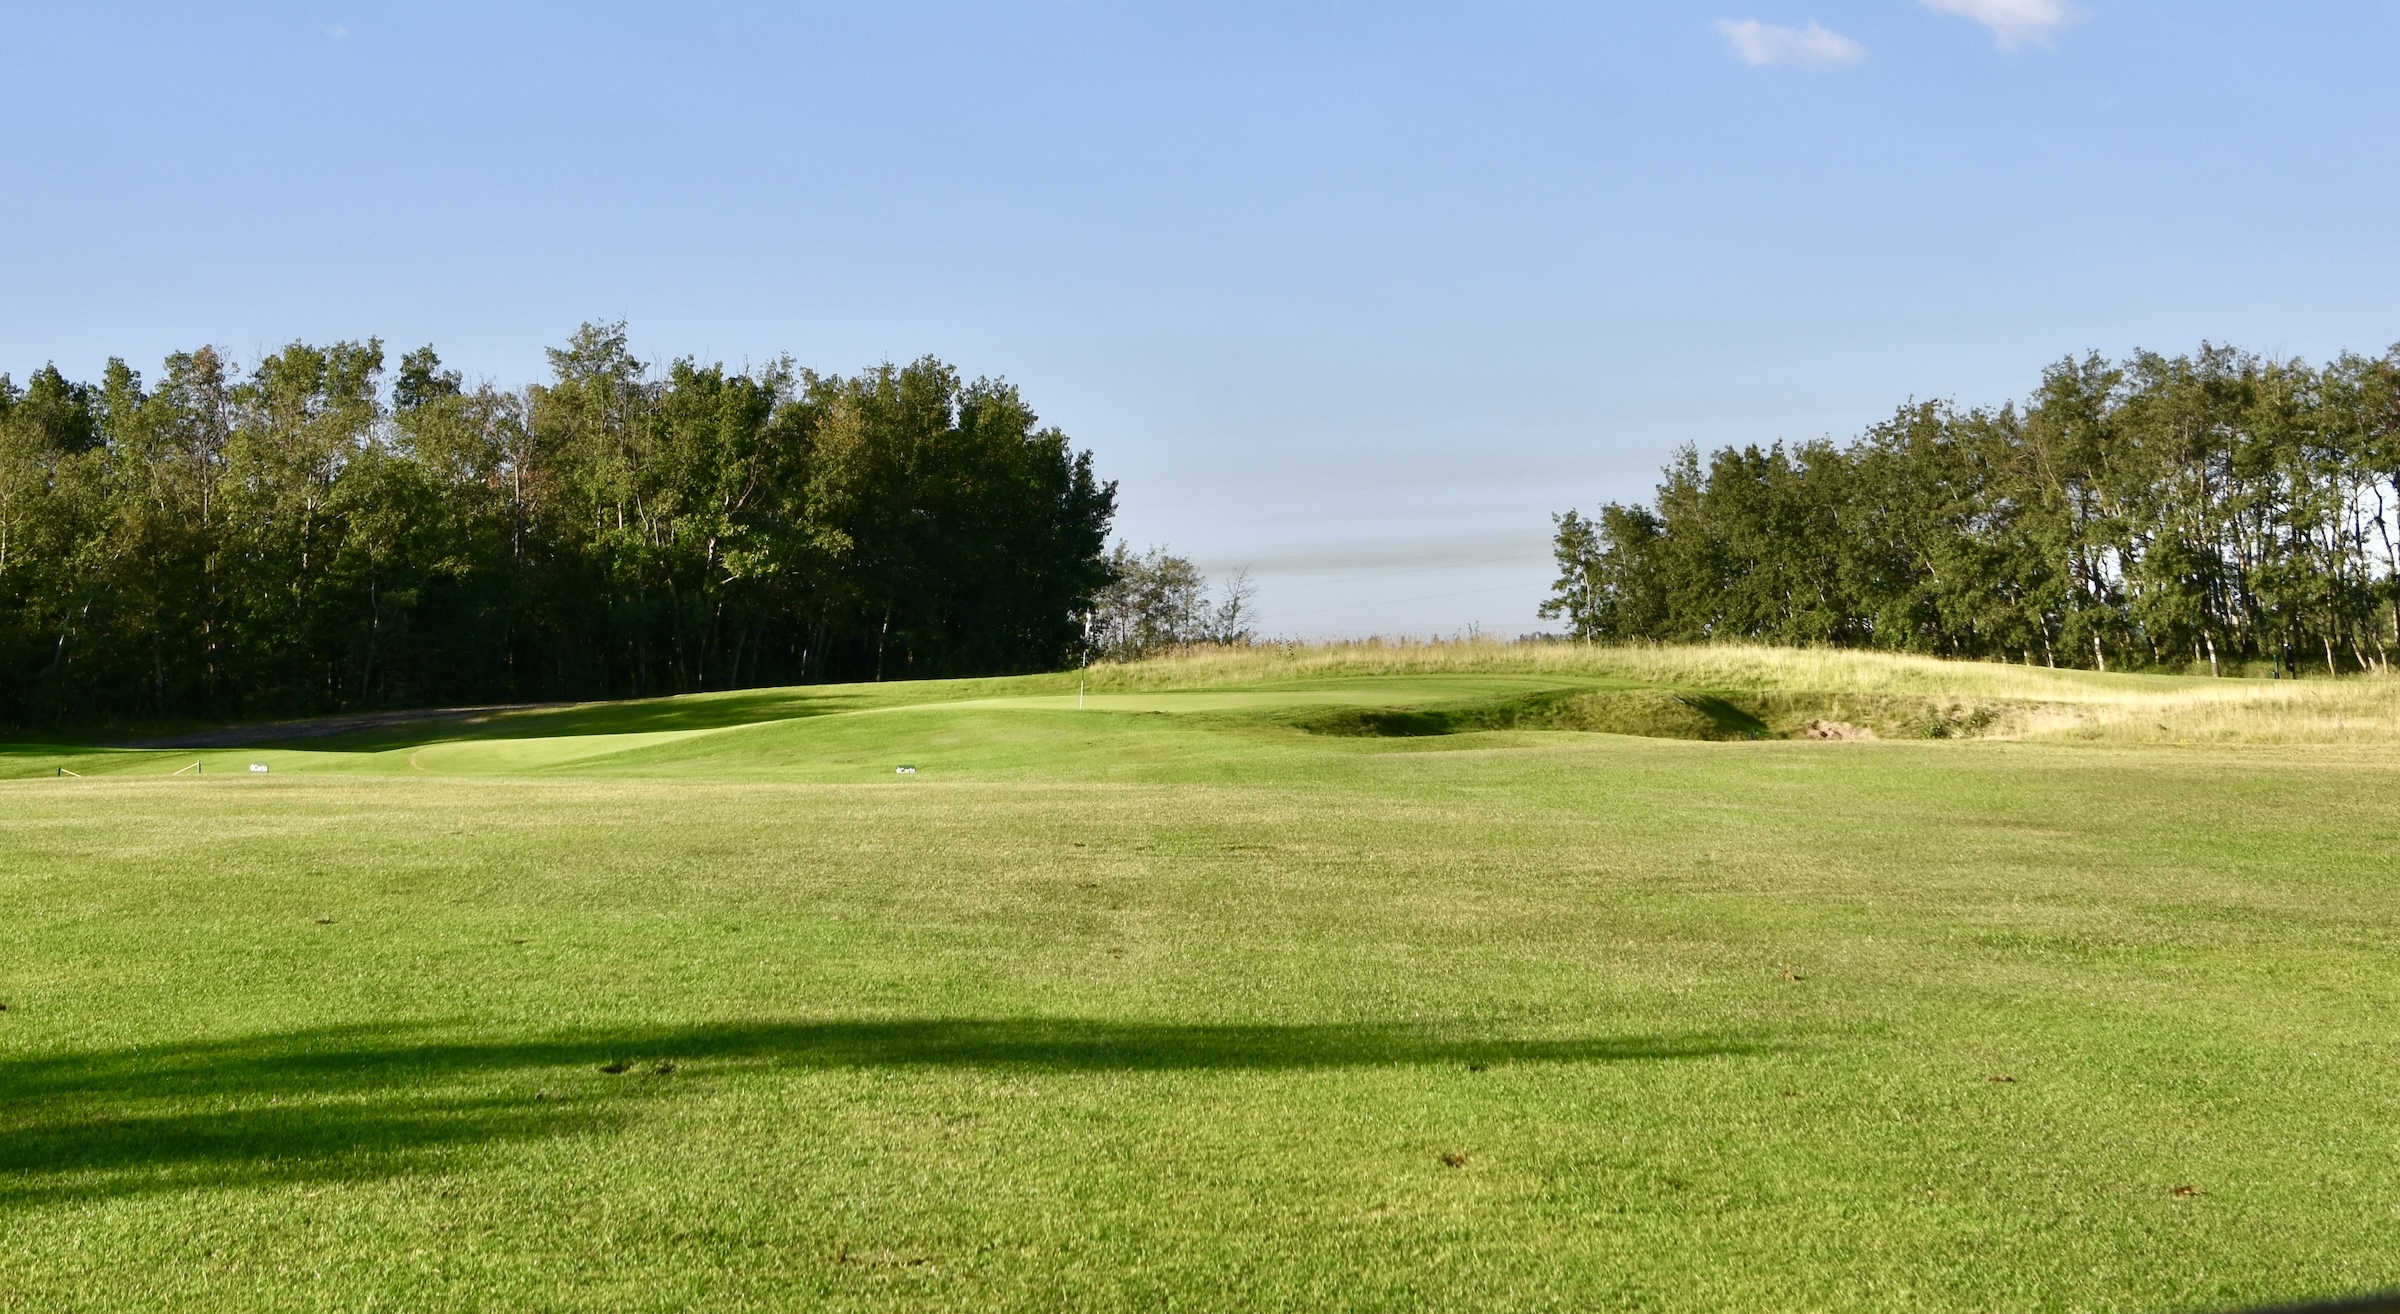
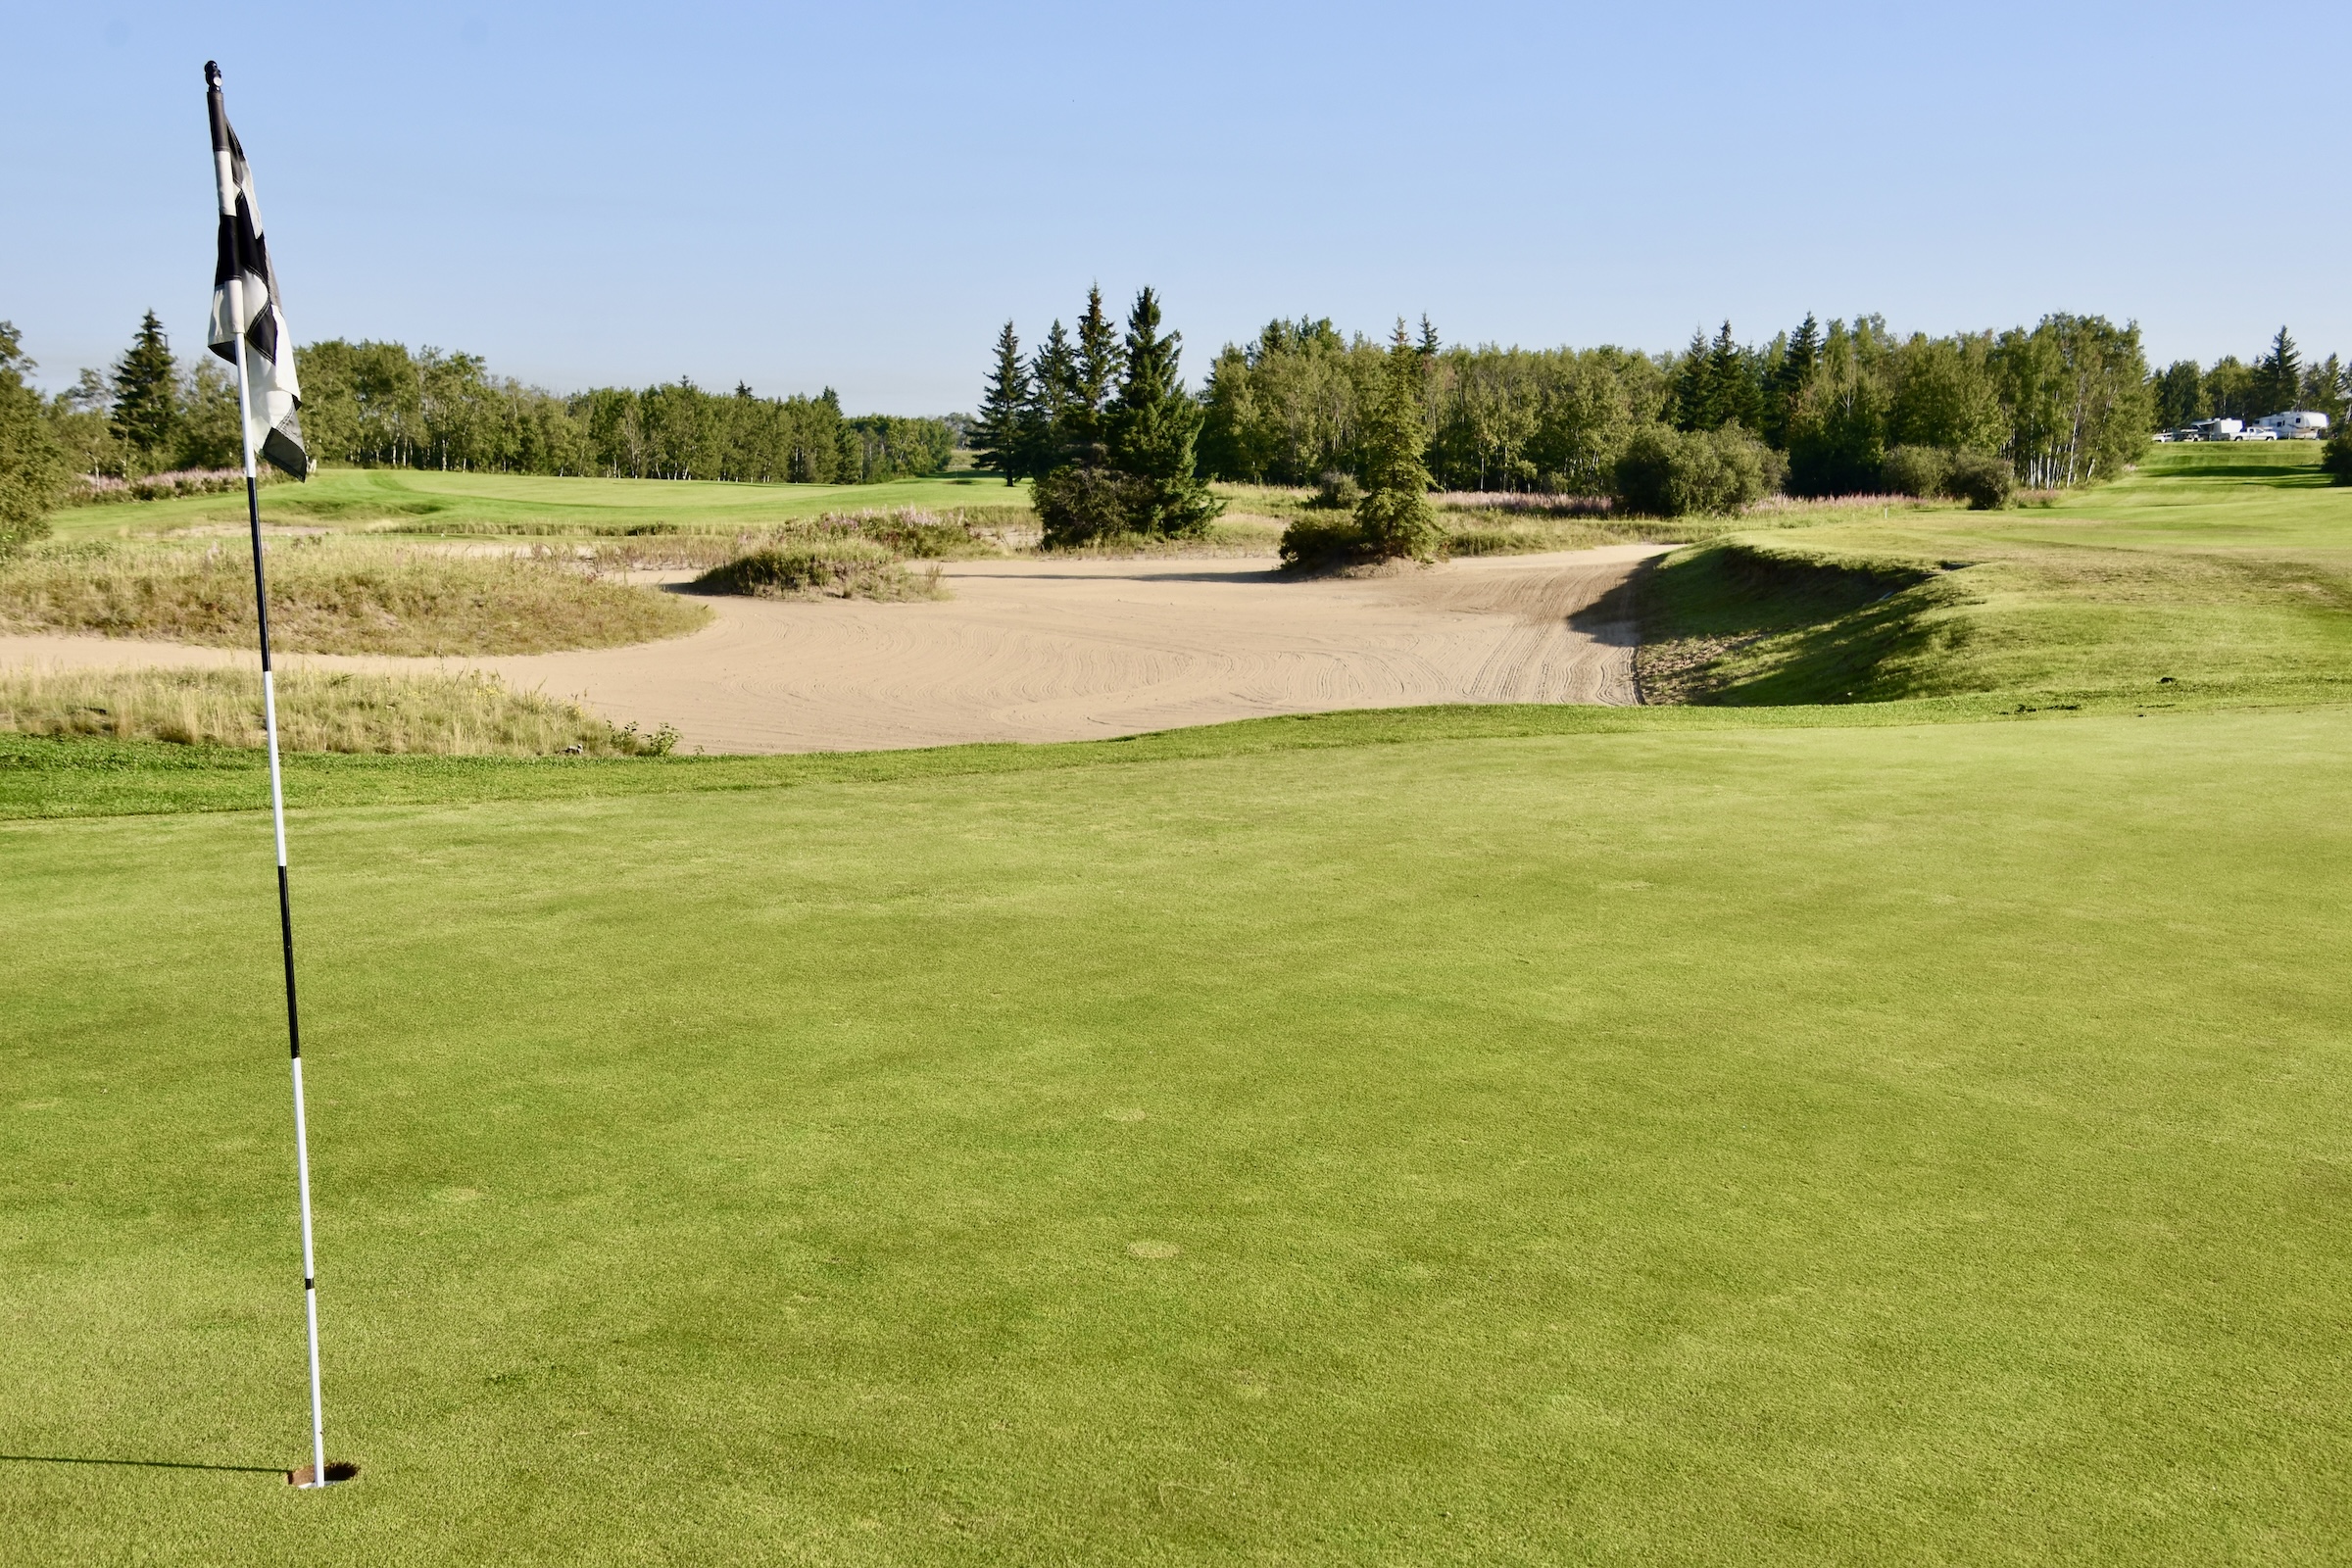
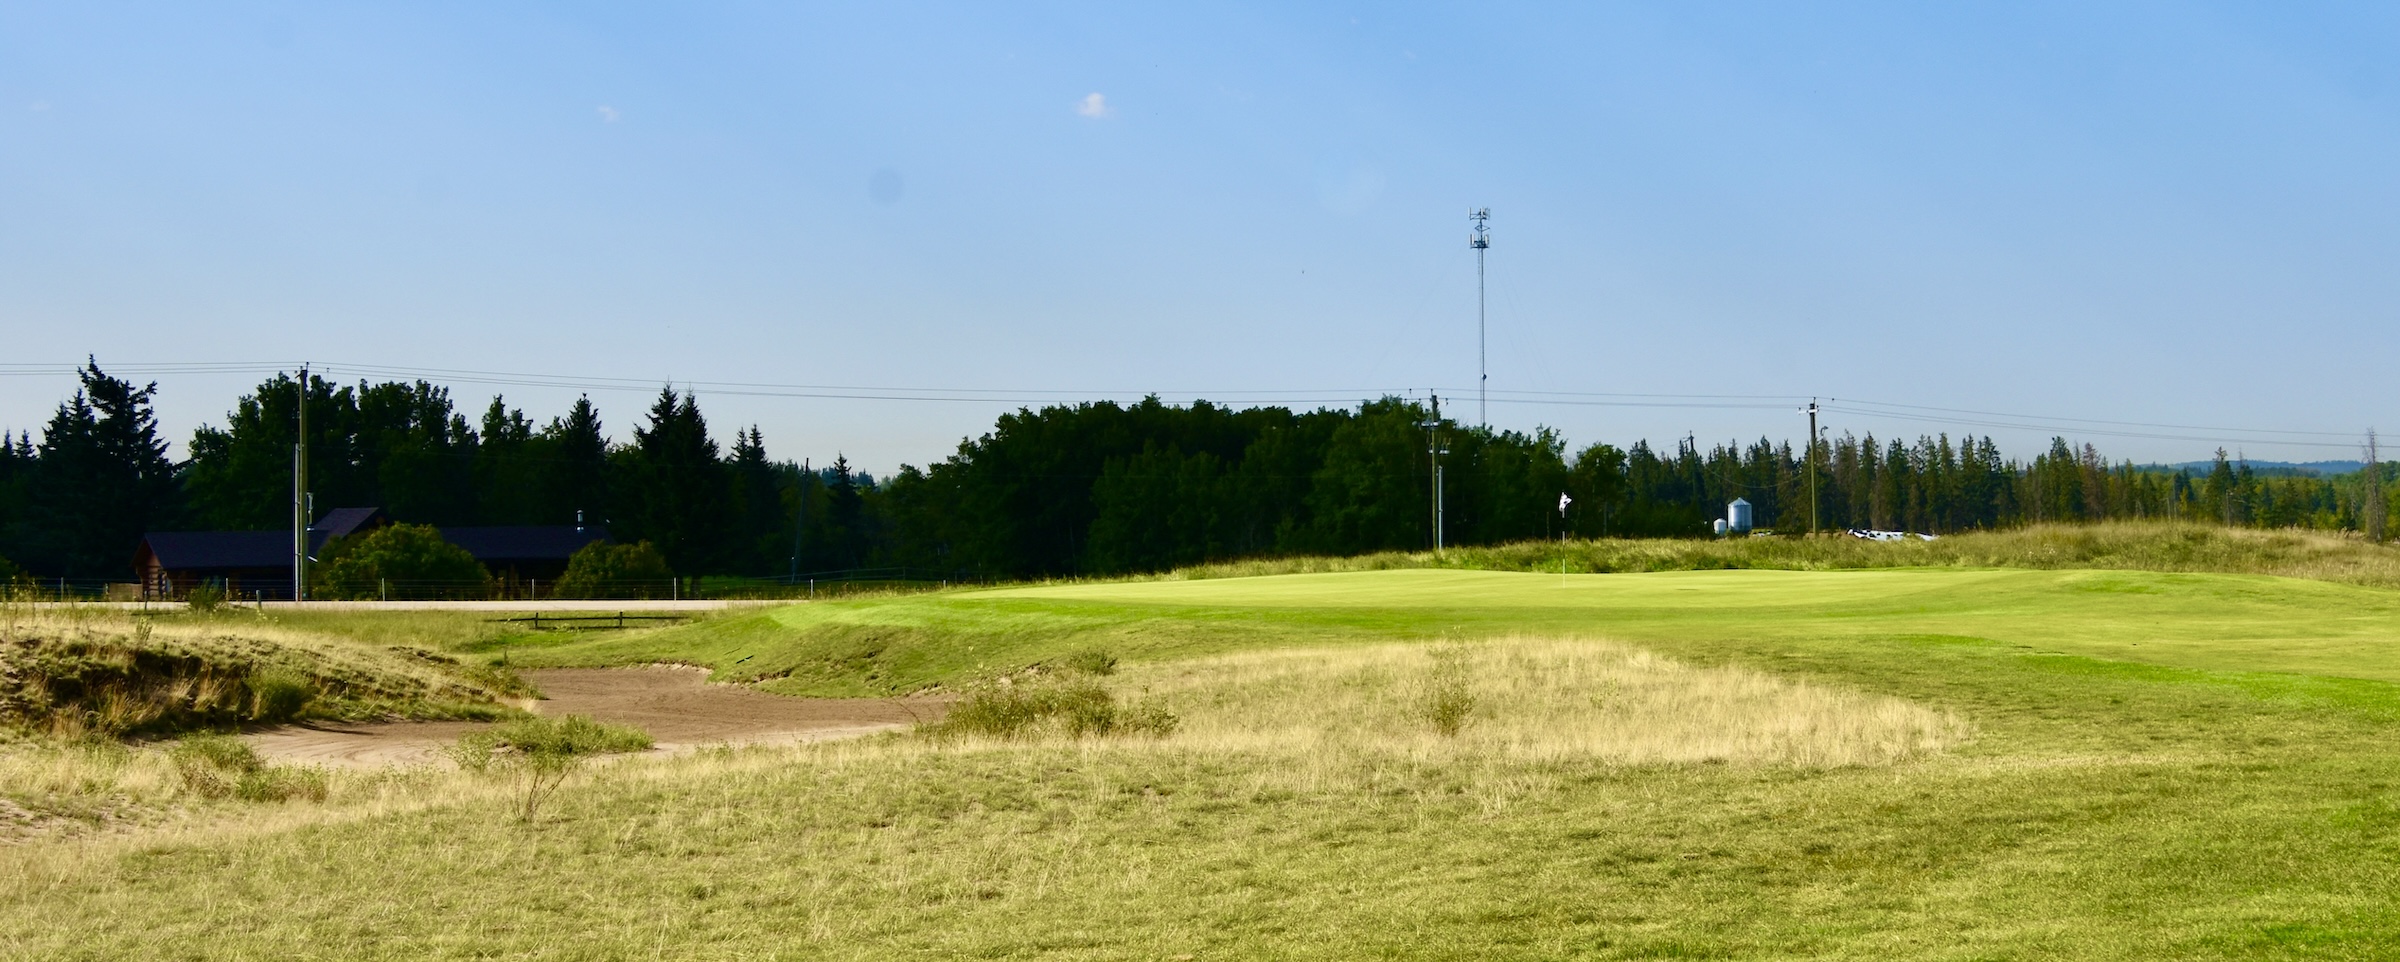
Wolf Creek #17 Grayden’s Ire – 95 Yard Par Three
I’m not sure who Grayden is or why he would get so pissed off about this baby par three. At only 95 yards, playing more like 105, you just need to make sure you take enough club to avoid the pot bunker at the front of the green. Not surprisingly this is the easiest hole on the Wolf Creek Links course and should be yield par or better as long as you pick the right club.
#18 Whit’s End – 426 Yard Par Four
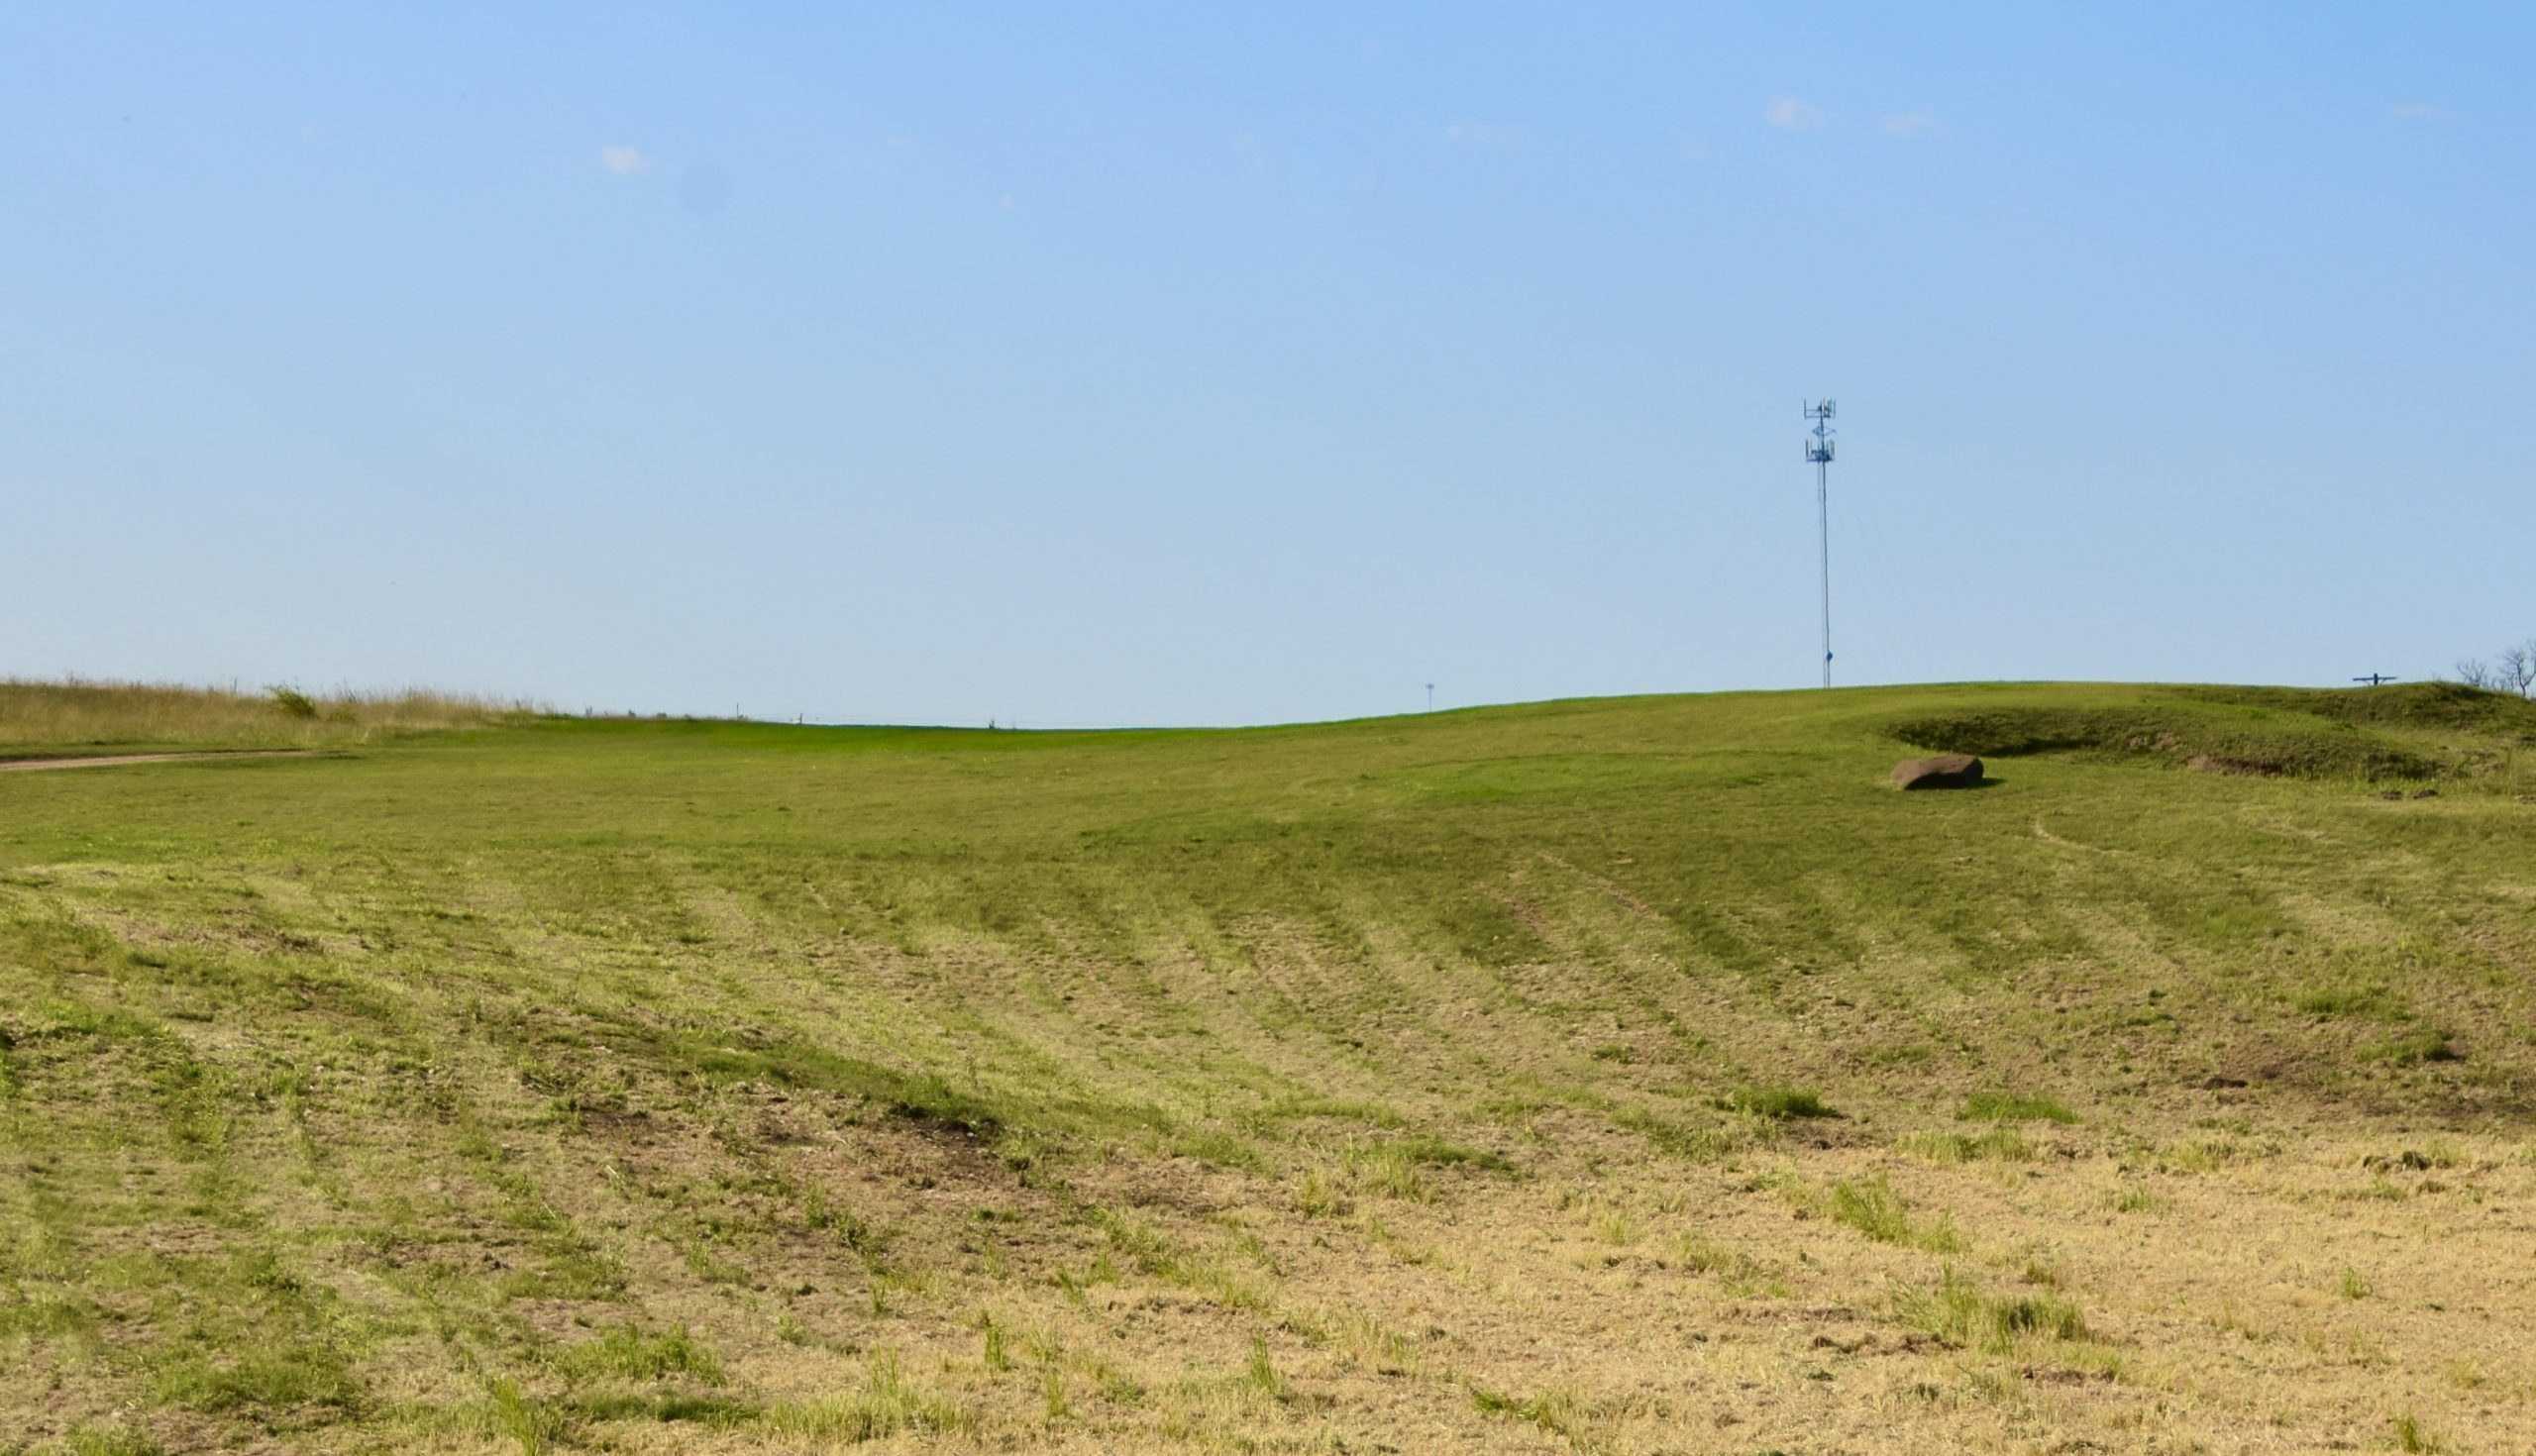
After feeling a bit smug after #17, Mr. Whitman is not going let one get too overconfident and this finishing hole is a true brute. It starts off with the only really blind tee shot on the Wold Creek Links course. The aiming point is actually the tower and basically you can grip and rip it and hope for the best. Or you can admit from the start that you aren’t getting home in two and play it more defensively.

I chose the latter and ended up with pretty well another blind shot, but there’s a lot of fairway and I just need to advance it about 150 yards to leave this approach shot.
A good pitch might leave me with a chance for par, but I’m quite content to accept a bogey on what is the #2 stroke hole.
I have been fortunate to play the Wolf Creek Links course in very benign conditions. I think it could be a real monster with the wind up. This course is really about ball control and taking the bunkers out of play and I find that a satisfying challenge.
In the next post I’ll play the Wolf Creek Old course that once hosted the Alberta Open for 13 straight years. If it’s a good as the Links course it will be a joy to play.