Wallasey Golf Club – Hole by Hole

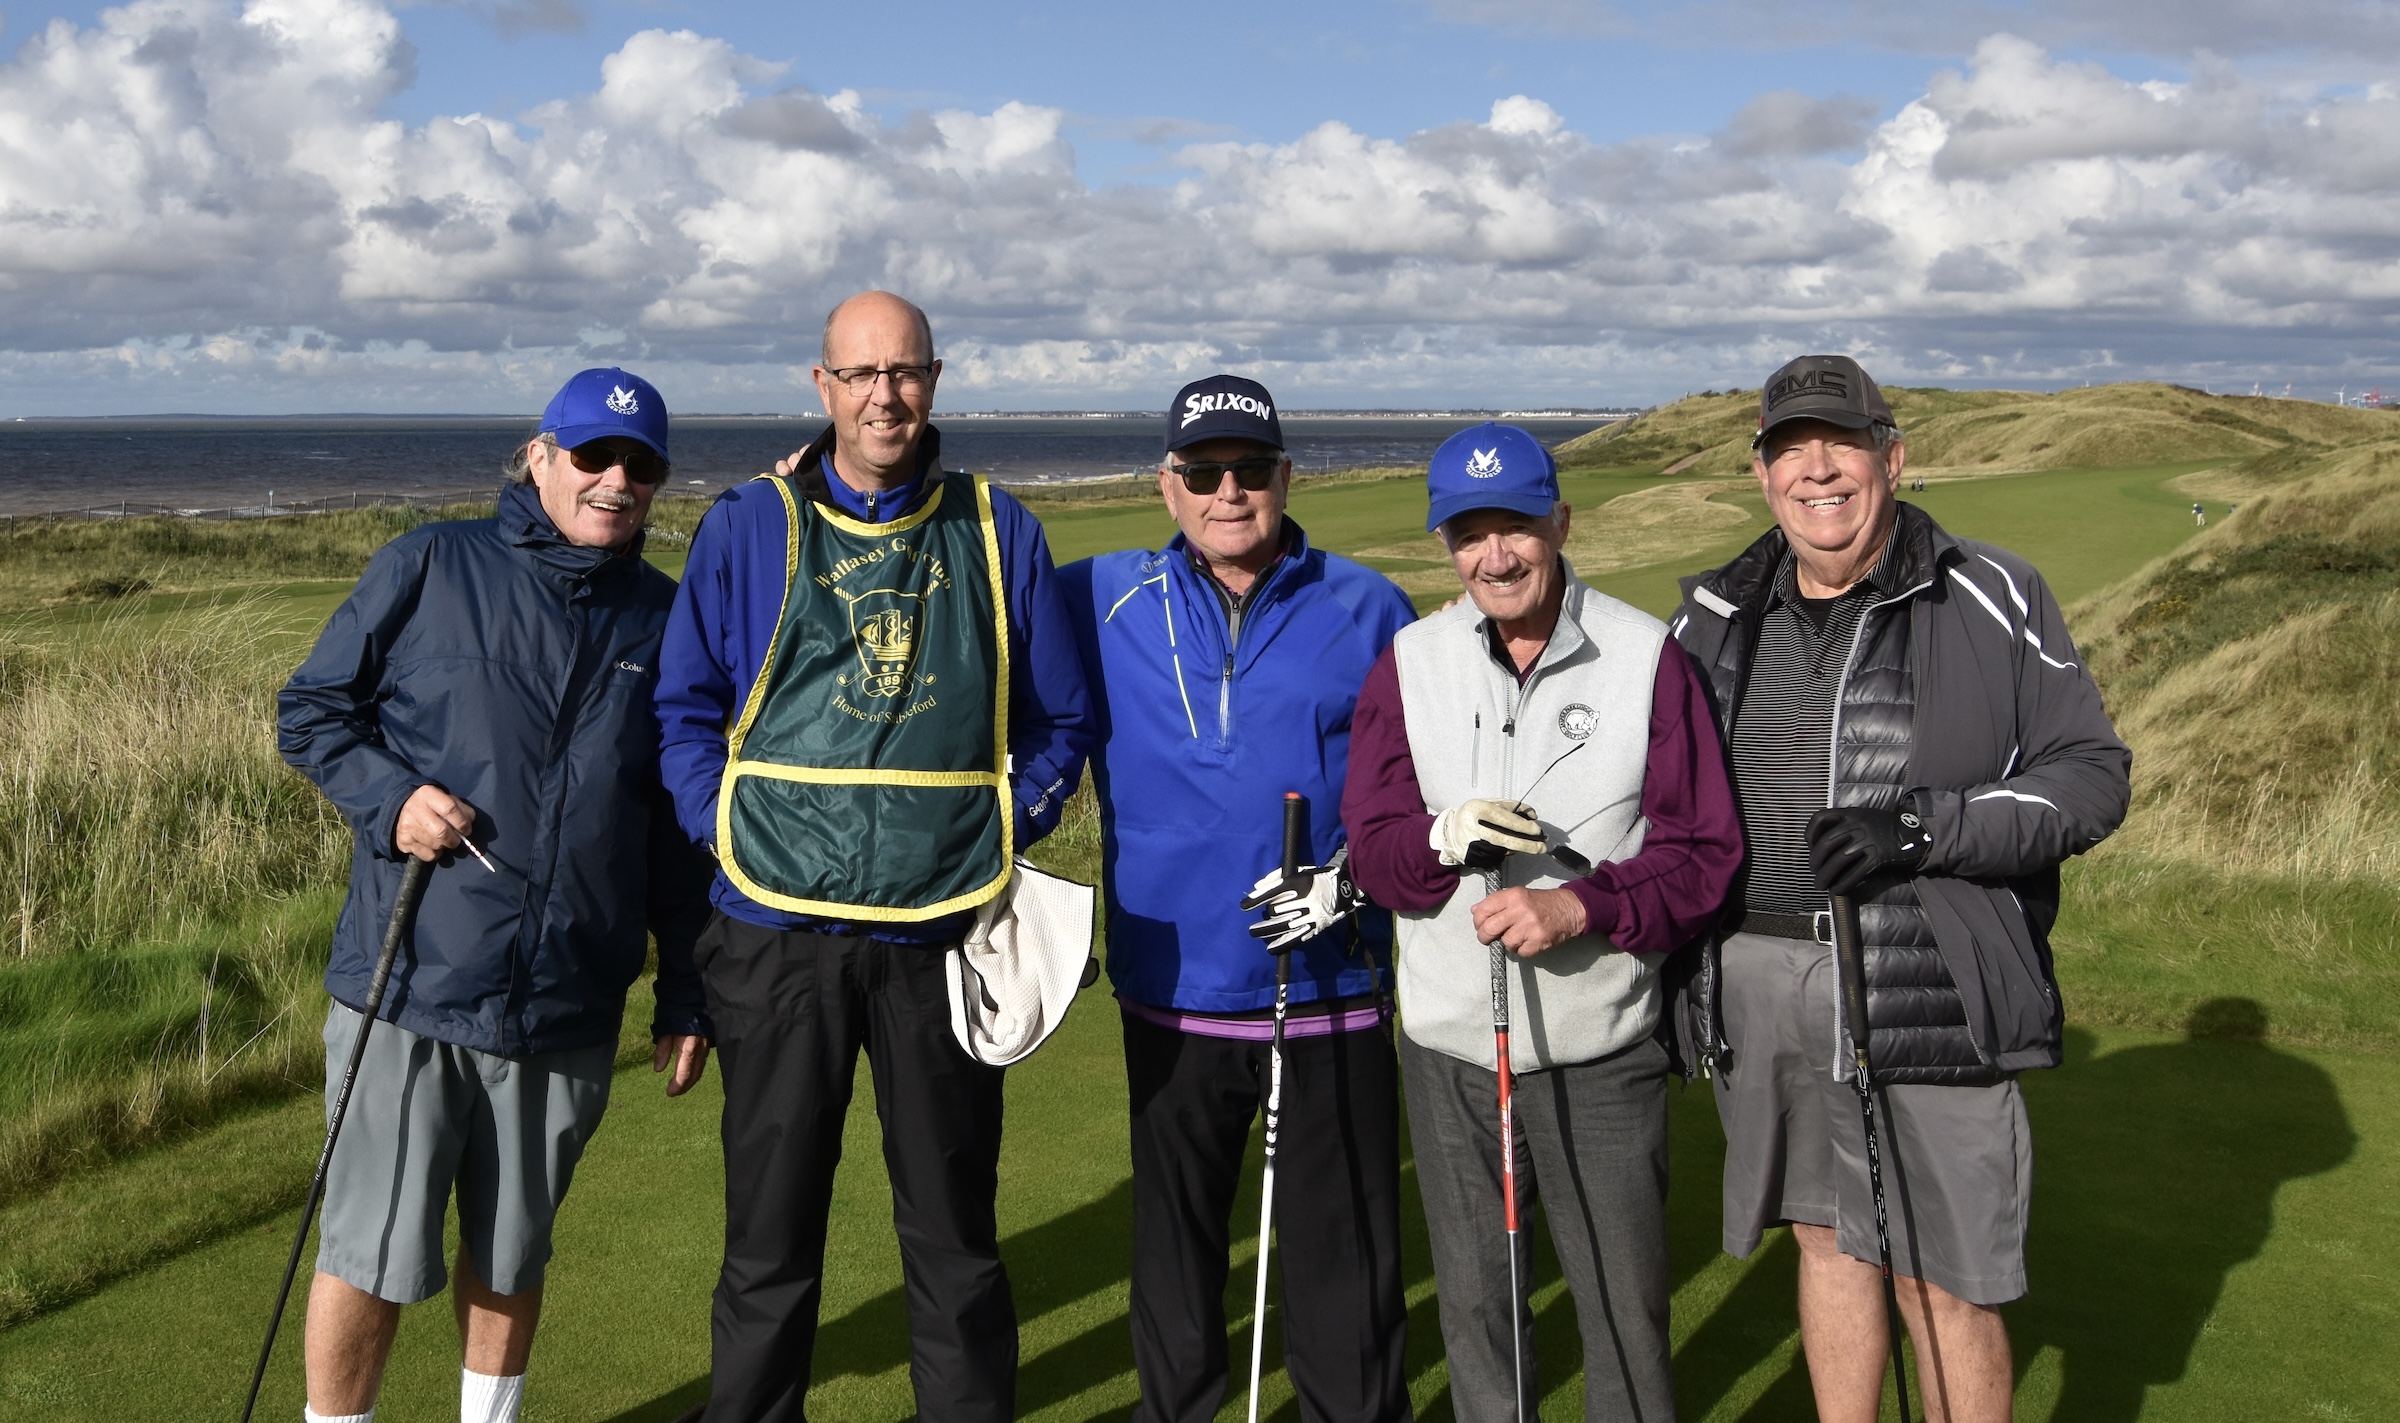
This is the first of six hole by hole descriptions of courses I and seven friends played on a recent trip to northwest England hosted by Platinum Golf Scotland. Two years ago we first used Platinum Golf to arrange a trip to northeast Scotland where we played six courses based out of Inverness and Aberdeen and were very pleased with their services. The courses played were Nairn, Royal Dornoch, Castle Stuart (now Cabot Highlands), Cruden Bay, Trump Scotland and Royal Aberdeen Balgownie. This year we wanted to play the three Open venues in northwest England along with a few others before ending at The Belfry. The folks at Platinum Golf suggested starting with Wallasey Golf Club which is a short distance from the Liverpool waterfront where we were staying at the Crowne Plaza. It was a great recommendation as I will explain in this post starting with its illustrious history.
History of Wallasey Golf Club
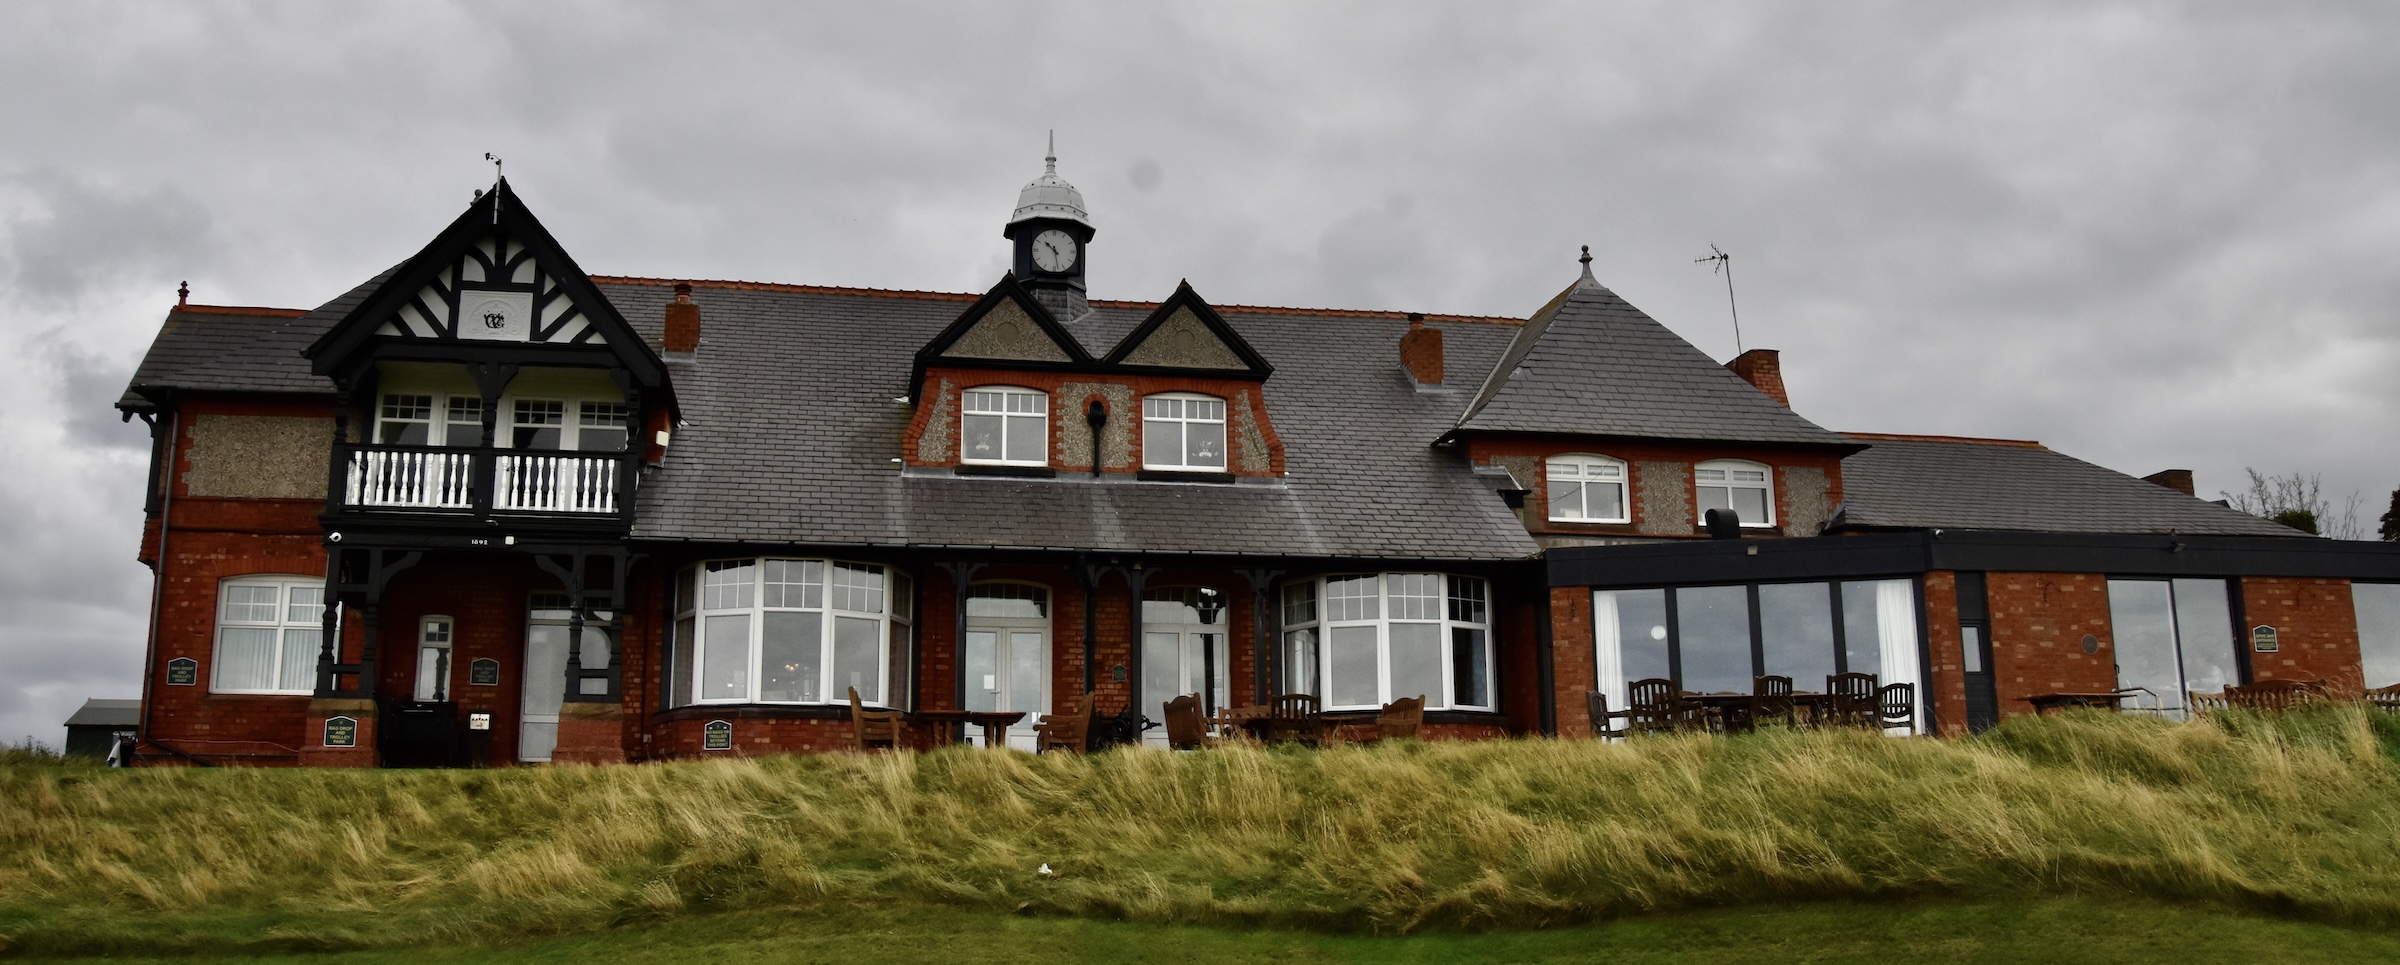
Wallasey is a community on the Irish Sea just south of Liverpool on the opposite side of the Mersey River. Here in 1891 legendary Old Tom Morris laid out the first edition of the course which has changed greatly over the years mostly due to coastal erosion. However the course proudly points out the four original Tom Morris greens that still remain in play some 133 years later. Significant changes were made by a number of Open champions including Harold Hilton and James Braid.
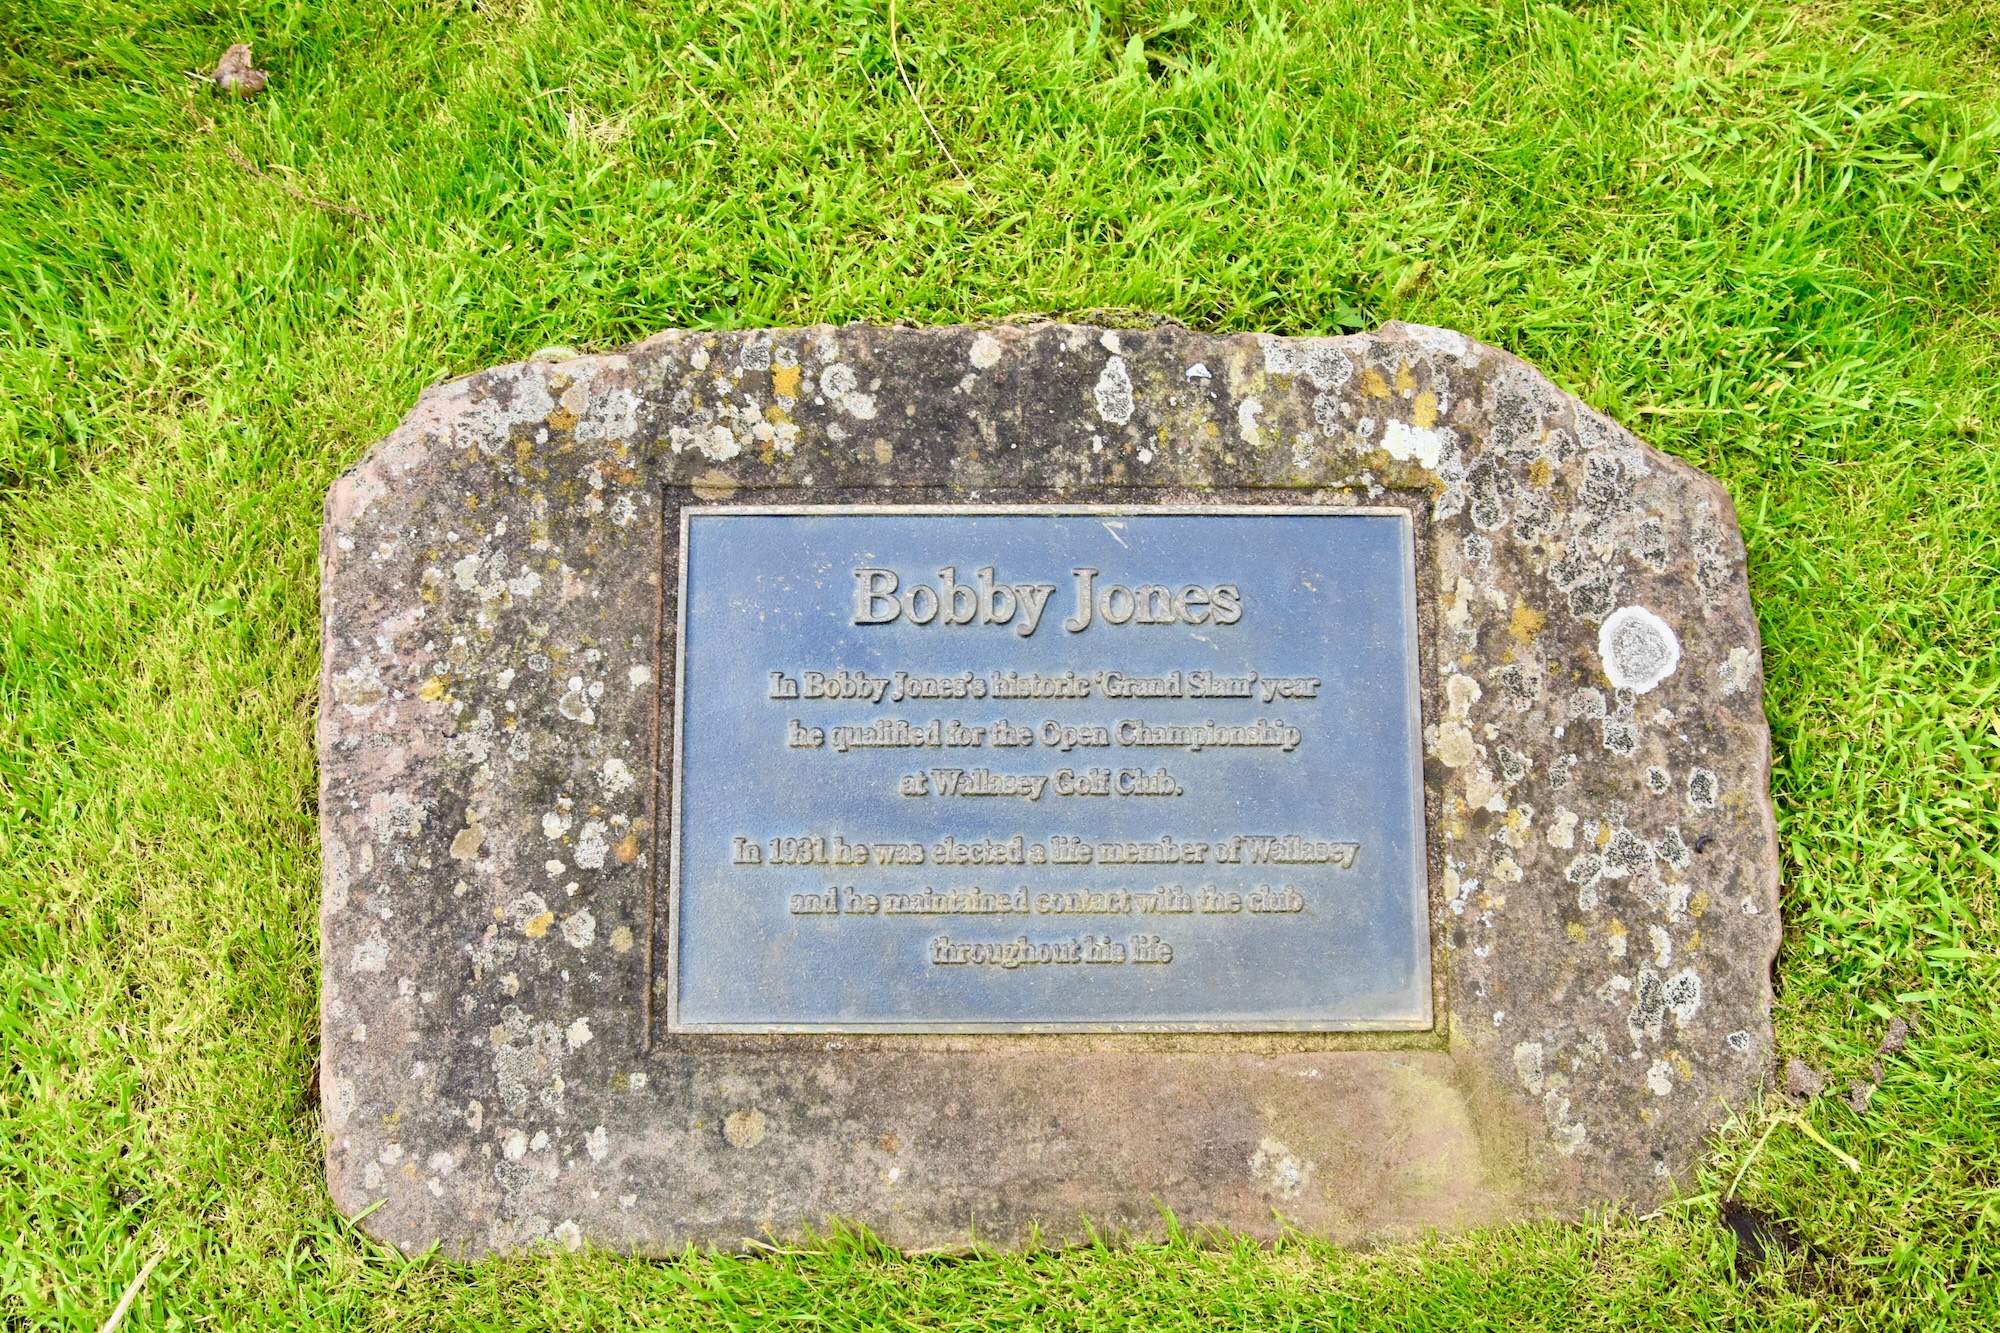
In 1930 Wallasey was a qualifying course for The Open that was to be held at Royal Liverpool and this is when its relationship to Bobby Jones, arguably the greatest player in history began. In those days no player received an automatic entry to The Open with each having to play a round at Royal Liverpool and a round at Wallasey with those with the lowest scores proceeding to The Open. Jones shot 72 at Royal Liverpool, but only 77 at Wallasey and barely made it into the field, but won the 1930 title by two strokes. While he didn’t score well at Wallasey Jones loved the course and the club members commissioned a portrait of him which he signed and you can see it in the clubhouse today.
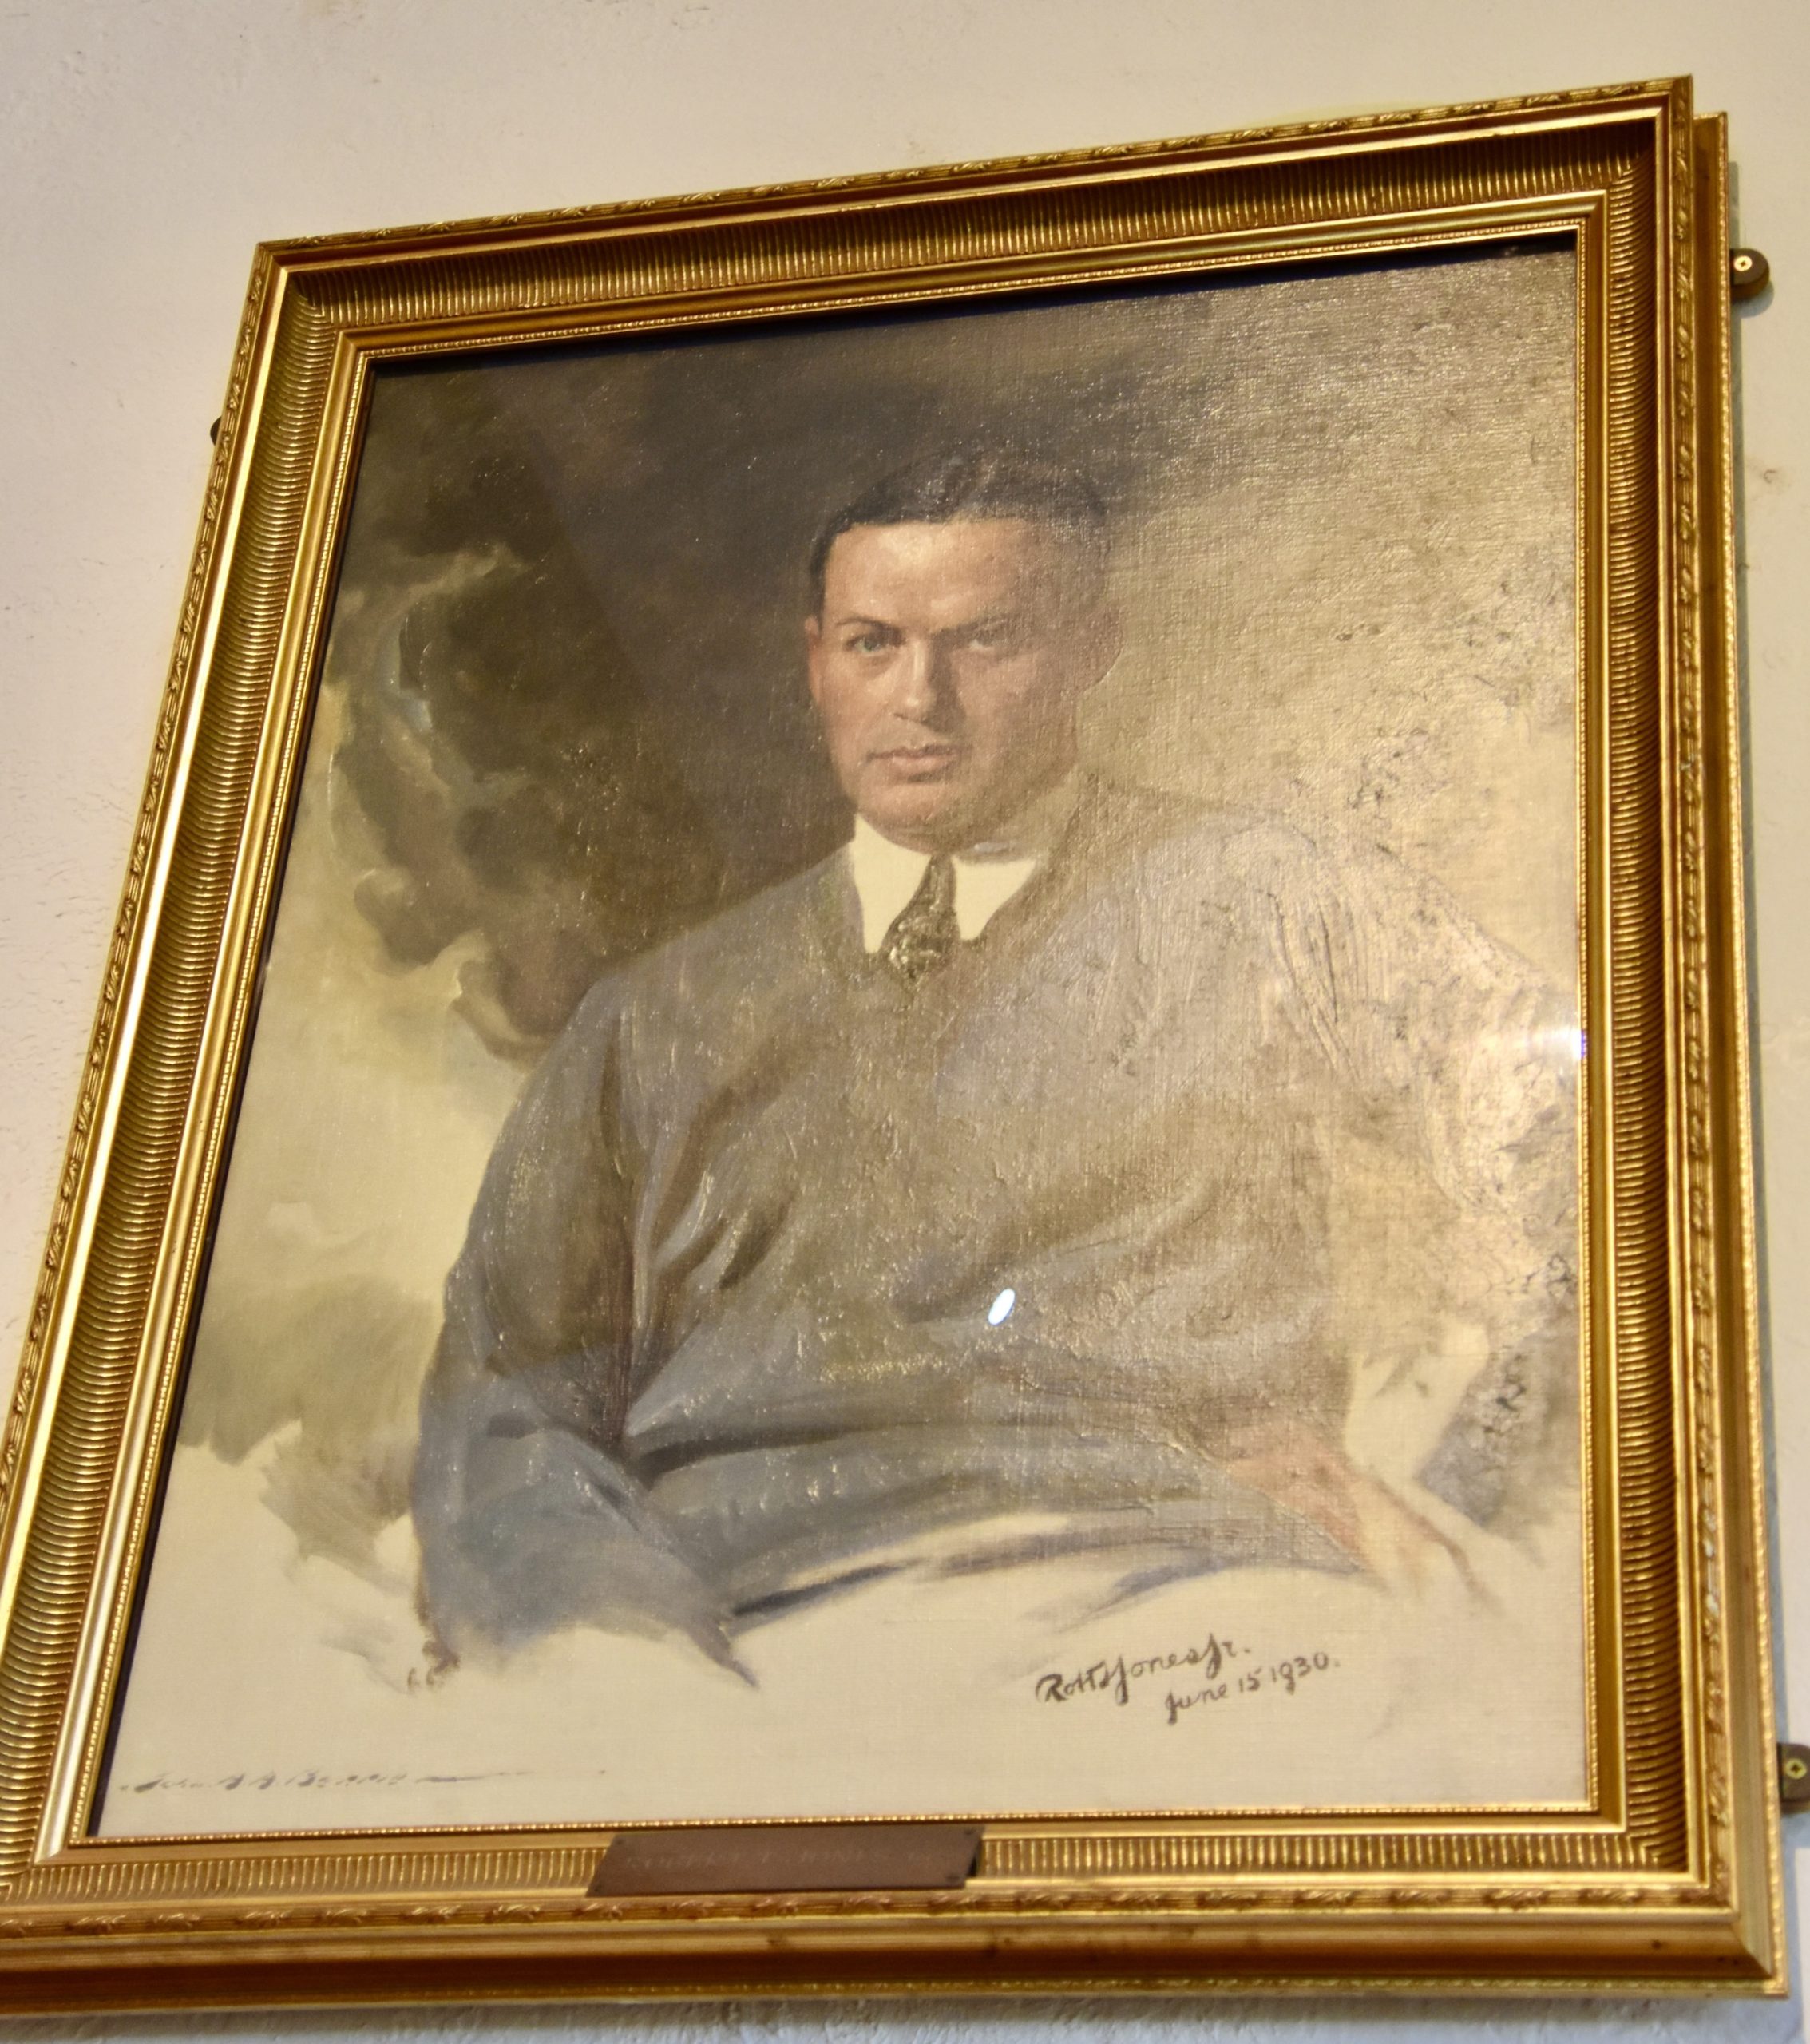
If the painting looks familiar it’s because Jones liked it so much he commissioned a copy a few years later for the Masters clubhouse which appears on TV every year. The people at Augusta have tried to pry the original away from Wallasey, but to no avail.
Wallasey was once again a qualifying club in 1936 and saw the likes of Gene Sarazen, Bobby Locke, Henry Cotton and Tommy Armour trodding its fairways. Sarazen, Locke and Cotton returned some two decades later along with Sam Snead, Peter Thomson who won the 1956 Open and a 20 year old Gary Player. So while Wallasey might not be an Open course, it is definitely the next best thing and has the credentials to prove it.
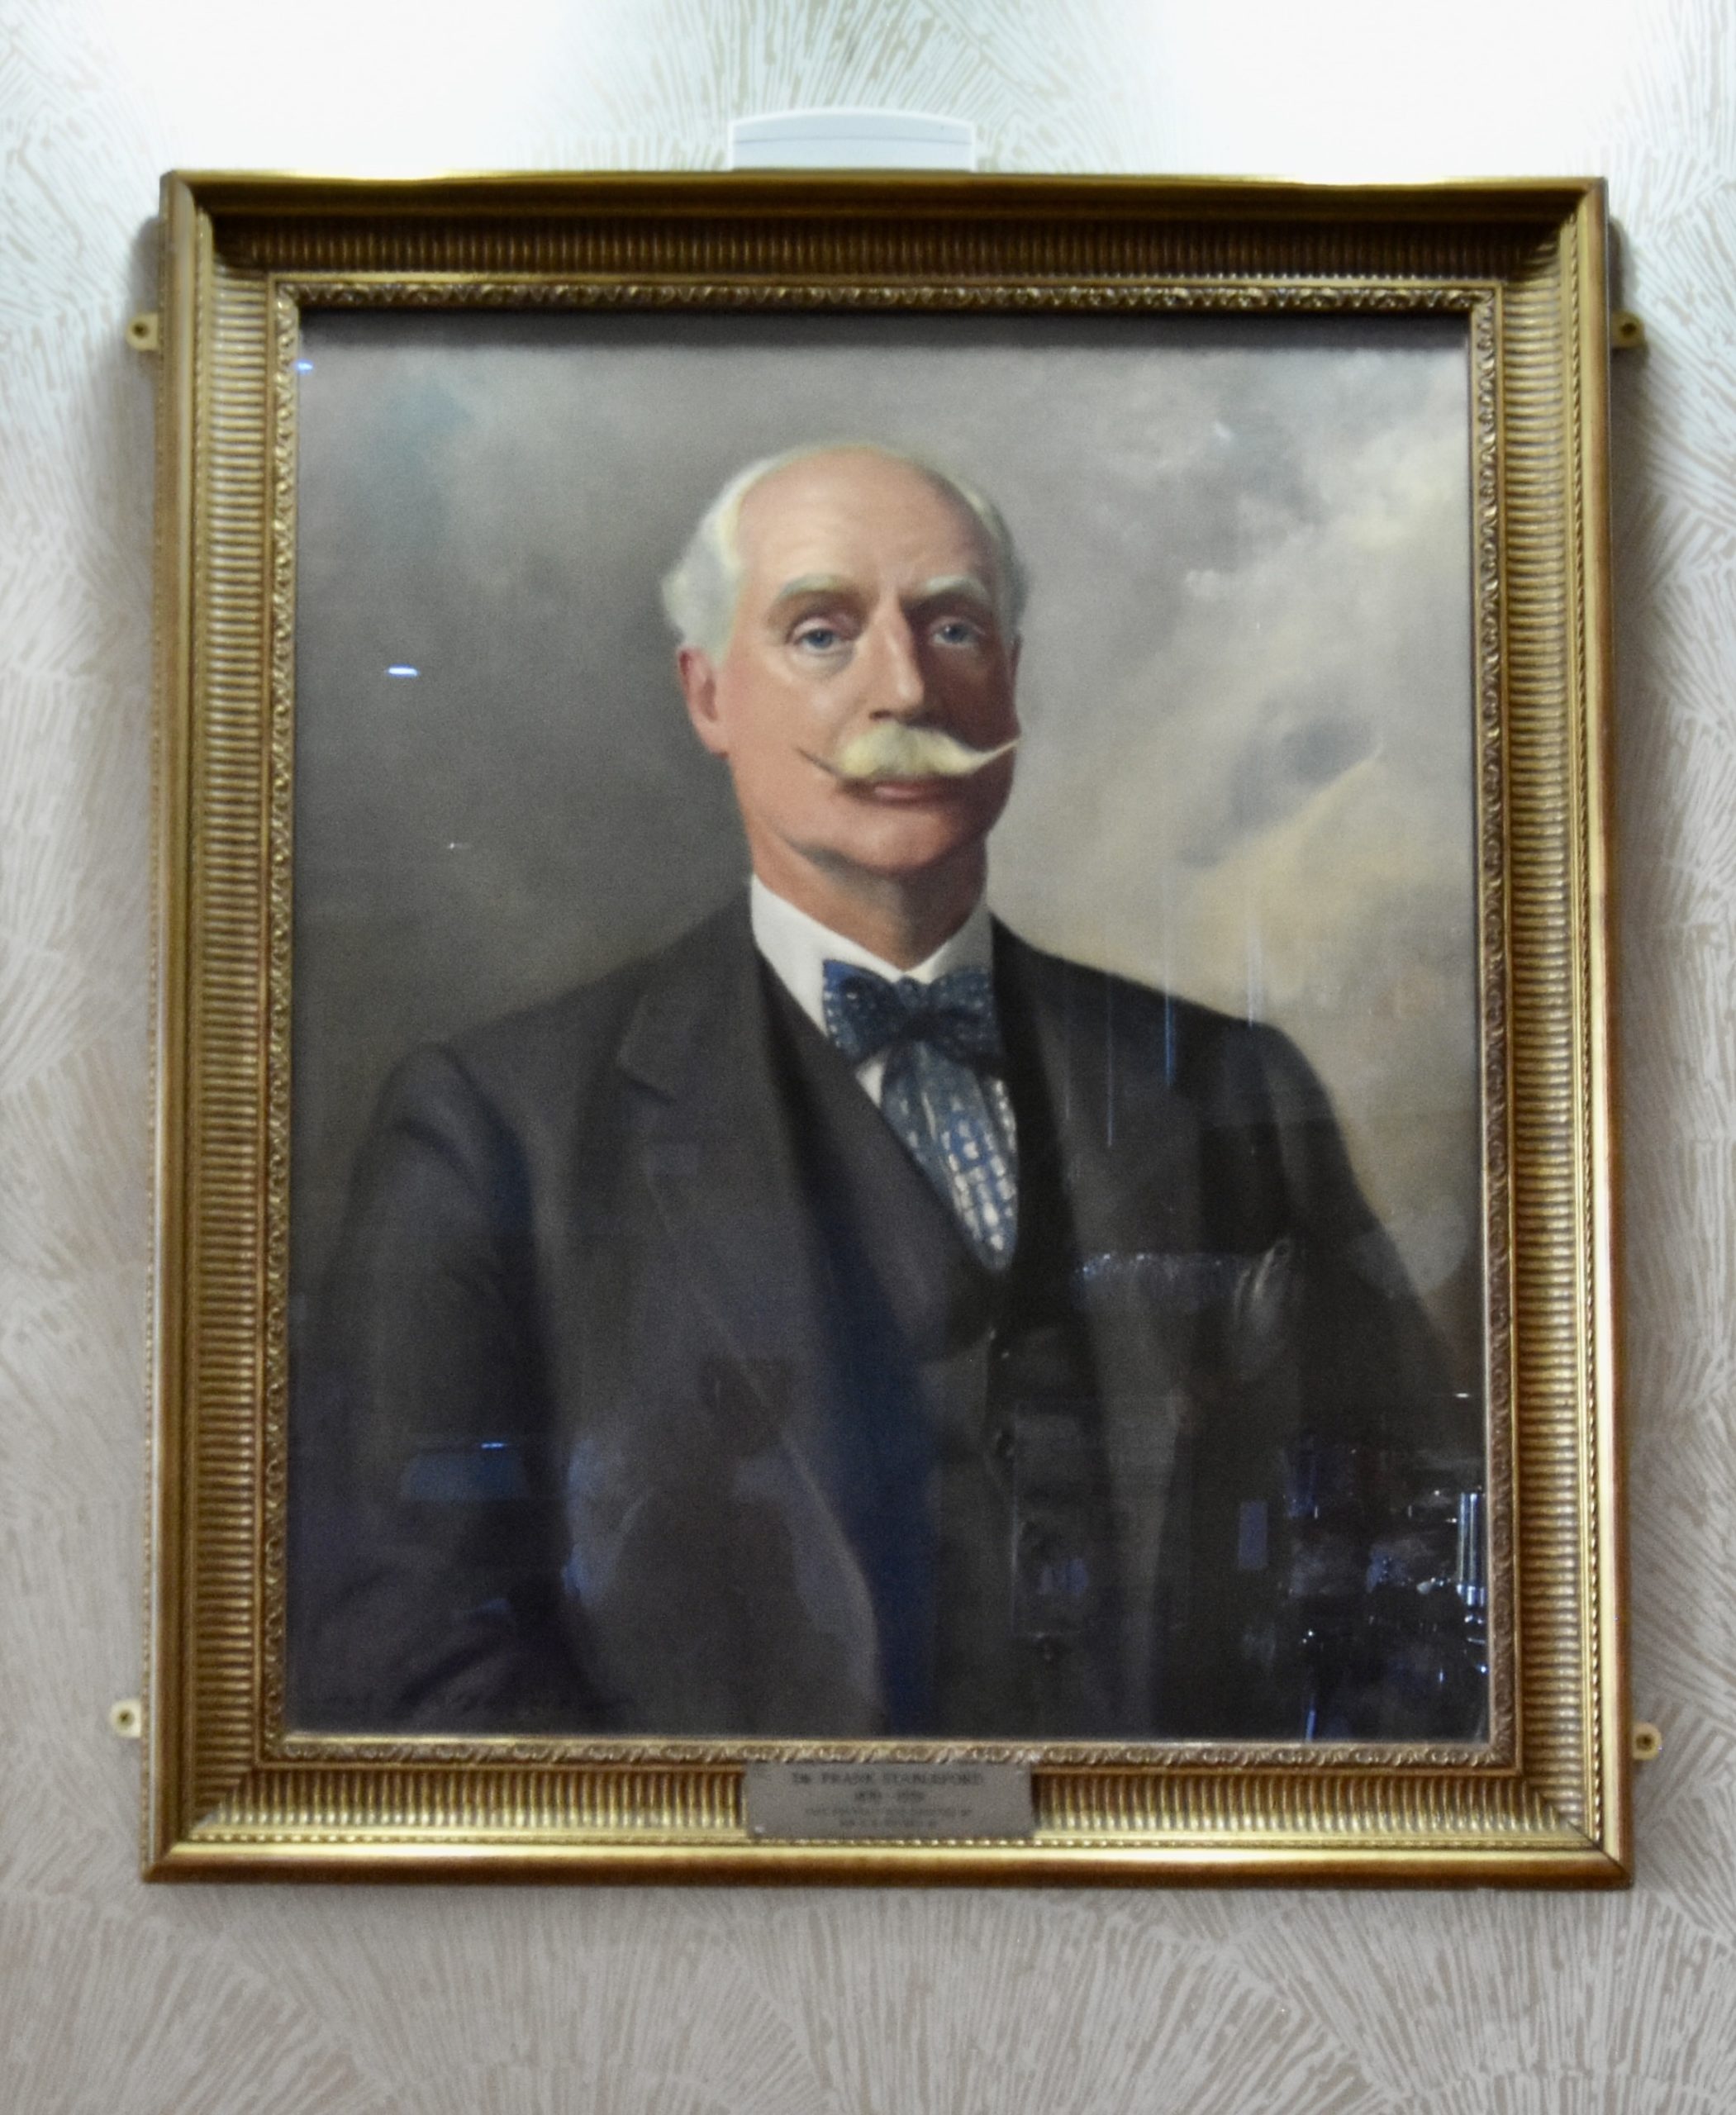
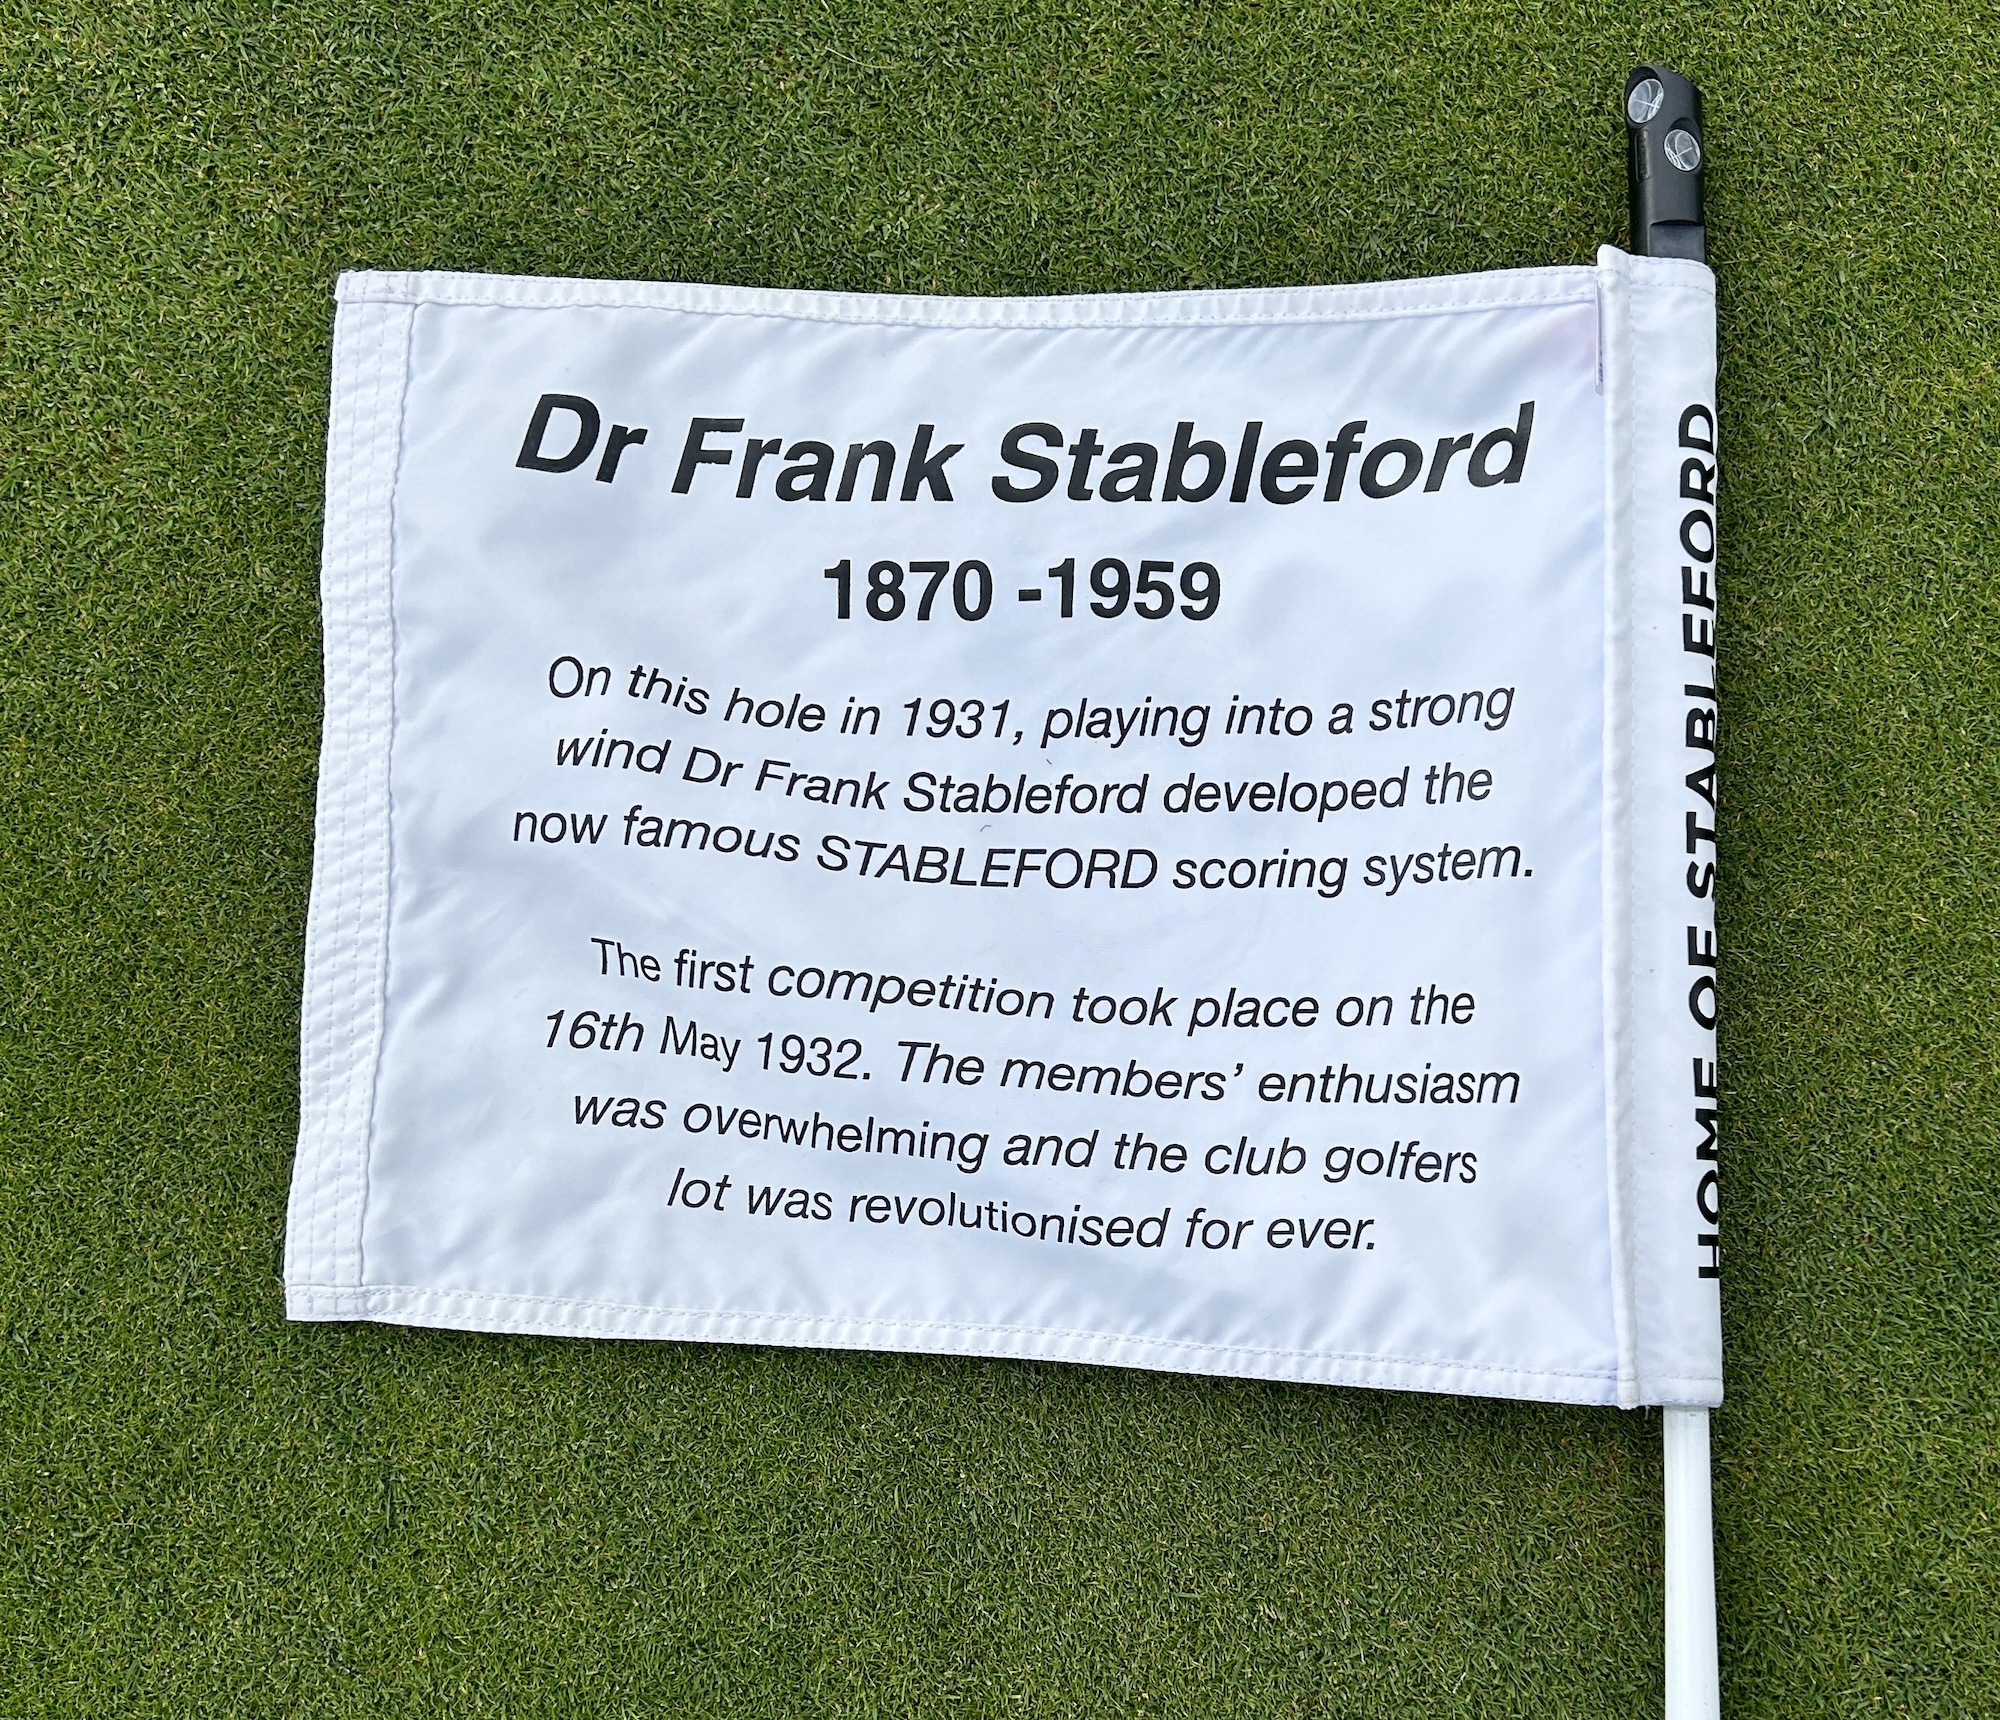
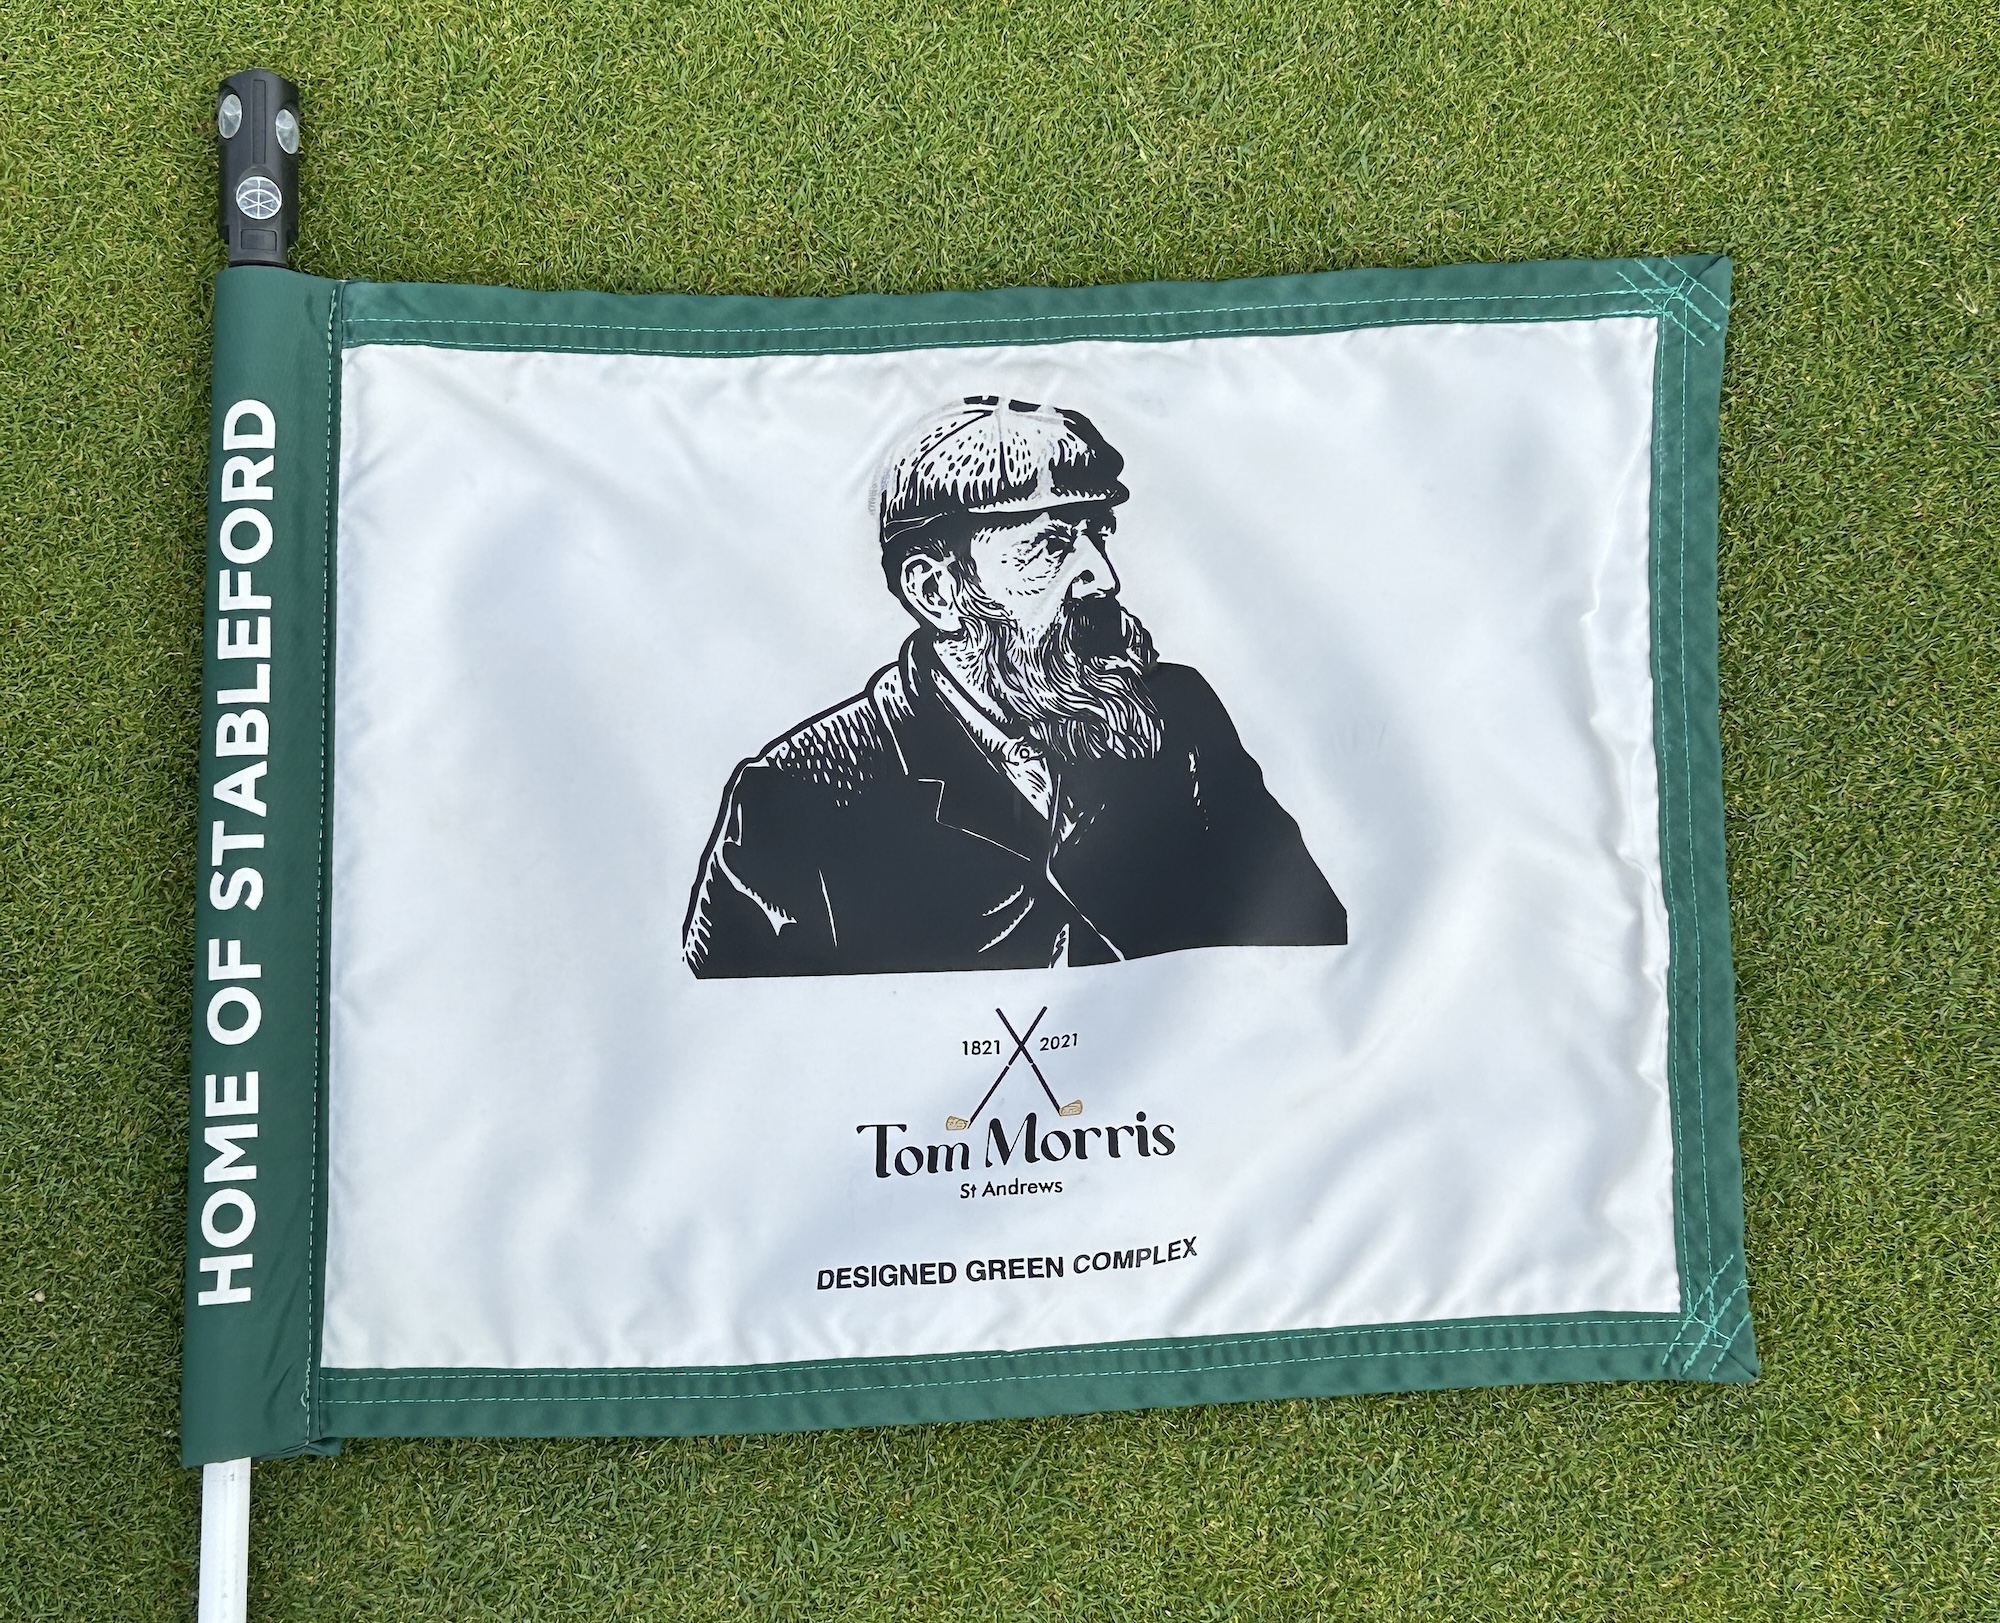
Another notable event that took place at Wallasey was the invention of the Stableford Scoring System by club member Dr. Frank Stableford. This is a points based system rather than stroke play and while it has been used sparingly in North America with only the Barracuda Championship currently using it, it is much more common in Europe, particularly in club events. There is a portrait of Dr. Stableford also on display in the clubhouse.
Now that we’ve toured the clubhouse let’s warm up. There is no driving range per se (you have to use your own balls), so we content ourselves with a few putts on the practice green.
This being a true links course we can expect wind to be a significant factor so I make no apologies given my age and declining ability for playing this from the front tees which measure 5,777 yards. So let’s tee it up.
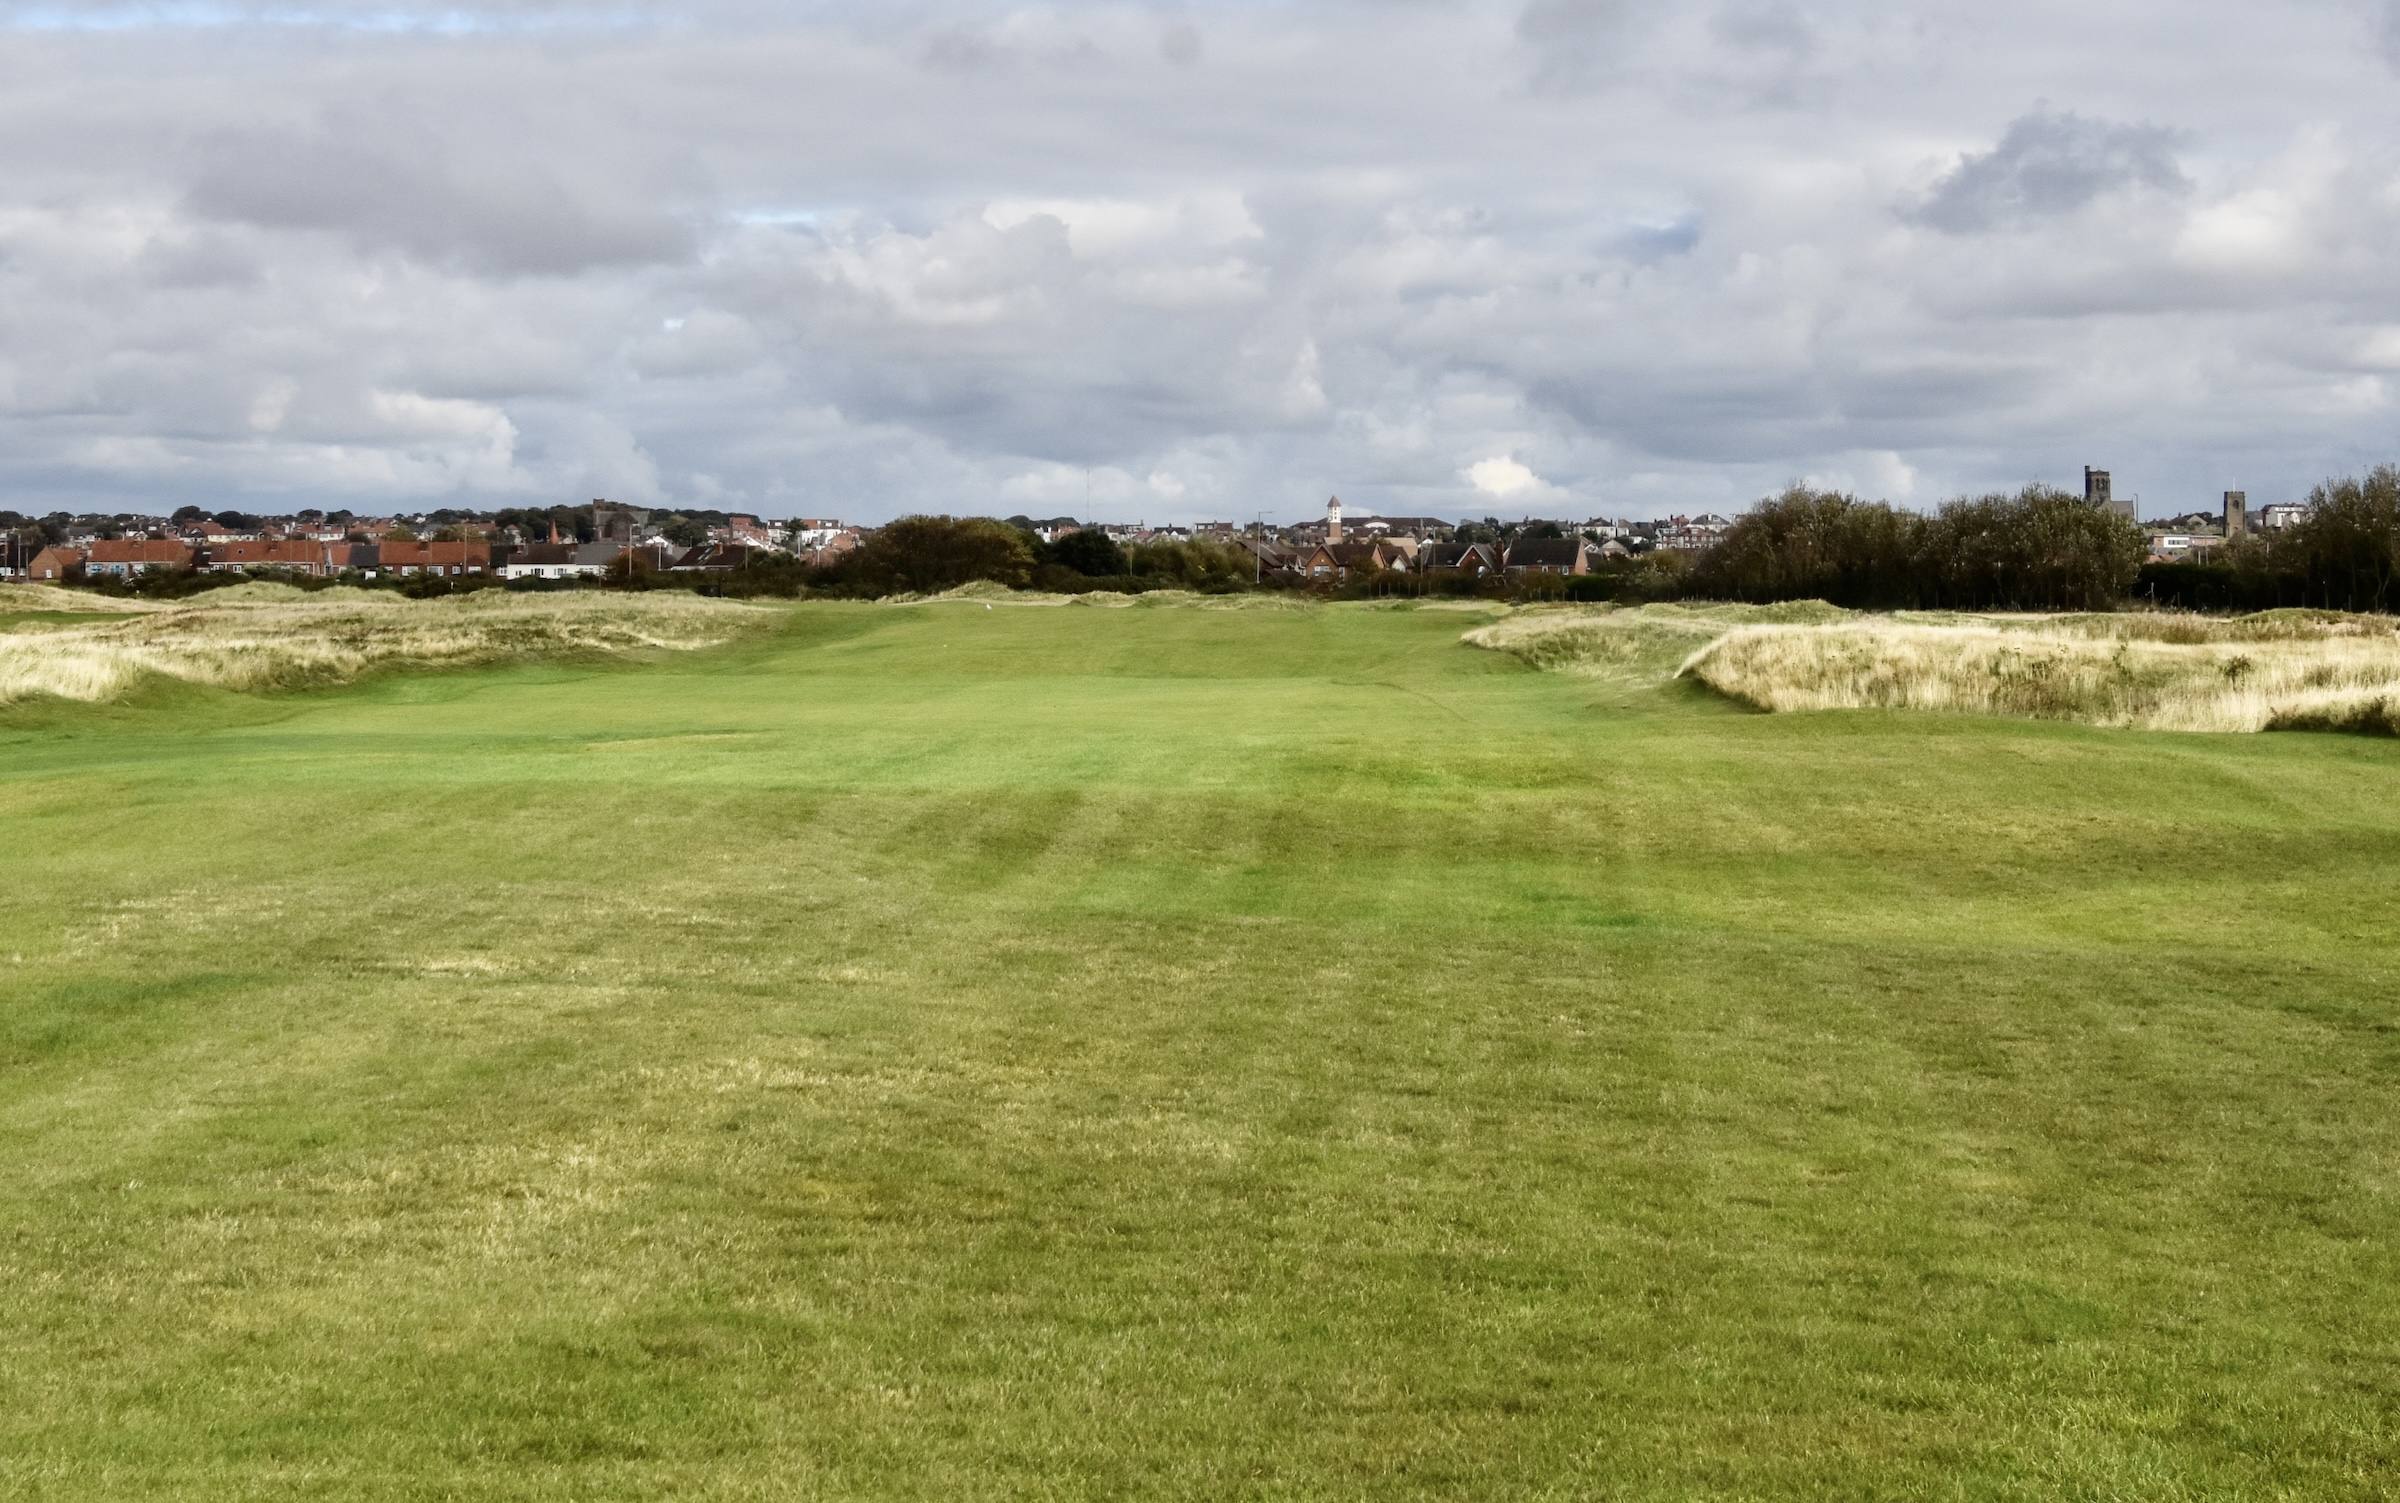
Wallasey # 1 Estuary – 333 Yard Par Four
Where the estuary is I have no idea, but this is a good starting hole as you have to put your drive over the huge depression on the right side of the fairway while avoiding the trap on the left. Just past the depression the fairway slopes sharply down leaving a straight shot in that must clear a large wet area that was ground under repair the day we played. I did clear it but came up short leaving this chance to find my first bunker of the trip. Fortunately I made a decent chip and avoided double on the first hole.
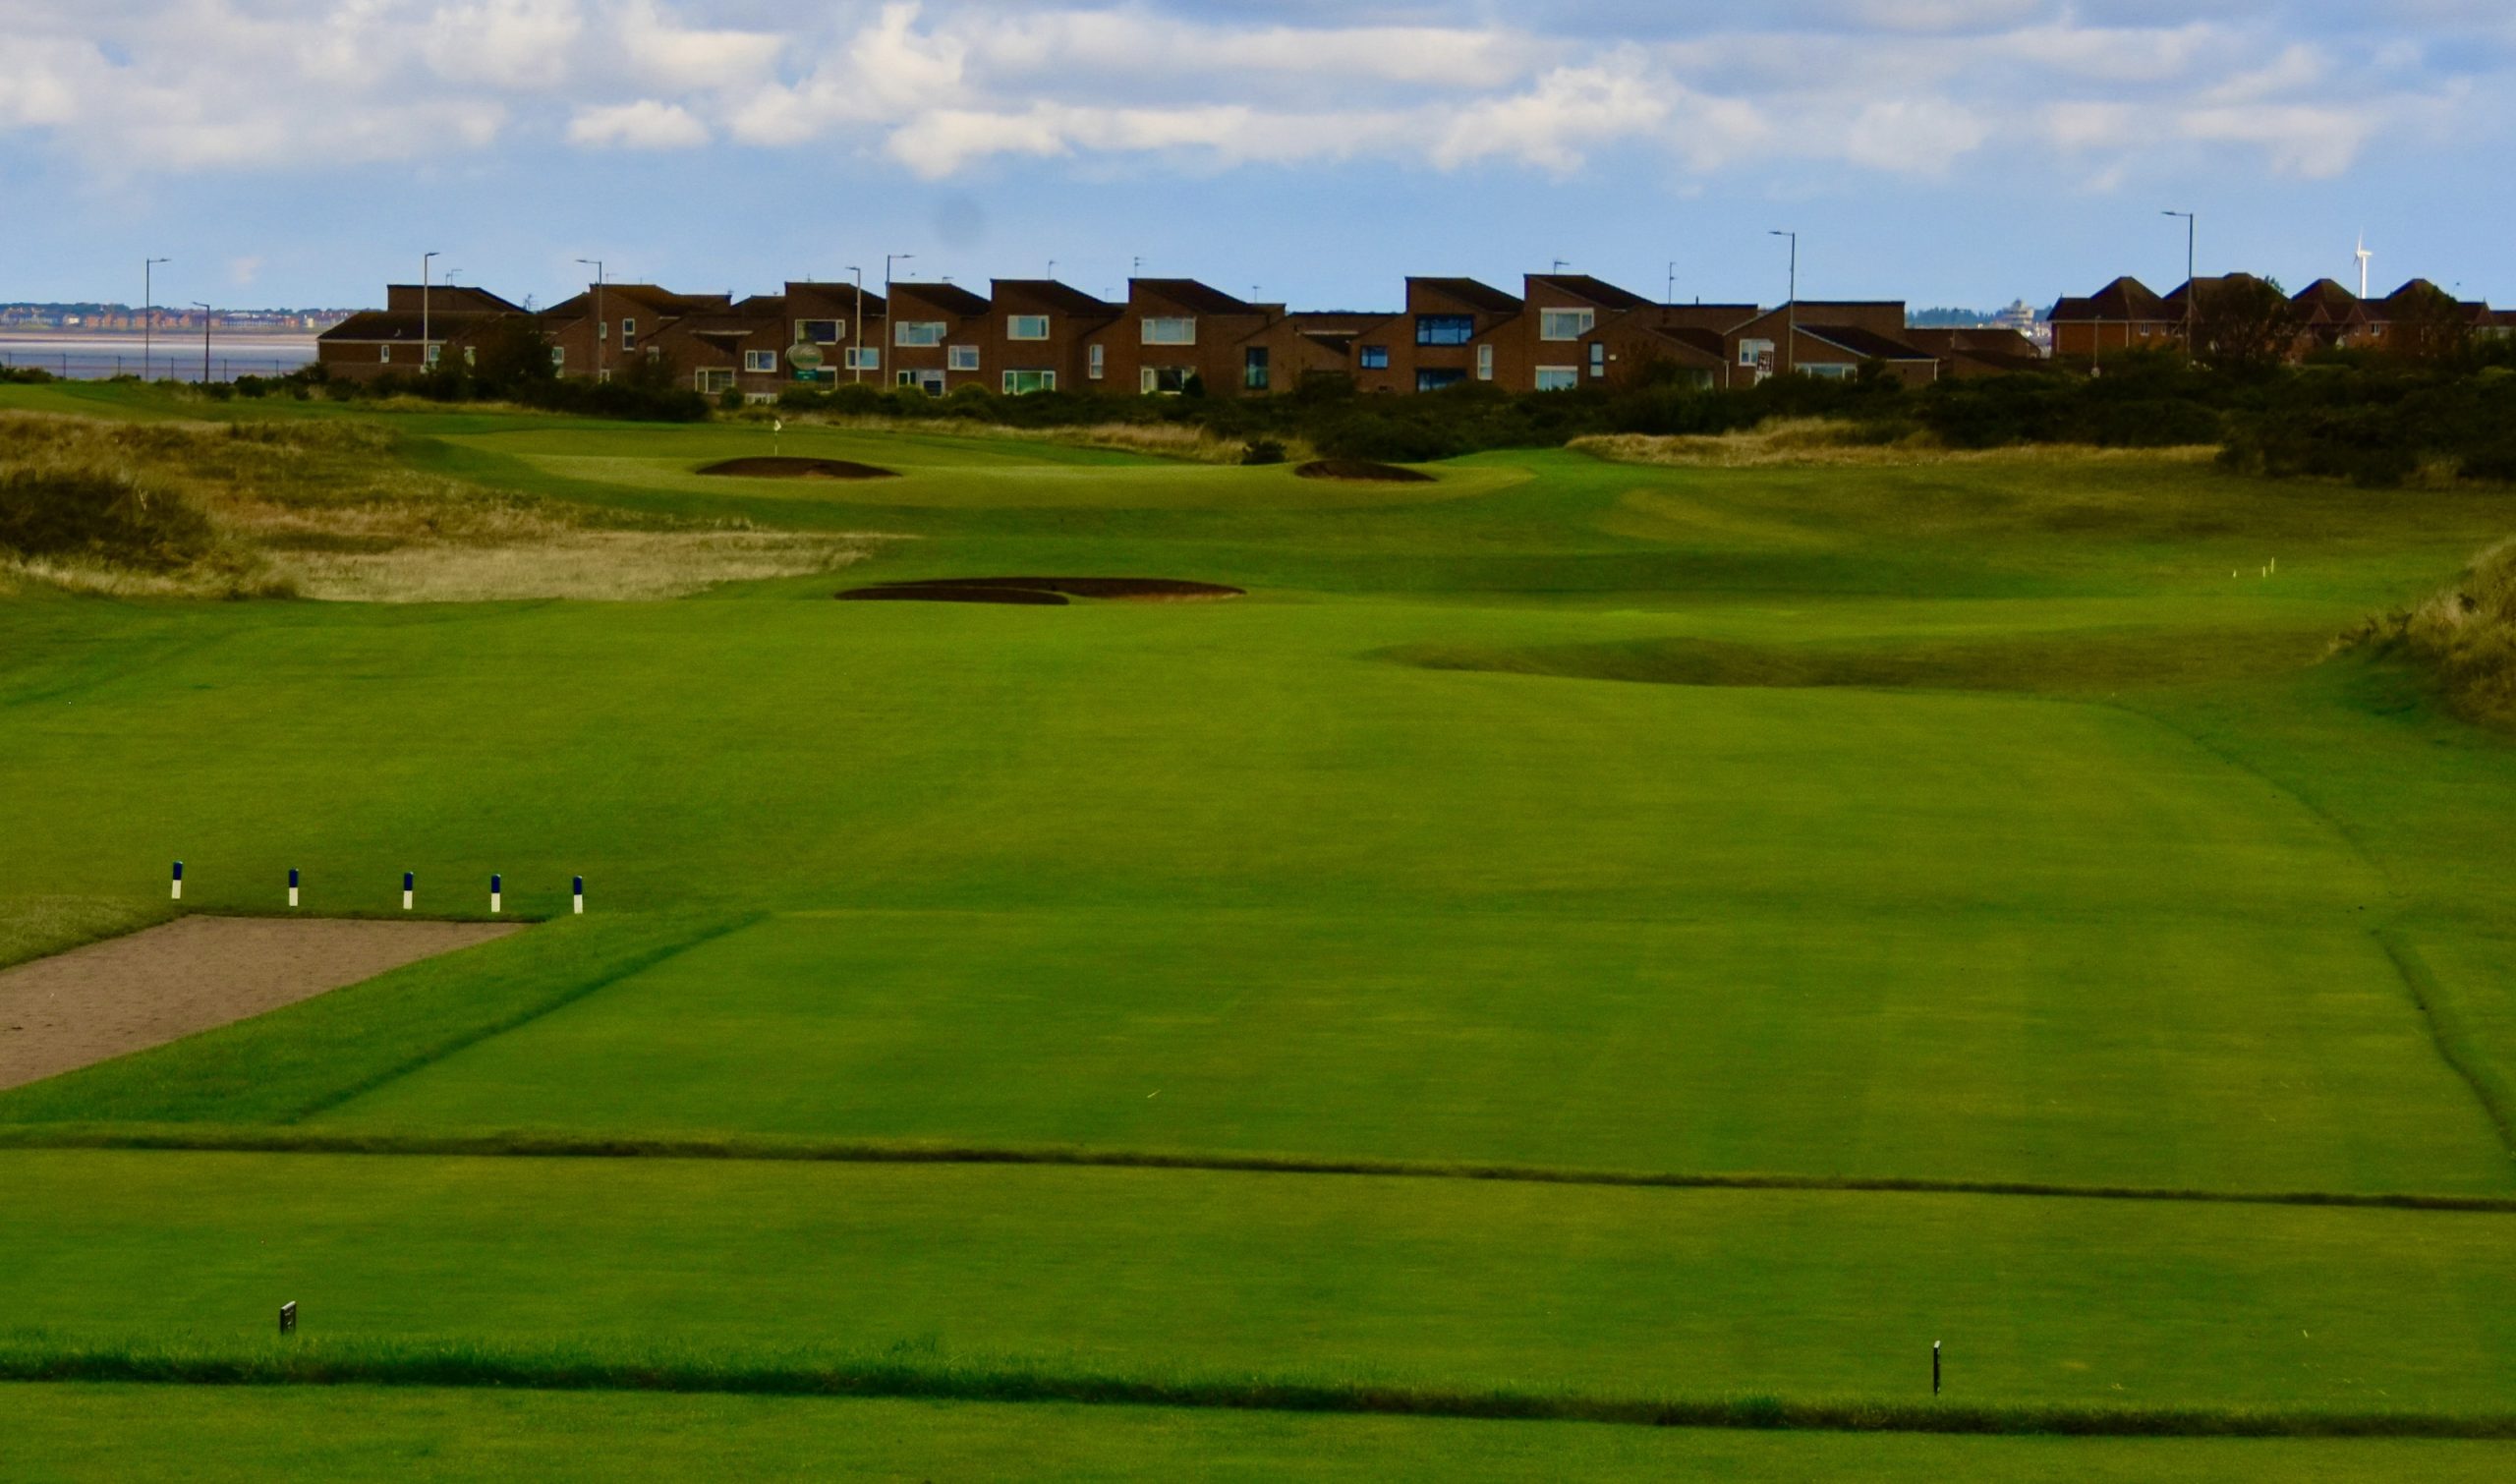
Lest you think that the holes will be lined with houses, this is the only hole on the course where they are an eyesore.
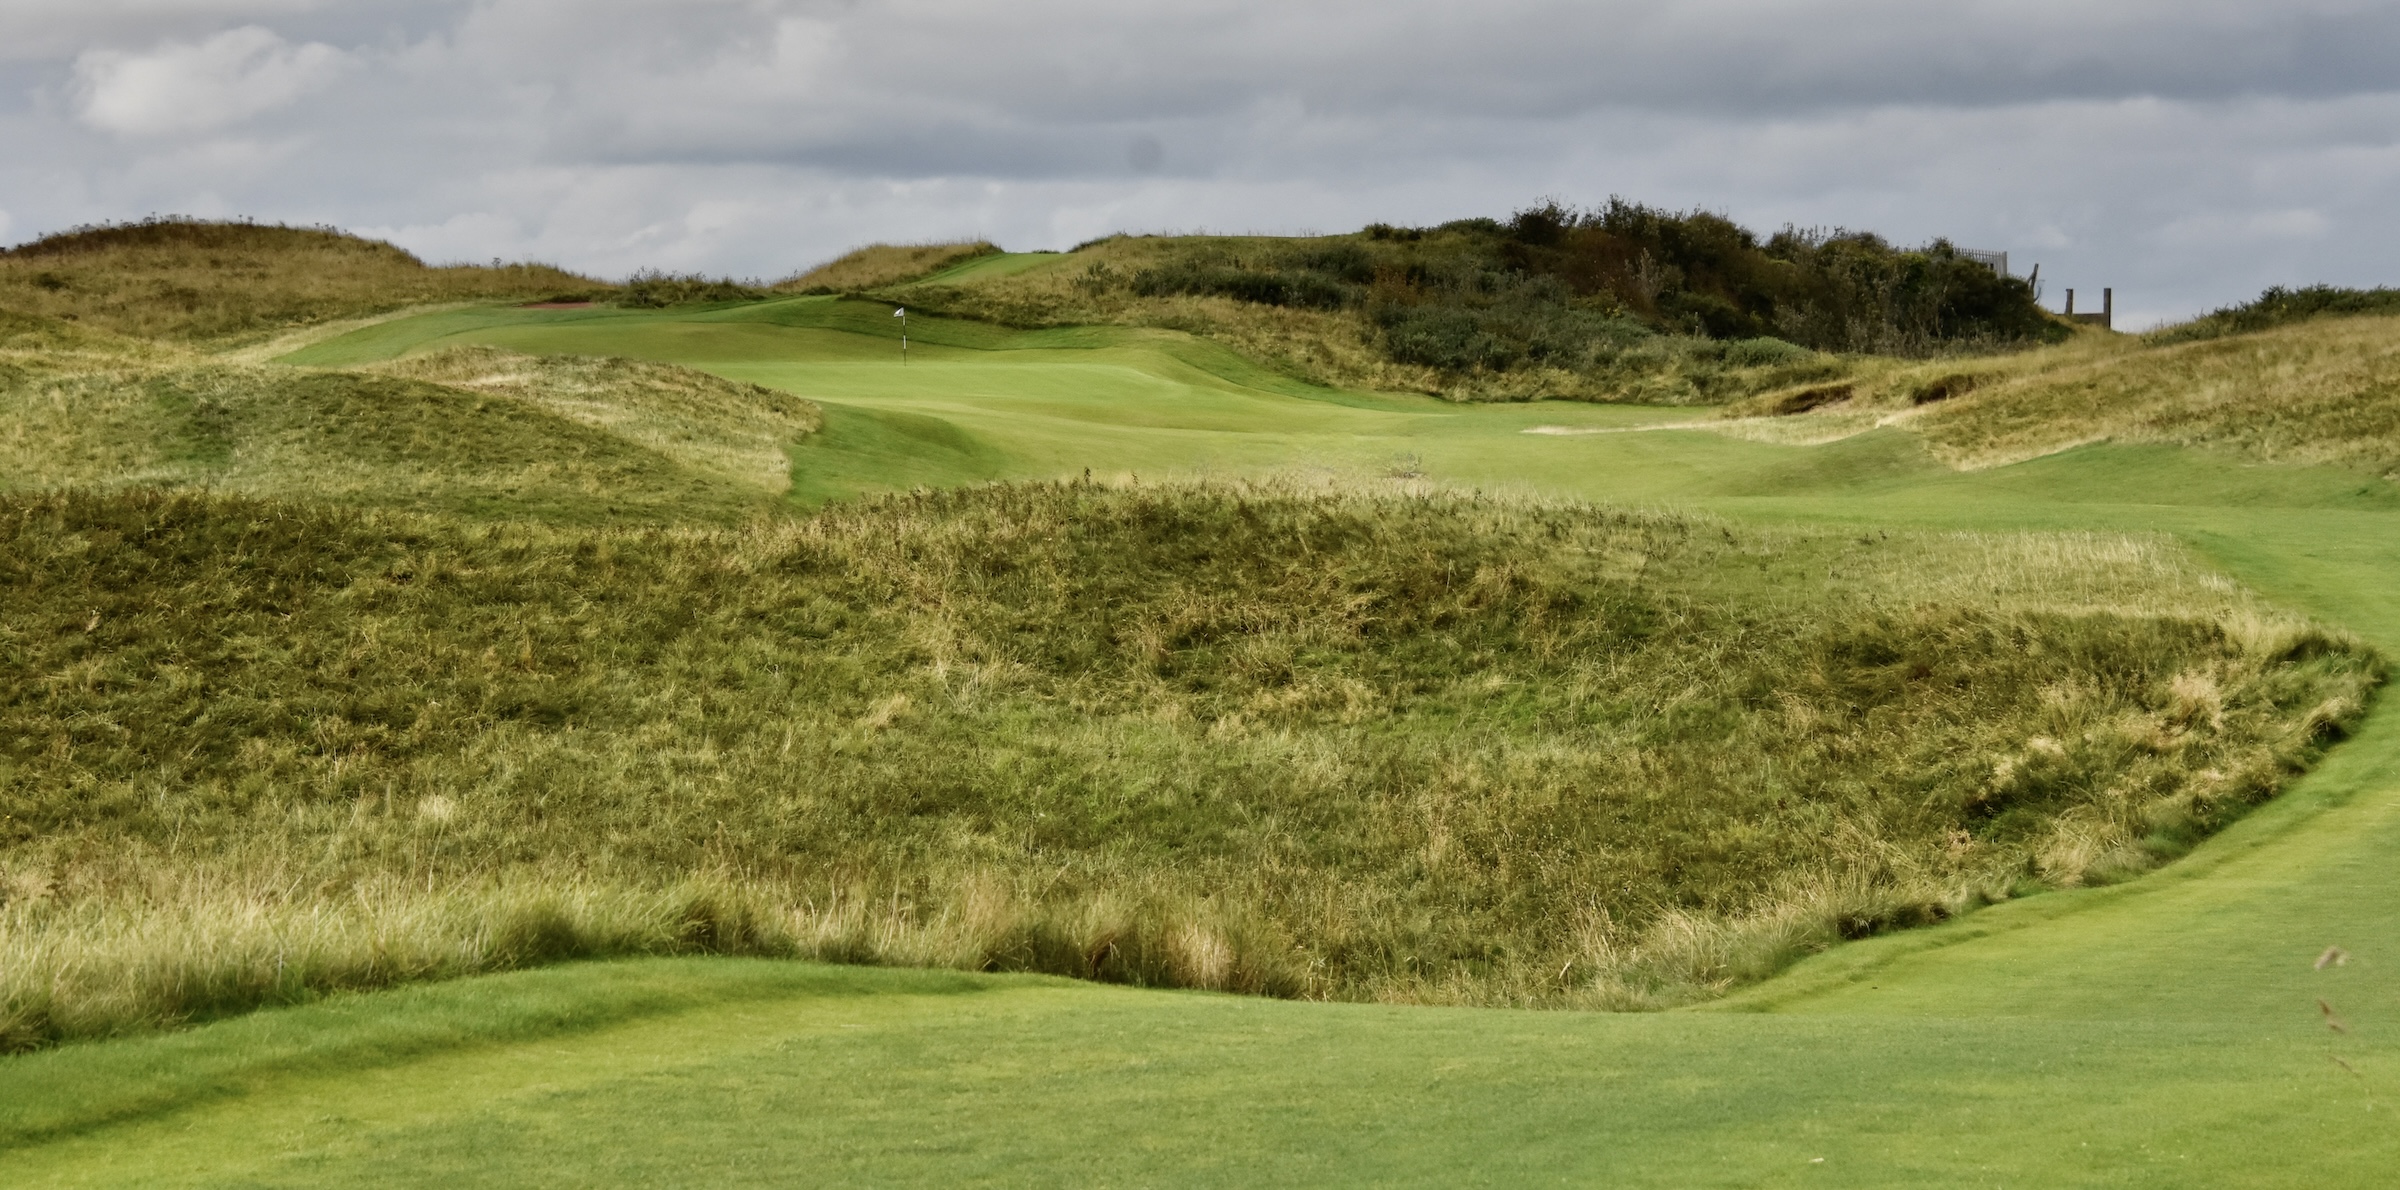
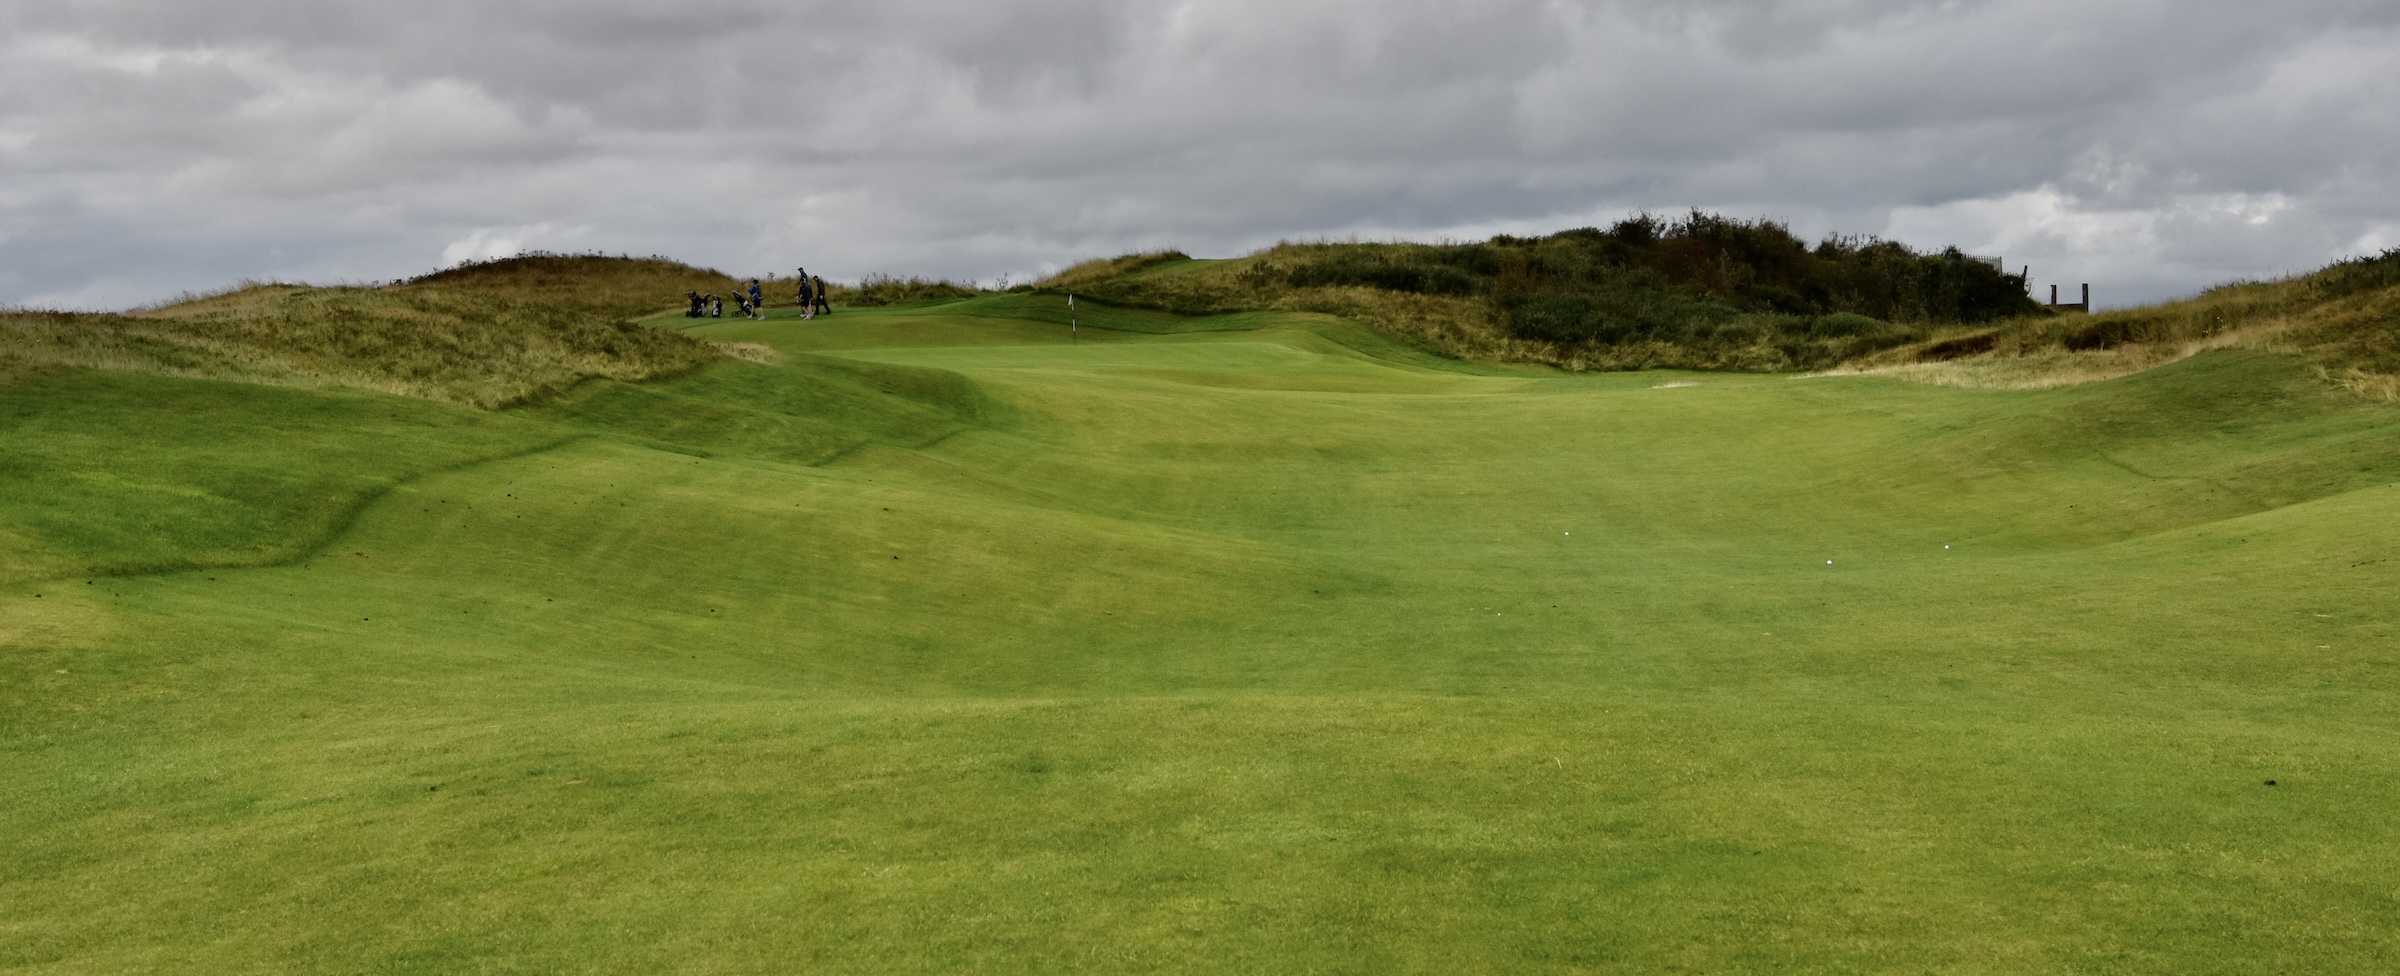
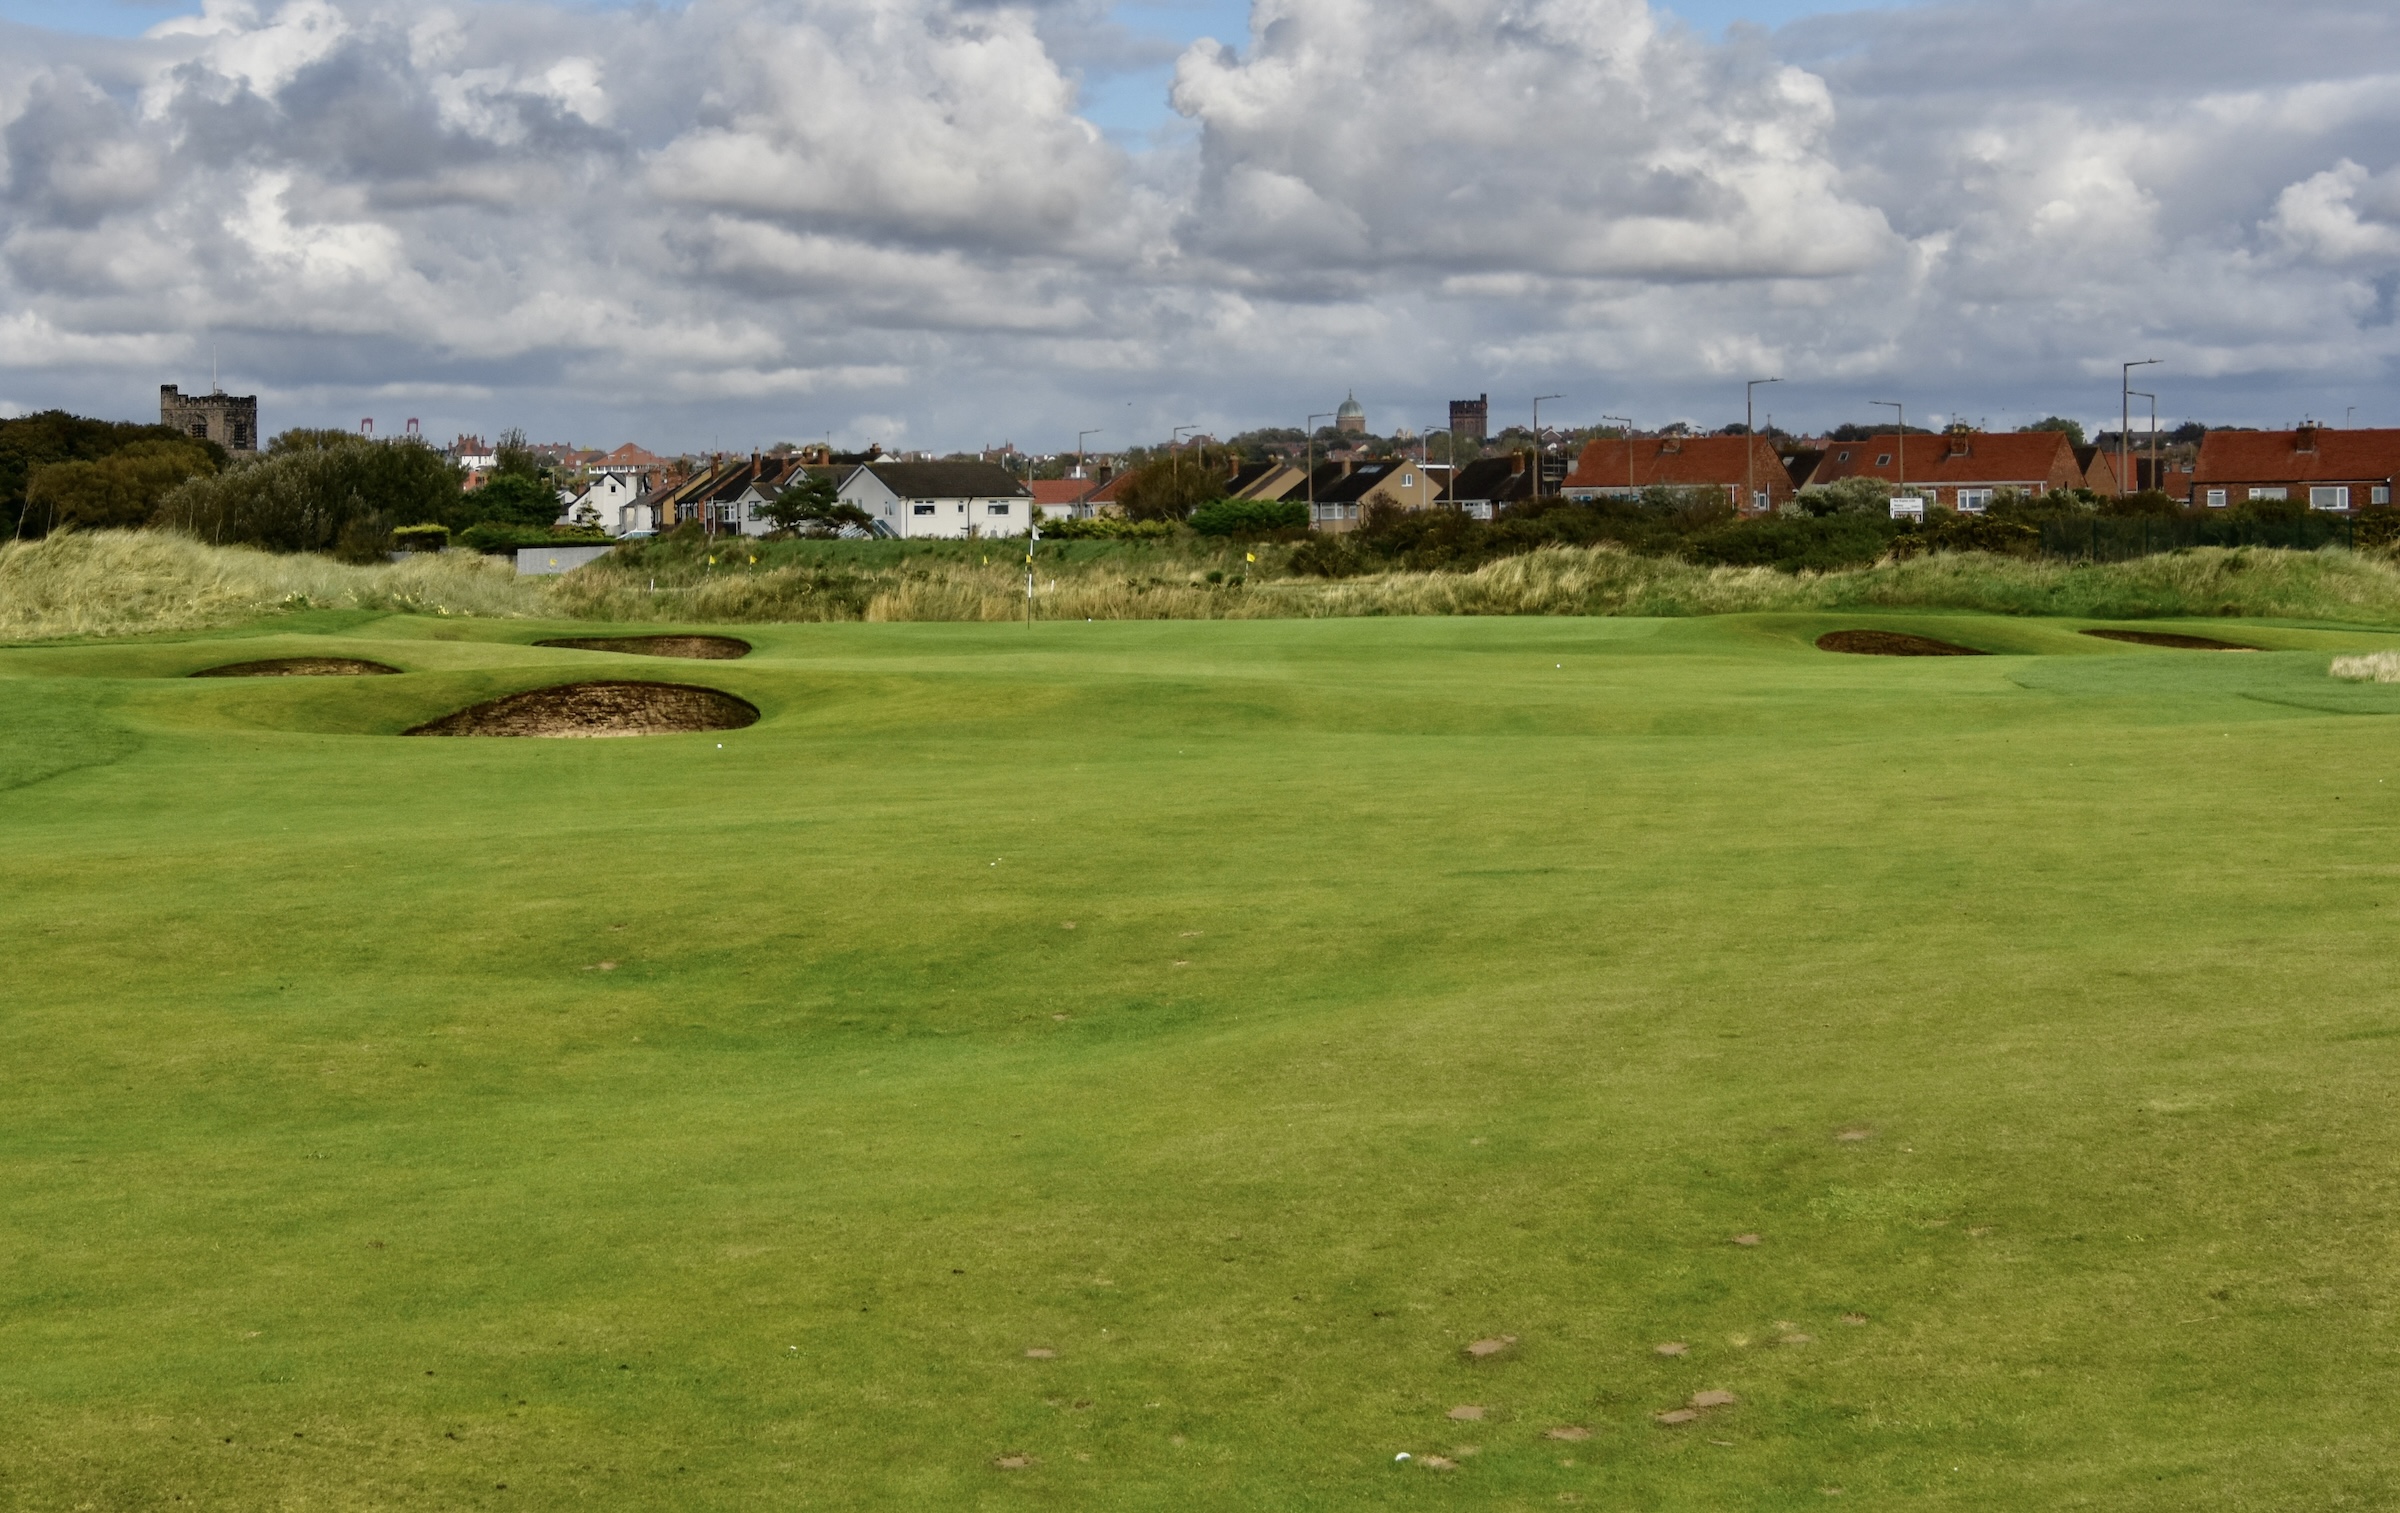
#2 Stableford – 377 Yard Par 4/5
This is either a long par four (for oldsters) or an extremely short par 5. Either way it’s a severe dogleg right that requires a decent poke to get a clear second shot to the green.
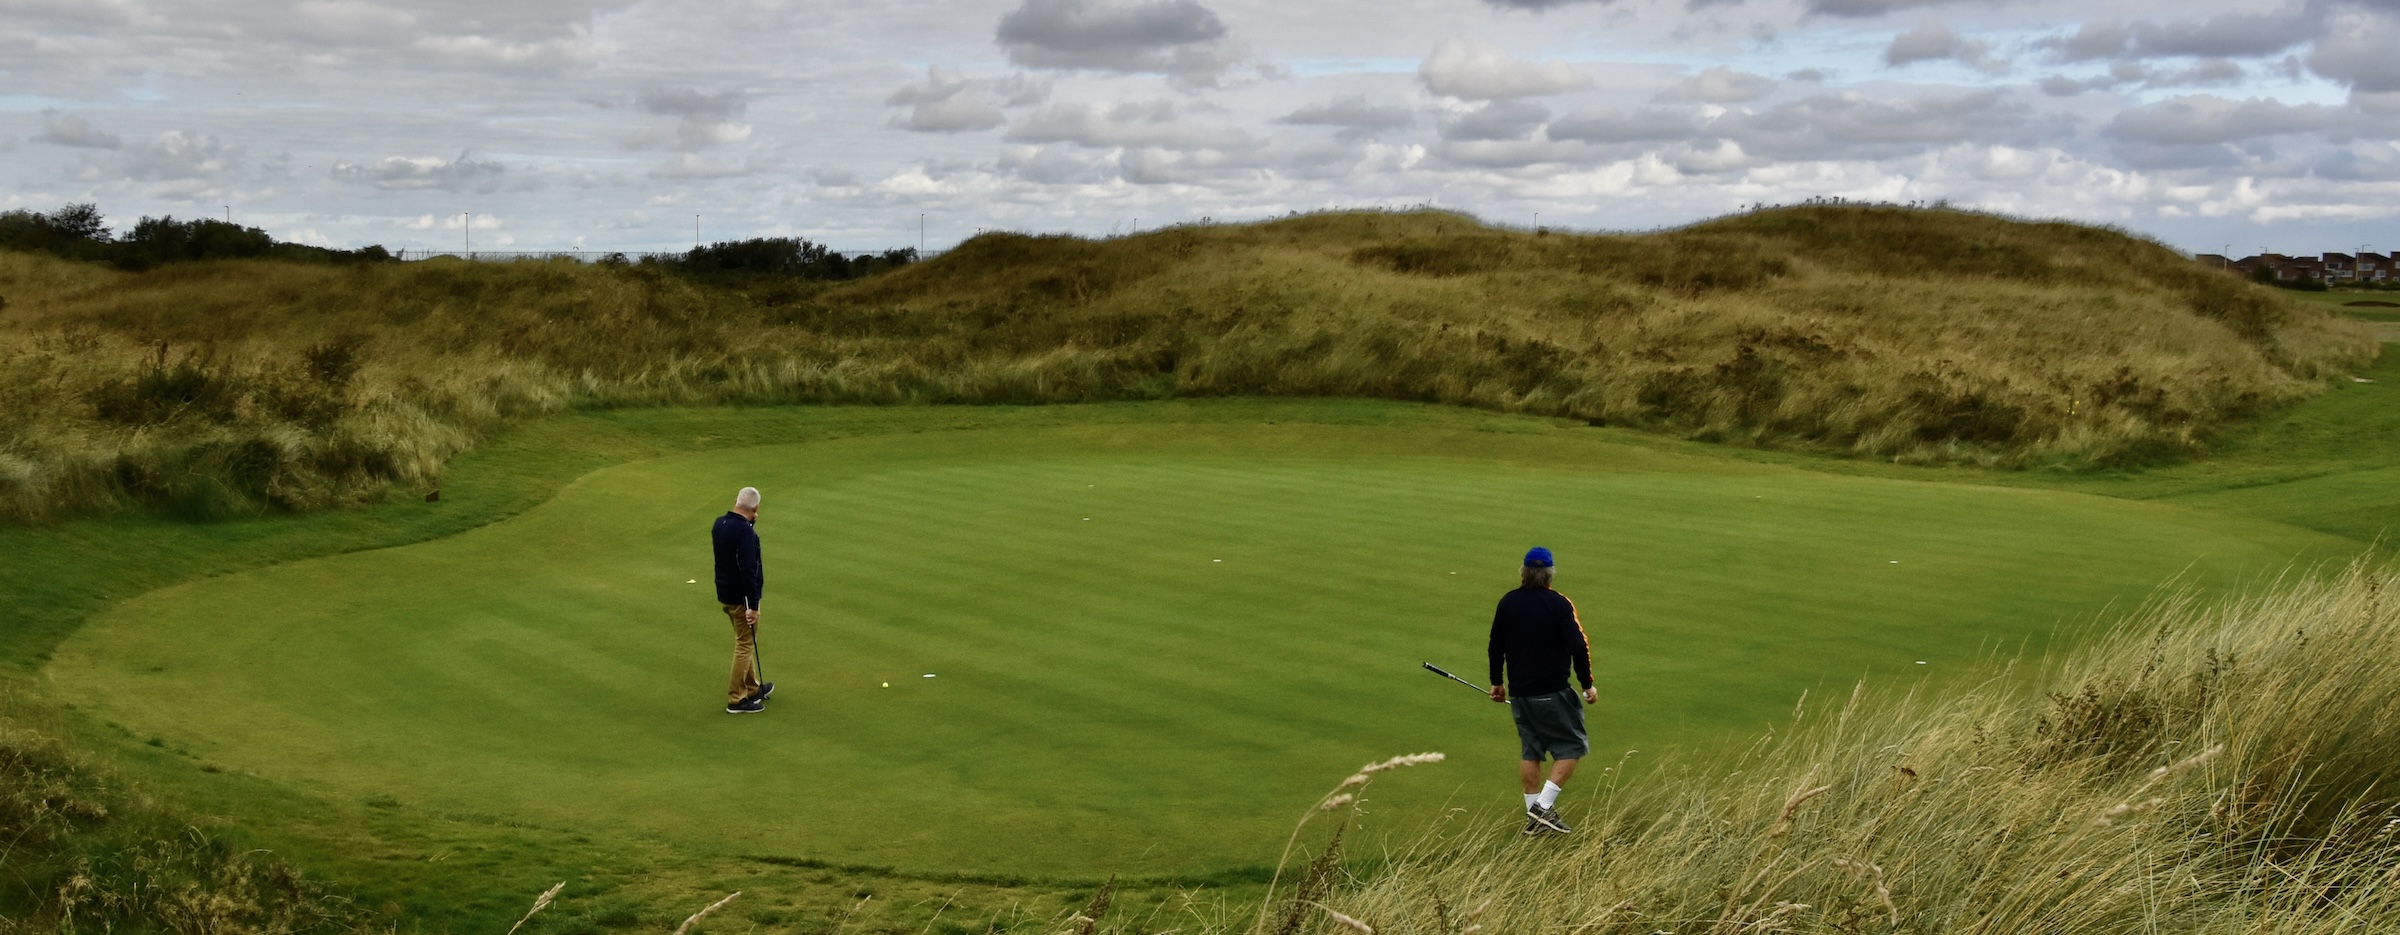
If you look closely you can see four balls on the green, but I won’t reveal how many each us took to get there. The greens at Wallasey are immaculate and at least starting off, relatively flat. I was a bit surprised that they were not as fast as I would have expected and that was a bonus. It’s also the first of four original Tom Morris greens.
It was on this hole that Stableford dreamed up the idea of a points based system after allegedly getting off to a very poor start strokewise. His likeness is on the flag.
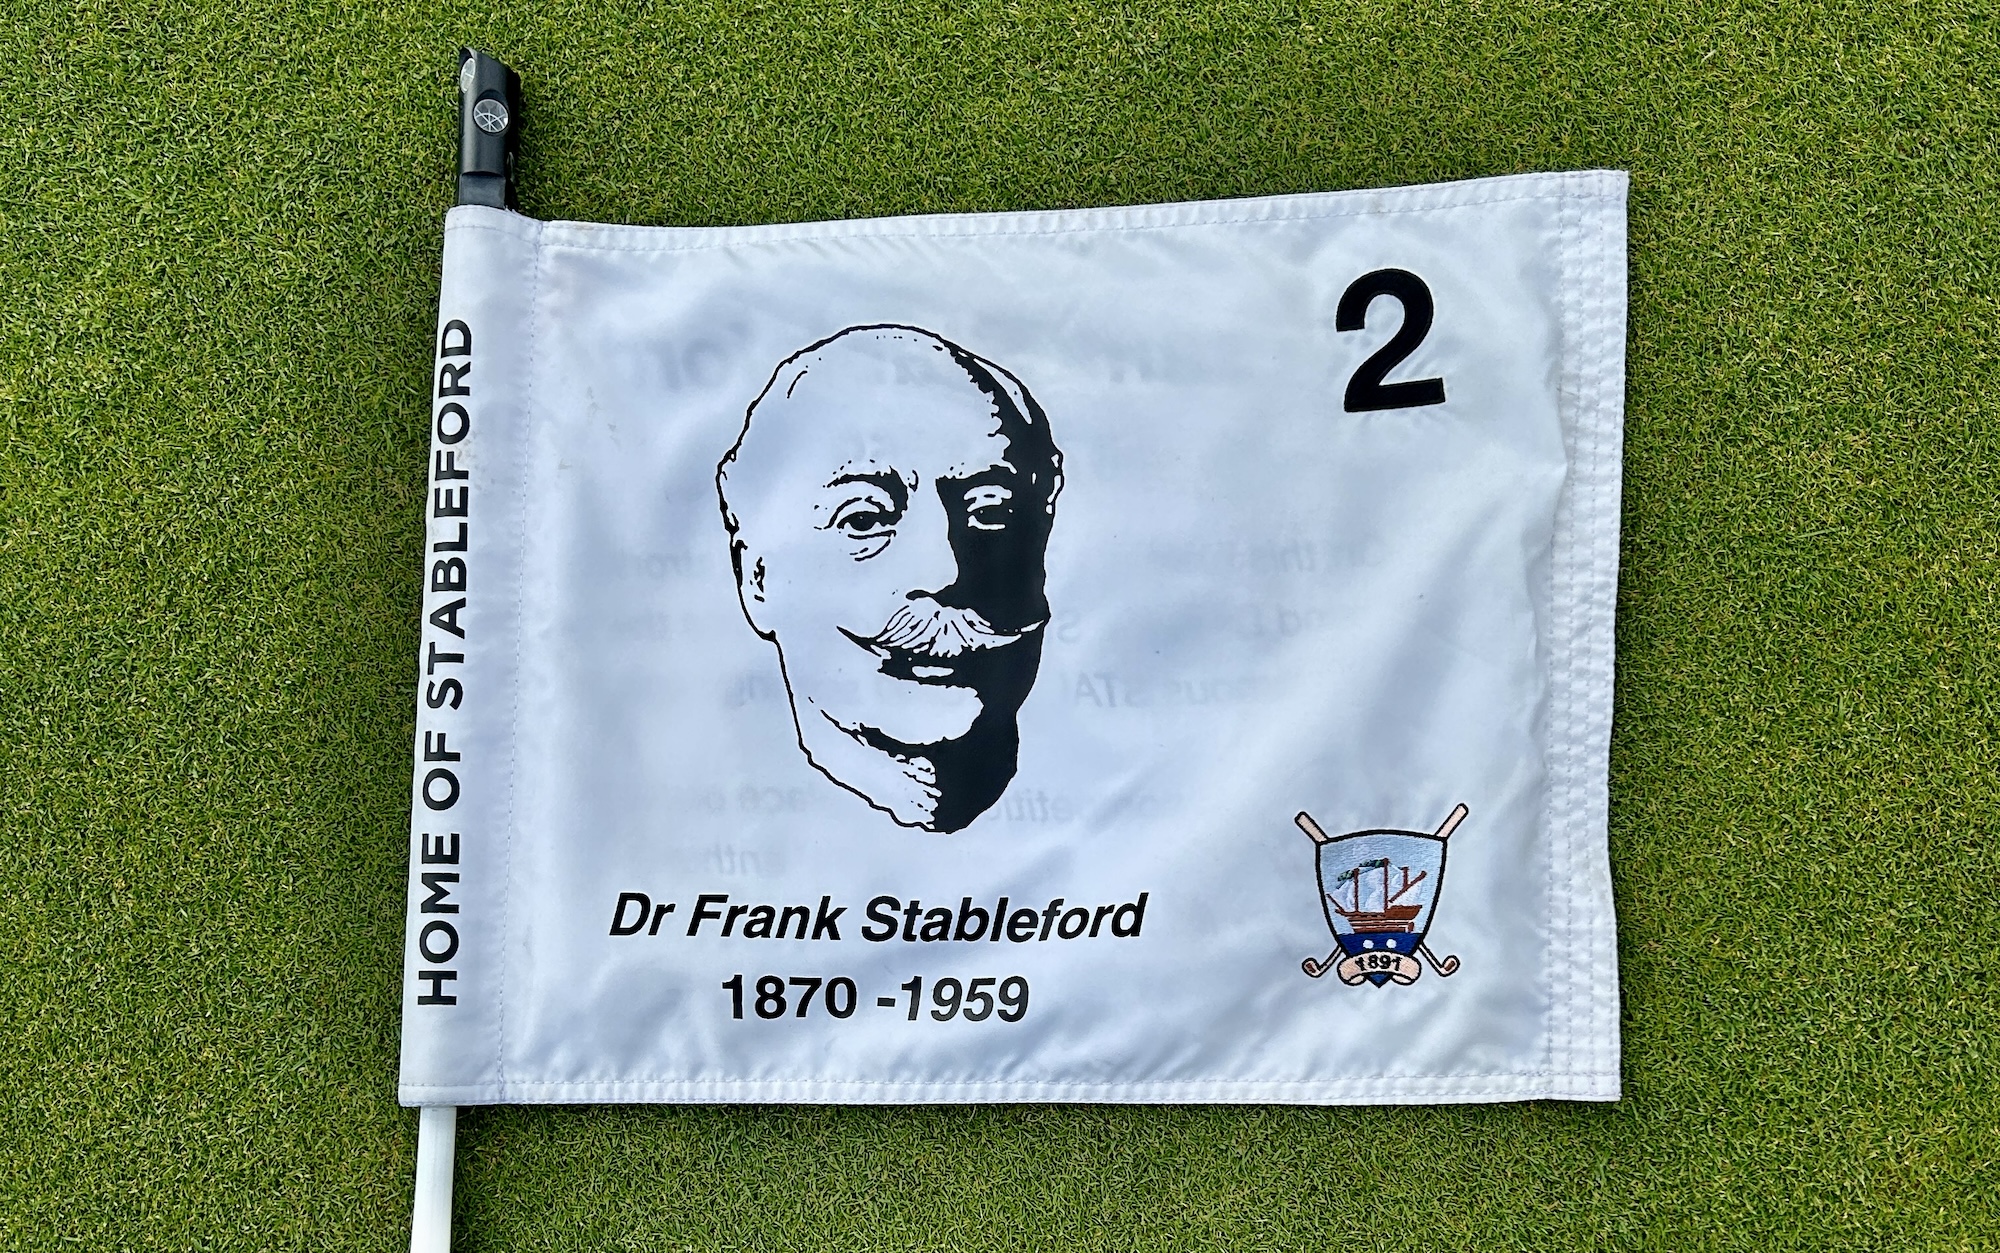
With the story behind it on the reverse side. Actually this is a pretty cool thing to do and more clubs should commemorate significant events on their courses with flags like these.
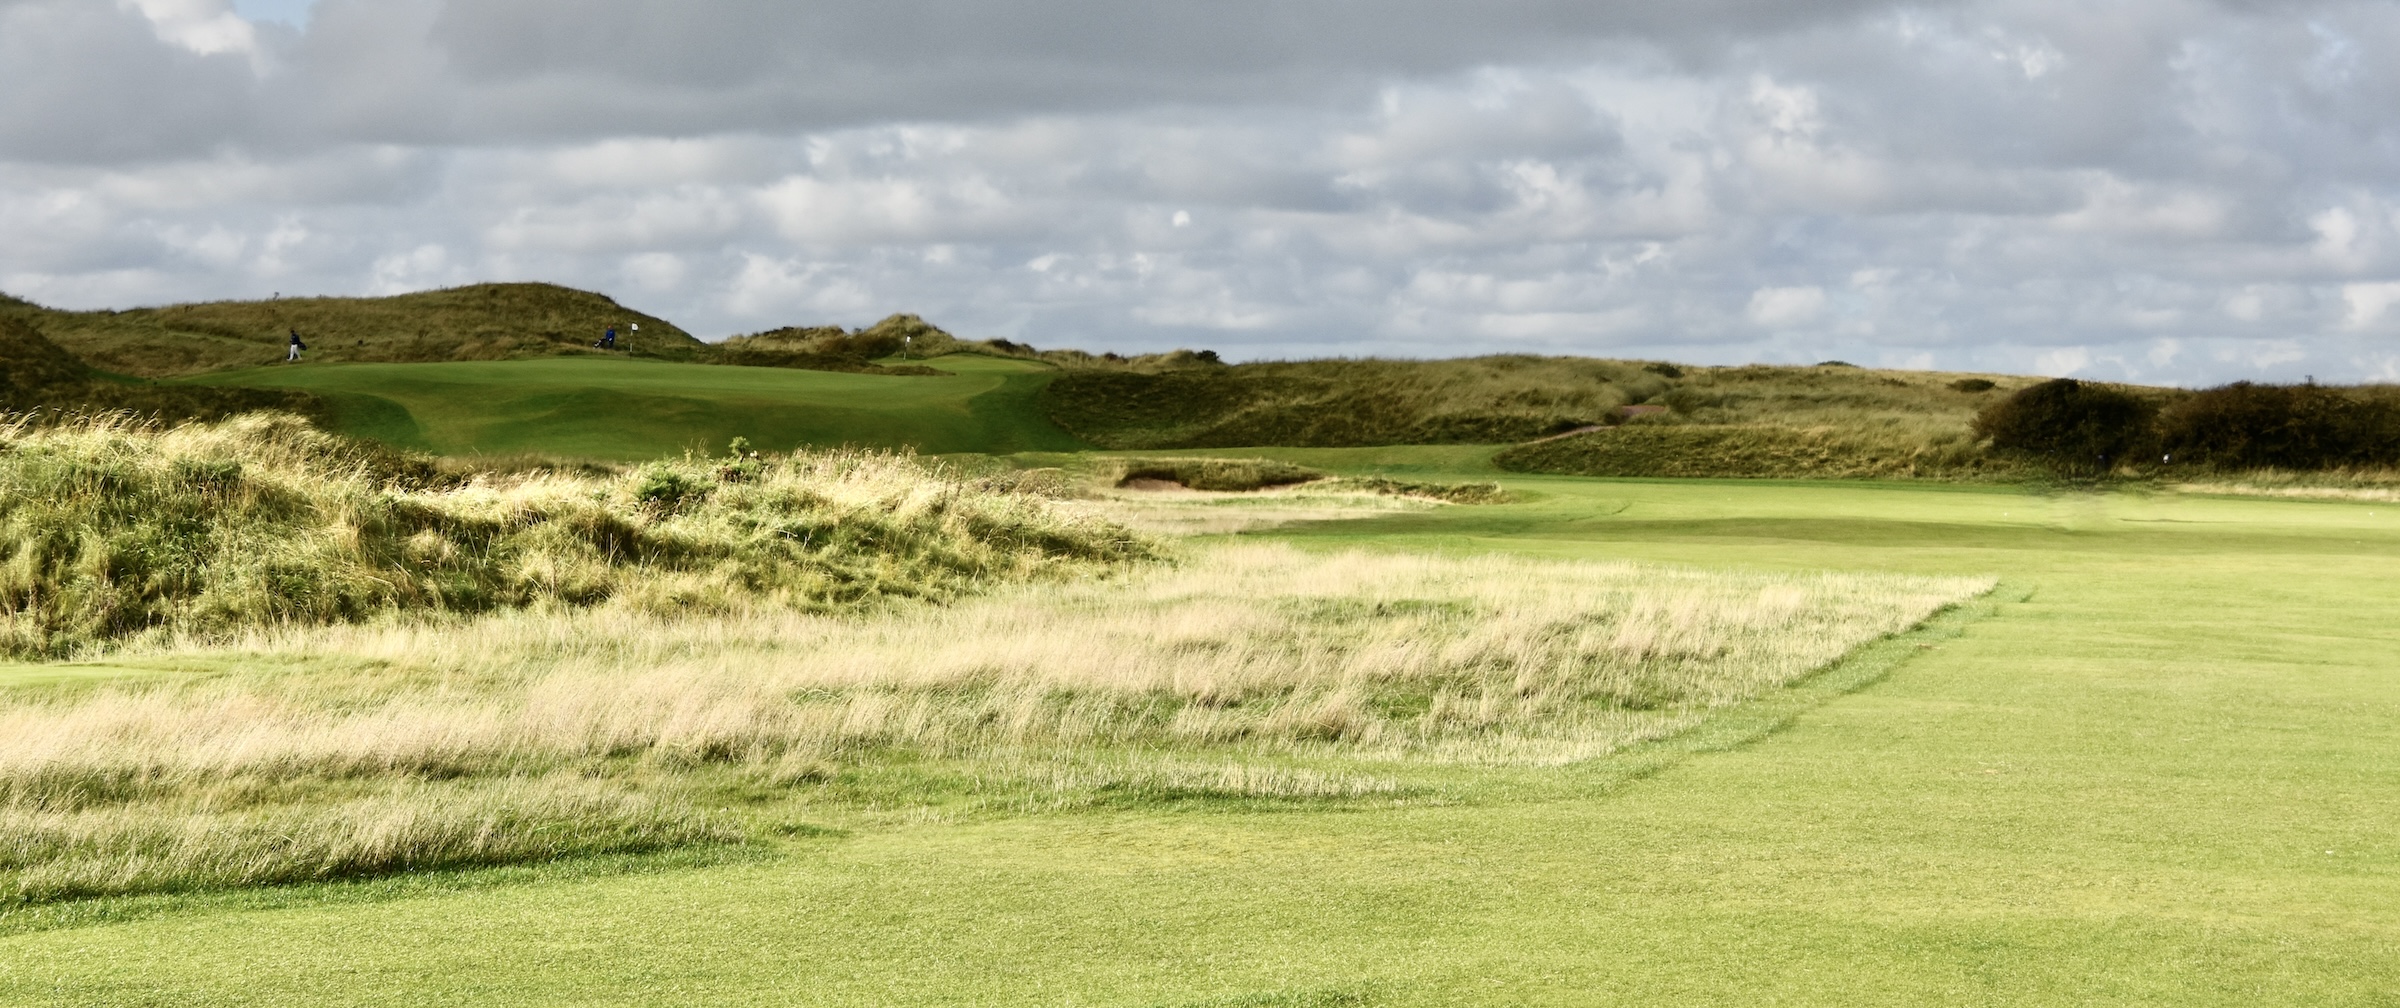
Wallasey #3 Valley – 319 Yard Par Four
This short par four has a great look from the tee and doesn’t require a driver to position the ball for a second shot that should be about where those three balls are. The fairway is bowl shaped which makes staying in play a lot easier than most holes as we will find out. Also, for the first three holes the wind has not really been a factor, knock on wood. Another bonus is that there is only one bunker on this hole. Strangely this is the #5 stroke hole, but I found it about the easiest of the par fours on the front nine.
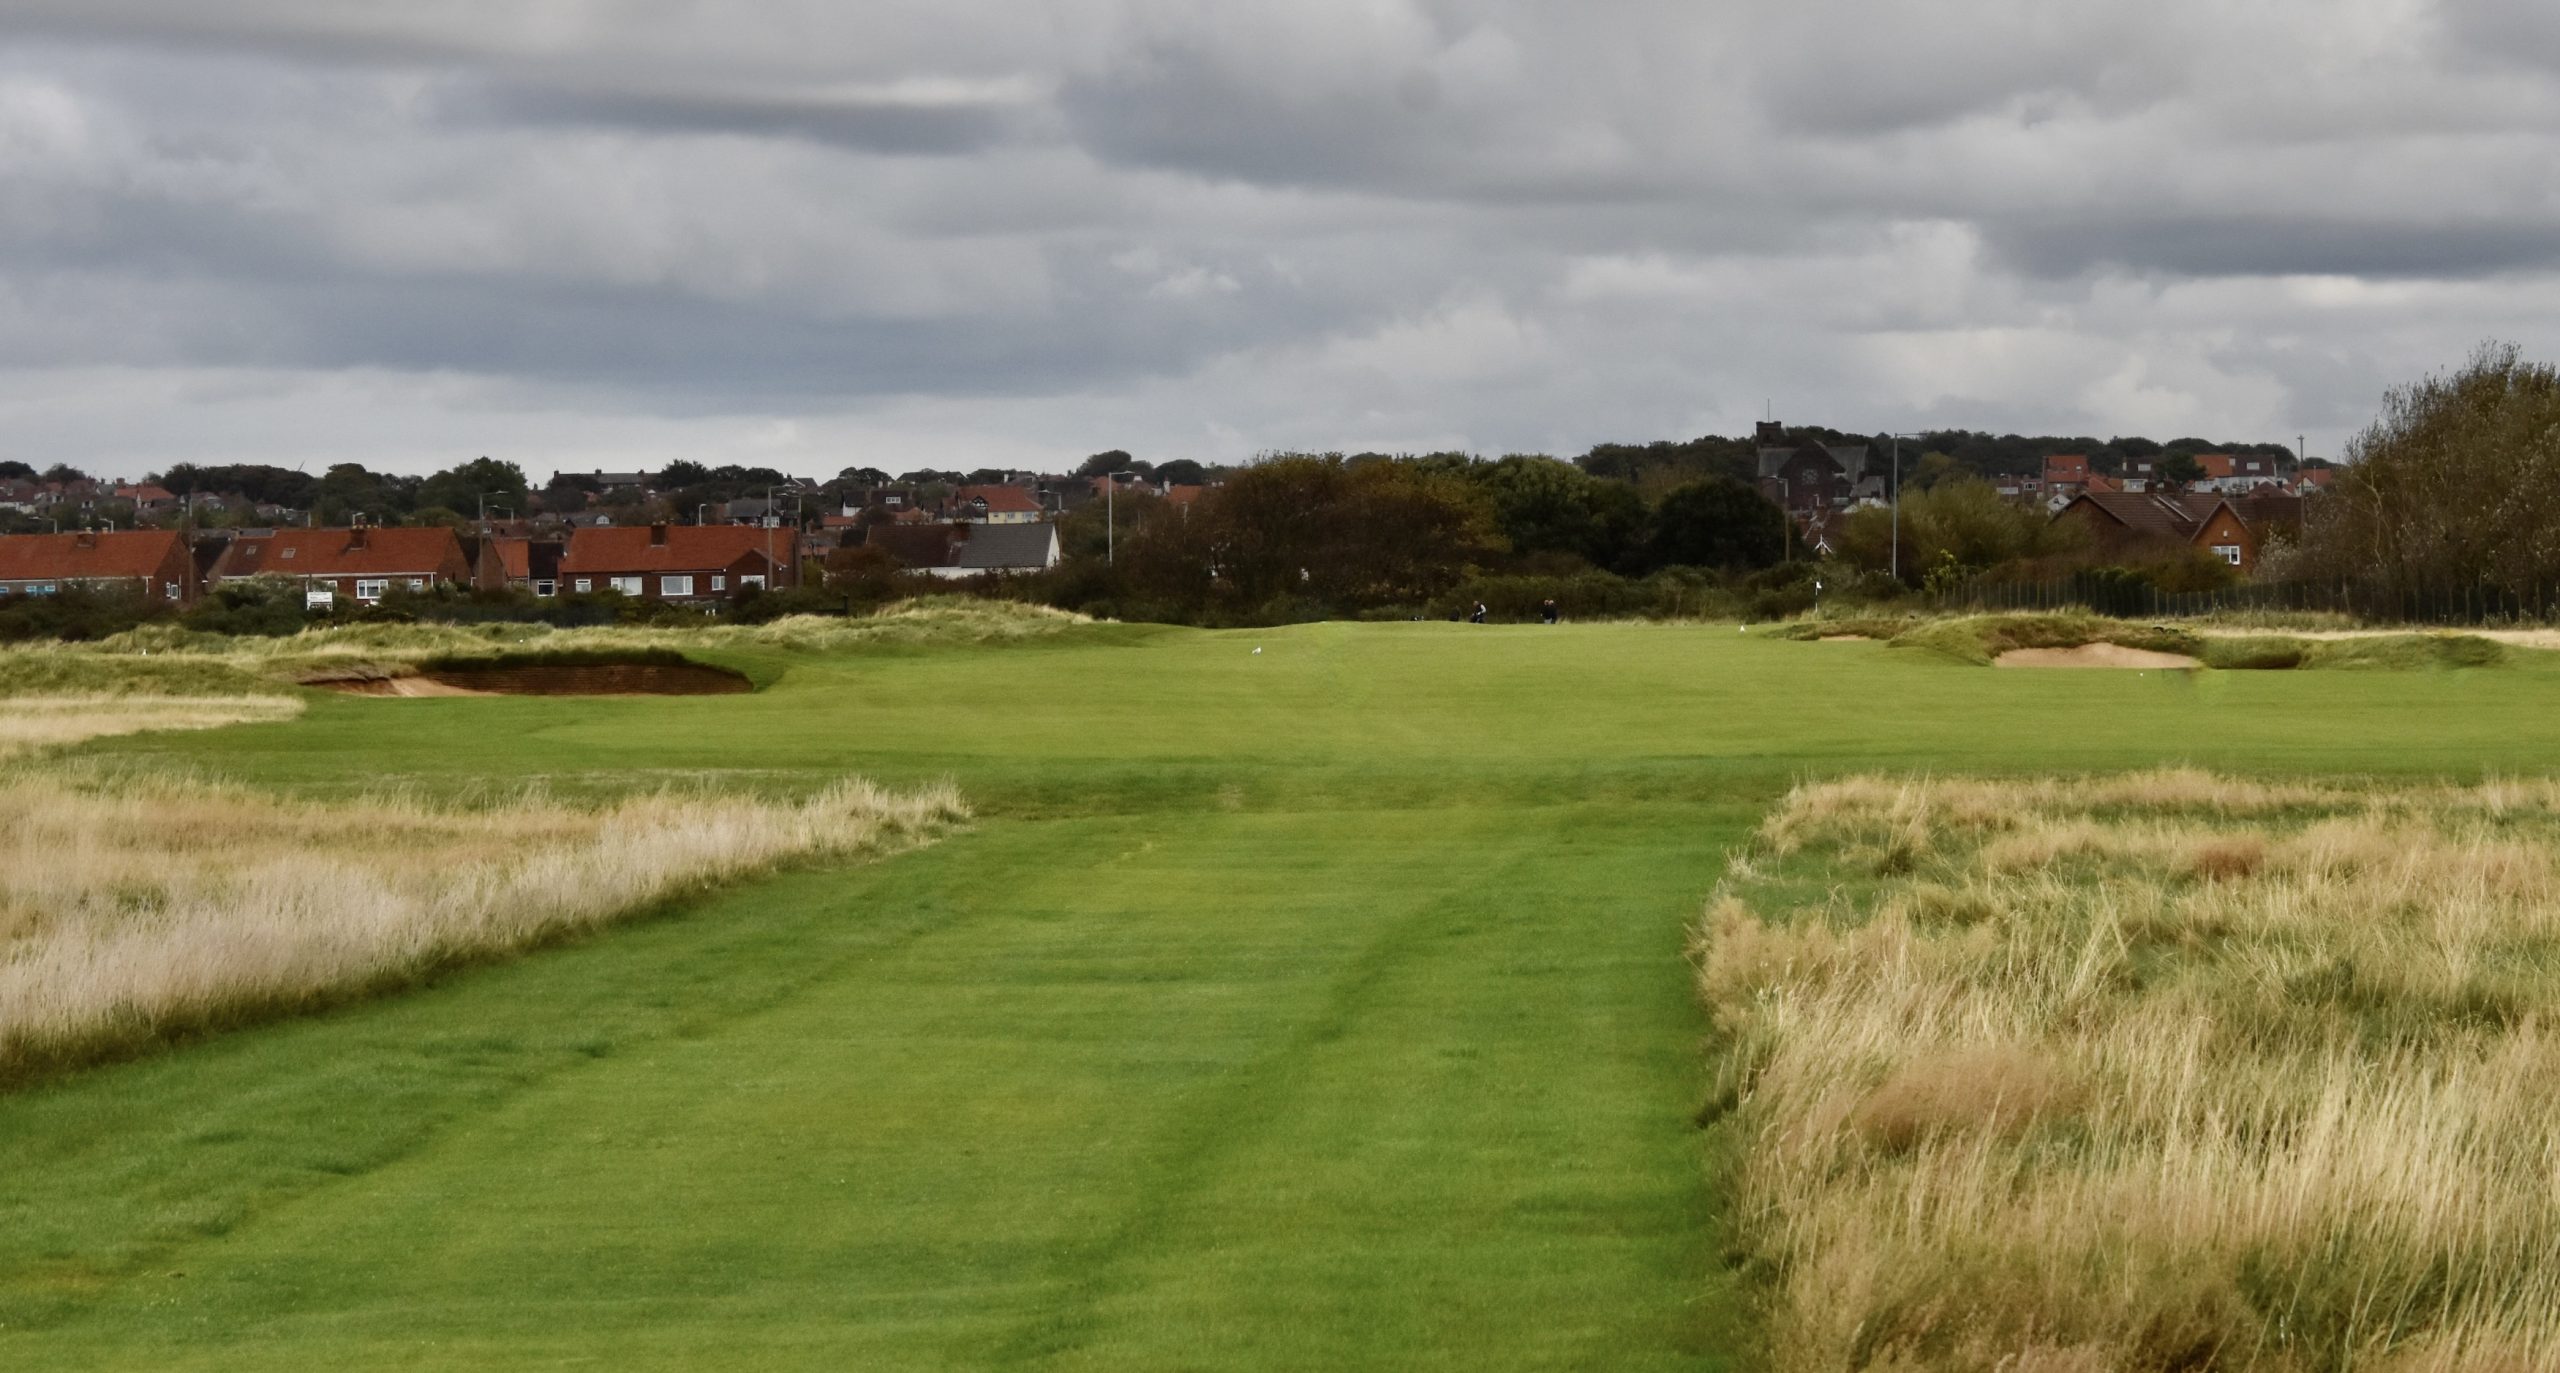
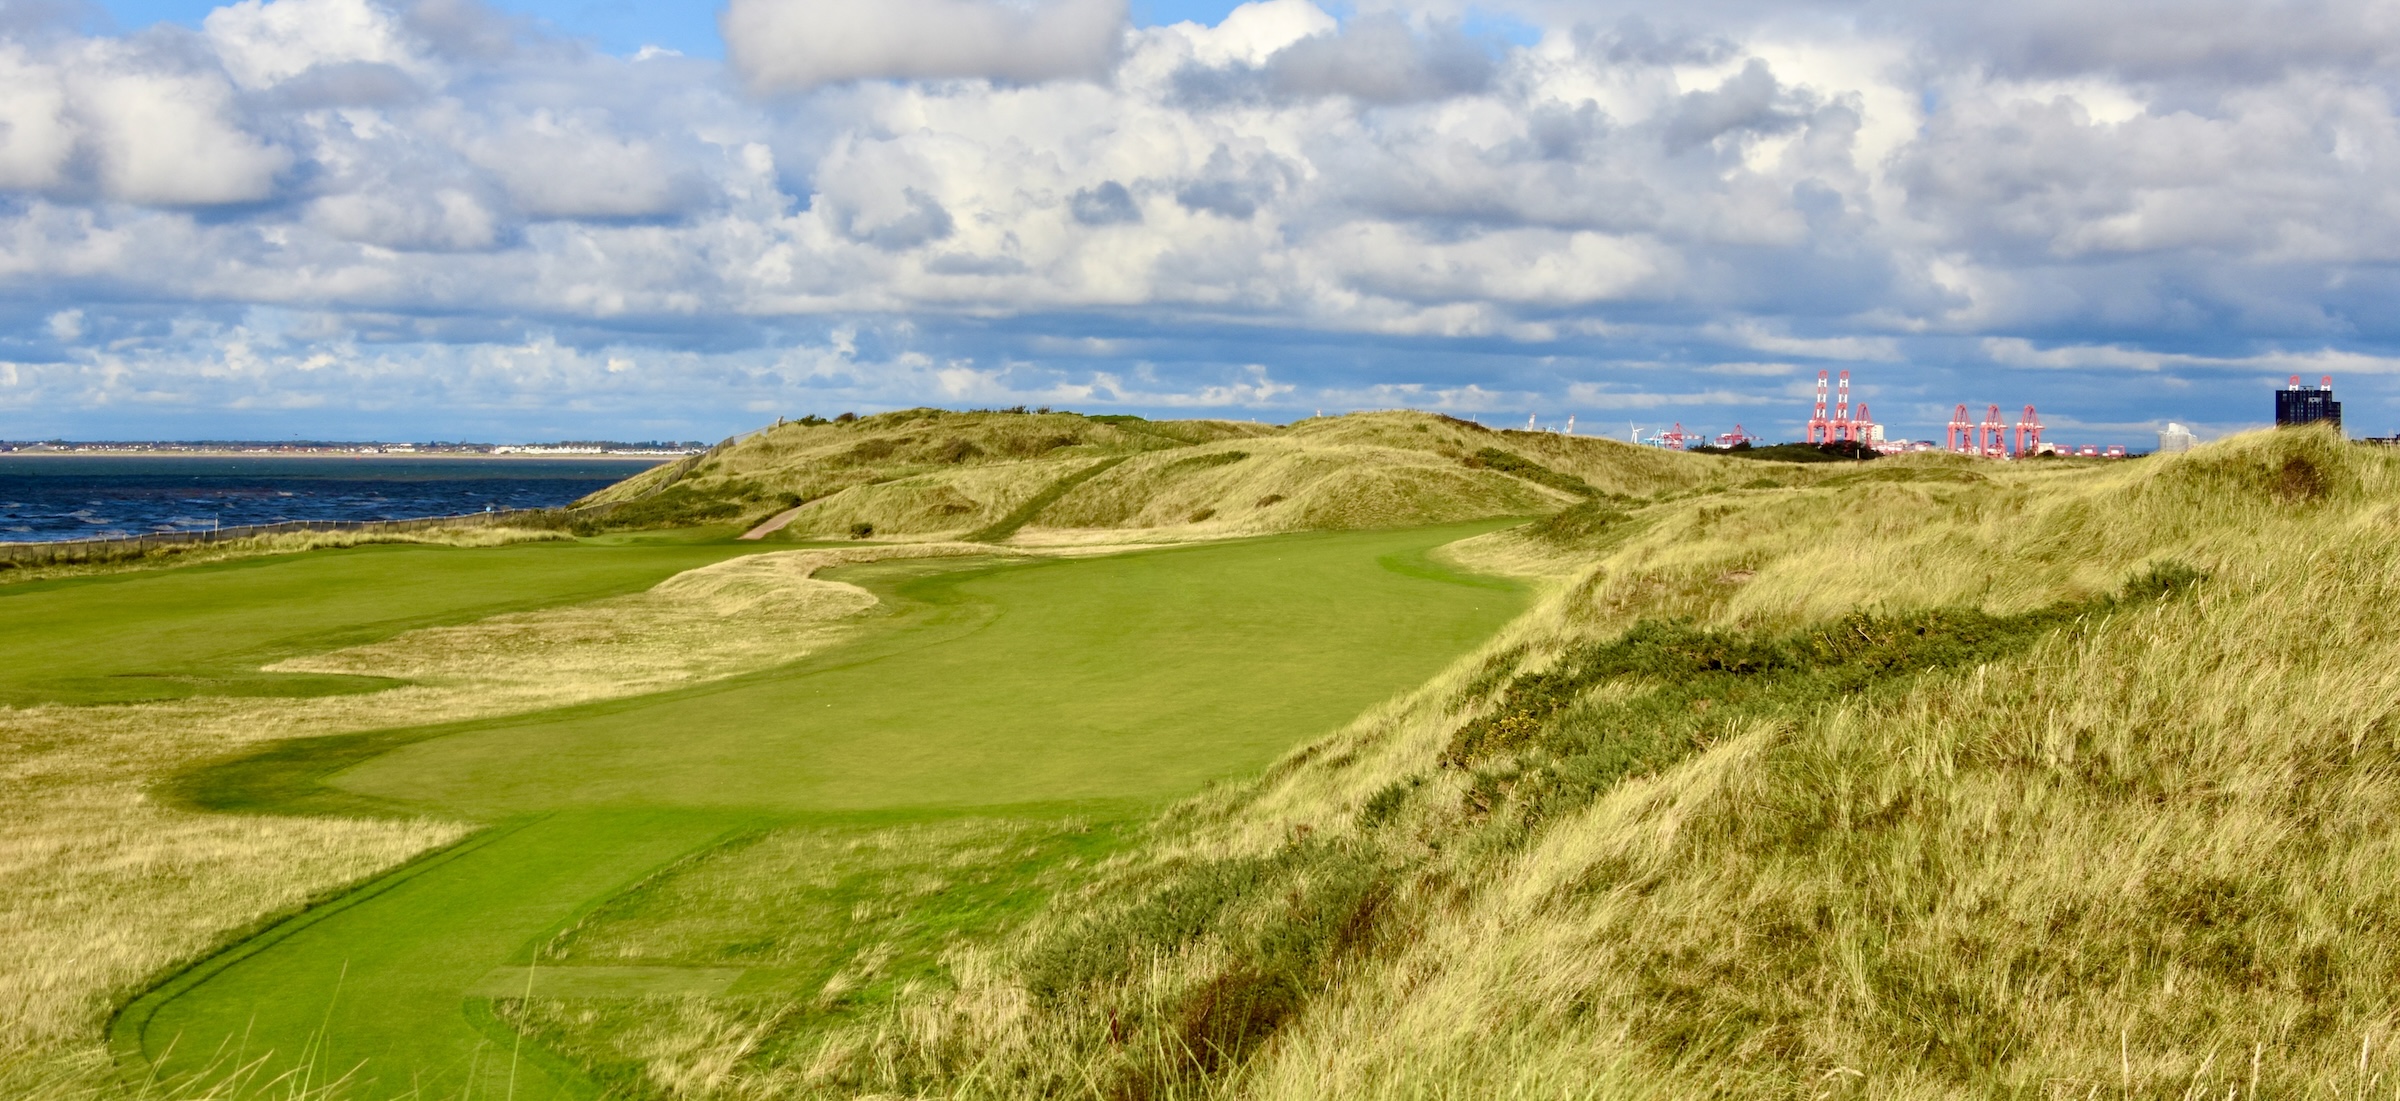
#4 Seaway – 475 Yard Par Five
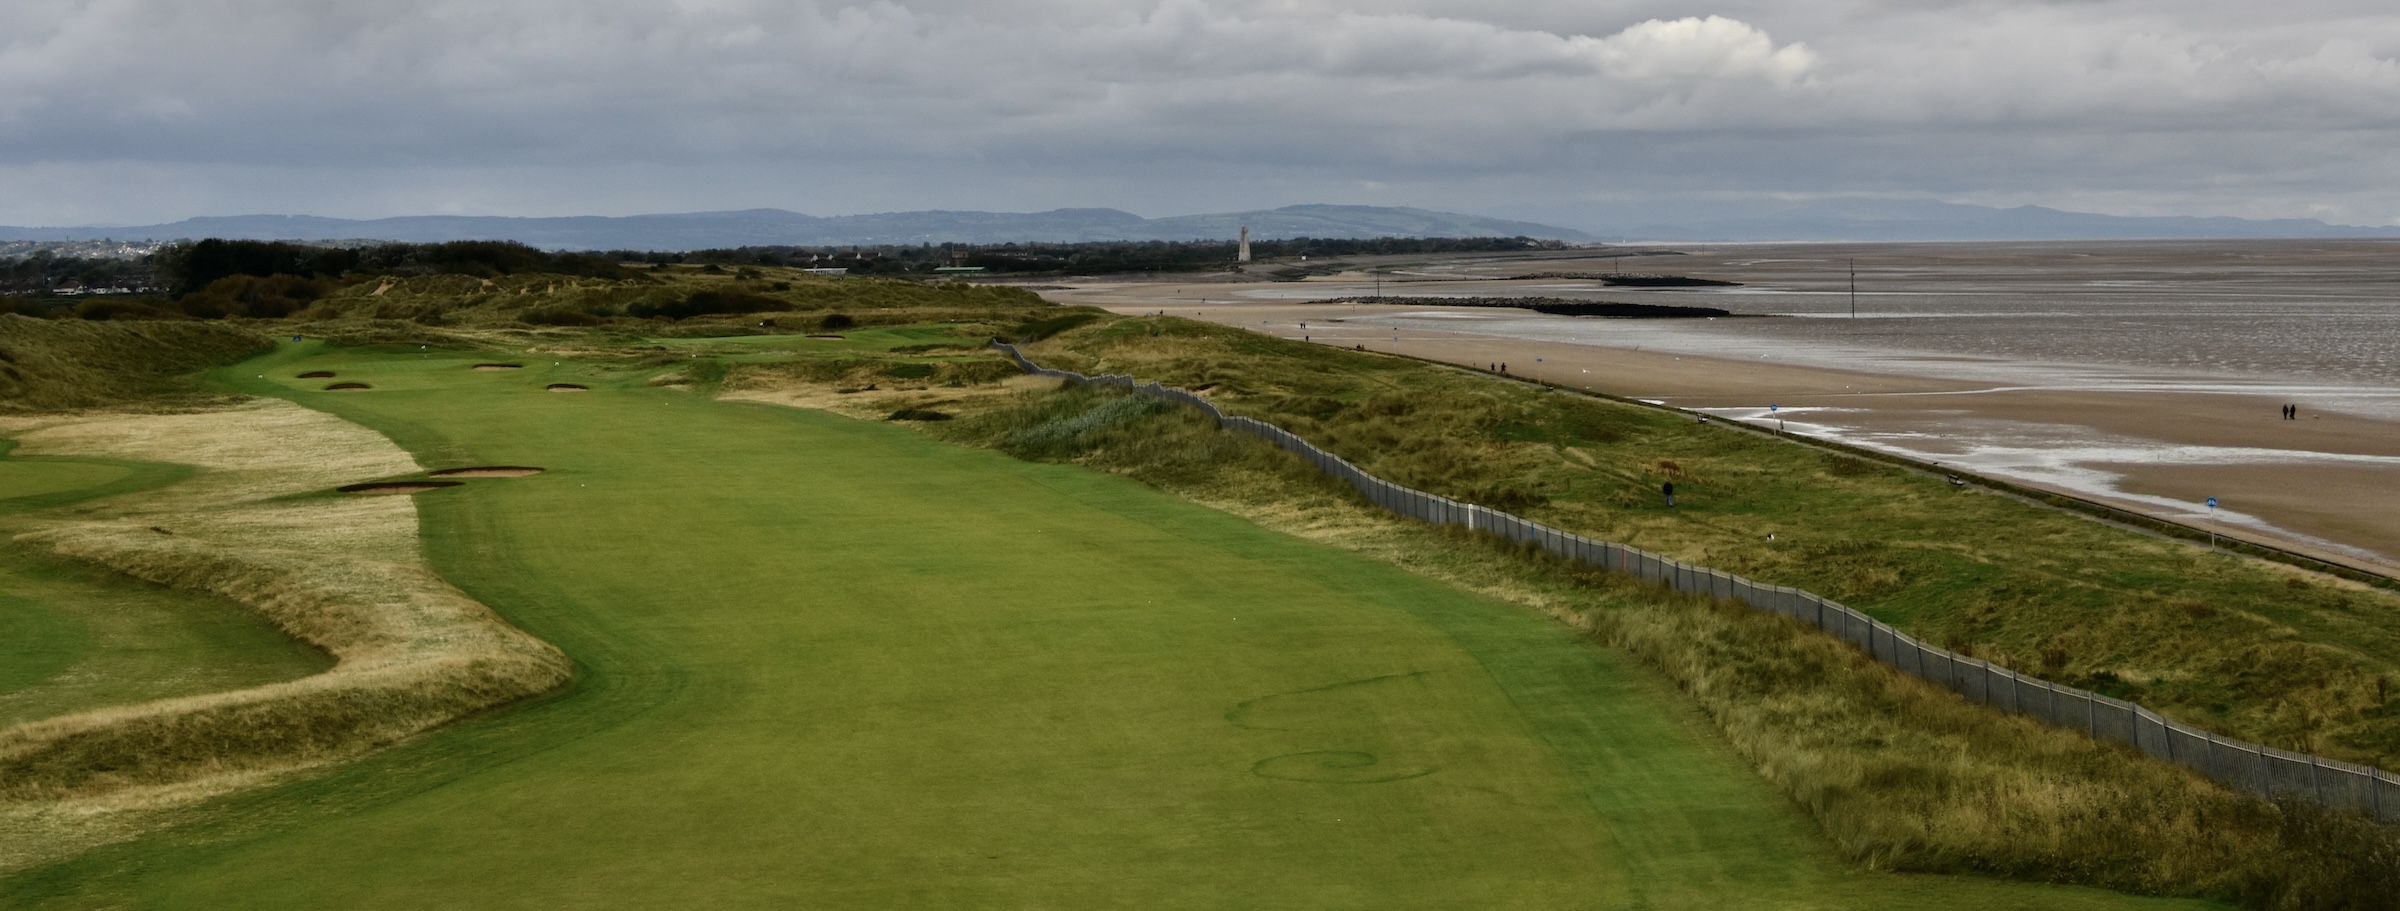
When you play links courses you get an expectation of seeing the ocean on a number of holes like this one. Unfortunately, that’s not the case with many links courses. Of the five we played two had no ocean views and another only on one hole. Wallasey is the exception and when you play it enjoy the look of holes like Seaway for they are truly rare.
This is a beast of a hole requiring long drives and a good wood on the second to leave this approach. There are a number of options here including bump and run knowing you’ve got a backstop behind the green that might kick you ball back onto the green if you are long. Also note that the wind is coming directly off the Irish Sea making an approach with a wedge problematic.
Seaway is the #1 stroke hole at Wallasey for good reason. Six is a very acceptable score on this hole.
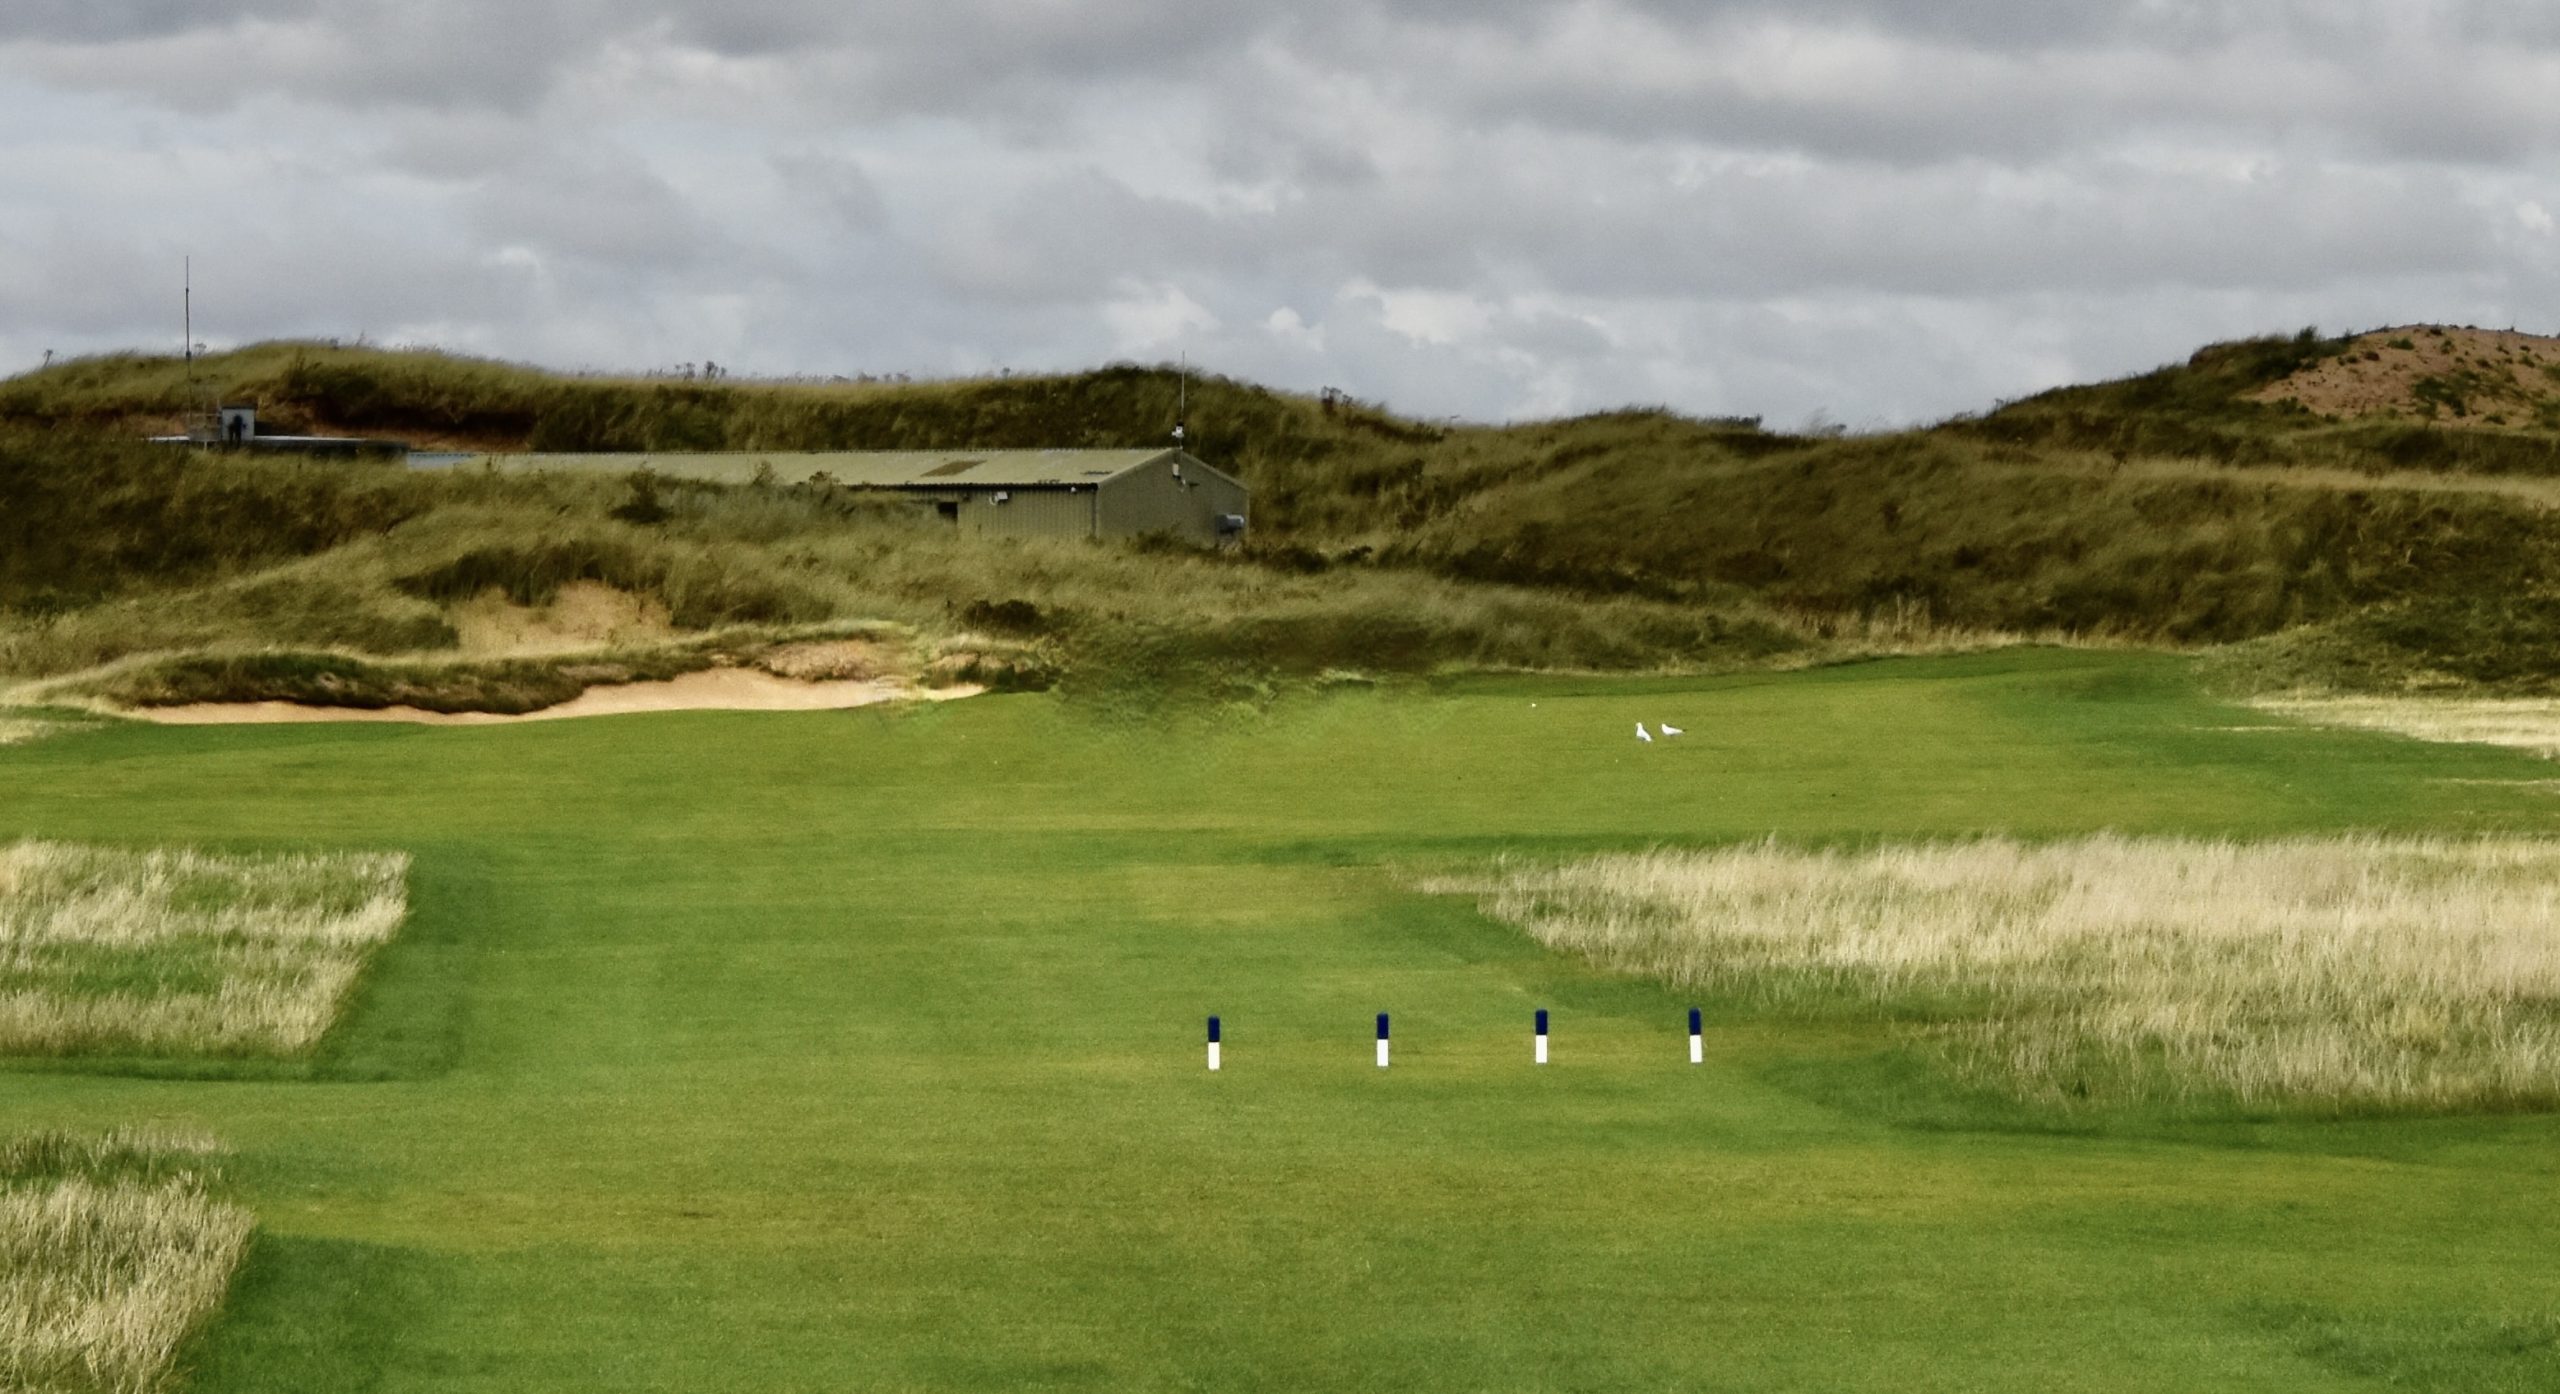
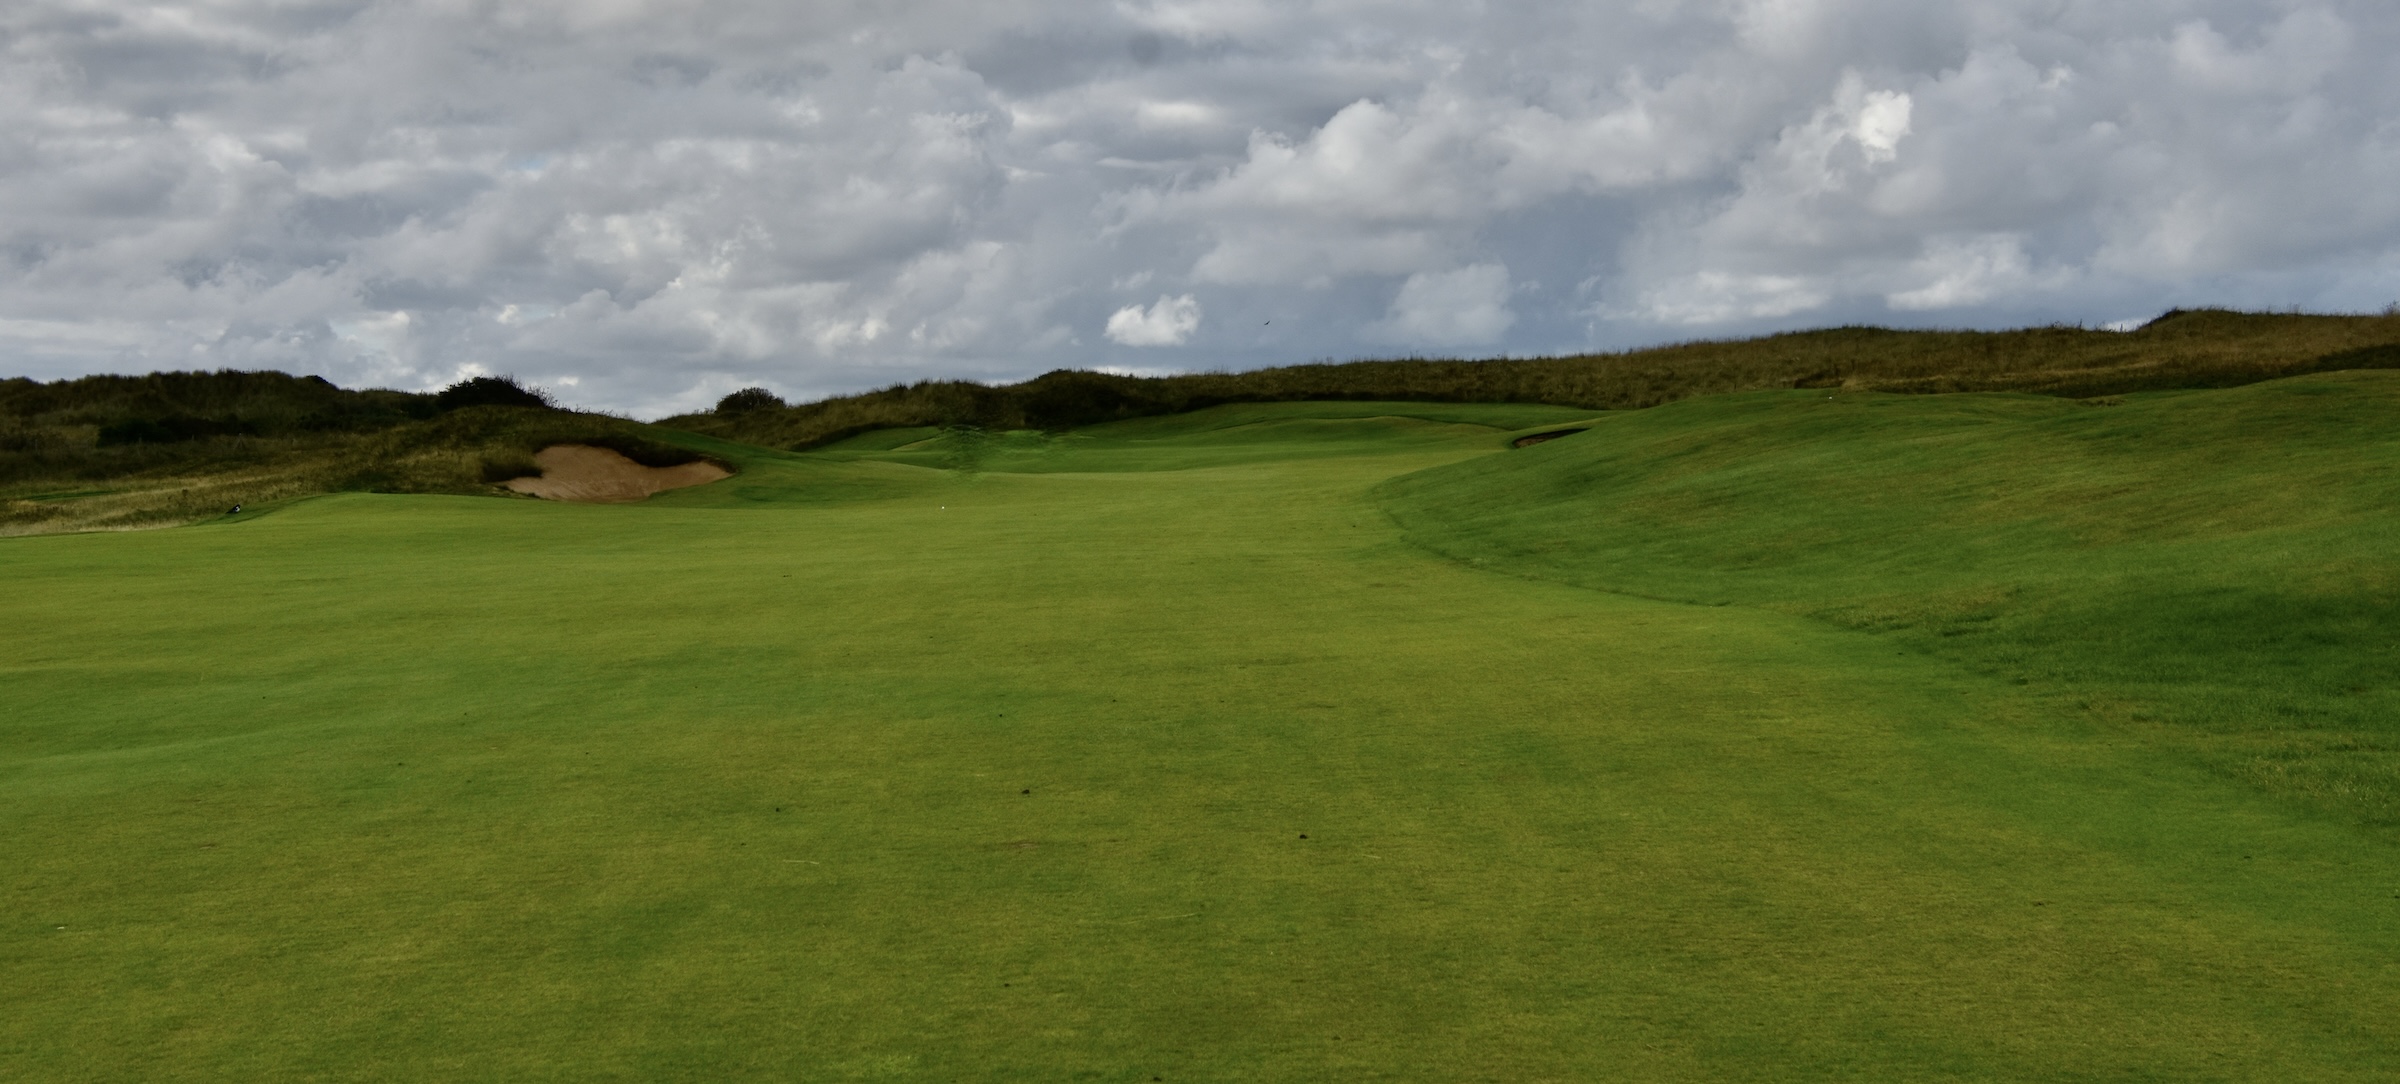
Wallasey #5 Westway – 132 Yard Par Three
The photo does not do justice to this par three that plays downhill although it doesn’t appear so. From the upper tee there is a nice view of the sea which is just behind the dune at the back of the hole. Judging the wind and club selection are what this hole is all about. Get it right and it should be an easy par or better.
#6 Boundary – 269 Yard Par Four
This is by far the best birdie opportunity on the front nine. Just keep you ball in play with a wood off the tee and you should have an easy wedge in from almost anywhere, even the rough where I ended up. It’s a very flat green making for a lot of straight putts.
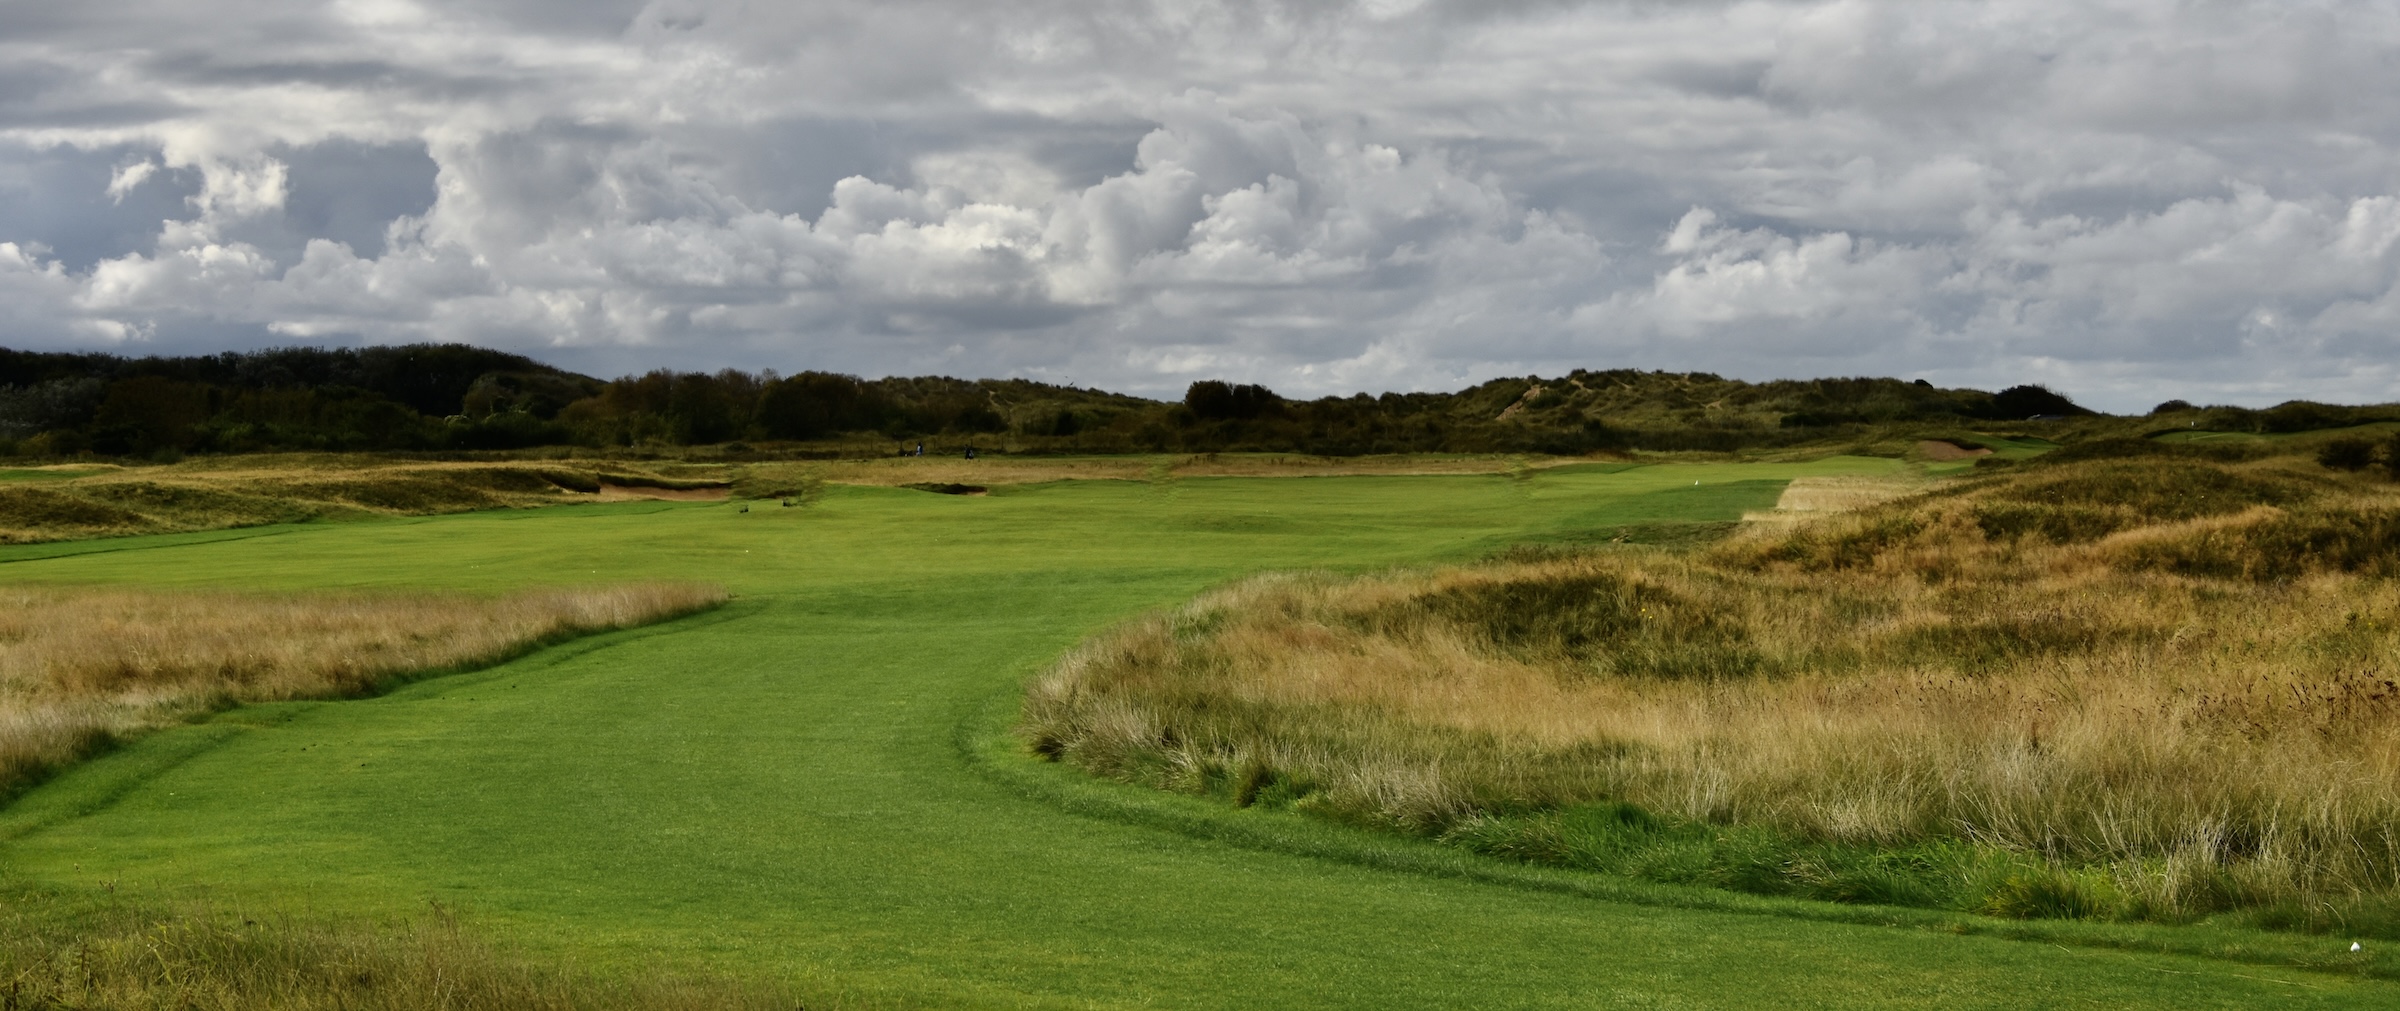
Wallasey #7 Lane – 471 Yard Par Five
This par five plays much easier than #4 because that breeze coming off the Irish Sea is now at your back making this hole play shorter than its stated yardage. There’s o.b. on the right, but the fairway is generous enough that there really is no excuse for going there. A well struck drive and wood should leave a good chance for par. This is probably one of the few ‘ordinary’ holes at Wallasey.
#8 Hummocks – 362 Yard Par Four
After a rather ho hum #7 things really start to pick up at Wallasey with this insidiously difficult par four that doglegs right to an almost hidden green. While there’s lots of room off the tee, only the longest hitters will have a clear shot in. This is where I ended up taking my third shot from after taking a blind second on a line pointed out by my caddy. Without warning the Wallasey greens are now starting to act up with some serious contours that require precision reading. That’s why we pay the caddies the big bucks because I sure couldn’t figure them out on my own. Another hole where bogie is very acceptable.
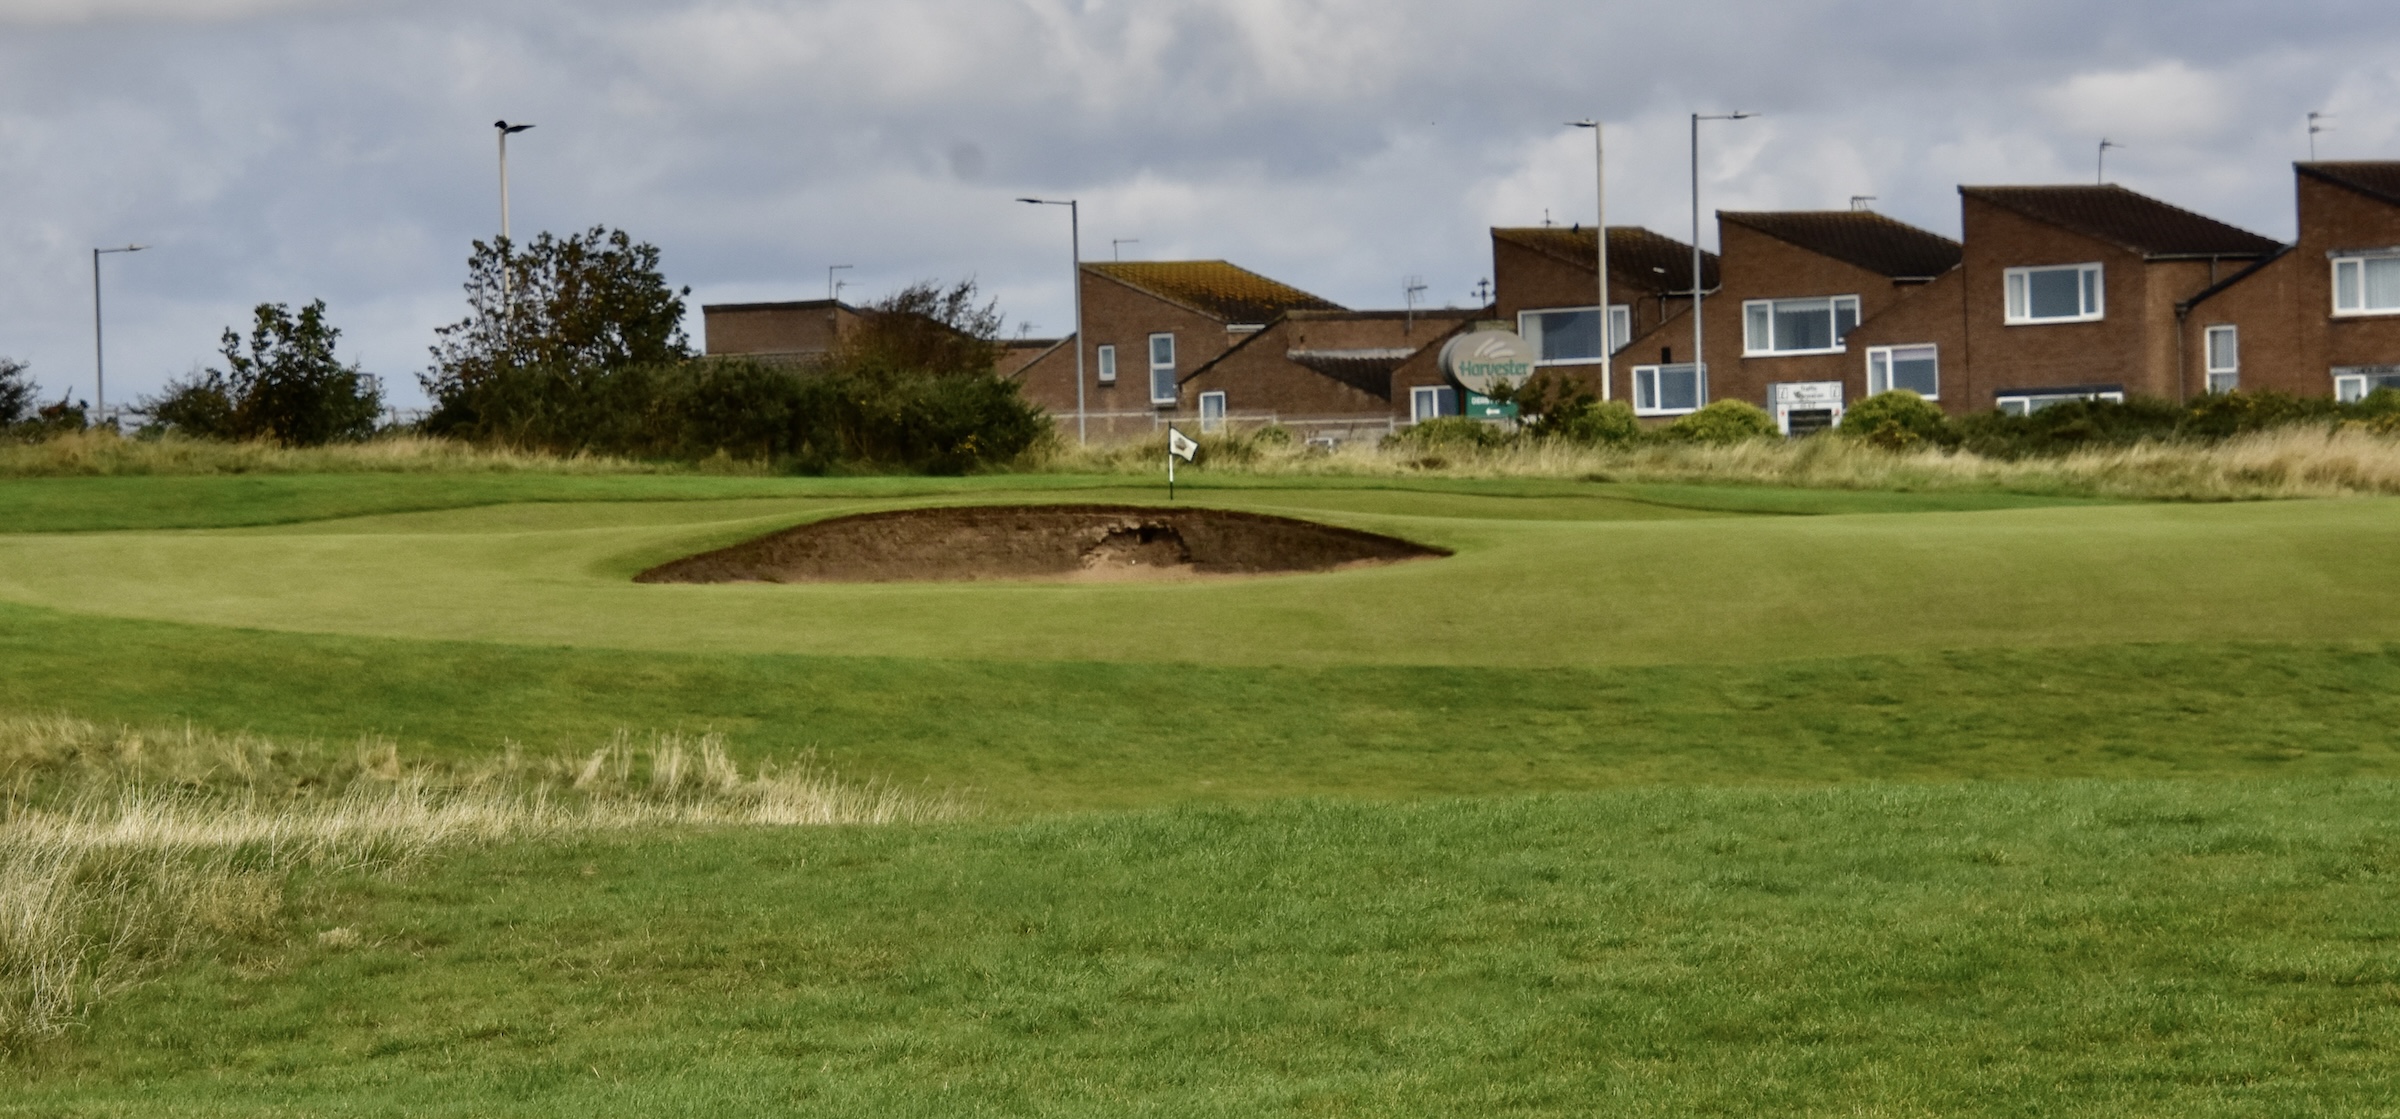
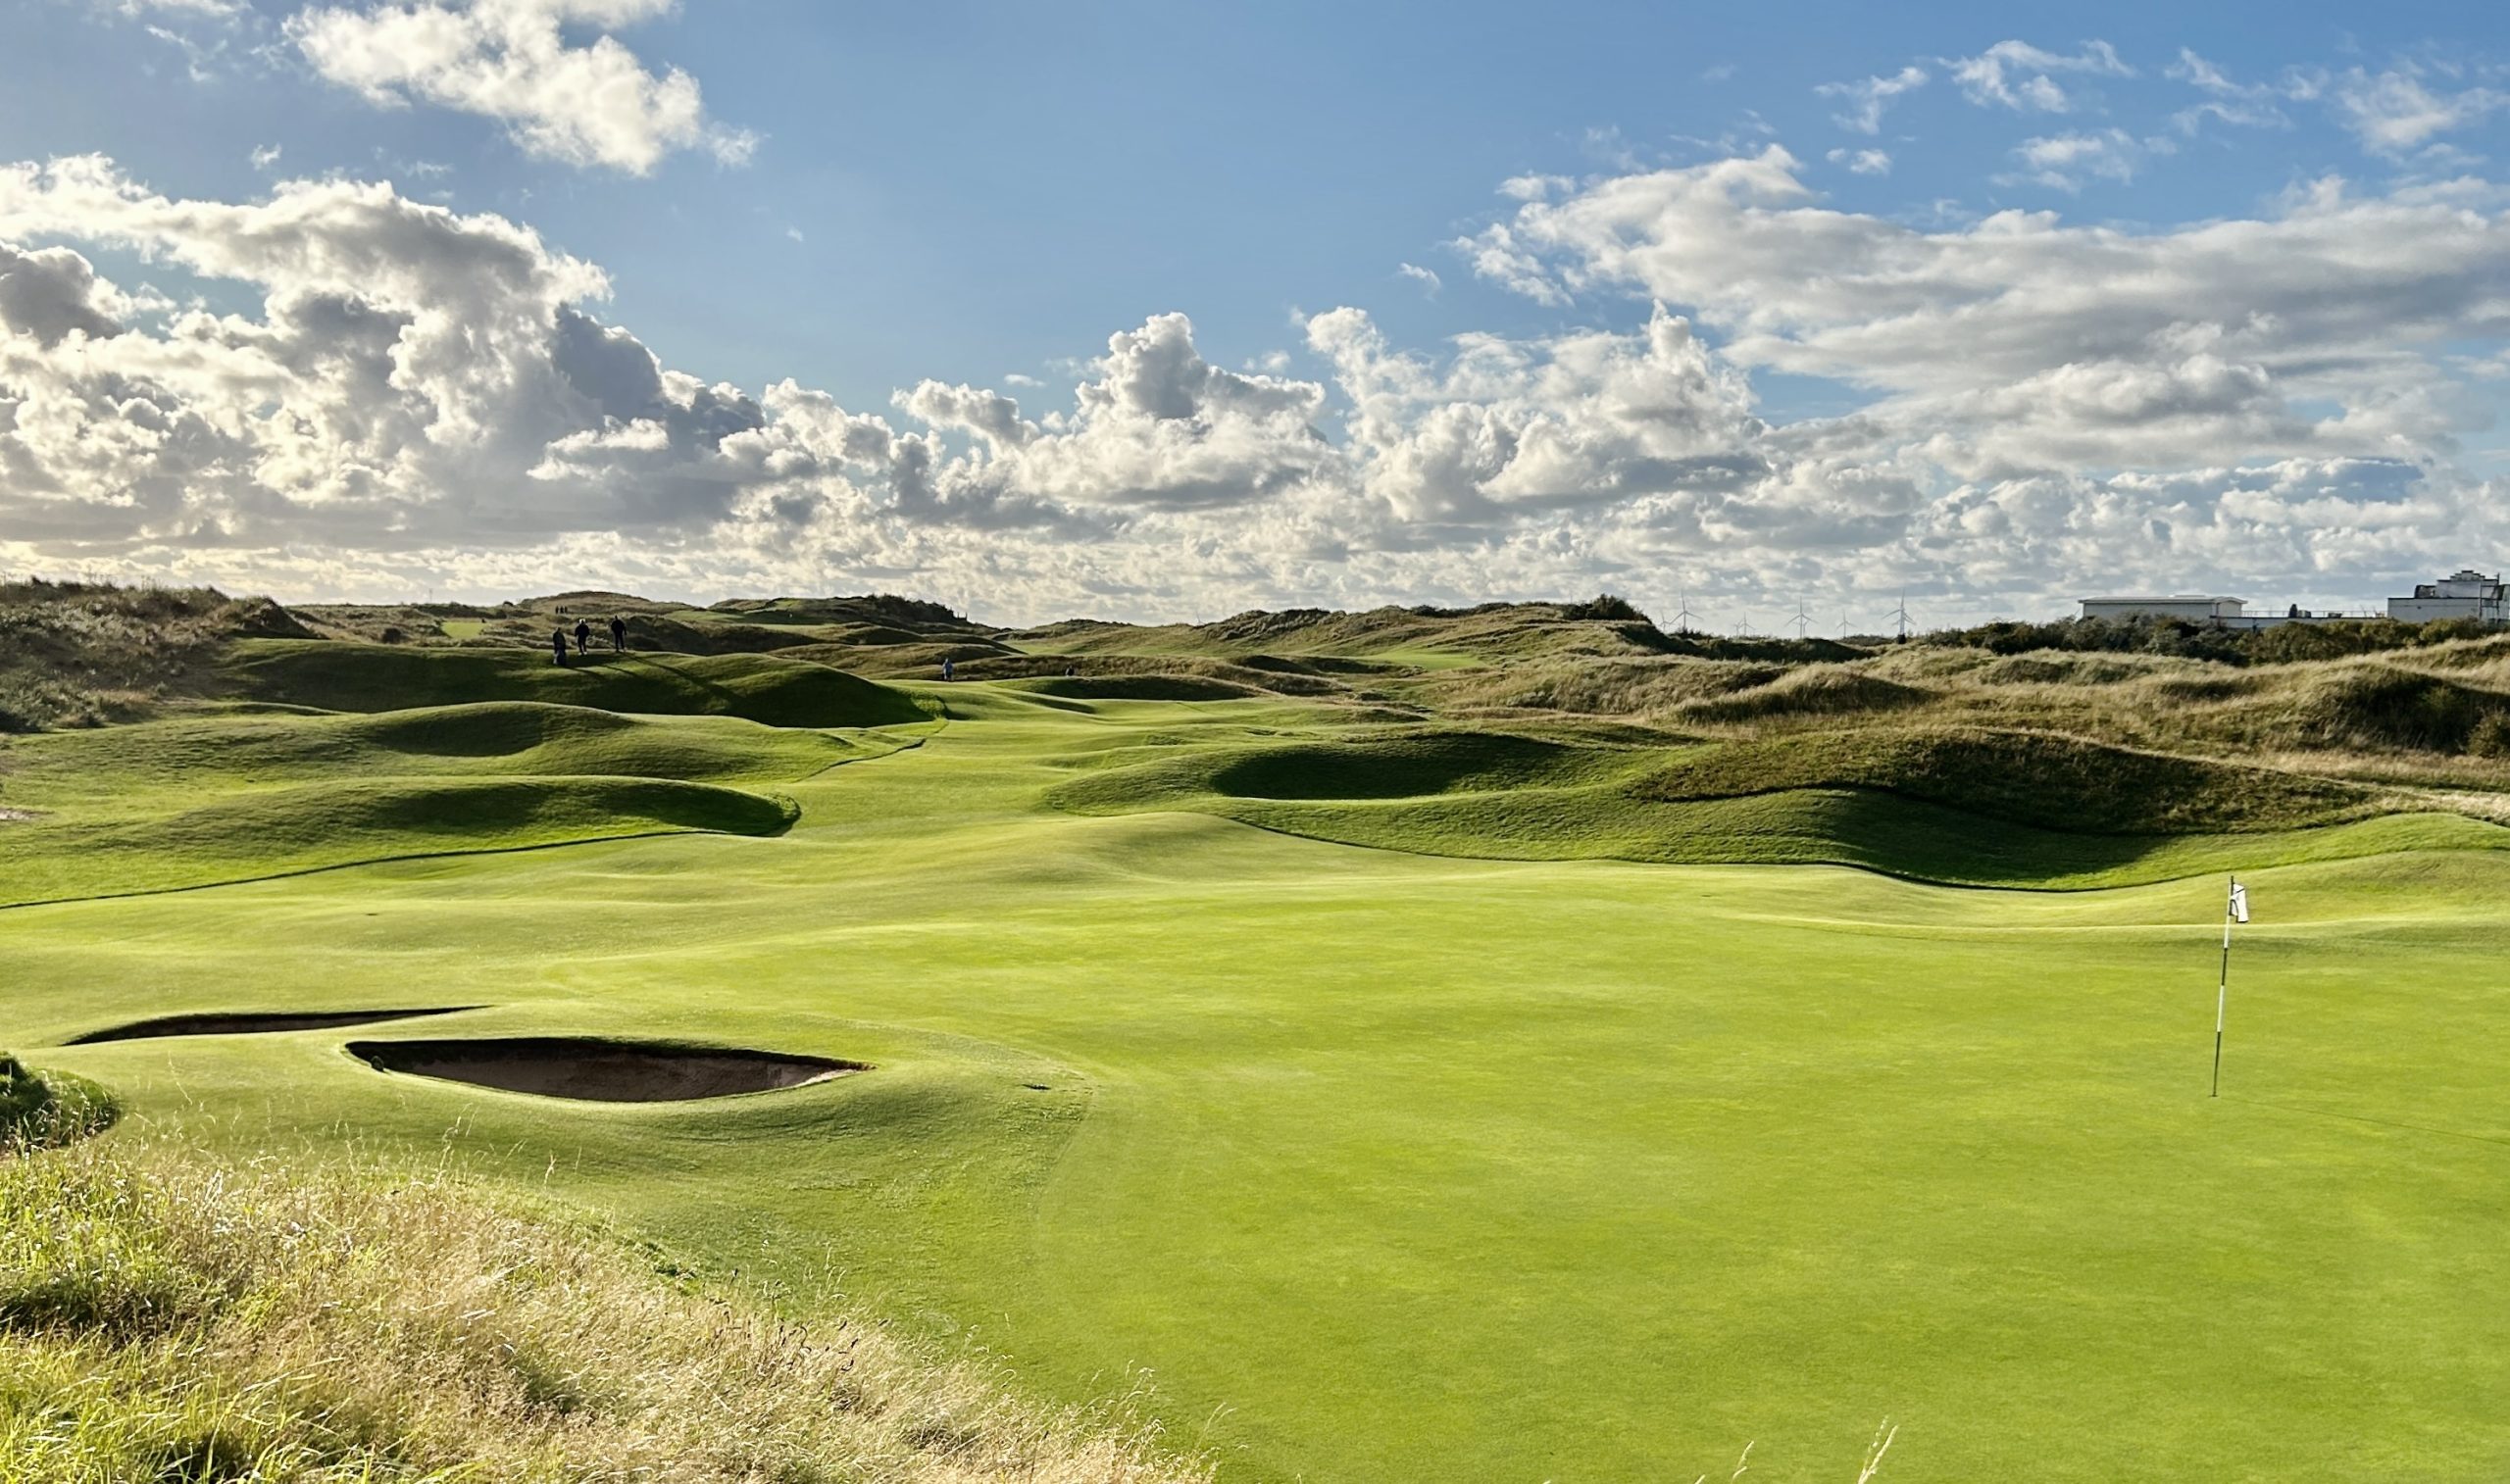
Wallasey #9 Bobby Jones – 128 Yard Par Three
This short par three plays considerably downhill to a long narrow green that slopes off severely in both directions from where that pin is, a sucker’s one if I ever saw one. There really is no obvious landing spot on this hole that is going to leave you with a decent chance for a birdie. That being the case one might as well take the sucker’s bet and go right at it. Once again, getting the club right and then hitting it properly is what this hole is all about. Supposedly the easiest hole on the front nine, a couple of sixes were carded here, both from coming up short and going too long. This is actually a great little thinking man’s par three as attested to by the plaque to Bobby Jones.
#10 Mound – 273 Yard Par Four
On the back nine Wallasey goes into overdrive as almost every hole involves a climb or a descent. This is brilliant little par four that dares you to try to clear the mound on the right. It’s a lot harder than it looks as several of us found out. The smarter play is to simply drive it straight ahead with a wood or even an iron and you should get a look like this for the second shot. Now the guessing game begins – how much extra club to account for the severe elevation change? Come up short and you might just roll all the way back down. Too much club and you’ll be off the back and roll down from there. There are no traps on this hole because it doesn’t need them. This is a great little par four – one of the best we played anywhere in England.

Wallasey #11 Saddleback – 267 Yard Par Four
OK, this looks pretty easy. Um, no. There is at least a two to three club wind coming directly at us from the Irish Sea and according to the caddies, that is the norm on this hole. It will wreak havoc with you drive. Best bet is to try to keep something like a five wood low and hope it runs up the hill. Mine didn’t and I still had this approach to an uphill green that was a repeat of the second shot on 10, but with a much stronger wind. Bottom line, don’t let the short distance of this hole fool you, it’s not an easy hole. But it’s fun nevertheless.
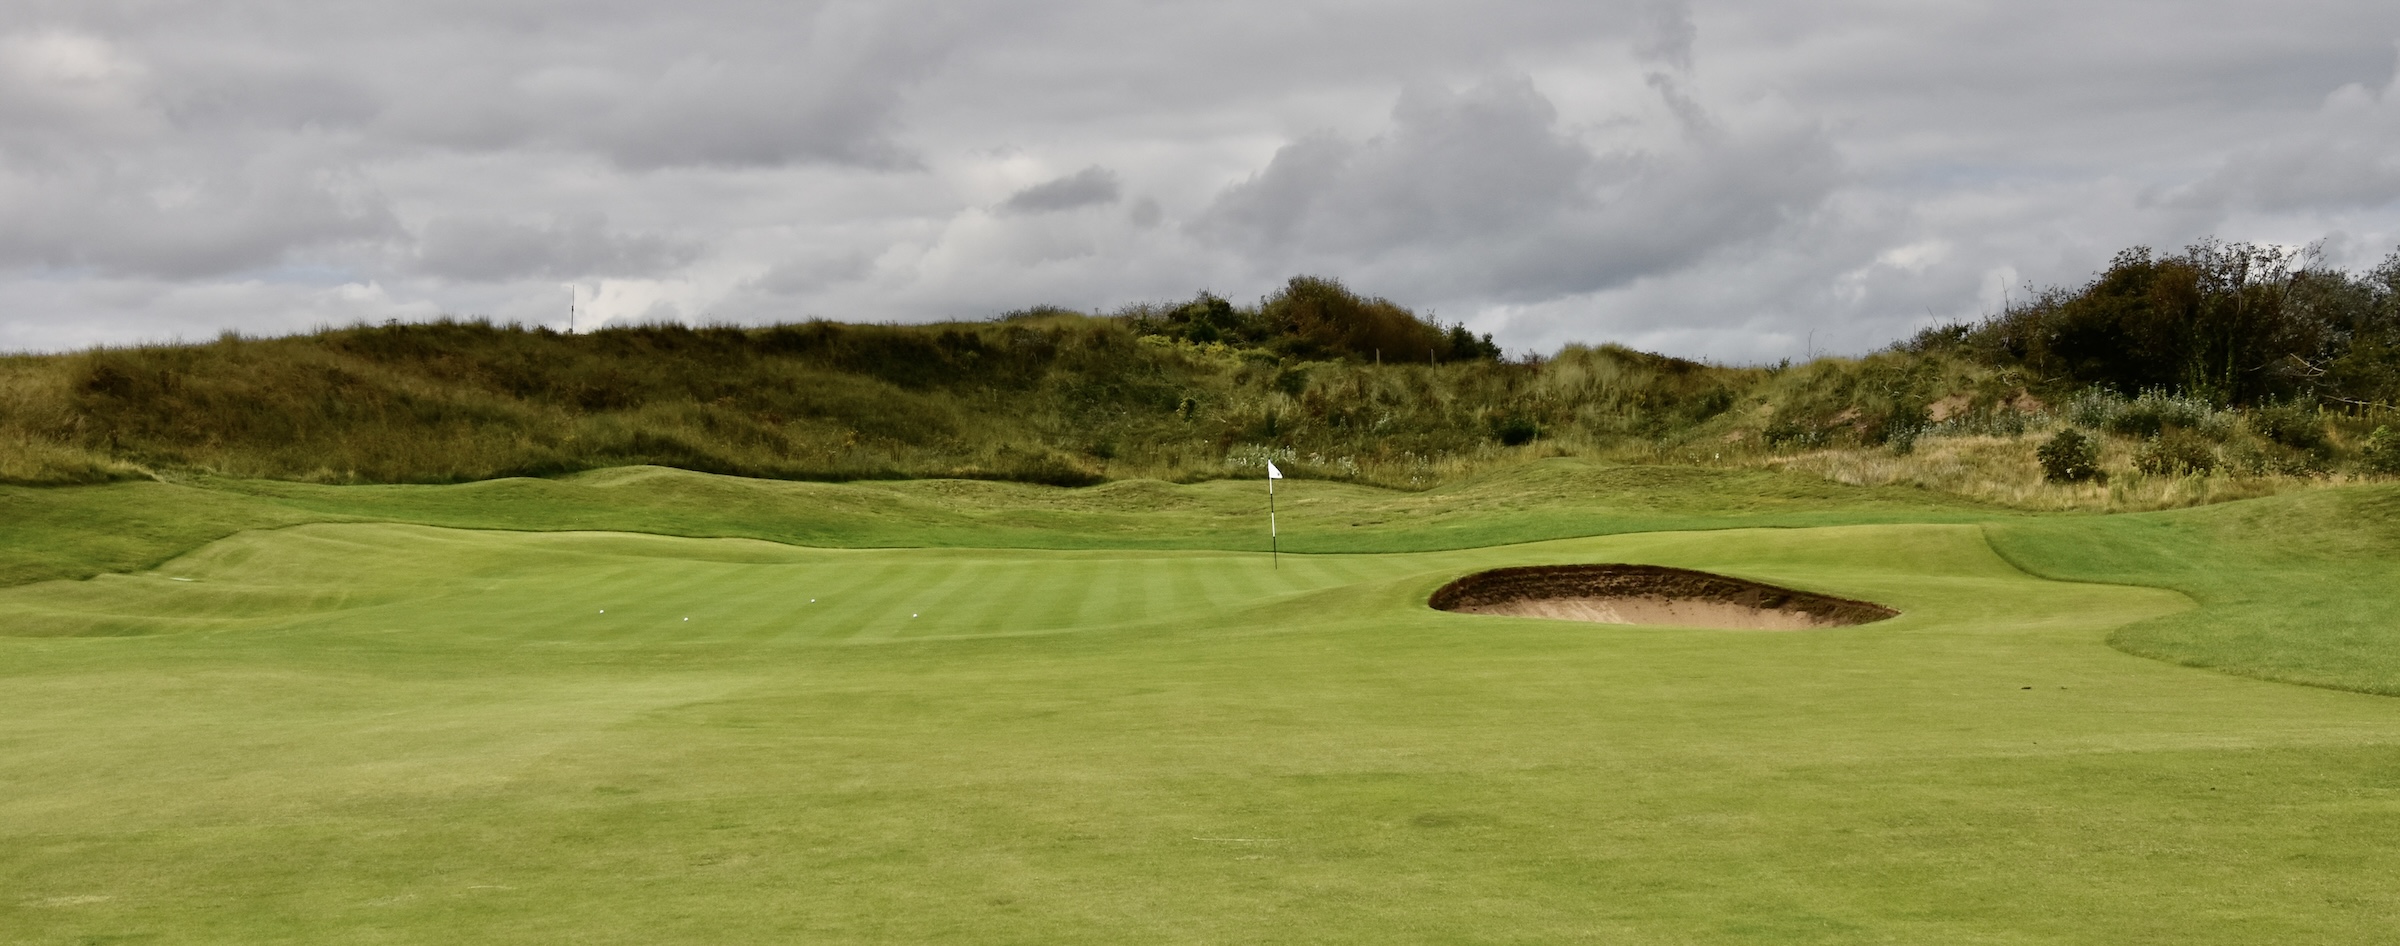
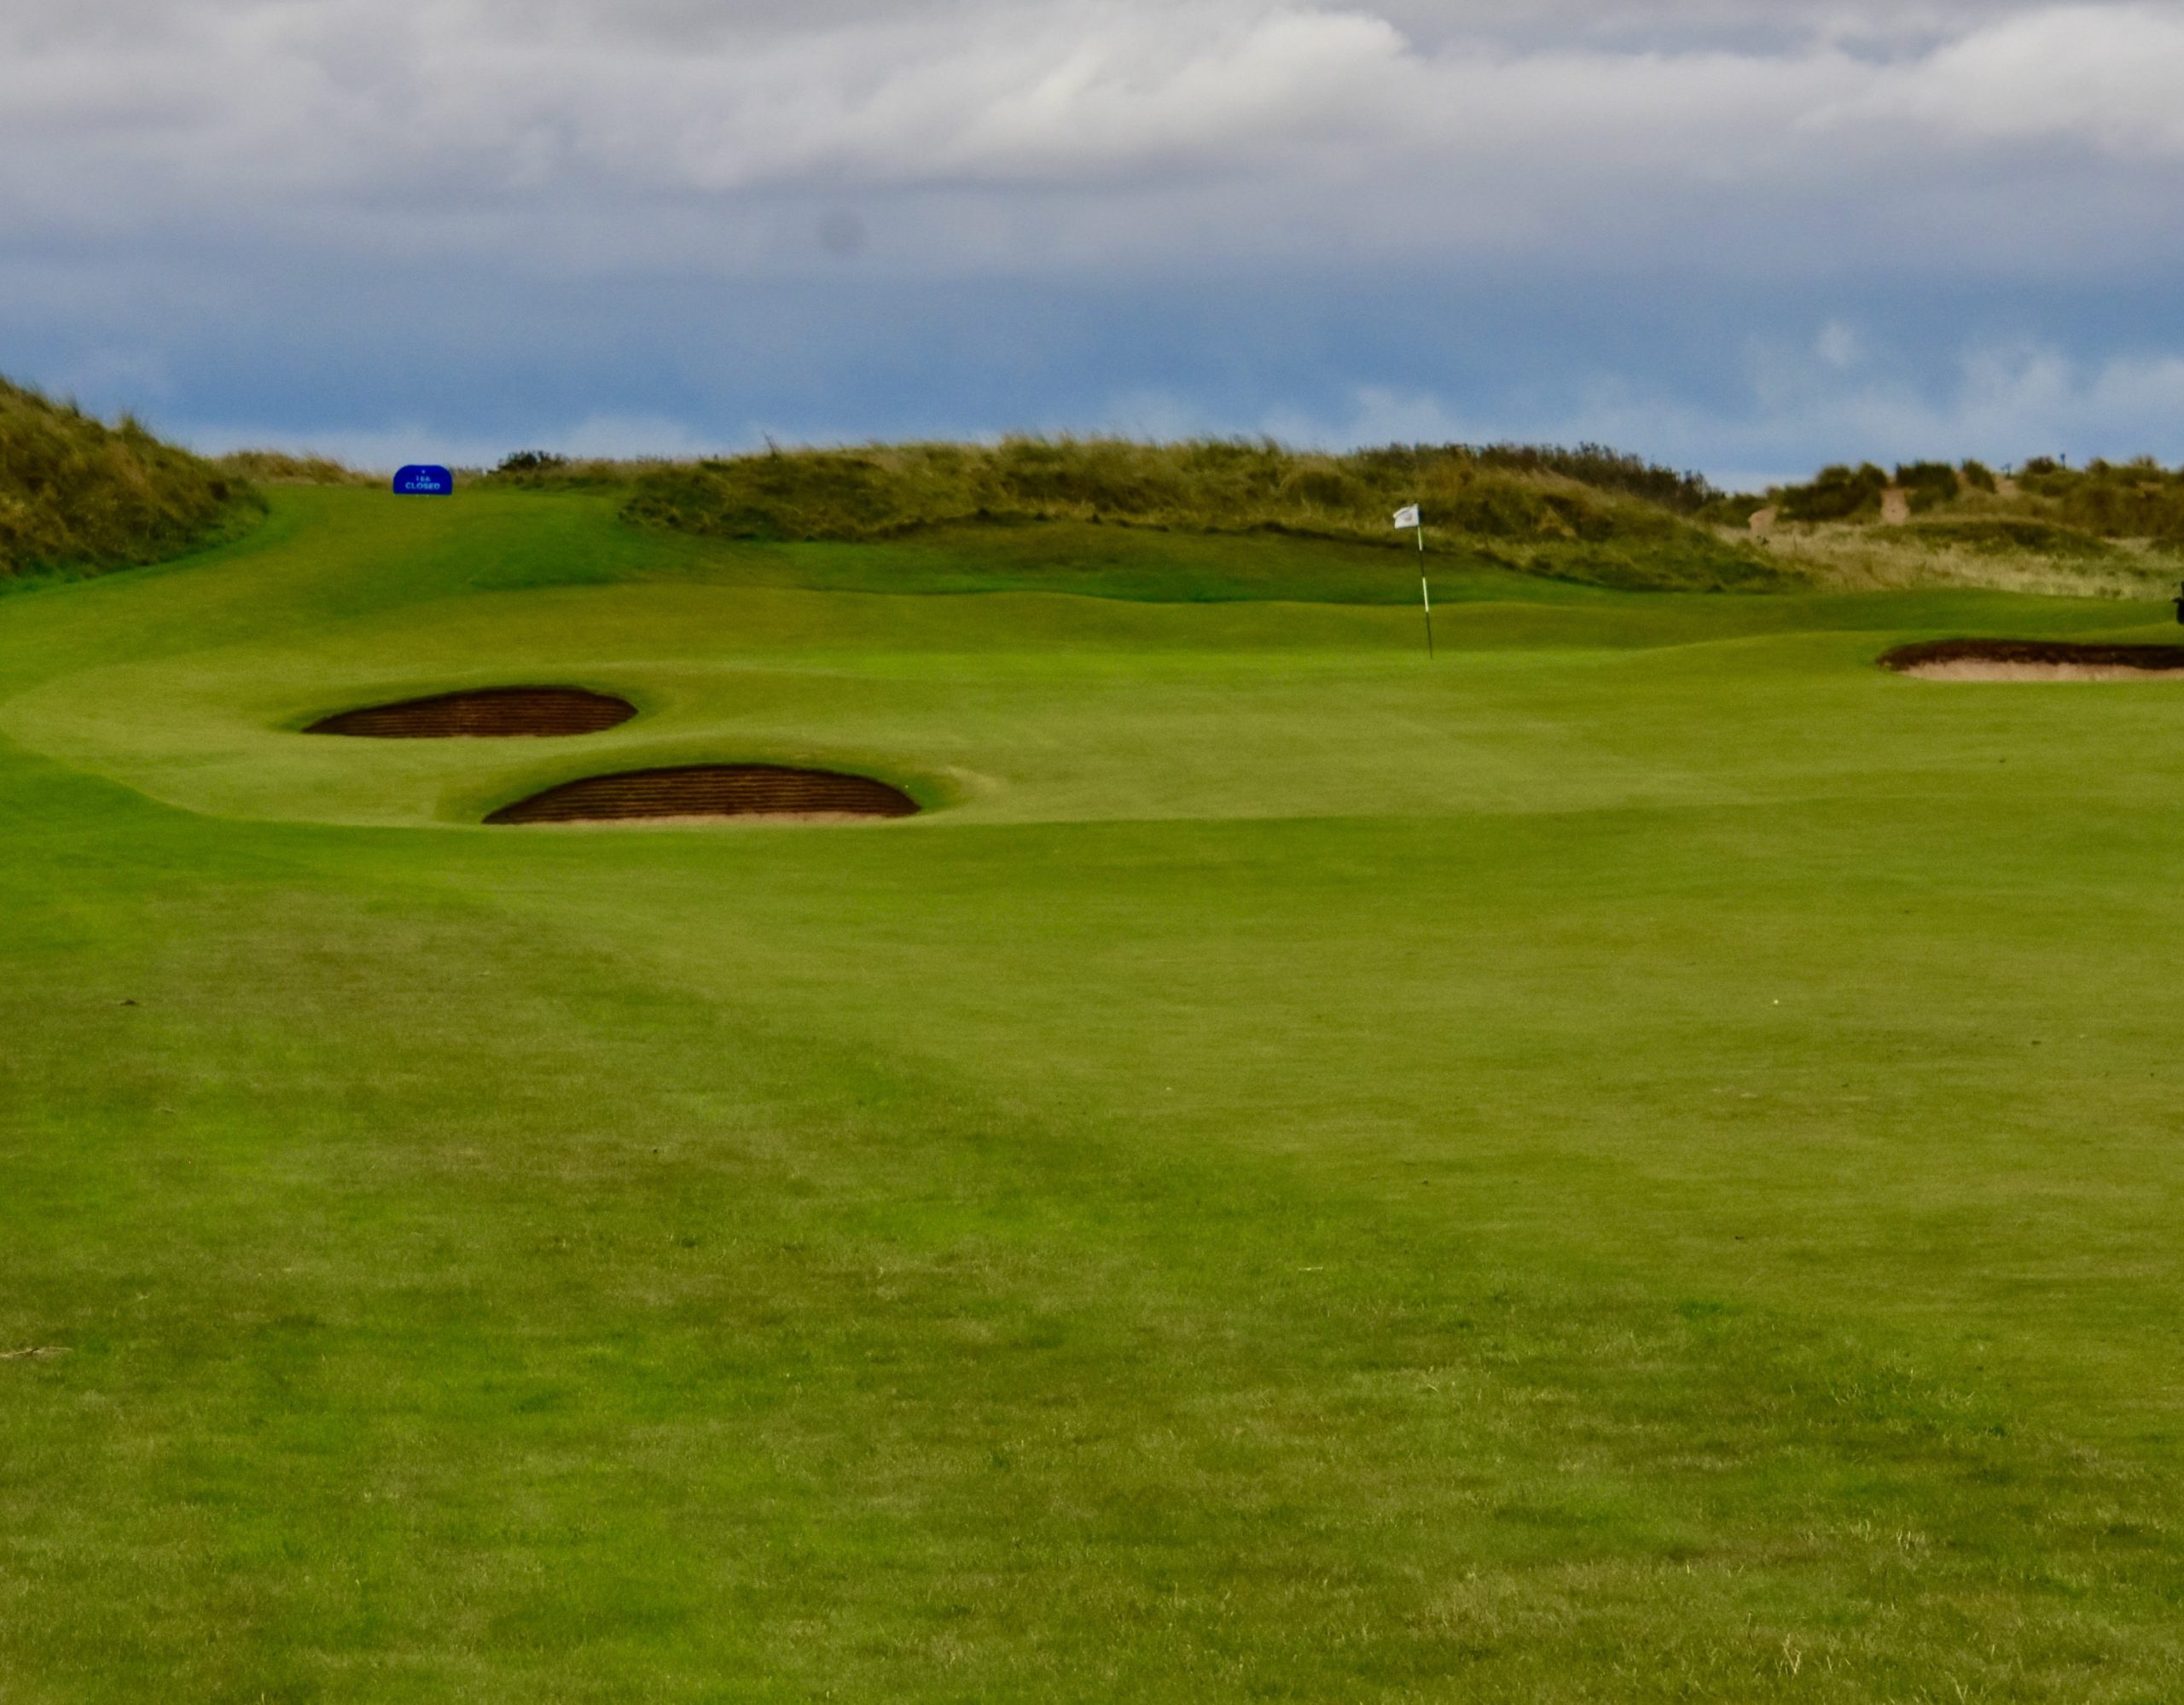
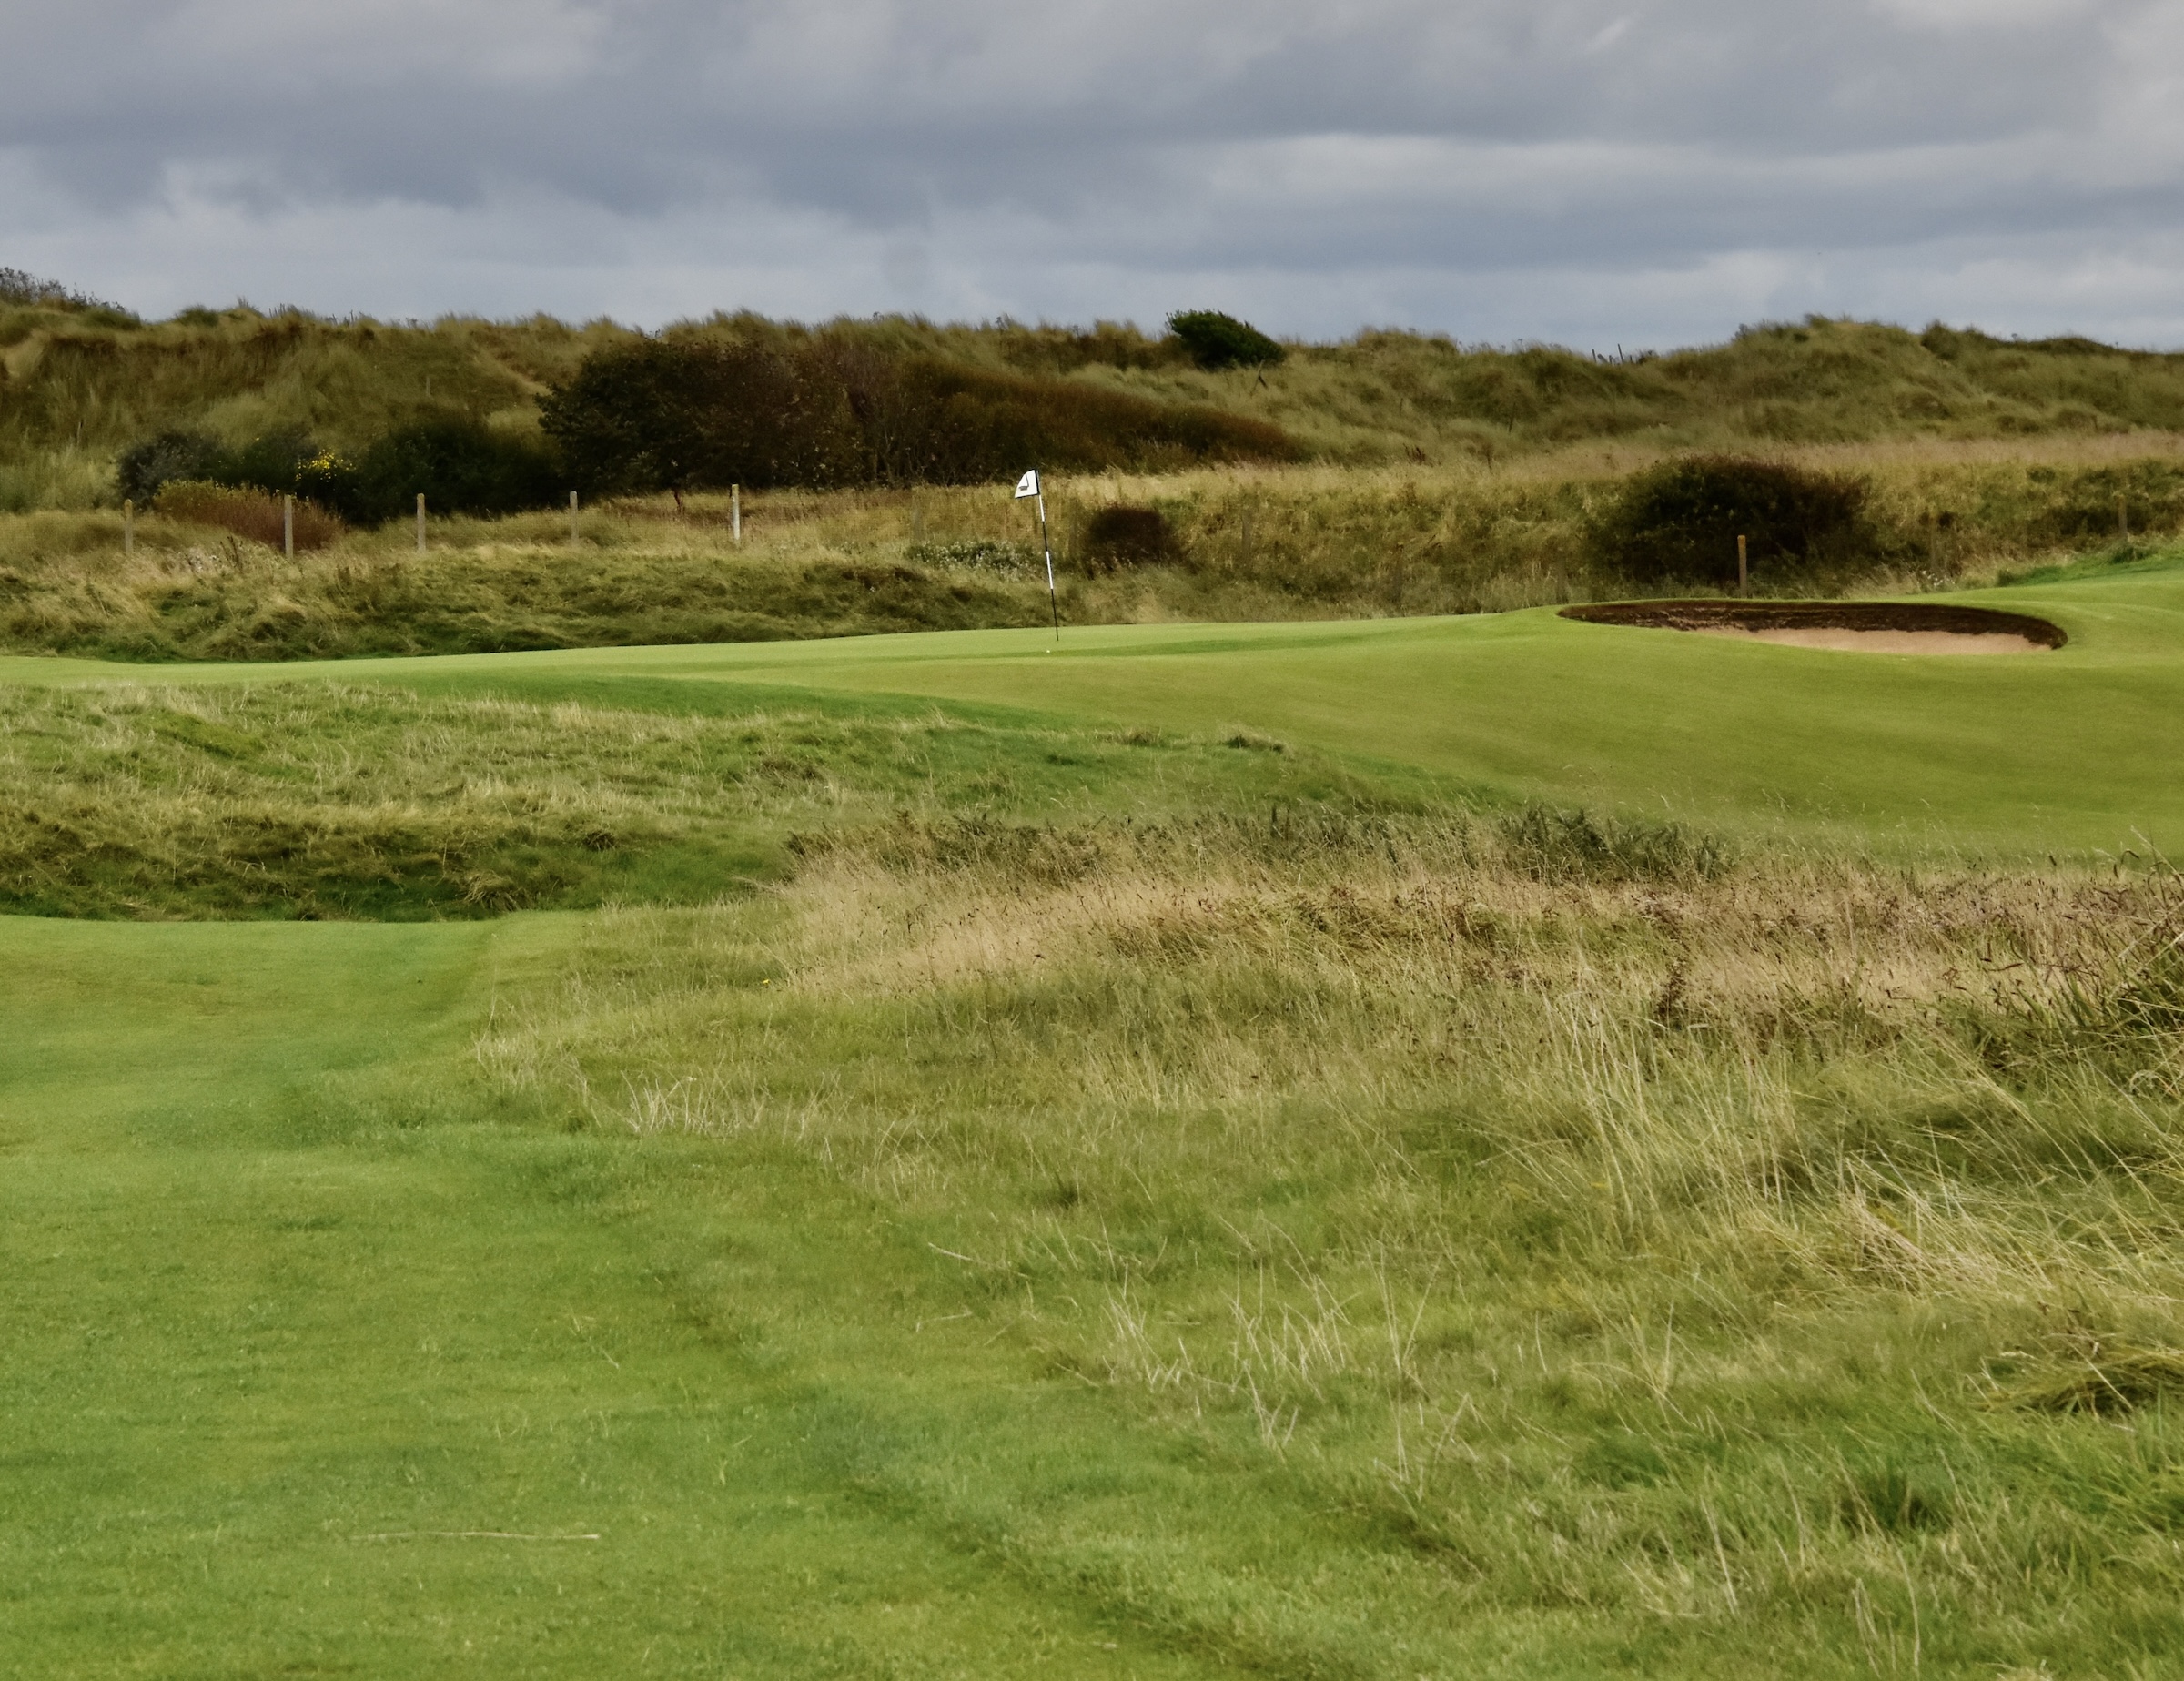
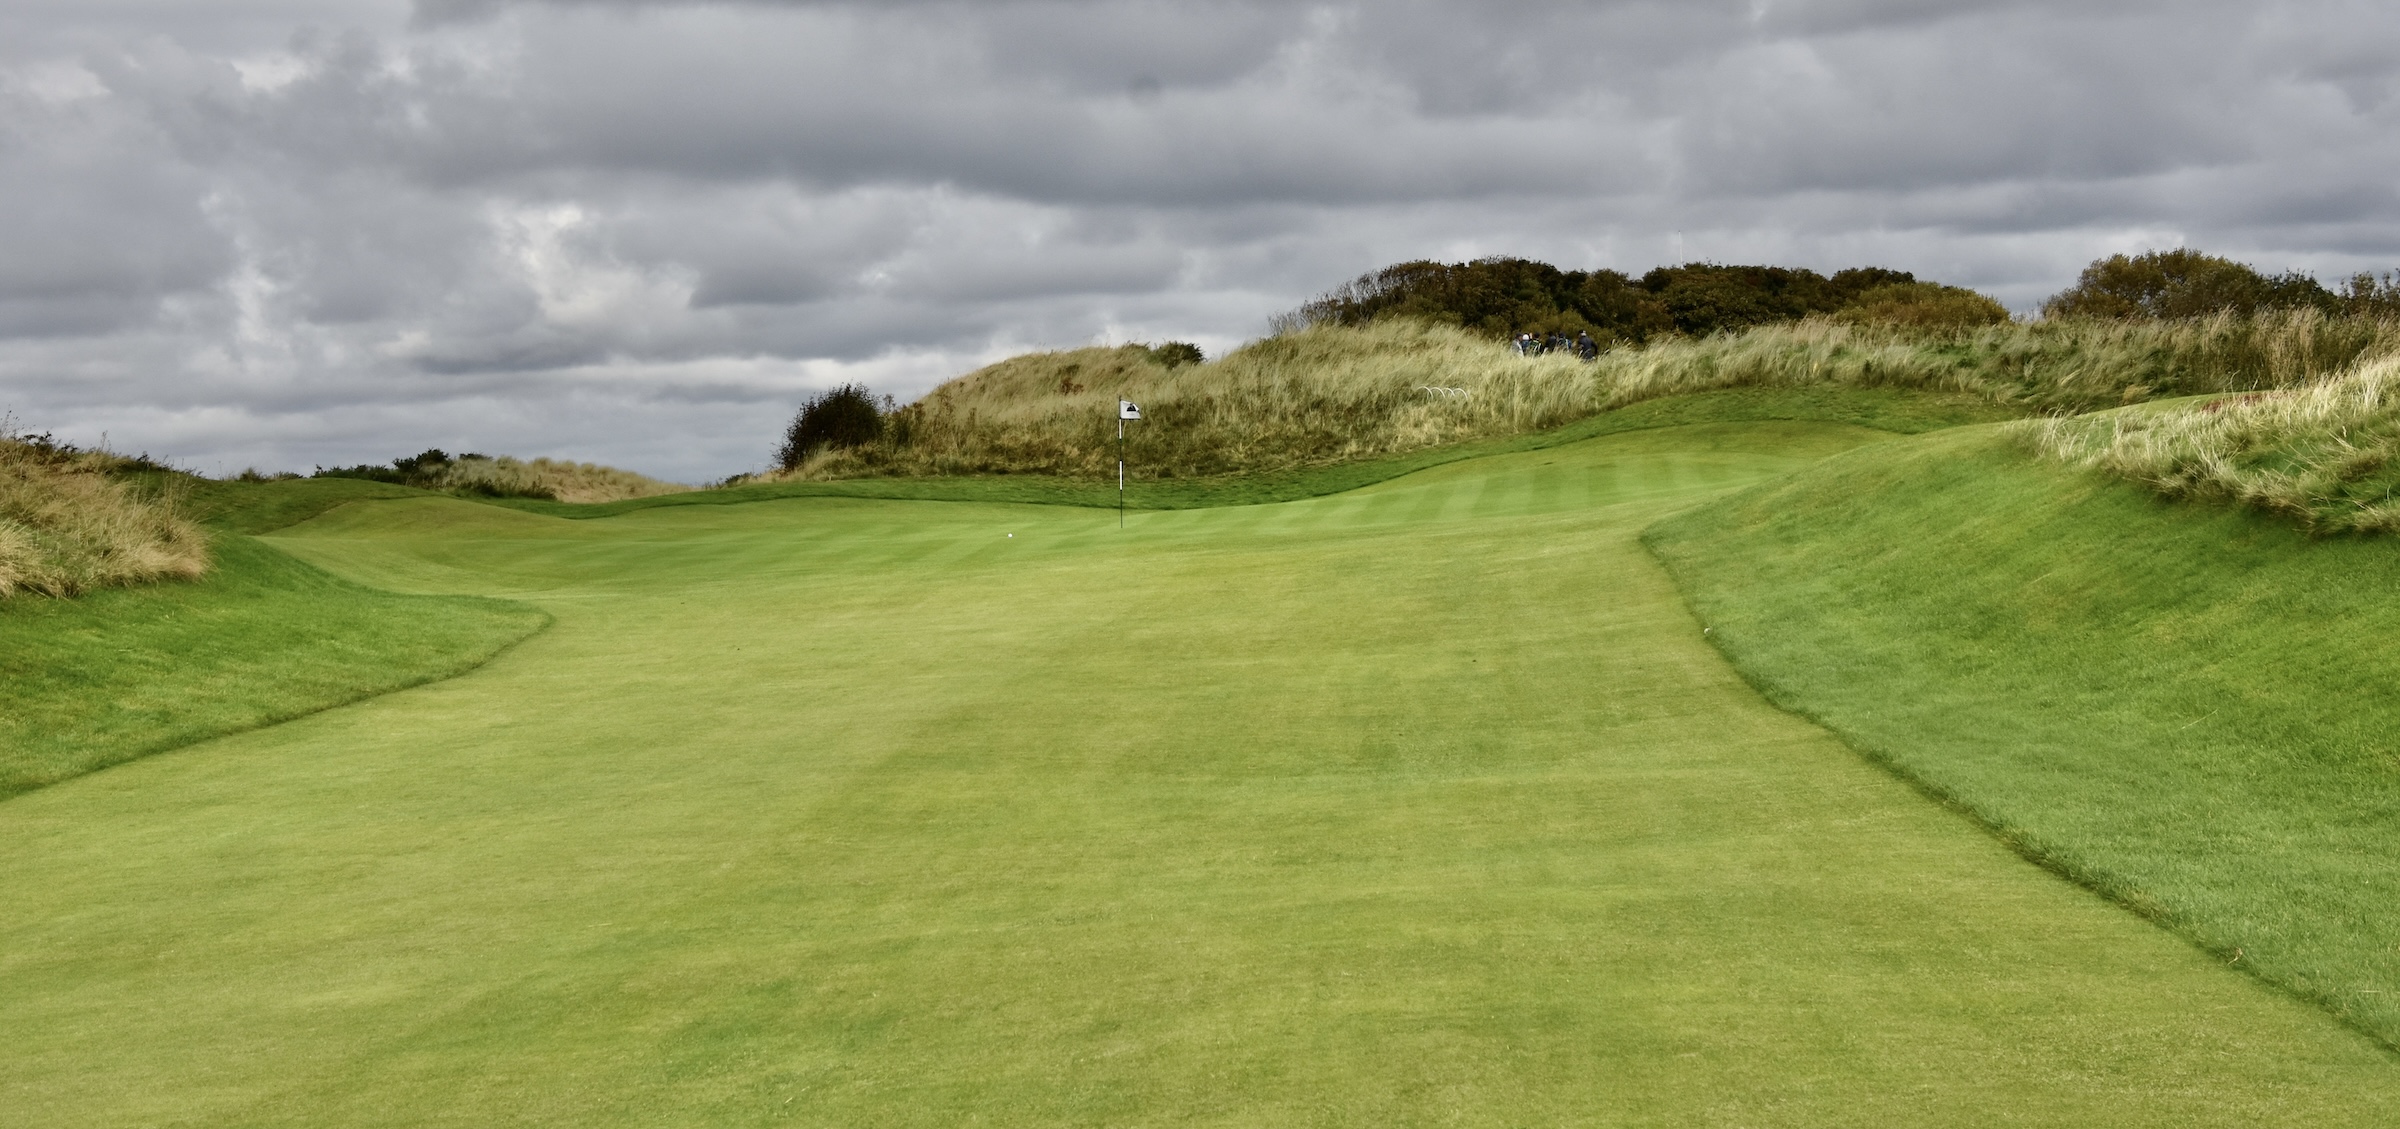
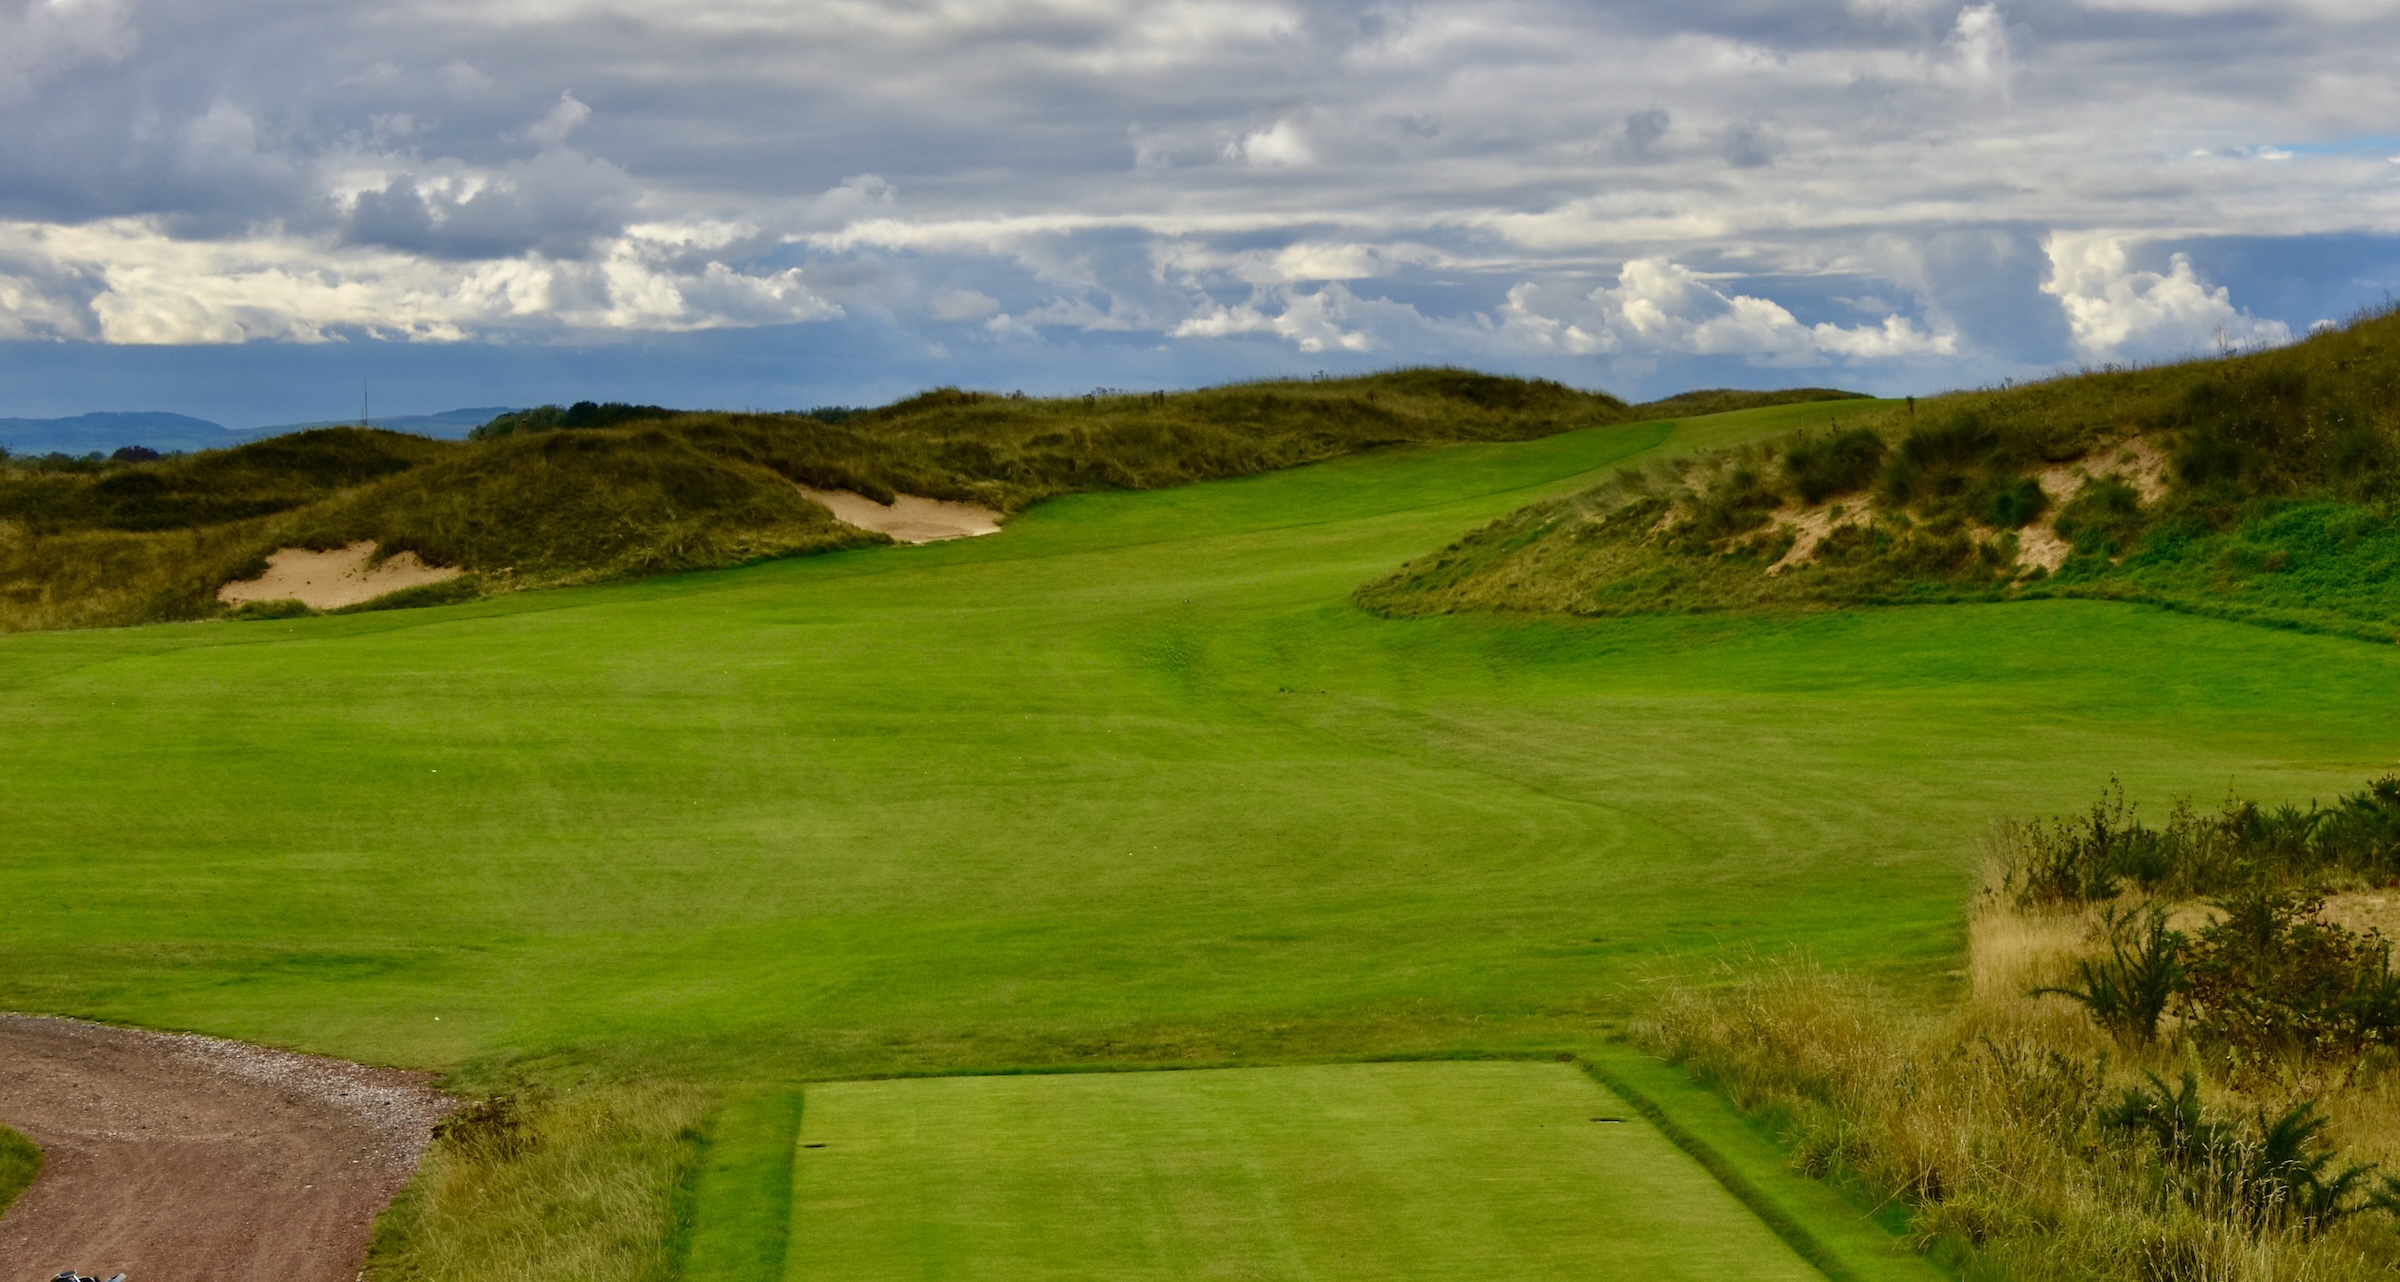
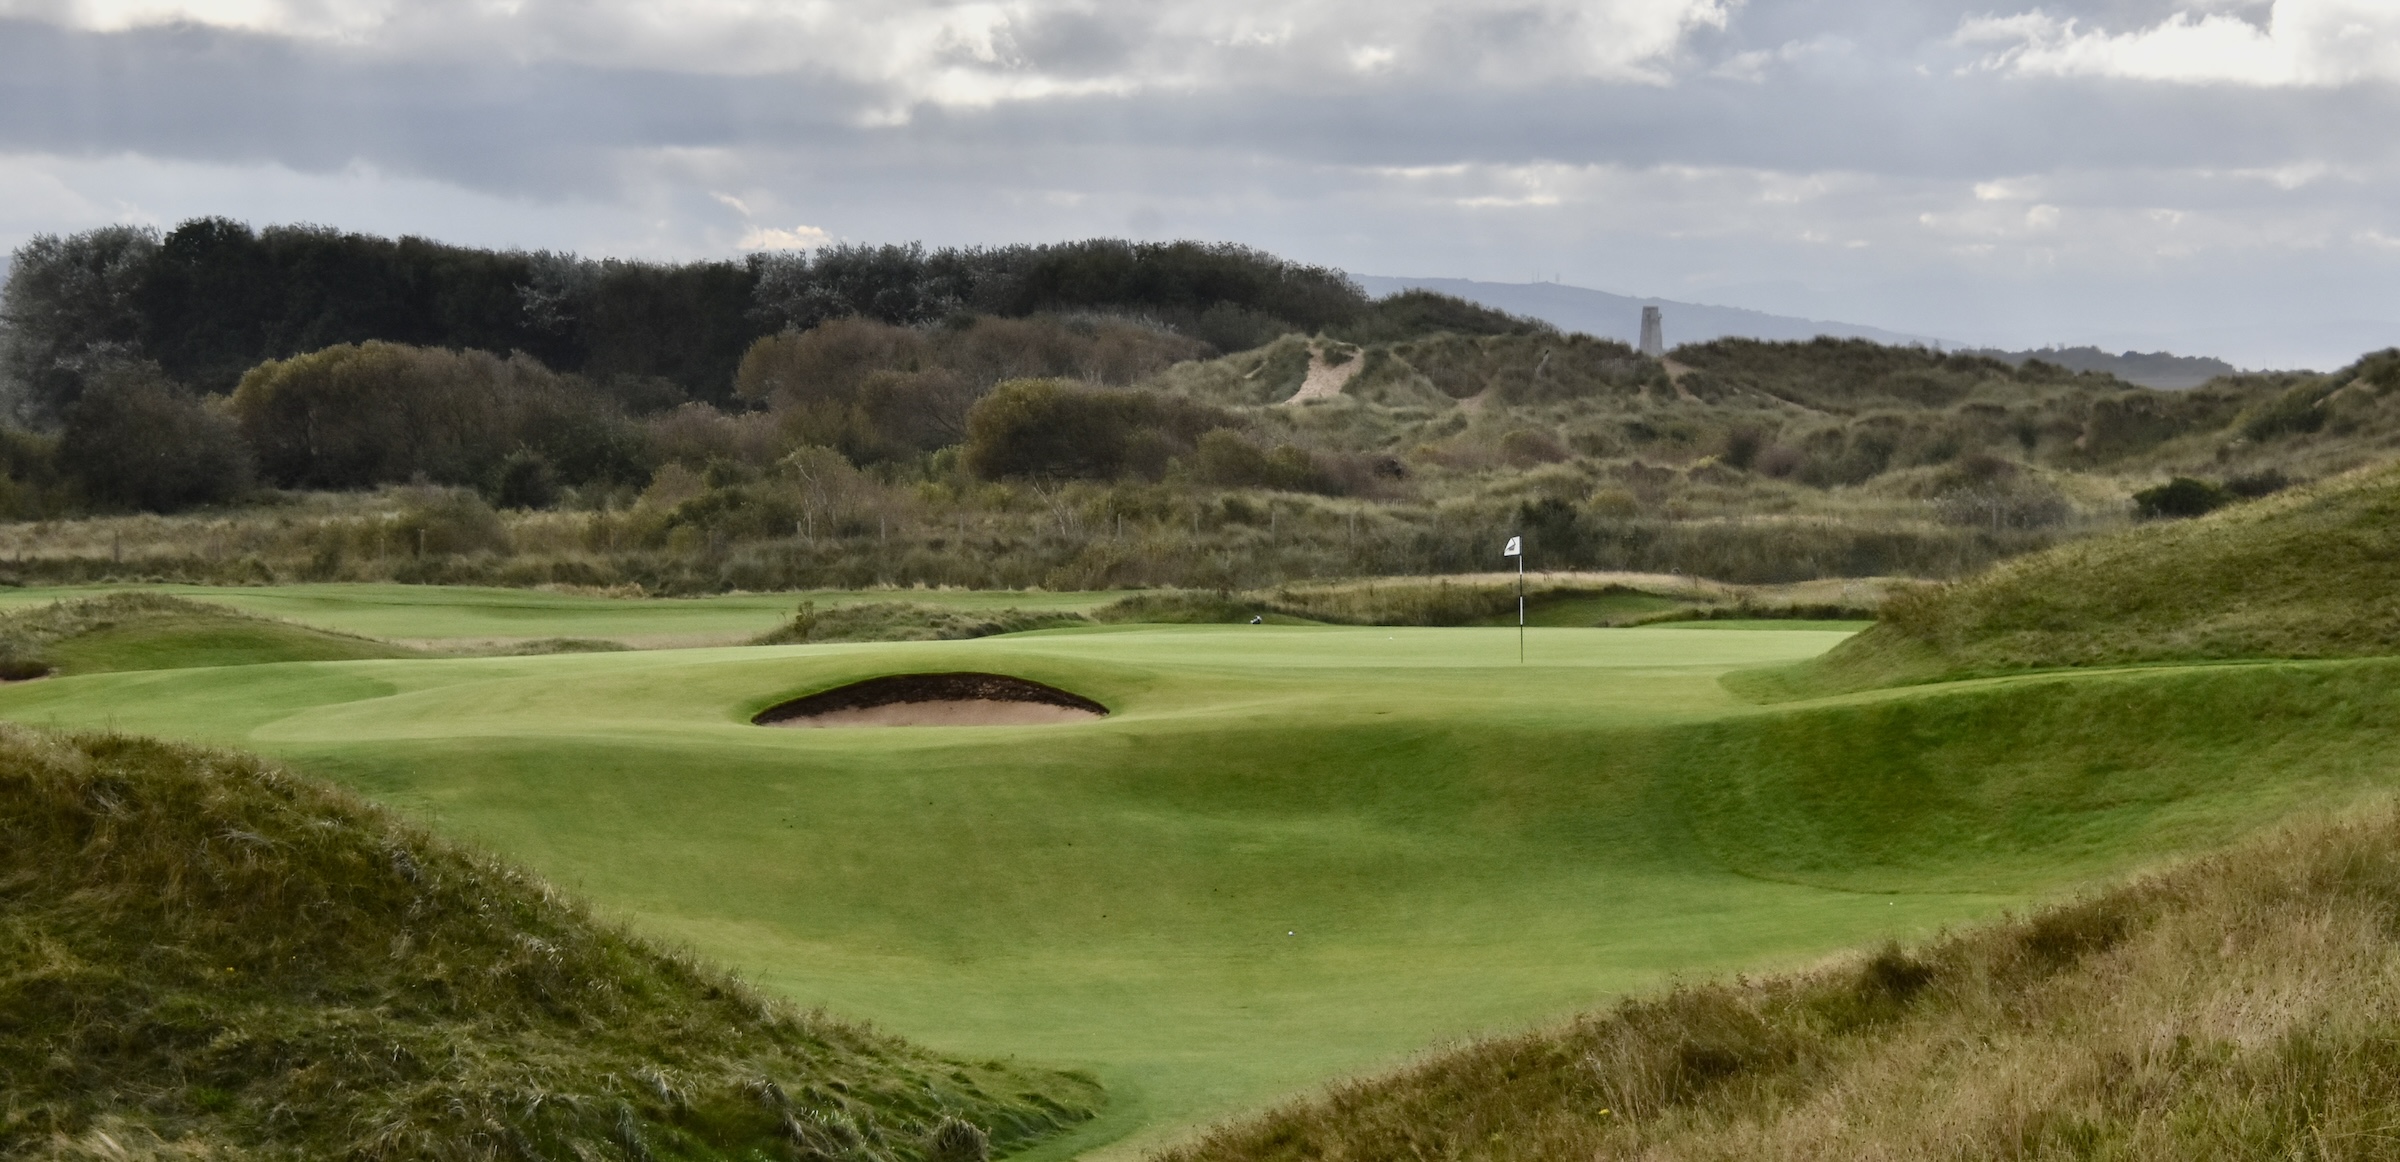
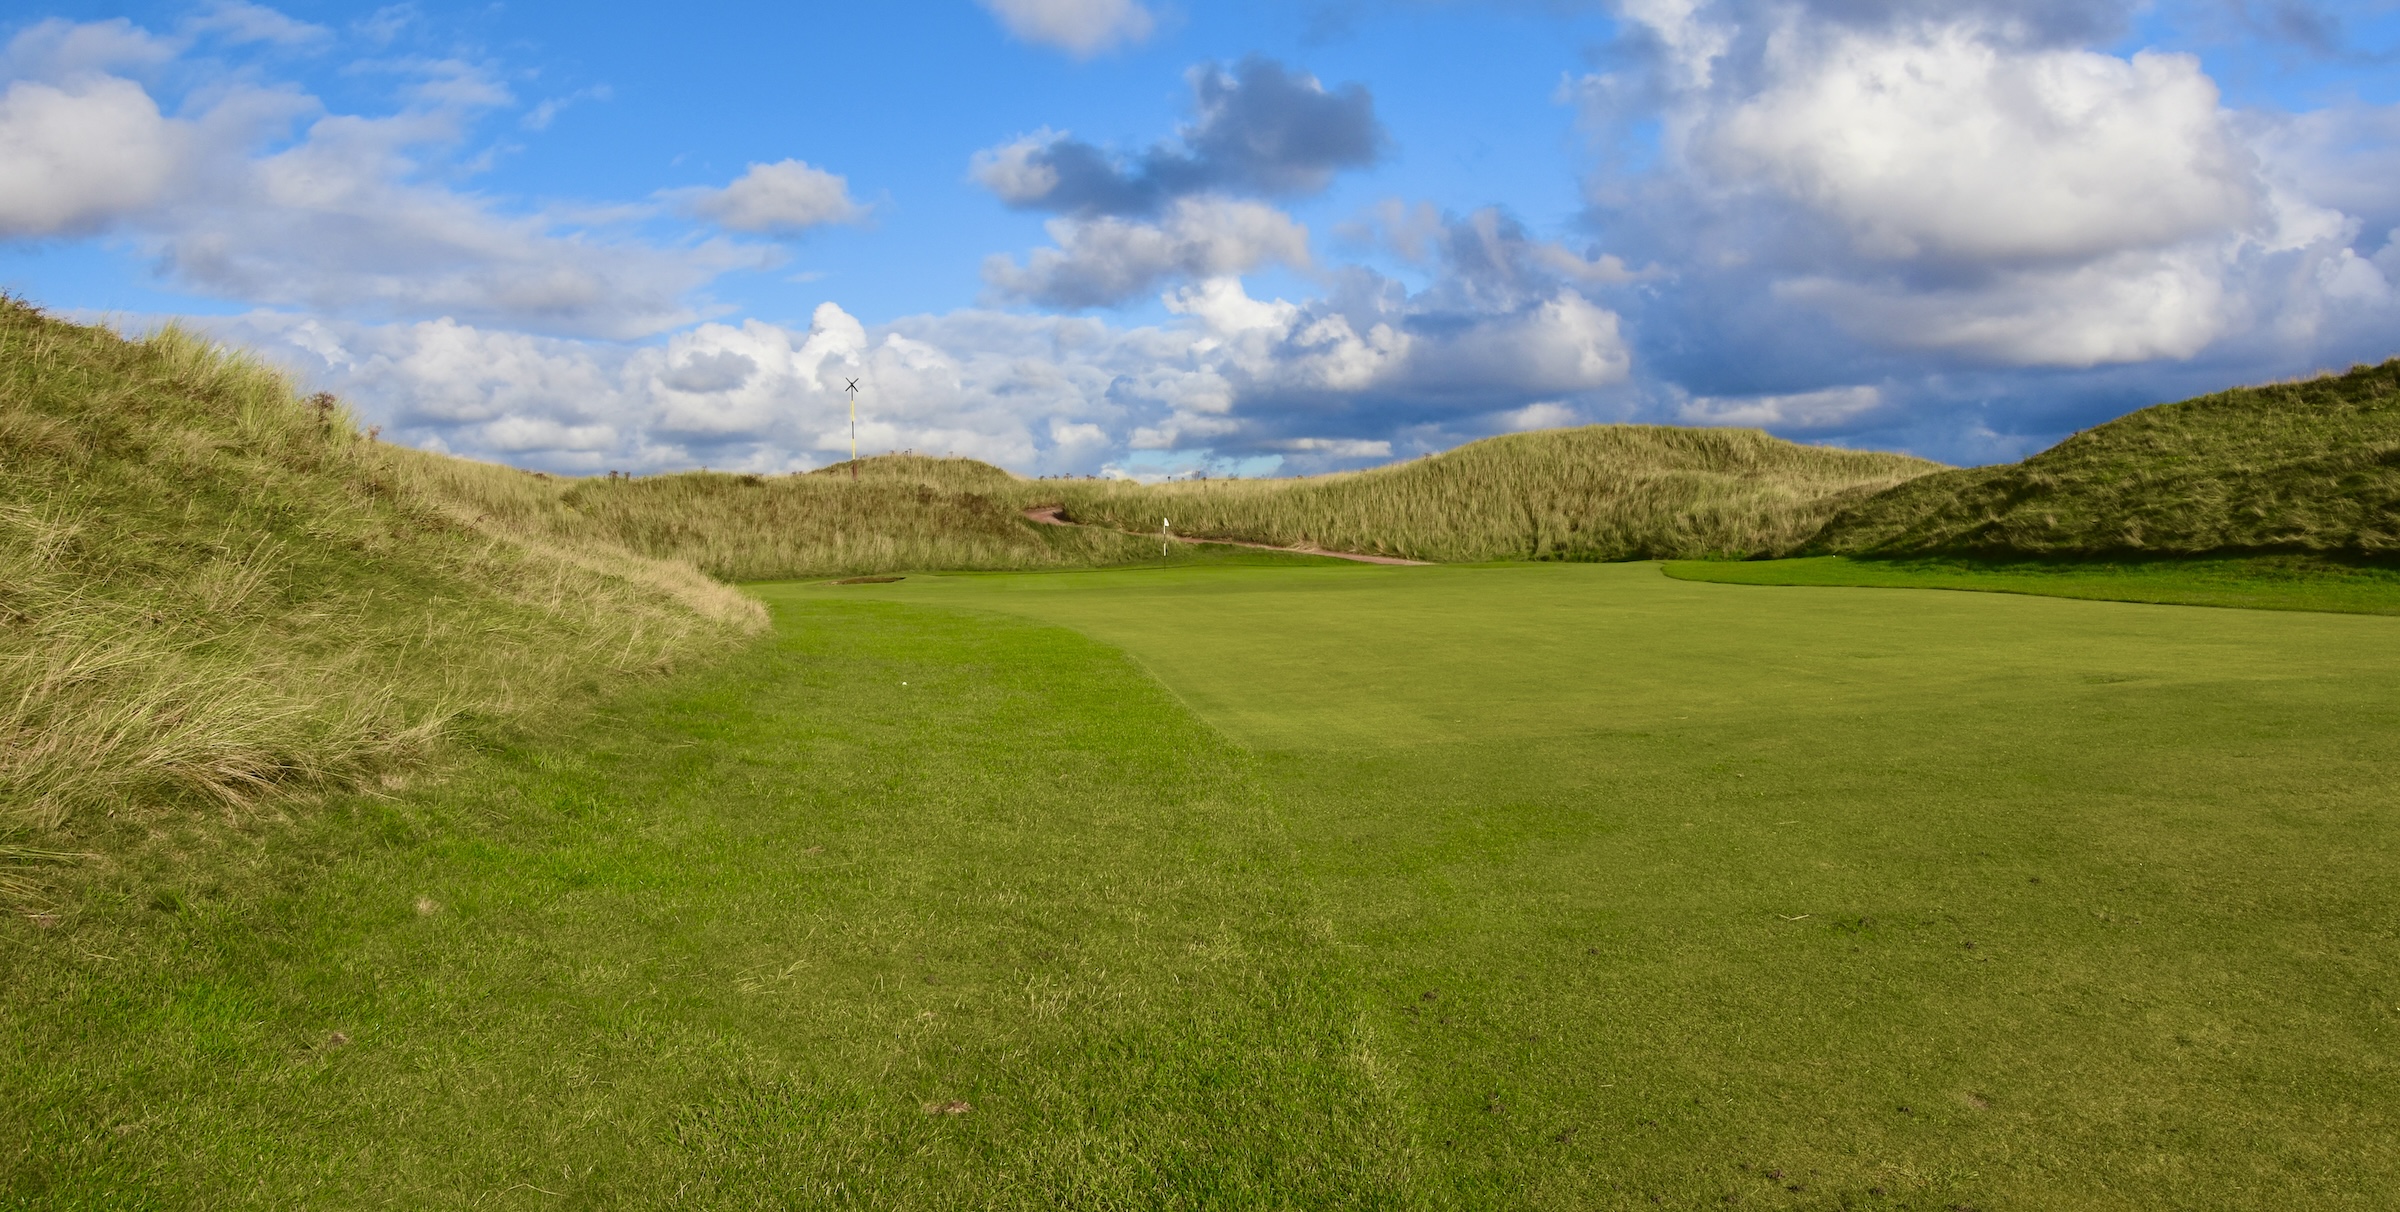
#12 Old Glory – 128 Yard Par Three
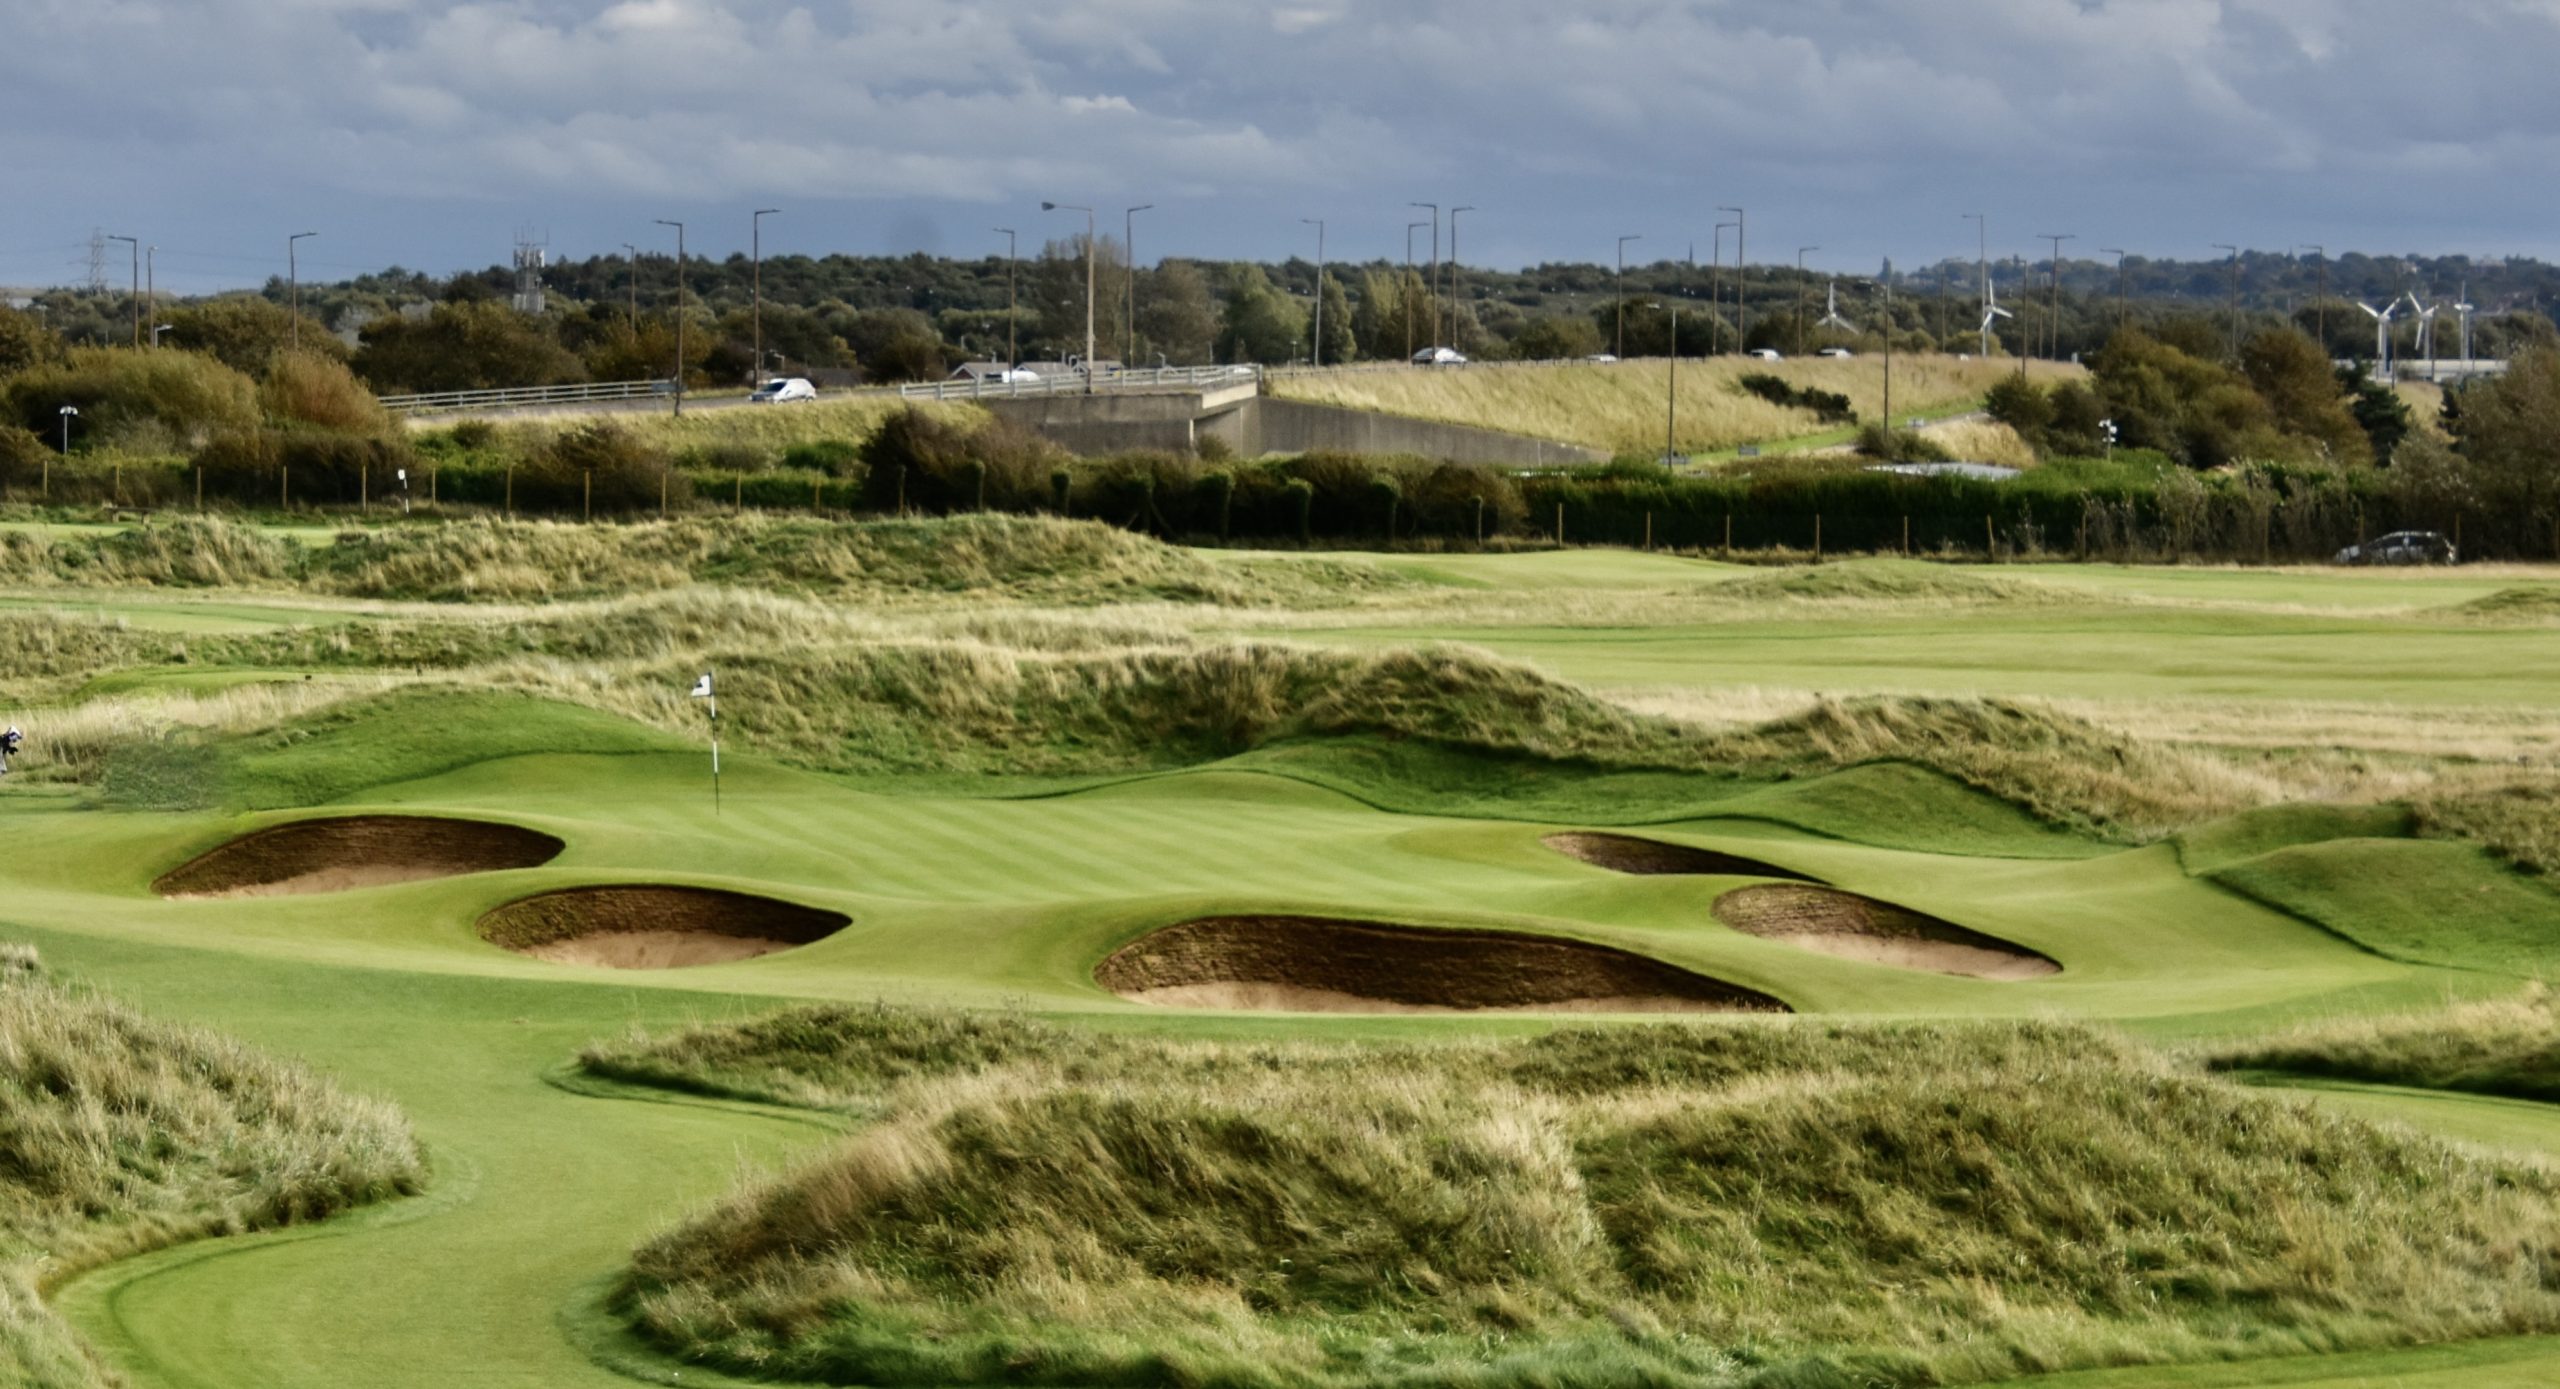
This was my favourite hole at Wallasey. It features an original Tom Morris green surrounded by five bunkers and a pernicious hollow at the back. From an elevated tee it is a gorgeous hole with a green big enough that one should be able to hit it as long as you keep those traps out of you head.
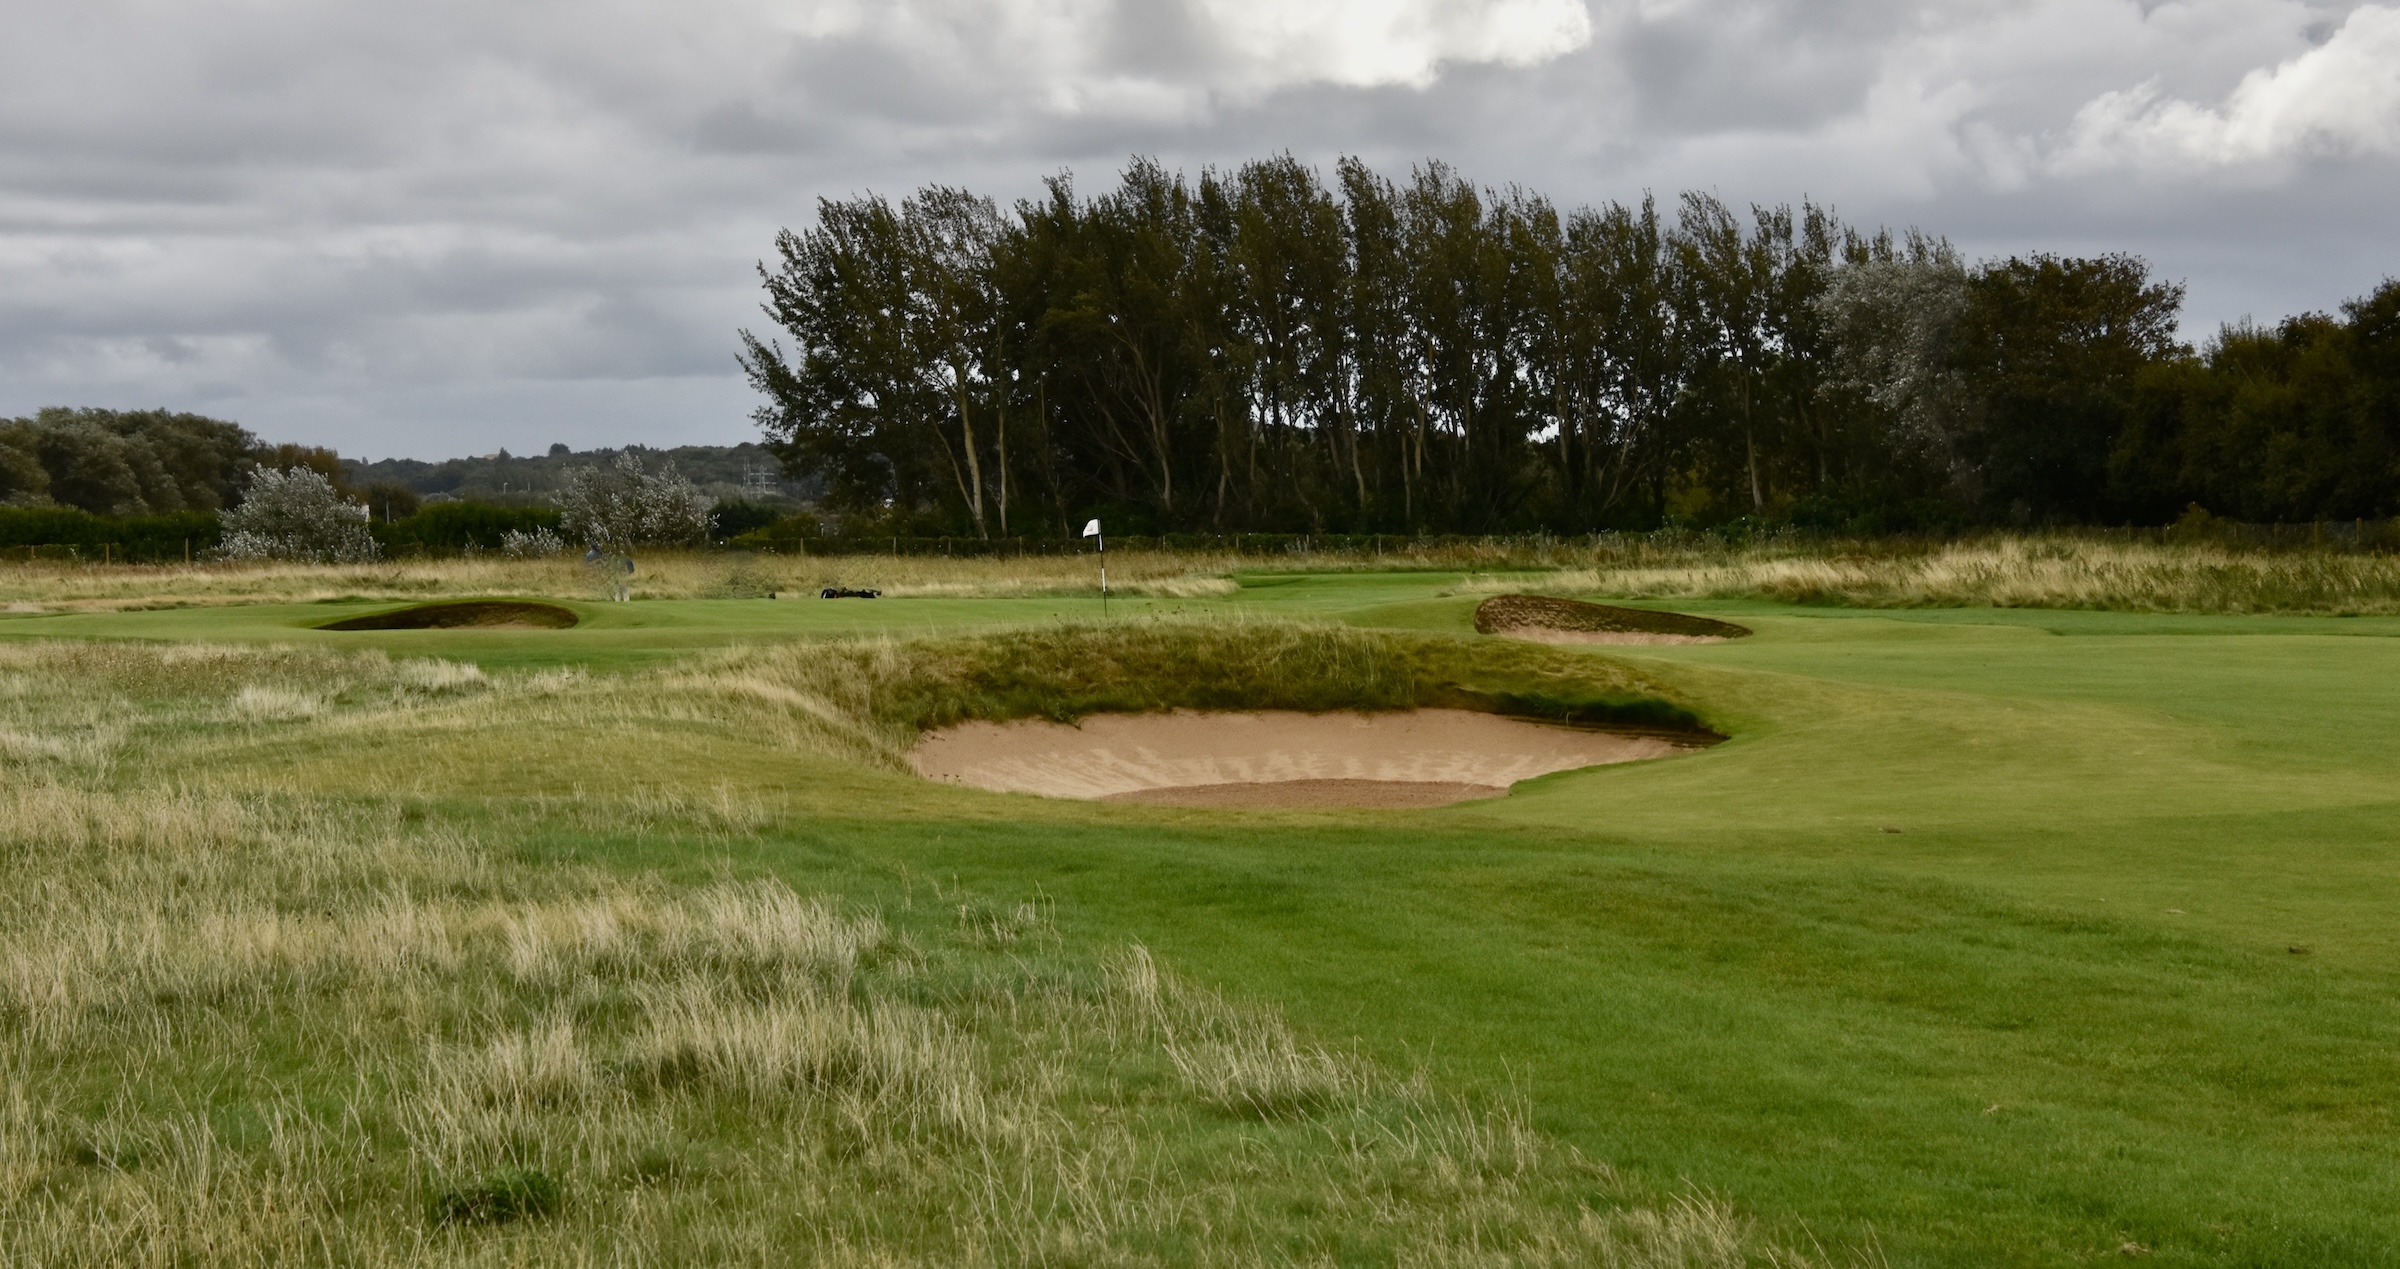
Time to take a closer look at one of these Wallasey bunkers.

The sand at Wallasey is almost silky it is so fine. It is also completely consistent throughout the course. Because of that, getting out of them is not as hard as it looks and once you have the hang of it there is a great deal of pleasure in making a good bunker shot. I loved the look of this hole as well as how it played.
This hole also features an Old Tom Morris flag which is another nice touch.
Wallasey #13 Cop – 477 Yard Par 5
This hole plays into a strong prevailing wind that makes it into a real beast that will push any errant drives into a pile of crap on the right side or sand on the left. This is a three shot hole under any conditions. It doesn’t look it from here, but the green is crazy with undulations everywhere. This hole definitely earns its ranking as the toughest on the back nine.
#14 Crookway – 468 Yard Part Five
So we’ve got a cop followed by a crook which is kind of neat because my caddy Dave Pennington is a retired Merseyside P.D. Detective.
This hole plays dead downwind which makes it much easier than #13 and there is less trouble off the tee. Two half decent shots should get you close to the green as the two balls in this shot are. Two really good shots and you might have an eagle putt. By far the easiest of the par fives at Wallasey #14 is a welcome reprieve after #13.
Wallasey #15 Plateau – 342 Par Four
This is a tough bugger. It’s the third hole on the back that you need to hit into a severely elevated green, but this one plays much longer than the first two. You need a really good drive here to get into any position to make the second shot. Also by the time you get to the top of the plateau your heart will be racing and your legs really starting to feel the walk around Wallasey. Rated the 4th stroke hole, I think it is maybe the toughest to par.
#16 Bank – 180 Yard Par Three
This the longest and by far the hardest of the par threes at Wallasey. It is into the wind and the ball must travel almost all the way there in the air or end up in the huge gully which all but one of us did. You can see a ball at the bottom of the gully which rolled back from almost the top. This is a tough hole for geezers like me.
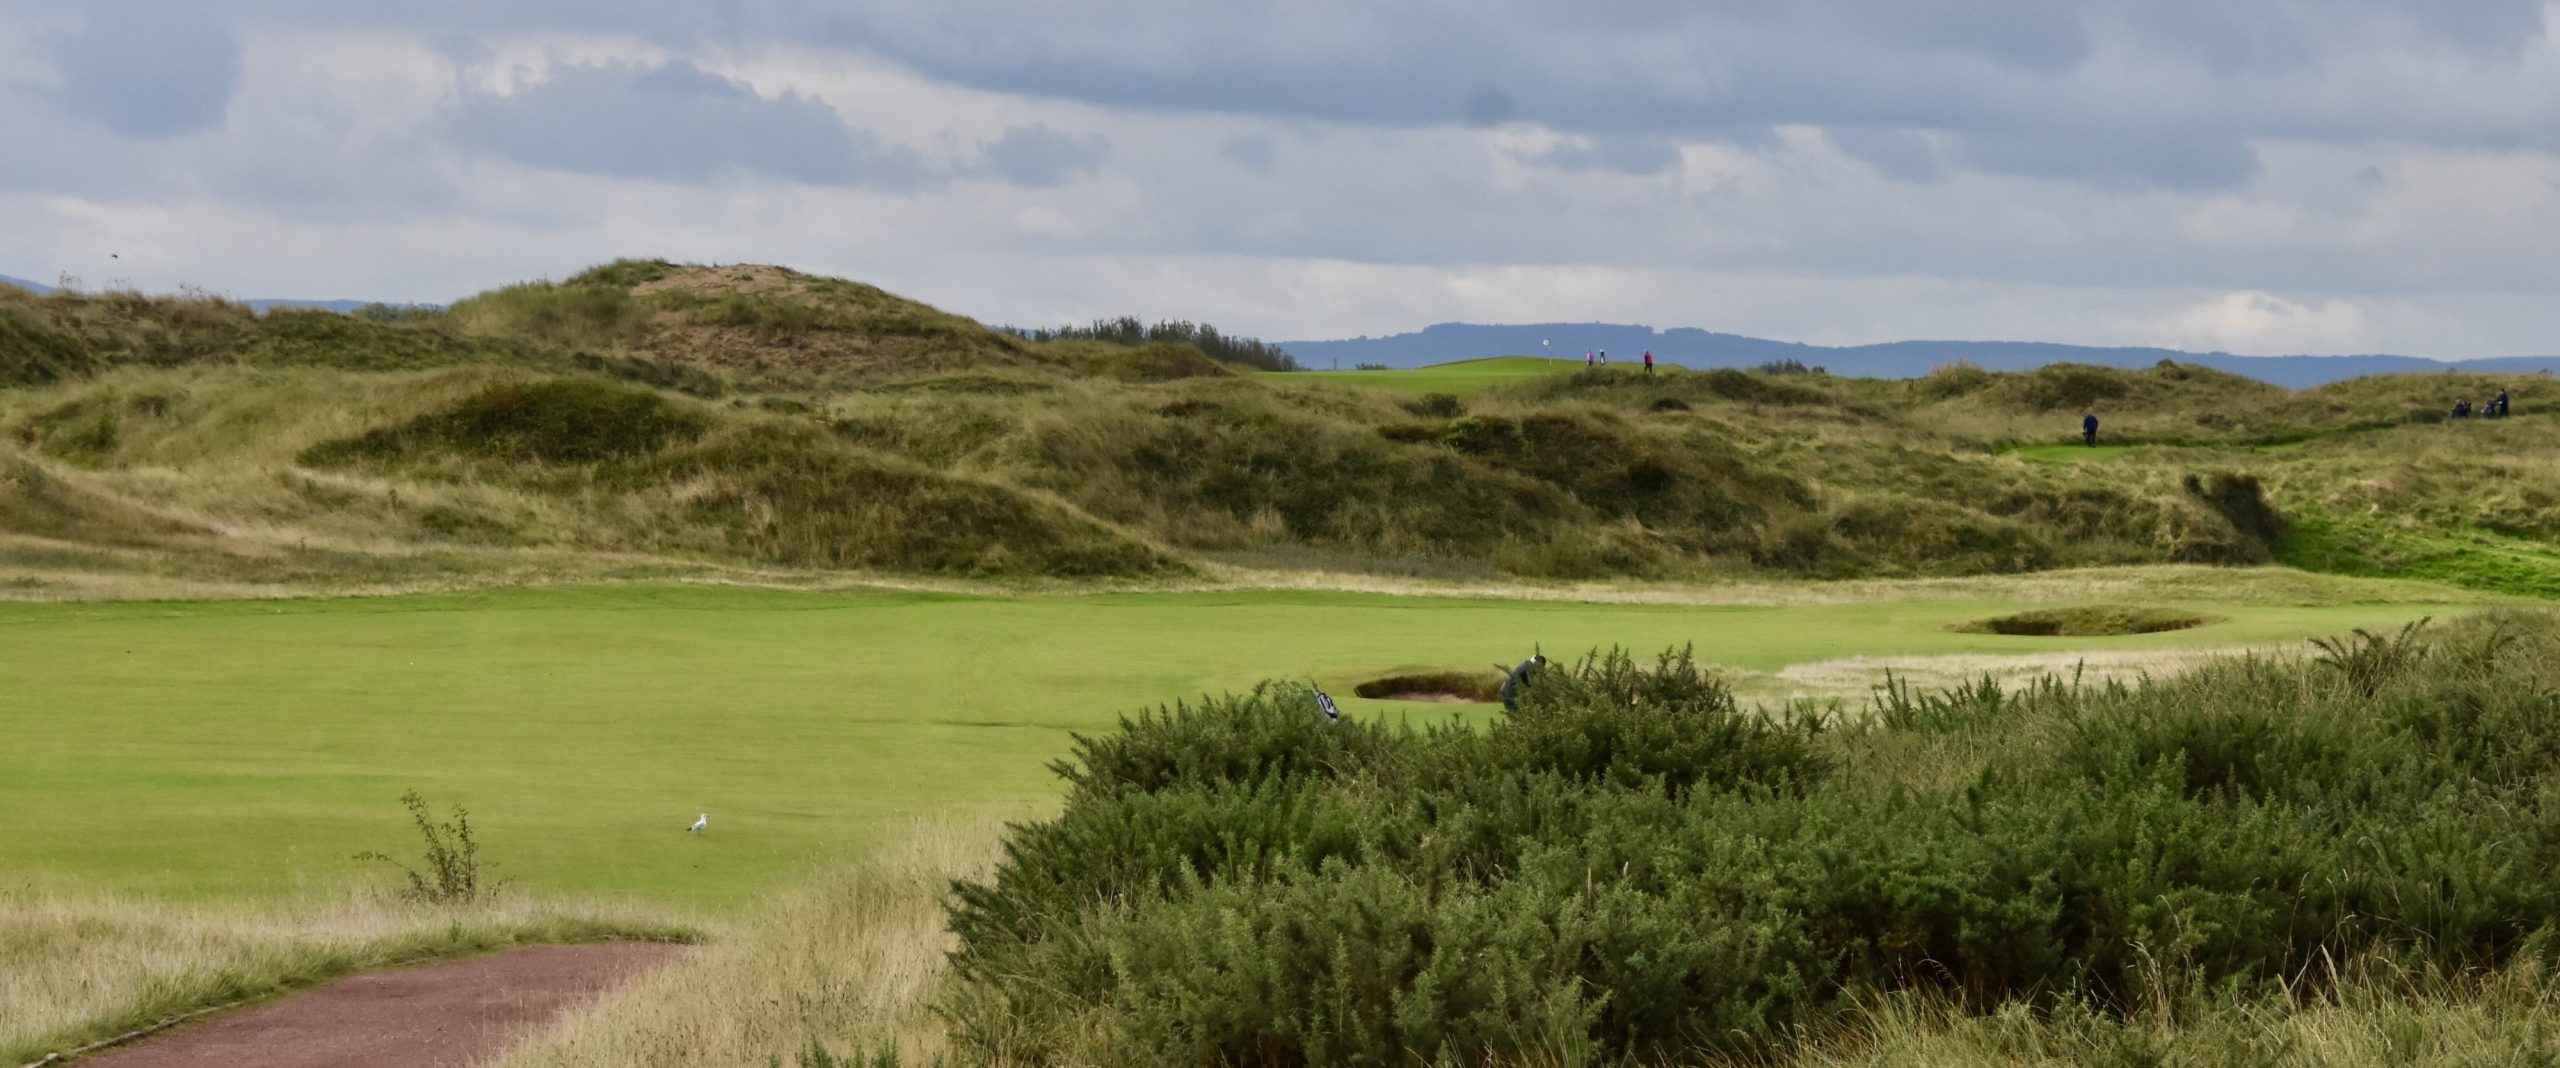
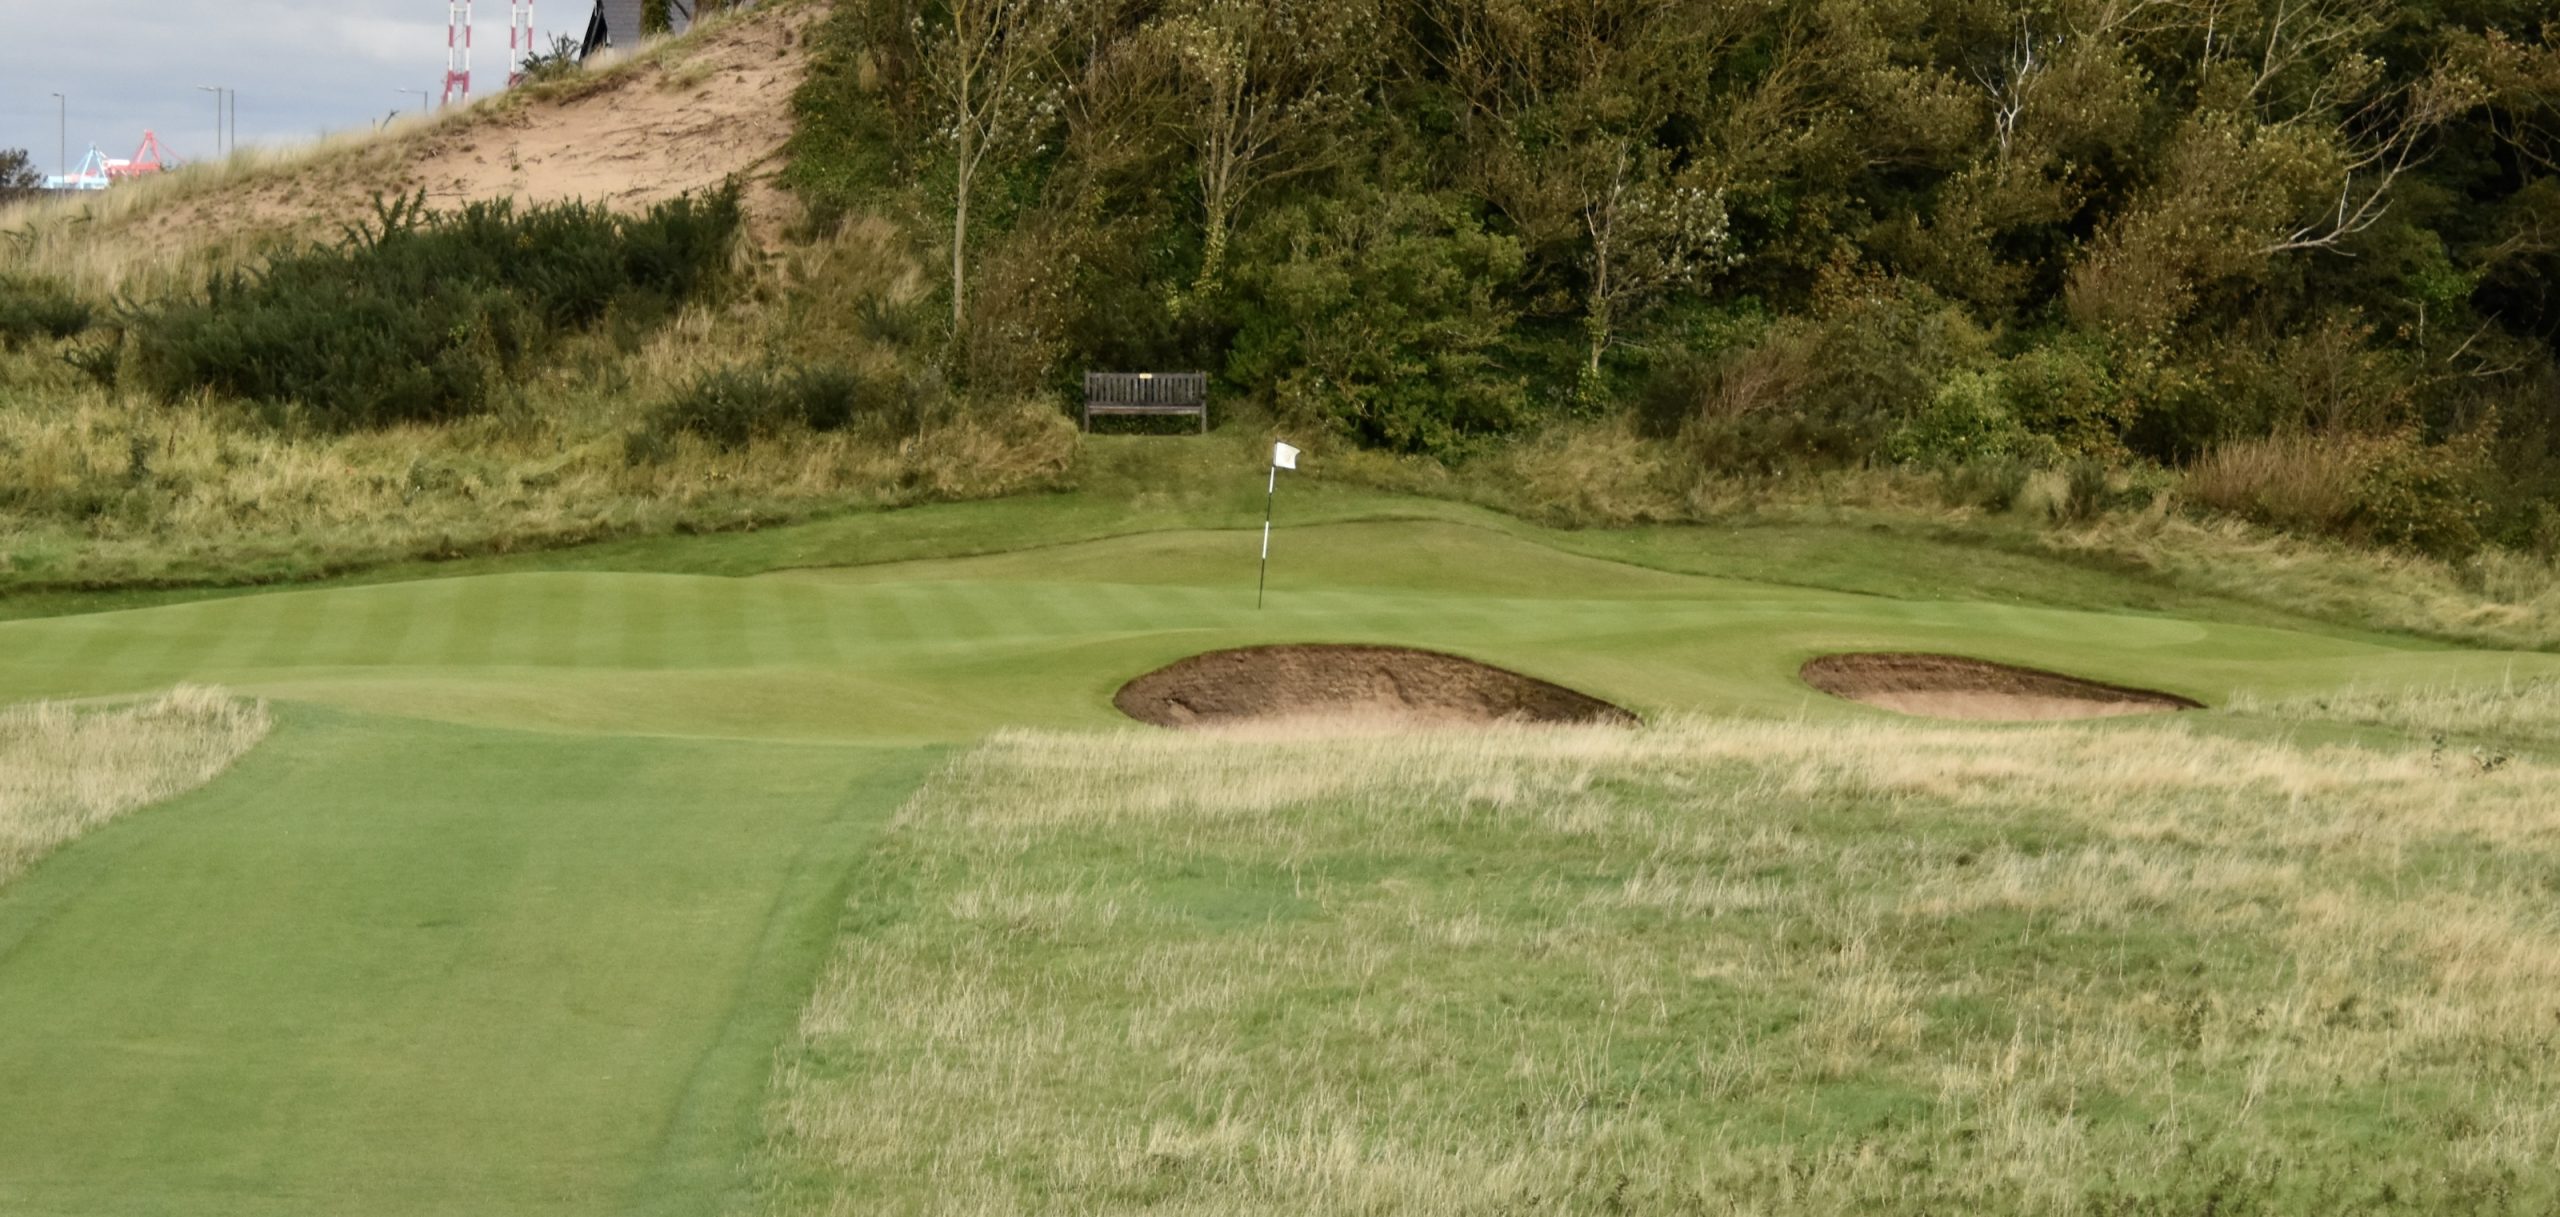
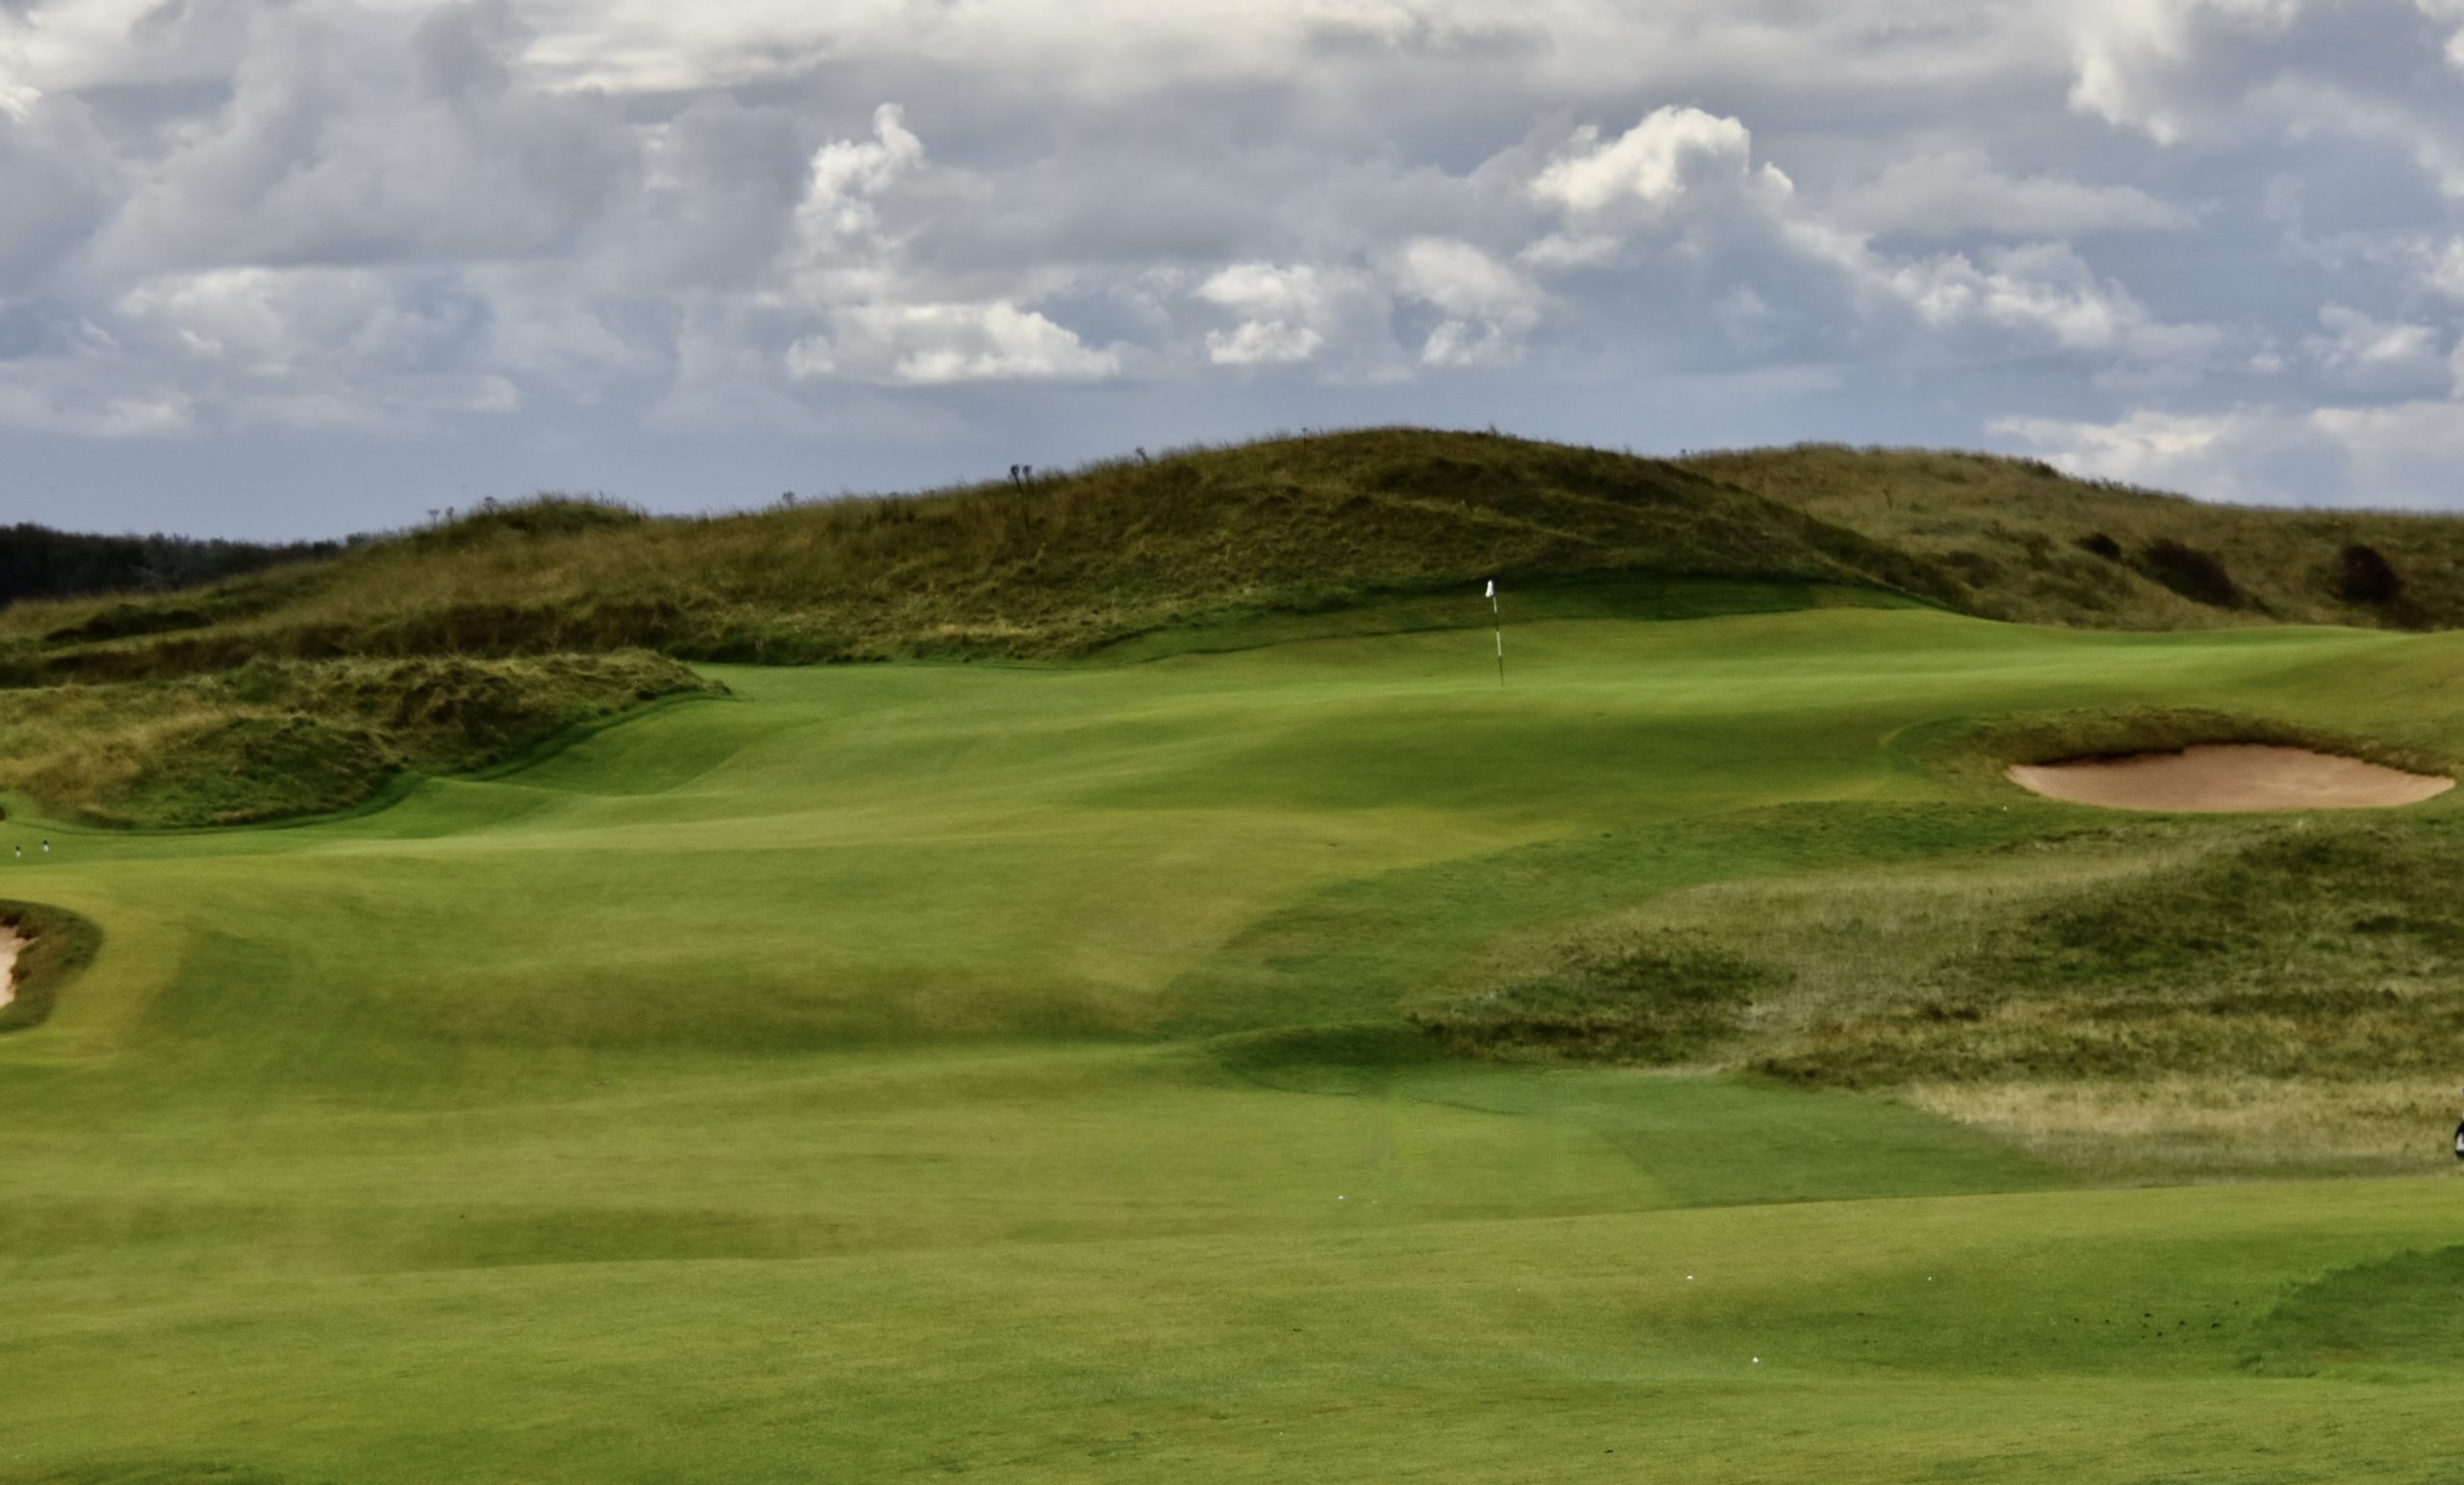
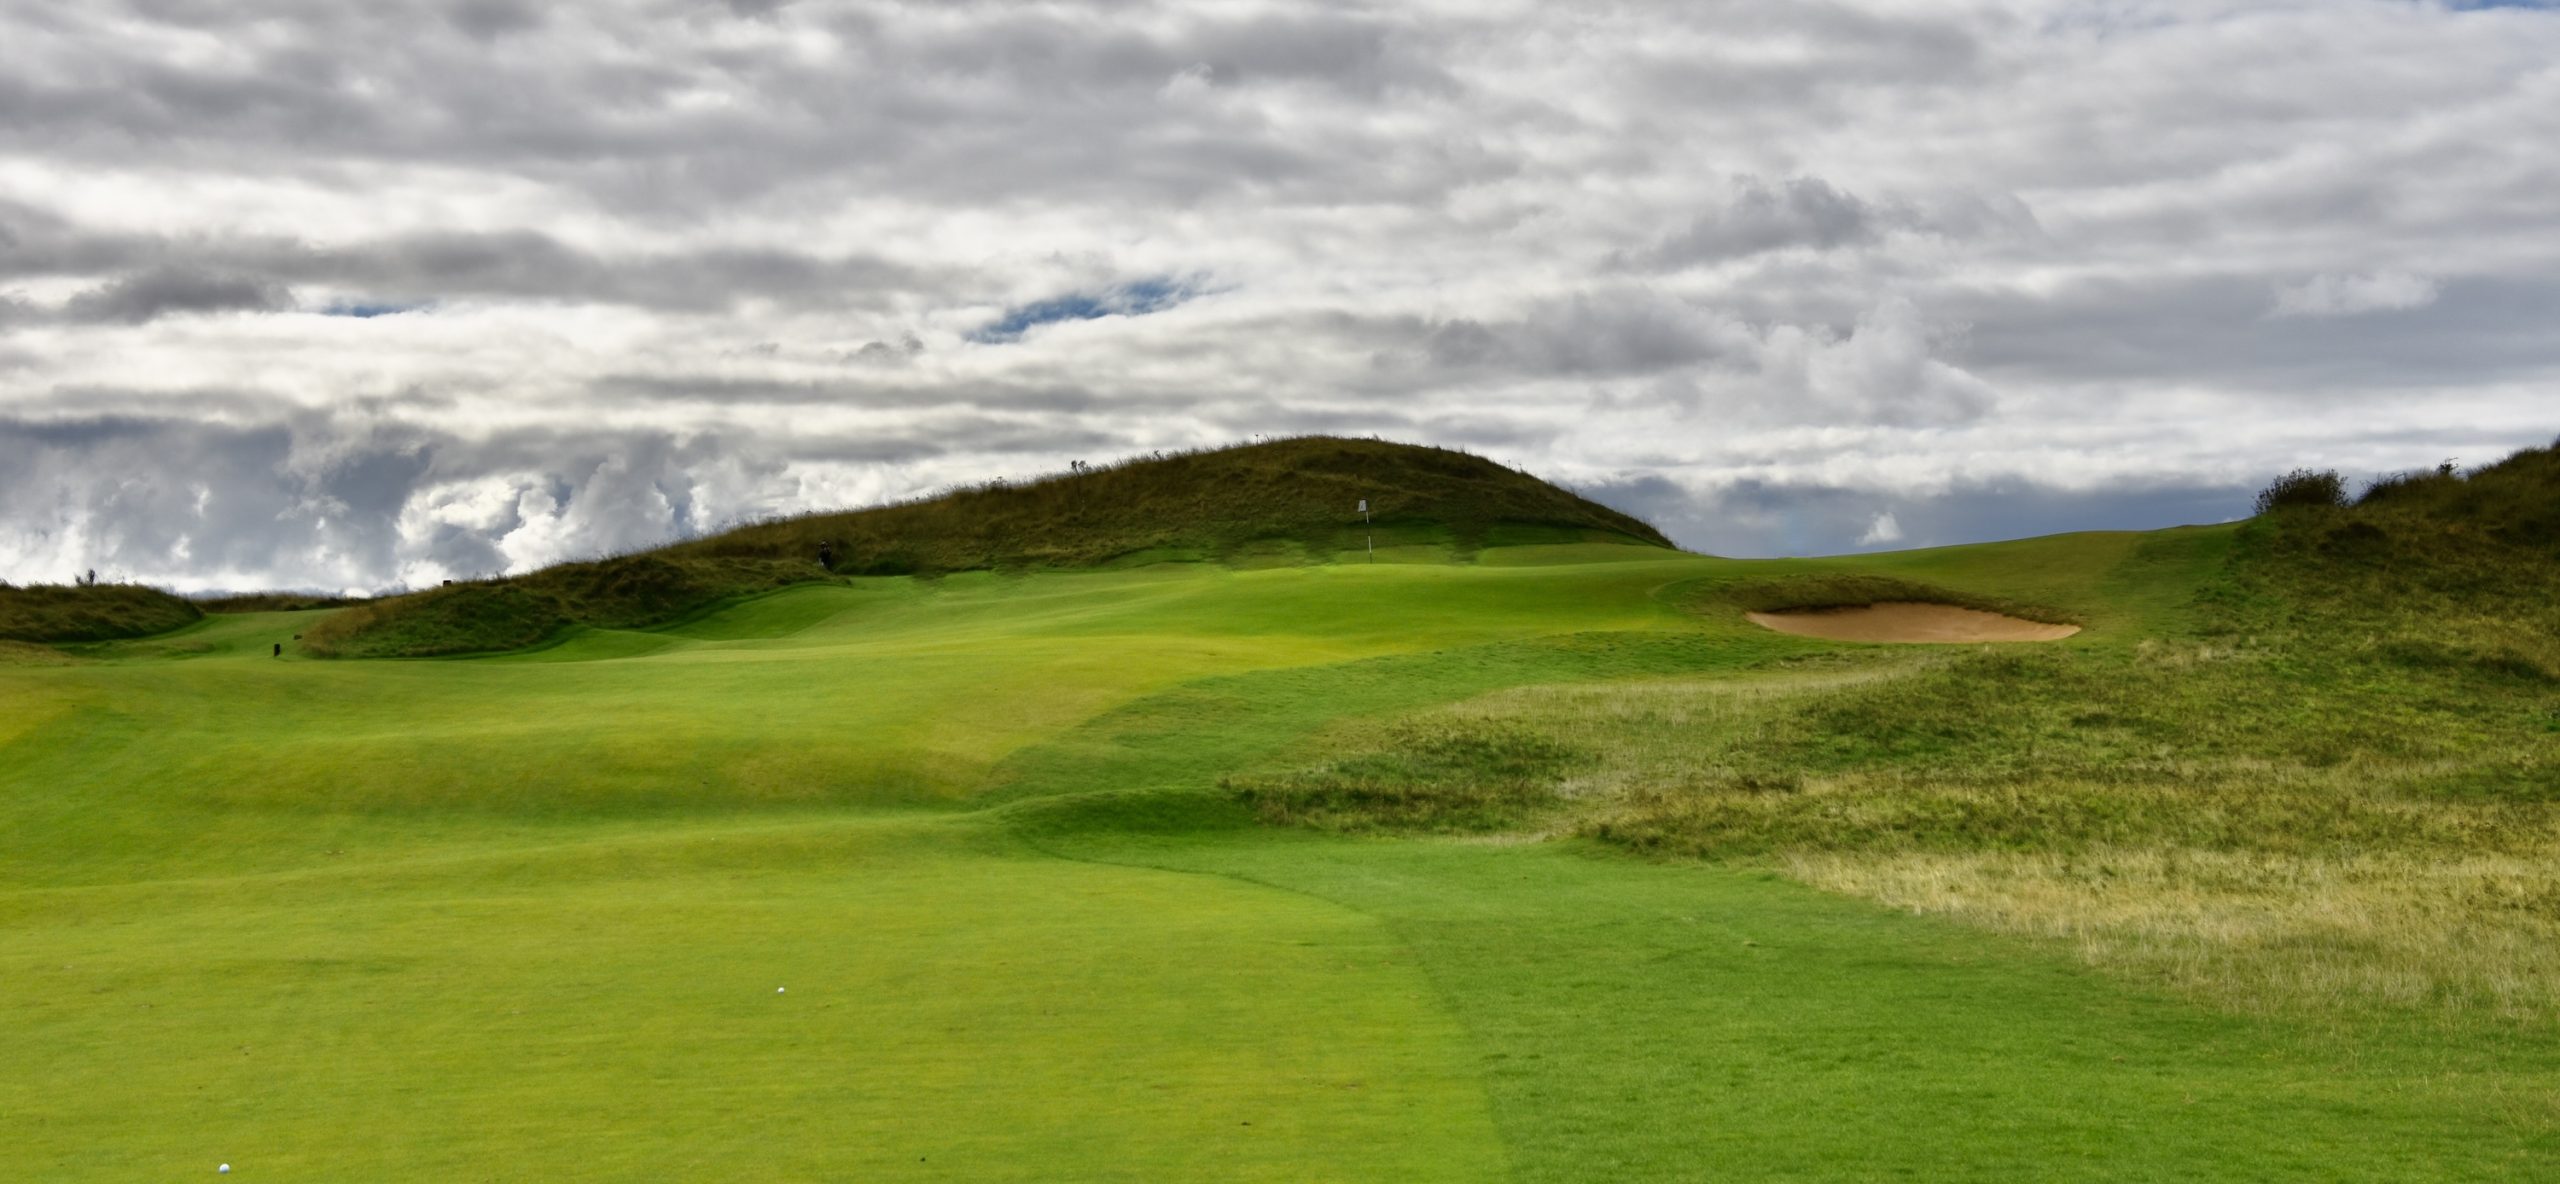
Wallasey #17 Gully – 435 Yard Par Five
Speaking of gullies well here comes a doozie. But first you’ve got to make another climb to the highest point on the course which is the perfect spot for your foursome shot. It’s a beautiful view of the entire course from up here.
And then you face this tee shot. But where’s the green? Through that tiny slot to the right at the end of the fairway which is where you need to be in two shots.
Assuming you’ve stayed out of the fescue, you might get to here in two shots and have a relatively easy chip to a fairly flat green that’s tucked beautifully into a nook between the dunes.
#18 Terrace – 341 Yard Par Four
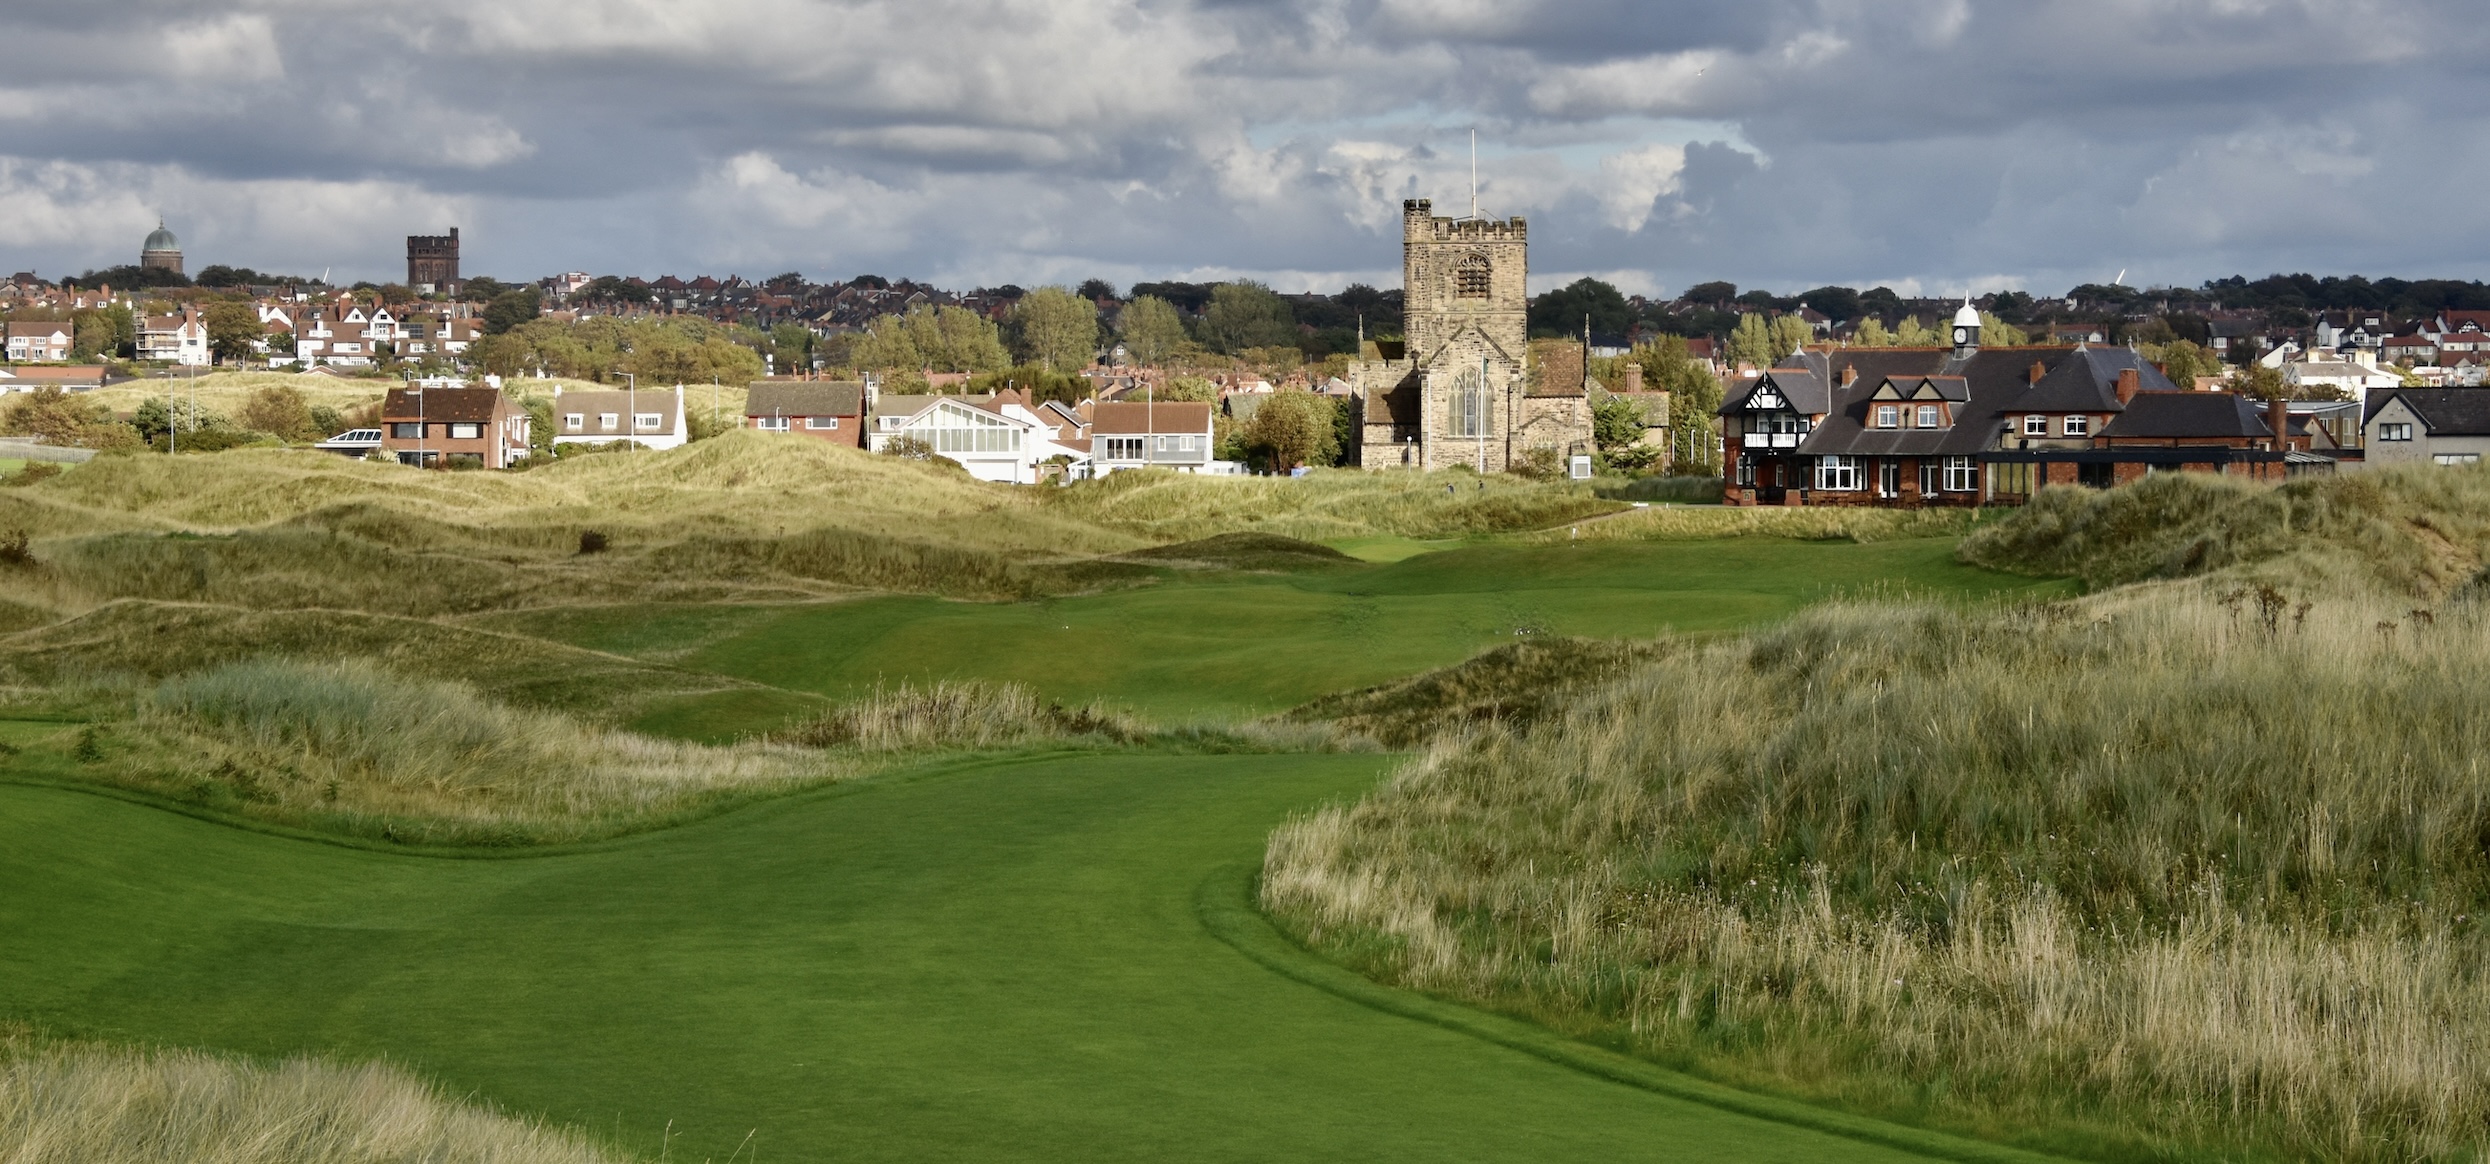
Another of the great looking holes at Wallasey features a church and the clubhouse from another elevated tee. Although you can’t see it from this photo, the fairway virtually turns into a twisting ribbon from about 200 yards on making the second shot very difficult. Also the last 100 yards or so is once a climb, albeit a more gentle one than the previous four, that will be the finishing touch for your knees. The fact is Wallasey is a tough course to walk and I’m glad we tackled it first while we were all fresh and rarin’ to go.
Here is a look back from 18 green which gives a better perspective of all the trouble to get here.
In retrospect, writing this after playing all six courses on the itinerary I would rate Wallasey as probably the most scenic and very challenging. I’m no Bobby Jones, but I know a great golf course when I play one and Wallasey definitely fits the bill.
Next we’ll play our first open venue, Royal Liverpool.